
How do I design custom cupcake boxes with windows, handles, and drop-front flaps?
Short answer: Let your frosting swirls act as the visual centerpiece through a top or L-shaped clear window while keeping a 0.75-inch paperboard border around every crease so boxes stack cleanly. Pair a fold-down front panel or gable handle with custom cupcake boxes for fast counter loading.
On this page
- Top-only window vs L-shaped panoramic window: which shows off cupcakes better
- How do loading styles, handles, and print options compare for cupcake boxes
- When should I add a drop-front loading flap or a built-in carry handle
- Where should I place logos, care tips, and social handles on a windowed cupcake box
- What drives the price of custom cupcake boxes, and how can bakeries save
- Common mistakes
- FAQs
Request a custom quoteFree dieline & 3D mockup
Great cupcake box design balances showstopping counter visibility with fast back-of-house assembly and crush-free transport. Because customers buy cupcakes with their eyes, most bakeries build their artwork around a clear patched window that frames the colorful buttercream rosettes inside rather than covering the lid in busy graphics. Structurally, three decisions shape how the box performs: choosing between a top-only window and an L-shaped panoramic window that wraps down the front wall, leaving a 0.75-inch solid paperboard margin around the window cutout so stacked boxes never cave in, and deciding between a drop-front panel for rapid tray loading or a built-in gable handle for single and four-pack carryout. When you order custom printed cupcake boxes from CubitPack, our packaging designers build your custom dieline, window patch, and interactive 3D mockup for free before you pay a cent, with zero die or plate charges.
Top-only window vs L-shaped panoramic window: which shows off cupcakes better?
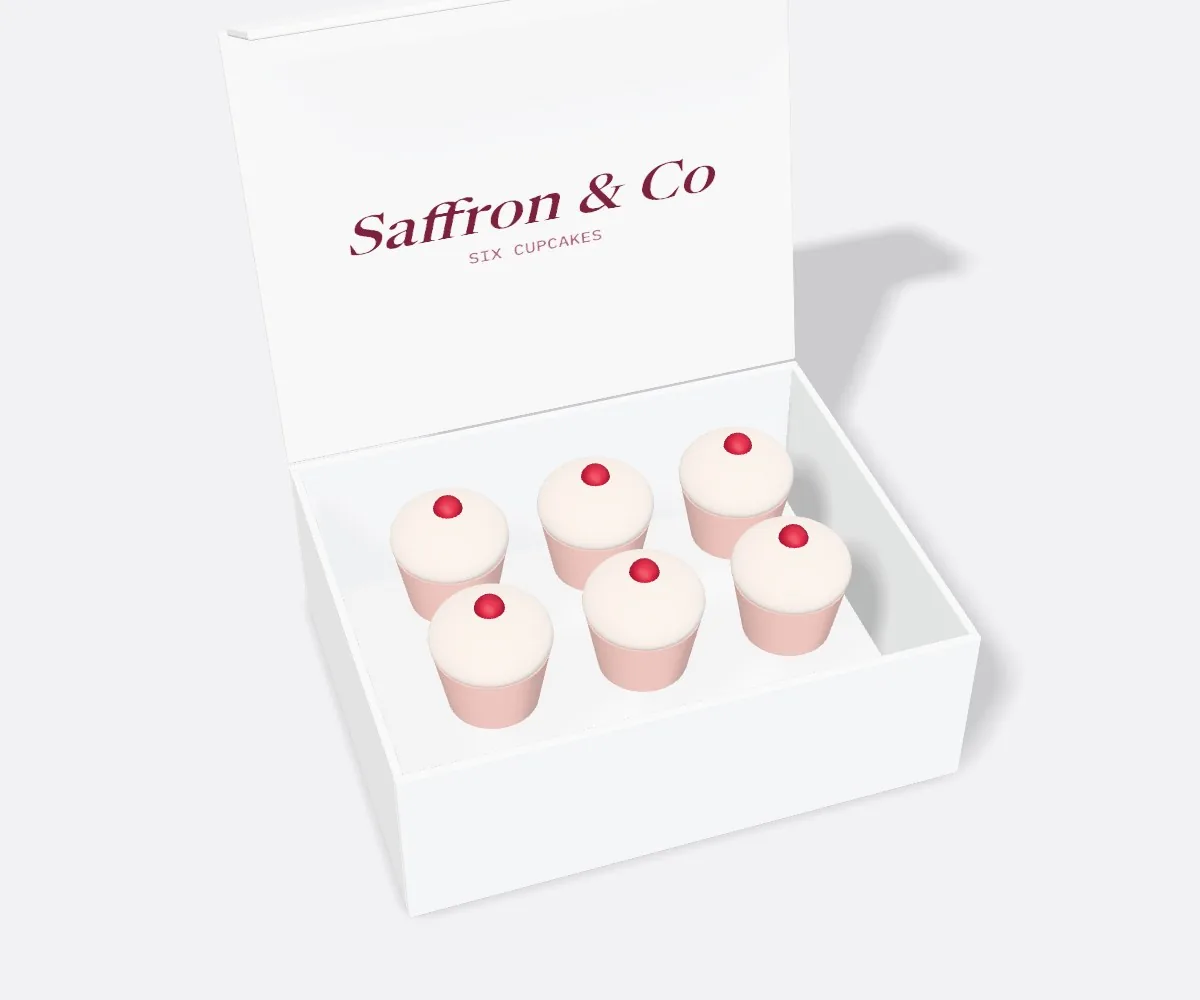
A top-only window sits flat on the roof of the lid and gives shoppers a bird's-eye view of your piping work when boxes are displayed on low bakery tables or packed inside shopping bags. Because all four vertical walls remain solid paperboard, a top-only window preserves maximum stacking strength on 6-pack and 12-pack cartons and leaves plenty of room on the front flap for your bakery logo and tagline. An L-shaped panoramic window starts on the top lid, crosses the front horizontal score line, and continues halfway down the front vertical wall. That wrap-around view lets customers standing in line see both the height of your buttercream swirl and the decorative baking cup or layered cake filling from eye level. When we set up custom window boxes with an L-shaped patch, we pre-crease the clear window film along the lid fold line so the corner bends crisply without bowing outward.
- Top-only window: keeps all four vertical walls solid for high stacking strength on 6-count and 12-count boxes.
- L-shaped panoramic window: wraps from the top lid down the front face to show both frosting peaks and cake liners.
- Front-only arch window: popular on single cupcake favor cubes and tall gable boxes where the handle sits on top.
- Custom silhouette cutouts: scalloped frames, hearts, clouds, or your brand badge outline at zero extra die cost.
- Minimum window border: leave at least 0.75 inches of solid board between the window edge and any fold score.
How do loading styles, handles, and print options compare for cupcake boxes?
Beyond the window, how your staff folds and loads the box during a Saturday rush and how your customer carries it to the car determine which structural features belong on your dieline. Use the table below to compare the six most requested structural and print upgrades on custom cupcake cartons. Remember that you do not have to guess which combination fits your workflow. Our team can show you both a top-loading and a drop-front dieline on your free digital proof so your decorators can pick the layout that matches their counter setup.
| Design feature | How it works on the box | Best pack counts & benefit |
|---|---|---|
| Drop-front loading flap | Front wall unhooks and folds flat onto the counter | 4, 6 & 12 packs · slide loaded insert straight in |
| Gable top carry handle | Die-cut handle rises from split top flaps | 1, 2 & 4 packs · eliminates separate shopping bags |
| Auto lock bottom floor | Pre-glued base snaps flat in 2 seconds when opened | 6 & 12 packs · speeds up rush-hour box folding |
| Interior lid & insert printing | Logo, storage tips, or pattern printed inside | All counts · frames cupcakes in open-box photos |
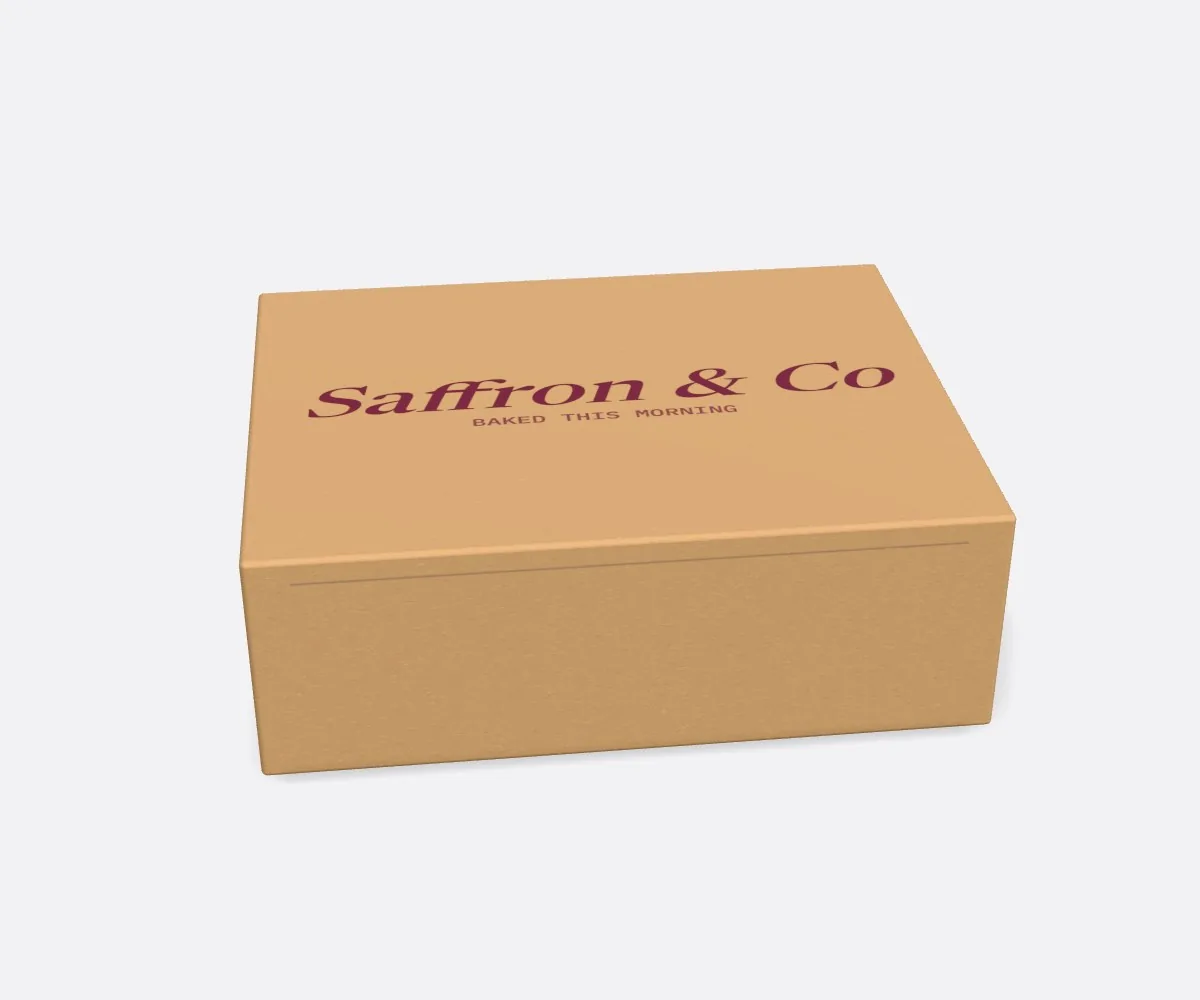
| One-color ink on natural kraft | White, black, or burgundy Pantone ink on brown board | 4 & 6 packs · warm café look at lowest print cost |
| Foil stamp + matte lamination | Metallic gold or rose gold logo over scuff-free matte | 1 & 2 pack wedding favors and boutique gift sets |
When should I add a drop-front loading flap or a built-in carry handle?
In a traditional top-loading box with fixed four-sided walls, your staff has to put the empty insert inside the box first, then lower each frosted cupcake down through the top opening. On a 6-pack or 12-pack box with tall swirls, one slip of the wrist smears buttercream against the side wall. A drop-front panel fixes that: the front wall unlatches at the left and right corners and folds completely flat, allowing decorators to load all six or twelve cupcakes into the insert out in the open and slide the tray straight into the box. For single favors, 2-pack duos, and 4-pack gift sets, a custom gable box with a built-in top handle lets customers carry their treats out the door with two fingers. Because the handle locks the two roof panels together above the cupcakes, it also creates natural pitched headroom over tall toppers and candles.
Know your size? Compare pricing across up to 3 quantities.
Request a Quote →Where should I place logos, care tips, and social handles on a windowed cupcake box?
Because the window occupies the center of the top lid and often the upper half of the front wall, smart cupcake box artwork uses the perimeter frame, side walls, and interior surfaces rather than fighting for space on the roof. Place your primary bakery wordmark centered on the front apron below the window (or on the solid front strip above an L-window) so it reads clearly when boxes are stacked behind the glass case. Use the left and right side walls for your street address, website, and allergen or storage icons (such as "Keep cool, serve at room temperature"). Then turn the inside of the lid and the removable custom cardboard insert into a photo backdrop: when someone opens a dozen box at an office birthday party, a cheerful headline or logo printed inside the back lid shows up in every phone photo.
What drives the price of custom cupcake boxes, and how can bakeries save?
Four factors shape the unit price of custom cupcake packaging: the flat paperboard area of the outer box and insert, the board stock and barrier coating, the number of print sides and specialty finishes, and the total order quantity. A 12-count catering tray uses roughly three times as much board as a single favor cube, and adding a patched film window or metallic foil stamping adds an extra machine pass. To keep your cost per box lean without sacrificing brand impact, print your full-color or Pantone design on the exterior of the outer carton and leave the removable die-cut insert unprinted white or natural kraft. You can also standardize on one versatile 6-pack box size and order two different insert grids (such as a 6-hole standard insert and a 12-hole mini insert) that fit the exact same outer carton. For seasonal holidays like Valentine's Day or Mother's Day, keeping your everyday box and slipping a printed paper belly band or custom sticker over the lid lets you dress up packages without running a separate seasonal carton.
- Keep the removable insert unprinted white or kraft while printing your brand colors on the outer carton.
- Use one or two Pantone spot colors on natural kraft board for a clean artisan look without full-coverage plates.
- Share one outer 6-pack box footprint across standard and mini cupcakes by swapping only the die-cut insert sheet.
- Compare three quantity tiers on your quote to see how unit cost drops from 1,000 to 2,500 or 5,000 boxes.
What are the most common cupcake box design mistakes?
A box that looks pretty flat on a screen can still fail on a busy bakery counter. Watch out for these five design mistakes before approving your proof
- Extending the top window cutout closer than 3/4 inch to the outer fold scores, which causes the lid frame to buckle when boxes are stacked.
- Putting a die-cut window across the upper handle bridge of a gable box, where carrying weight concentrates and can tear thin margins.
- Printing dark heavy ink on the inside of an unlaminated lid without a barrier when tall frosting might brush the roof.
- Forgetting to leave 1/8 inch of artwork bleed outside all exterior cut lines and inside window cutout edges.
- Designing separate outer box sizes for standard and mini cupcakes when a single outer carton could share two interchangeable inserts.
Find your size
Suggested inside size: 3.5 × 3.5 × 4.0 in
A starting point. Your account manager confirms the size with you before the proof.
Quote this size →Packaging for this
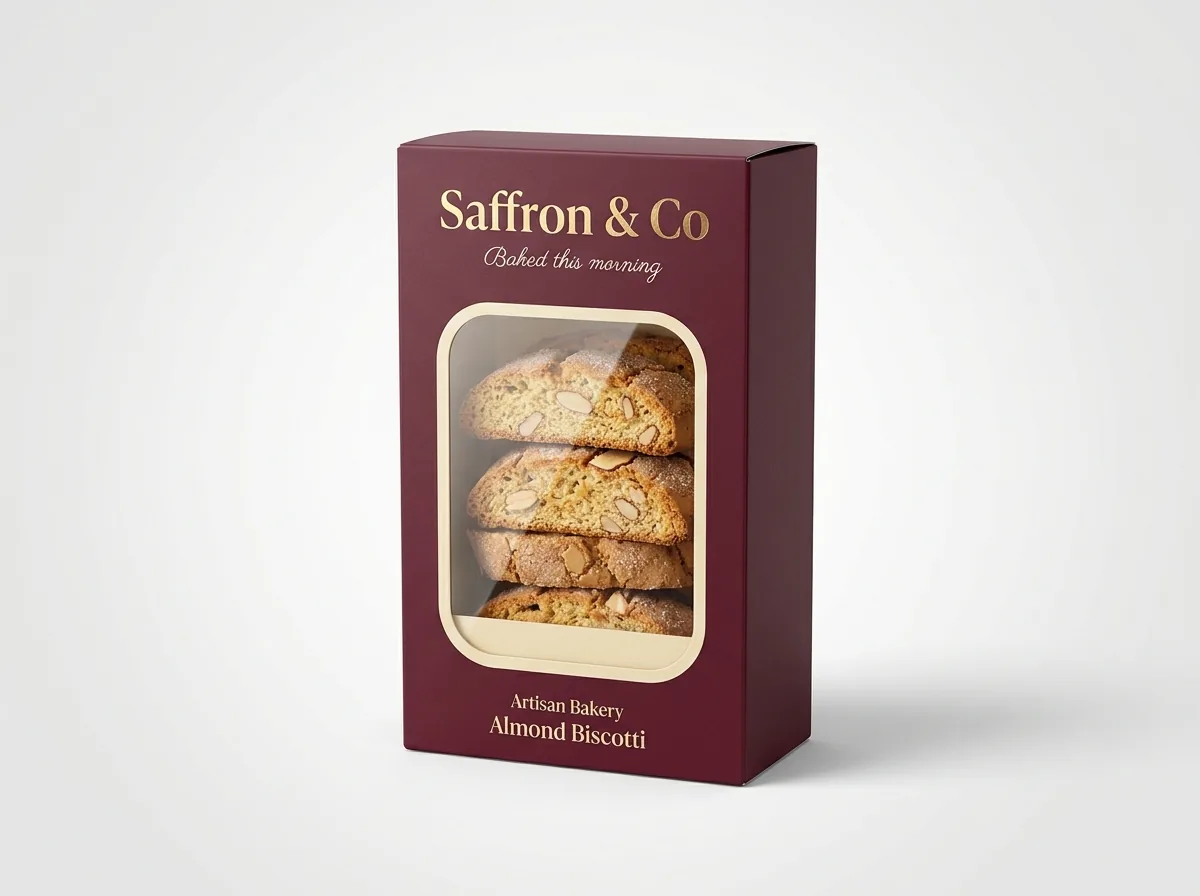
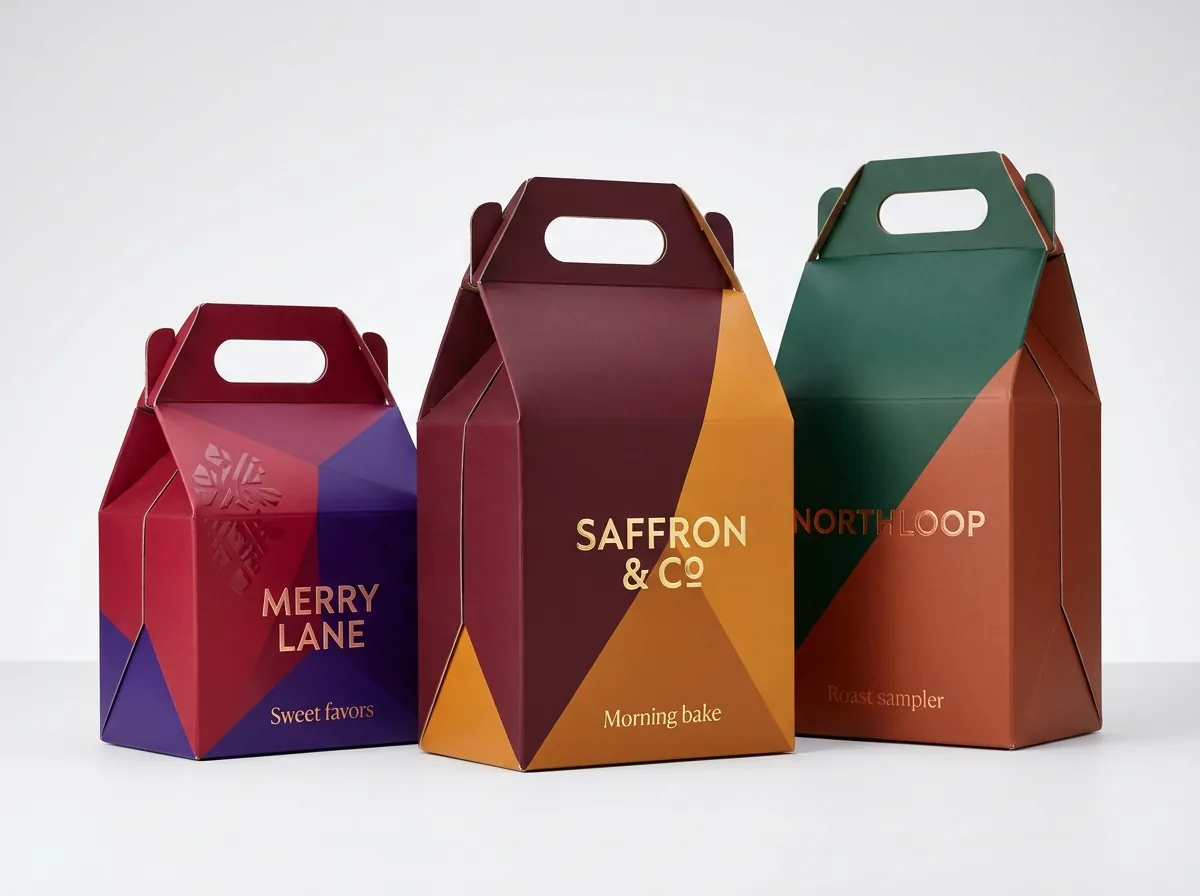

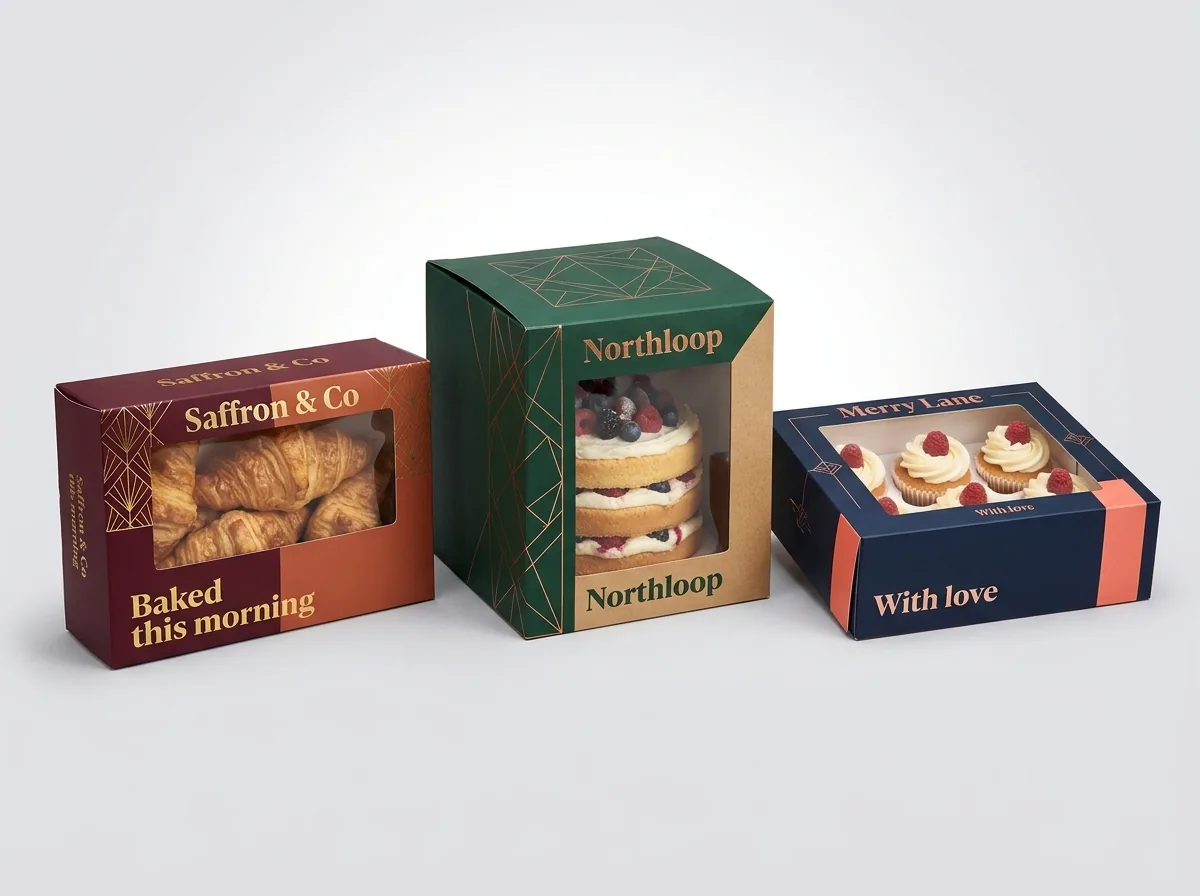
Ready to order cupcake boxes? Compare up to 3 quantities with a free 3D mockup.
Request a Quote →Questions about cupcake boxes
Do custom window shapes or scalloped edges cost extra die charges?
No. CubitPack never charges die or plate fees on custom cupcake boxes. Whether you want a classic rectangle, an arch, a heart, or a scalloped pastry-frame window, the cutout shape is included in your quote.
Can I print my bakery design from a rough sketch or an AI-generated concept?
Yes. Design help is free on every order. Send us your logo, brand colors, rough sketch, or AI inspiration image, and our packaging designers will lay it out properly on your cupcake box and insert dieline at no cost.
Should I choose matte or gloss lamination on a custom cupcake box?
Matte lamination gives a soft, modern boutique look that eliminates glare under bright bakery display lights and resists fingerprints. Gloss lamination makes vibrant sprinkles, berry photos, and saturated brand colors shine.
How do I make sure my pastel or signature bakery color prints accurately?
Specify a Pantone (PMS) spot color on your quote. We guarantee Pantone color matching on custom cupcake boxes, and you can also order a paid physical printed sample (credited to your order) to check the shade in person.
Can I get food-safe and grease-resistant coatings inside my cupcake boxes?
Yes, food-safe materials and grease-resistant barriers are available on request through our certified partner facilities. They prevent buttercream and moist cake oils from staining pastel or kraft walls.
How long does it take to get custom printed cupcake boxes after I approve my proof?
Standard production takes 10 to 14 business days after you approve your free digital dieline proof and 3D mockup and complete payment. Rush production in 4 to 5 business days is available, and shipping is free to all 50 US states.
Still have a question? Ask a packaging specialist.
Request a Quote →Request your cupcake boxes quote
Tell us your size and quantities, and one dedicated account manager prepares pricing for each tier.
- Free design & AI-to-print studio + 3D mockup
- No die or plate charges · 4–5 day rush available
- Free shipping to all 50 states
- 10% off your first order
This guide compiles structural window-margin rules, loading mechanisms, and prepress bleed standards used on custom bakery folding cartons. A CubitPack packaging specialist checked every recommendation. Spot something wrong? Tell us and we will fix it.
Sources
What changed
- October 22, 2026: First published.
- October 22, 2026: Updated specifications, terminology, and verified source links.
More guides
New packaging guides by email
Sizes, materials and design tips. Unsubscribe anytime.