
How do I design custom circle labels with radial text and bleed?
Short answer: Build your custom circle labels around three concentric circles: the finished cut diameter, an outer bleed ring ¼ inch wider (+⅛ in all around), and an inner safe ring ¼ inch narrower (−⅛ in all around). Keep decorative ring borders inside the safe zone so cutting tolerances stay invisible.
On this page
- How do I set up the three concentric rings for bleed, cut and safe margin
- Why should concentric border rings sit at least ⅛ inch inside the cut line
- How do I keep arched radial typography readable on small round labels
- How do I fit a barcode, QR code or warning icons inside a round label
- How can one circular layout scale across multiple scents and flavors
- Common mistakes
- FAQs
Request a custom quoteFree dieline & 3D mockup
Designing a circular label requires thinking radially from the center point outward rather than aligning elements to left and right page margins. Every print-ready file for a round decal uses three concentric vector rings: the center cut path at your exact ordered diameter, a radial bleed ring that extends background color and patterns ⅛ inch outward around the entire 360-degree edge, and an inner safe margin ring inset ⅛ inch from the cut line. Keeping curved text baselines and decorative pin-stripe rings at least ⅛ inch inside the blade path prevents slight mechanical die-cutting tolerances from making one side of the ring look narrower than the opposite side. When you order printed round labels from CubitPack, our prepress team sets up your circular dieline, checks text legibility and sends a free digital proof and 3D mockup before you pay for your run.
How do I set up the three concentric rings for bleed, cut and safe margin?
When you open Adobe Illustrator, Affinity Designer or Canva to lay out a round sticker, always calculate your artwork canvas from the center out. Adding a ⅛ inch (0.125 in) radial bleed to a circle means adding ⅛ inch on the left AND ⅛ inch on the right, which increases the total bleed diameter by a full ¼ inch (0.25 in). Likewise, insetting a ⅛ inch safe zone from all sides reduces the safe circle diameter by ¼ inch. For example, on a standard 2 inch jar lid circle, your outer background bleed circle measures 2.25 inches across, your vector cut path measures 2.00 inches across, and your inner safe zone measures 1.75 inches across. Never clip your background color precisely at the 2.00 inch cut path or leave white square corners inside the 2.25 inch bleed ring, or a tiny blade shift during rotary die-cutting will expose a white crescent edge along one side of the sticker.
| Ordered circle diameter | Outer bleed ring (+0.25 in total) | Inner safe zone (−0.25 in total) |
|---|---|---|
| 1.00 in circle | 1.25 in bleed diameter | 0.75 in safe diameter |
| 1.50 in circle | 1.75 in bleed diameter | 1.25 in safe diameter |
| 2.00 in circle | 2.25 in bleed diameter | 1.75 in safe diameter |
| 2.50 in circle | 2.75 in bleed diameter | 2.25 in safe diameter |
| 3.00 in circle | 3.25 in bleed diameter | 2.75 in safe diameter |
Why should concentric border rings sit at least ⅛ inch inside the cut line?
Nothing says classic apothecary or gourmet food faster than a thin metallic gold or high-contrast ink ring framing the perimeter of a round label. However, placing that border ring just 1/32 inch or 1/16 inch from the circular cut edge is the number-one cause of visual asymmetry on press. Even on commercial rotary die cutters, the paper web can shift by up to 1/32 inch (0.031 in) in any direction. If your decorative ring sits 1/16 inch from the edge and the blade shifts 1/32 inch to the left, the left margin shrinks to 1/32 inch while the right margin doubles to 3/32 inch, a 3-to-1 ratio that the human eye spots immediately. Pull that same decorative ring inward so it sits a full ⅛ inch (0.125 in) or 3/16 inch inside the cut line, and the exact same 1/32 inch shift produces a barely noticeable 3/32 inch vs 5/32 inch outer band.
How do I keep arched radial typography readable on small round labels?
Curving text along a circular path lets you frame a central logo or illustration with your brand name on the top arc and your city, net weight or tagline on the bottom arc. The mistake many designers make is running text continuously around 360 degrees so the bottom half of the sentence hangs upside down. Shoppers holding a spice jar or candle tin will not spin the lid in their hands to read upside-down type. Instead, split circular copy into two separate type-on-a-path arcs divided by small bullet dots or stars at the 9 o'clock and 3 o'clock positions: the top arc reads clockwise from left to right, and the bottom arc is flipped onto the inside of its path so it also reads upright from left to right. Because curving a word tightens the space between the bottom of letters on the top arc and widens it on the bottom arc, increase your letter tracking by 5% to 15% and use clean sans-serif or bold slab-serif fonts at 6 pt or larger.
- Split top and bottom arcs at 9 o'clock and 3 o'clock so both lines read upright without turning the jar.
- Add +5% to +15% letter spacing (tracking) on curved paths so inner letter stems do not collide.
- Keep knockout (light text on a dark background) at 7 pt or larger and bold enough to hold open on press.
- Outline all fonts to vector paths before exporting your PDF so custom typefaces never substitute.
Know your size? Compare pricing across up to 3 quantities.
Request a Quote →How do I fit a barcode, QR code or warning icons inside a round label?
Many candle makers, cosmetic studios and specialty food brands use a 1.75 inch or 2 inch circle on the bottom of the container to hold the UPC barcode, batch lot code and safety symbols, leaving the front and lid clean. Because a standard retail UPC-A barcode is a wide rectangle that requires a flat, high-contrast quiet zone on its left and right ends, dropping it too low inside a circle causes the curved circular boundary to clip the outer guard bars. To make a barcode scan reliably on a round bottom sticker, place the barcode across the widest horizontal equator of the circle or slightly above center, and truncate the vertical bar height slightly (to 0.35 or 0.4 inches tall) rather than shrinking the horizontal width below 80% magnification. If your circle is printed on custom clear labels, custom foil labels or dark background colors, always knock out a solid white pill or rounded-rectangle box behind the barcode and QR code so infrared and camera scanners read clean black-on-white contrast.
How can one circular layout scale across multiple scents and flavors?
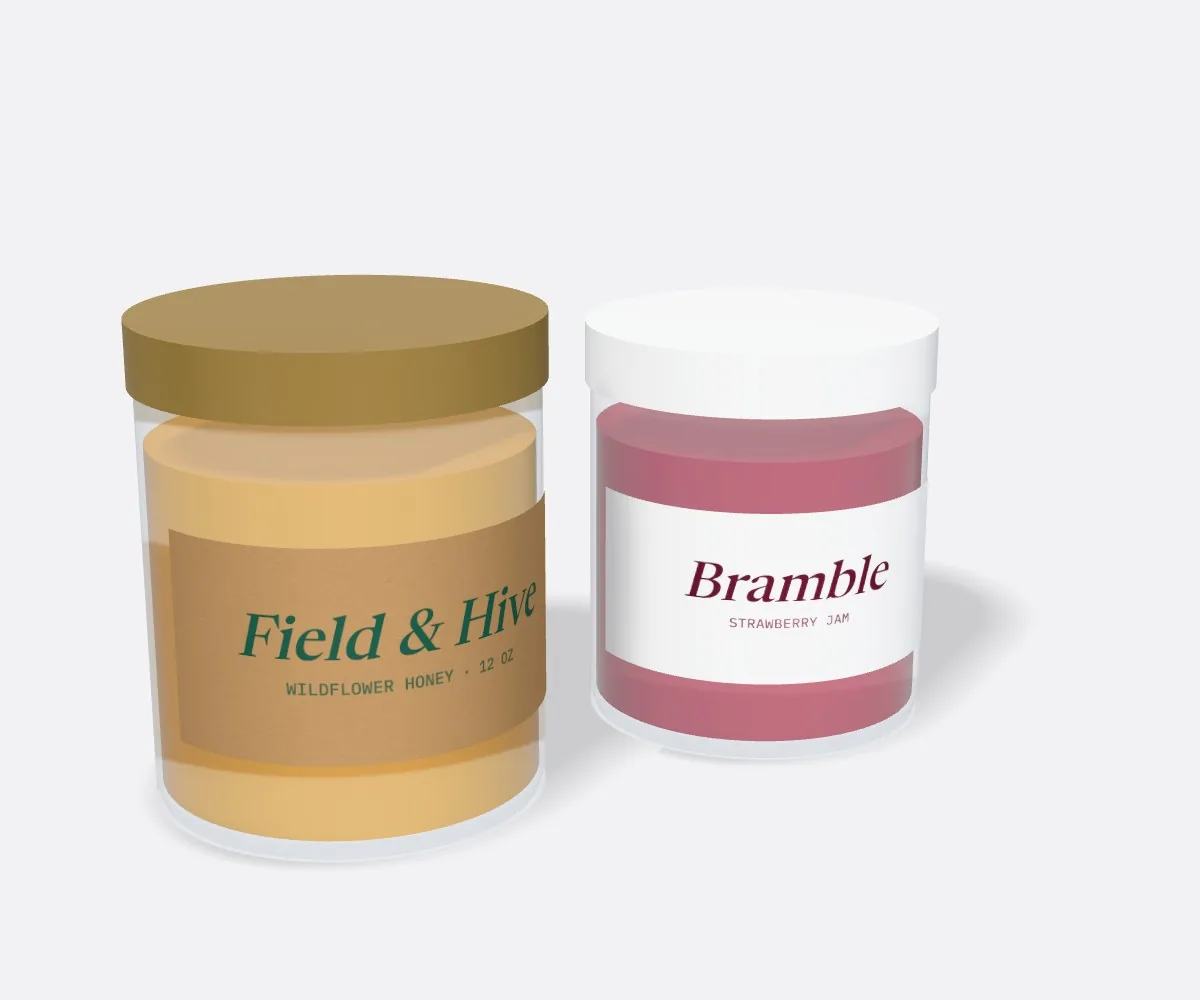
When you sell six candle scents, eight spice blends or ten lip balm shades, keeping the exact same circle diameter and master layout across the entire line cuts both design time and unit cost. Build one master vector template where the brand crest, outer bleed ring and bottom net-weight arc stay locked in place, and swap only the background Pantone swatch and the center scent name for each SKU. When you submit your quote for custom circle labels, choose 2 designs or 3+ designs in the form and upload your multi-page PDF. Even if you only have a rough sketch or an AI-generated badge image right now, our designers will rebuild the circular cut path, extend the ⅛ inch radial bleed and send a 3D mockup of every scent for free before you pay.
What are the most common custom circle label design mistakes?
Circular layouts fail on press when designers treat a round dieline like a square page or squeeze curved type too tightly. Check your file for these five issues before approving your proof
- Stopping background color right at the circular cut line instead of extending a full ⅛ inch radial bleed (+¼ inch total diameter) outside the path.
- Drawing a thin pin-stripe ring 1/32 inch from the cut edge, where normal rotary blade tolerance makes the border look off-center.
- Running curved text in a continuous 360-degree loop so the bottom half of the wording sits upside down when customers look at the lid.
- Placing a wide UPC barcode near the bottom curve of a small circle where the circular safe zone clips the left and right quiet margins.
- Printing dark gray barcode bars directly over metallic gold foil or clear stock without a solid white ink knockout box underneath.
Find your label size
Suggested label size: 9⅛ × 2¾ in (width × height)
A typical starting point. Your account manager confirms the size on the proof.
Quote this size →Packaging for this
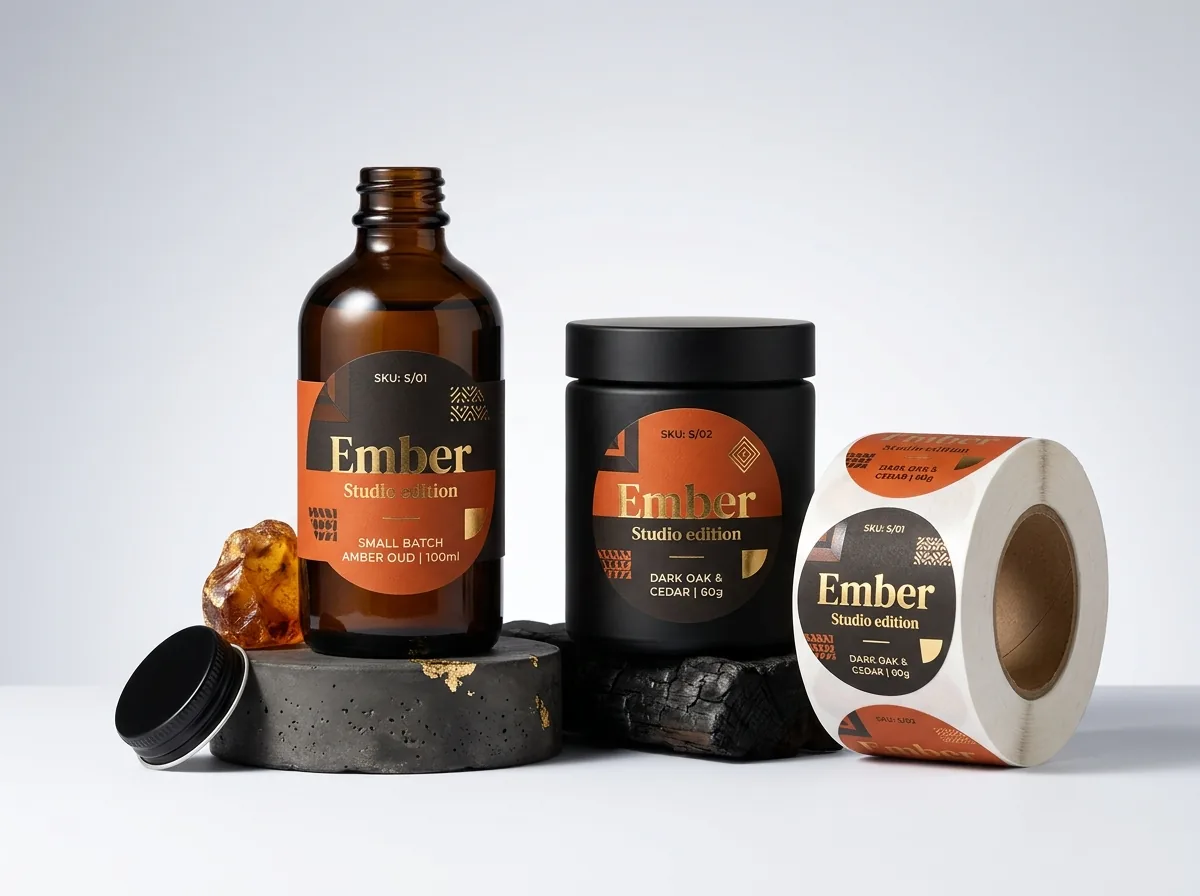
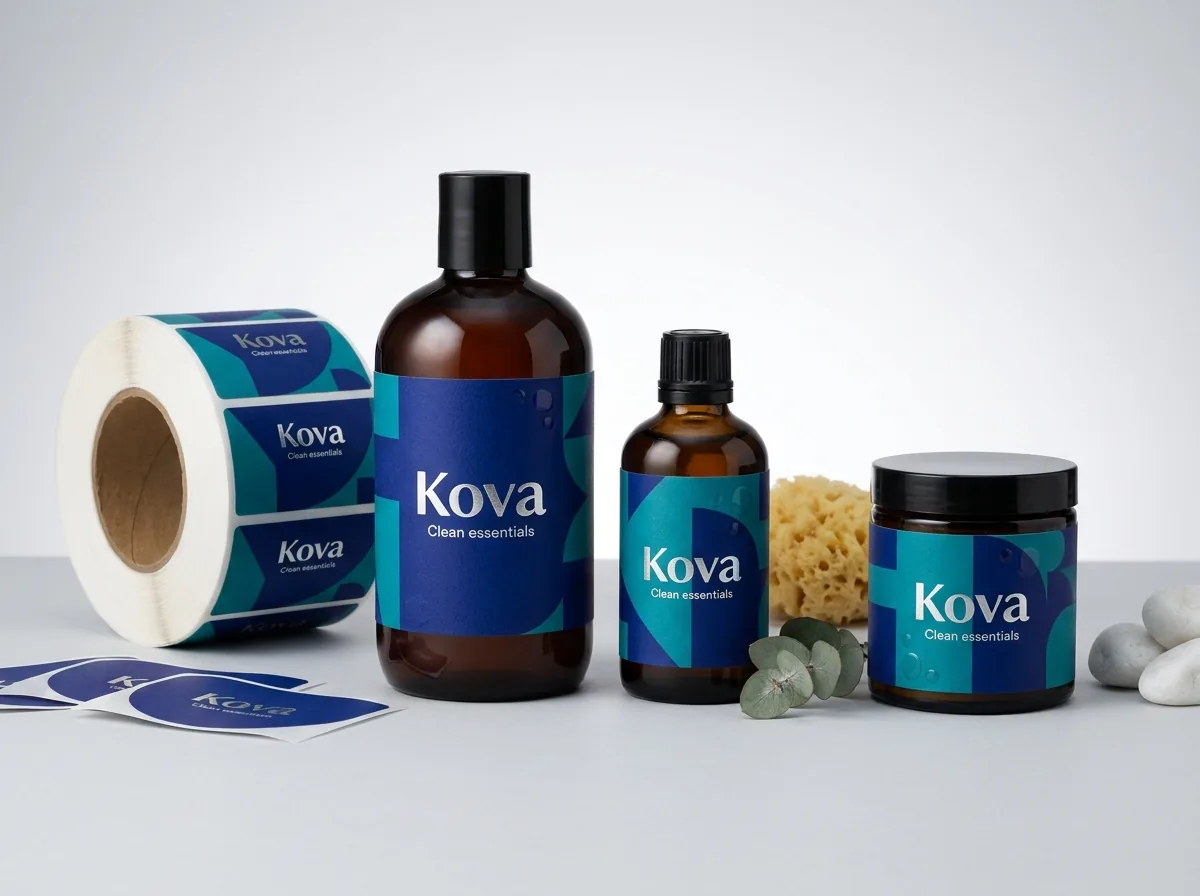
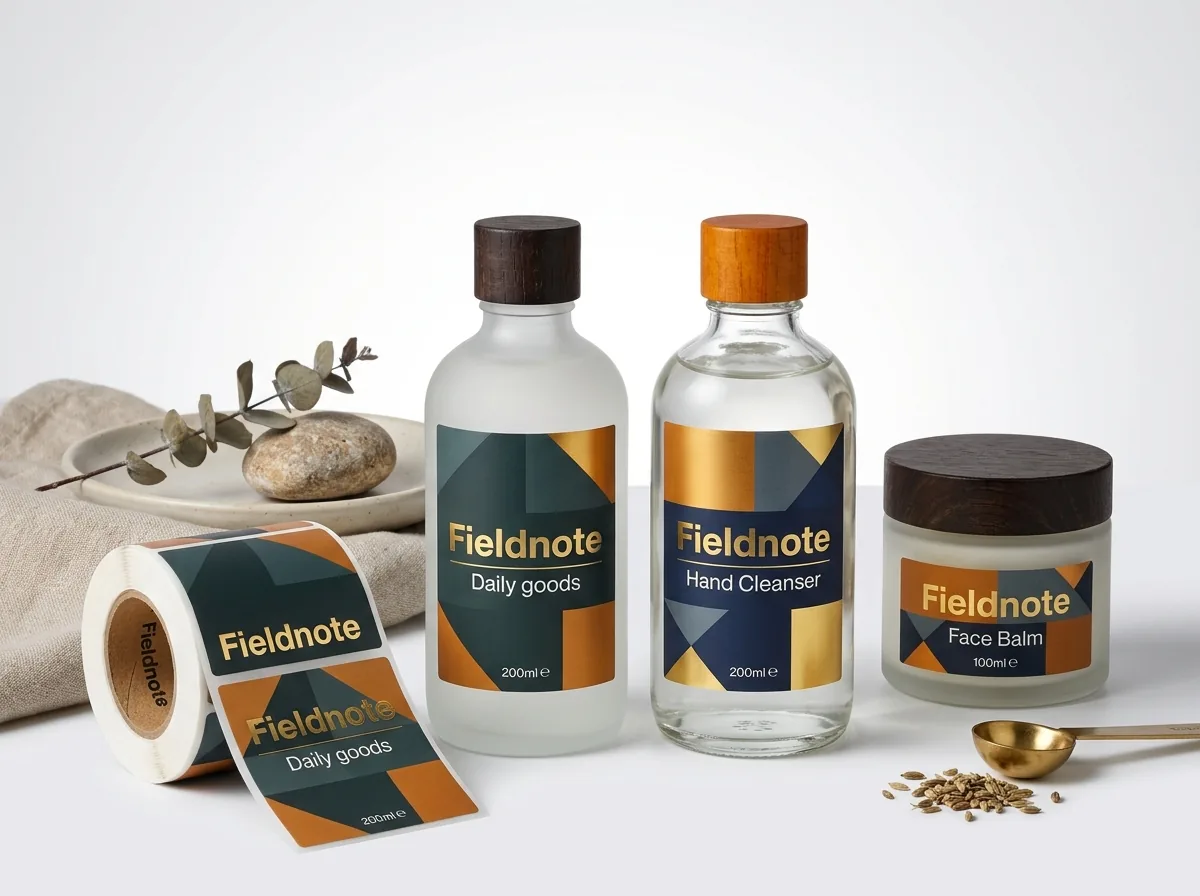
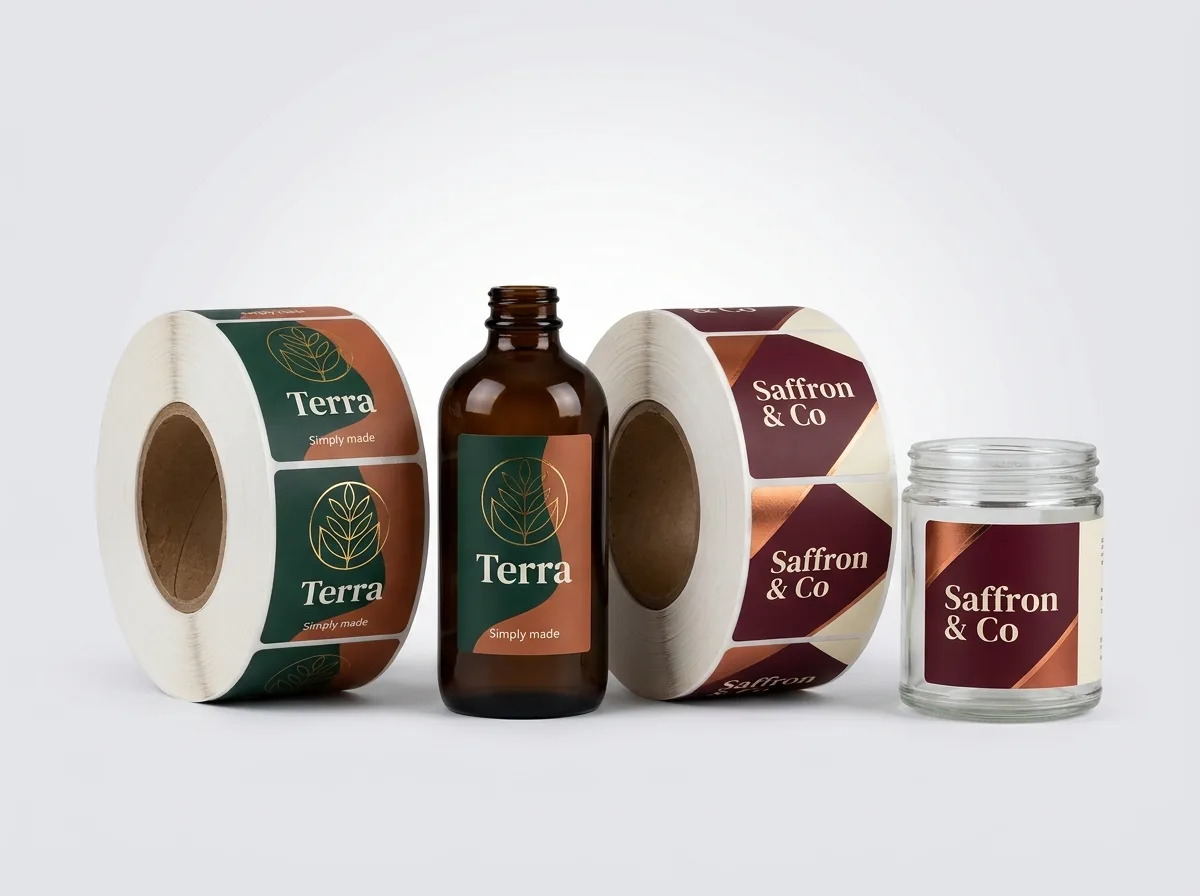
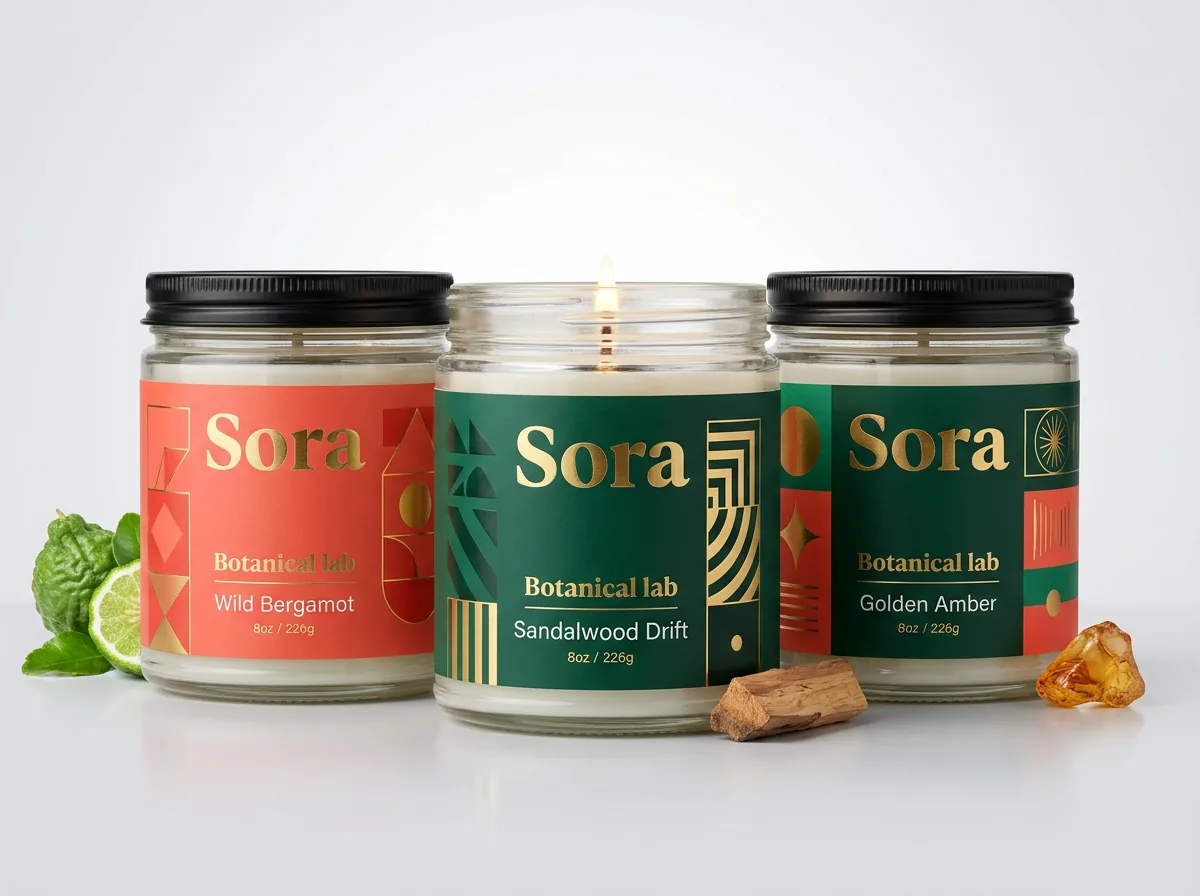
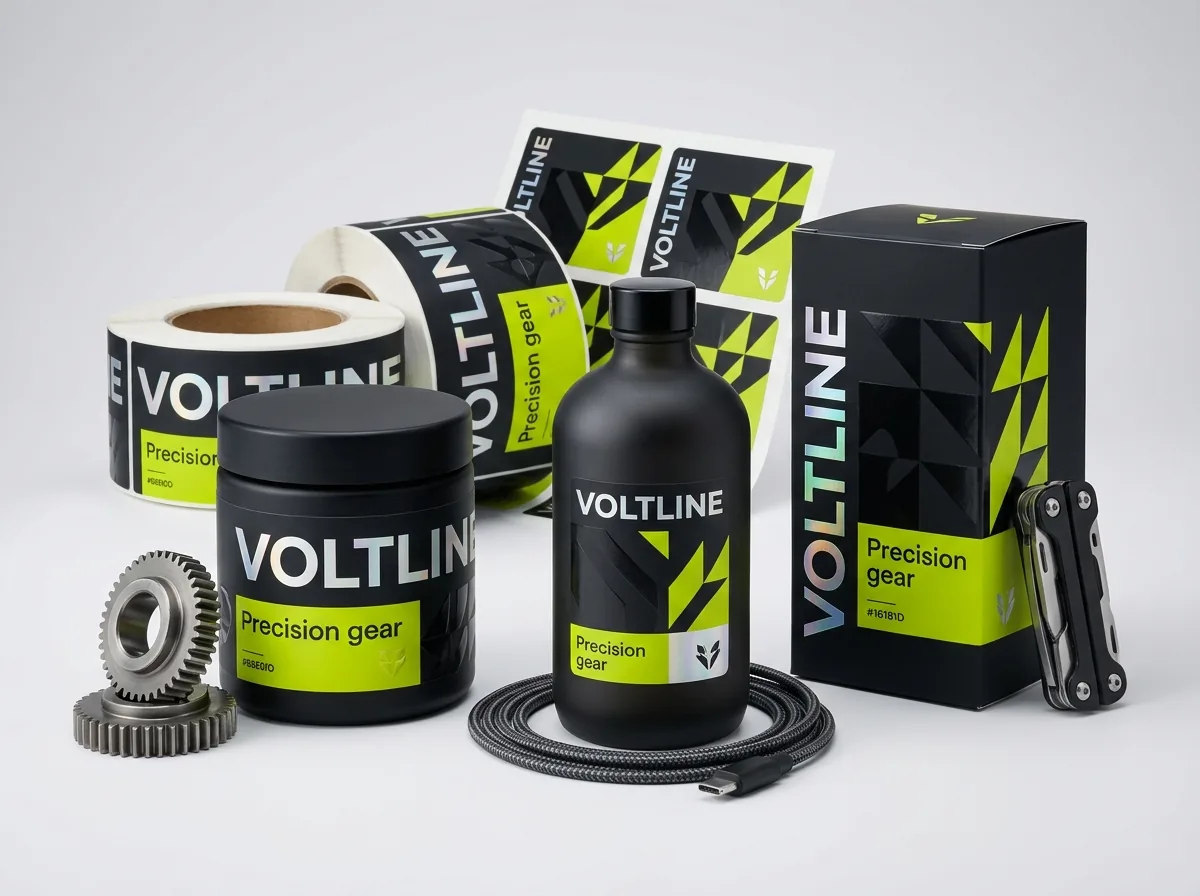
Ready to order circle labels? Compare up to 3 quantities with a free 3D mockup.
Request a Quote →Questions about circle labels
What should the total bleed diameter be for a 2 inch custom circle label?
A 2 inch circle label needs a 2.25 inch outer bleed diameter (⅛ inch added all the way around) and a 1.75 inch inner safe zone diameter (⅛ inch inset from all sides).
Can CubitPack add the circular cut line and bleed if I only have a PNG or AI image?
Yes. Upload whatever logo, Canva export or AI-generated image you have with your quote request. Our prepress designers add the vector circular cut line, extend the background bleed and send a digital proof and 3D mockup for free.
What is the smallest font size that prints clearly on a custom circle label?
Keep dark positive text on a light background at 5 pt or larger (6 pt or larger for curved radial text), and keep light knockout text on a dark background at 7 pt or larger so fine letter strokes stay open.
Can I combine gold foil stamping or spot UV with a matte circle label?
Yes. A matte finish paired with hot gold or silver foil stamping on the central monogram or inner ring is one of our most requested setups for candle lids, cosmetic jars and gift box seals.
Do I need to supply my artwork cropped into a circle or as a square bleed box?
Either works, as long as the background color or artwork extends at least ⅛ inch outside the circular cut path in every direction. Leaving the background as a 2.25 × 2.25 inch square behind a 2 inch vector cut circle is completely fine.
How do I make sure my circle label color matches my custom printed boxes?
Specify your Pantone color code in the quote notes or ask our team to match your existing box file. Because CubitPack produces both boxes and labels with guaranteed Pantone matching, your lids and cartons stay unified.
Still have a question? Ask a packaging specialist.
Request a Quote →Request your circle labels quote
Tell us your size and quantities, and one dedicated account manager prepares pricing for each tier.
- Free design & AI-to-print studio + 3D mockup
- No die or plate charges · 4–5 day rush available
- Free shipping to all 50 states
- 10% off your first order
The radial bleed and safe-margin dimensions in this guide use standard commercial rotary die-cutting tolerances (±0.031 in / 1/32 in) and GS1 barcode quiet-zone rules. Checked by a CubitPack packaging specialist. Spot something wrong? Tell us and we will fix it.
Sources
What changed
- October 22, 2026: First published.
- October 22, 2026: Updated specifications, terminology, and verified source links.
More guides
New packaging guides by email
Sizes, materials and design tips. Unsubscribe anytime.