
How do I size and lay out a custom unboxing box with an insert?
Short answer: Arrange your items face-up on a table, leave 0.5 inches between each item and 0.5 inches around the outer edge for the insert wall, then measure total Length × Width × Height in inches. Every order of custom unboxing boxes includes a free box-and-insert dieline.
On this page
- How do I calculate inside Length and Width around a fitted insert
- What are the most common custom unboxing box sizes by kit type
- How do I calculate vertical Height for multi-layer unboxing reveals
- How do I keep cylindrical bottles facing forward and easy to lift out
- How do I keep my unboxing box under carrier dimensional weight brackets
- Common mistakes
- FAQs
Request a custom quoteFree dieline & 3D mockup
To size an unboxing box that holds products neatly in a fitted tray, always build your dimensions from the inside out rather than squeezing an insert into a random box size. Lay every bottle, jar, pouch or accessory face-up on a flat table in the exact order your customer should see them. Leave at least 0.5 inches (or 0.75 inches for heavy glass) of bridge spacing between adjacent items and 0.5 inches around the entire outer perimeter so the folded paperboard, corrugated or foam insert walls will not buckle under parcel drops. Next, measure the tallest item lying flat in its well and add 0.125 to 0.25 inches of vertical clearance for your welcome card and folded tissue paper. That final total is the inside Length × Width × Height of your outer mailer or rigid carton, which CubitPack cuts to order with zero die fees.
How do I calculate inside Length and Width around a fitted insert?
When you order custom printed unboxing boxes with an interior cradle, the box dimensions are determined by the footprint of the insert tray, not the sum of the bare products pushed touching each other. An insert needs structural bridges between each cutout cavity so the tray stays rigid when lifted and absorbs side-impact shocks during USPS, UPS or FedEx sorting. Start by laying your items in their presentation orientation on a sheet of grid paper, with front labels facing straight up toward the viewer. Measure the widest point of each item, including pump collars, dropper bulbs or crimped tube corners. Then add the required bridge and border allowances across both horizontal axes to find your target inside Length (left to right) and inside Width (front to back).
- Outer perimeter border: add 0.5 inches on all four sides (1.0 inch total to Length and 1.0 inch total to Width) so the tray rim supports the box walls.
- Inter-cavity bridge width: leave 0.5 inches between light items under 6 oz, and 0.75 inches between heavy glass jars or beverage cans.
- Thumb-notch clearance: place 0.625 inch to 0.75 inch semicircular finger cutouts on two opposite sides of every tight cavity.
- Roll-end wall allowance: remember that a roll-end tuck-front mailer folds double side walls inward; always specify inside dimensions so our design team adds the board allowance outward.
What are the most common custom unboxing box sizes by kit type?
Because CubitPack never charges die or plate fees, we cut your mailer or rigid box to the exact sixteenth of an inch your layout requires. Still, most direct-to-consumer starter kits, beauty routines, creator mailers and apparel bundles fall into five proven inside-dimension footprints that balance generous visual staging with low parcel dimensional weight. Use the reference table below to estimate how much table footprint your items and insert walls will need. Notice how the recommended height stays shallow on multi-item kits: laying bottles and jars flat on their backs inside recessed wells keeps the box profile wide and low, which looks like a presentation showcase when opened and prevents tall bottles from tipping.
| Inside size (L × W × H) | Typical insert & cavity setup | Common DTC & creator kits |
|---|---|---|
| 6 × 4 × 2 in | 1 or 2 card wells + top note card | Single serum bottle, lip duo, jewelry piece, tech dongle |
| 8 × 6 × 3 in | 2 to 3 recessed wells (card or EVA) | Skincare trio, candle + wick trimmer, supplement starter |
| 10 × 8 × 4 in | 3 to 4 cavities + upper card shelf | Full 4-step routine, creator seeding box, coffee + mug kit |
| 12 × 10 × 3.5 in | No tray; tissue wrap + seal sticker | Folded t-shirt, knit top, activewear set + thank-you card |
| 12 × 10 × 4.5 in | Two-tier tray over refill pouches | Subscription onboarding kit, haircare bundle, mixer set |
| 14 × 12 × 5 in | Multi-well corrugated or EPE cradle | Heavy hoodie bundle, footwear + care kit, VIP PR drop |
How do I calculate vertical Height for multi-layer unboxing reveals?
Inside Height (bottom deck to closed lid) is the dimension where most first-time unboxing designs go wrong. If the box is 0.5 inches too tall, products bounce out of their insert cavities when the parcel rides upside down in a delivery truck; if the box is 0.125 inches too shallow, the lid bows upward and pops the front locking tabs open. To get a flush, rattle-free fit, add up the vertical thickness of every layer in your unboxing stack from the bottom panel upward. On a standard single-tier tray, your inside Height equals the resting height of the thickest product lying in its cavity plus 0.125 inches for a printed insert card and tissue fold. On a two-tier welcome kit where an upper literature tray or accessory shelf sits above a lower refill compartment, sum the lower cavity height, the divider board thickness (typically 0.0625 inches for E-flute), the upper tray depth and 0.125 inches of top breathing room. Pair your box with custom box inserts and custom thank you cards sized to the same inside footprint so nothing shifts laterally.
Know your size? Compare pricing across up to 3 quantities.
Request a Quote →How do I keep cylindrical bottles facing forward and easy to lift out?
Nothing spoils a filmed unboxing faster than opening the lid to find every bottle spun around with its barcode facing up, or watching a customer dig their fingernails into a tight foam cutout trying to pry a jar loose. Solving both issues takes two small structural tweaks on your insert dieline. First, size the cavity depth so the cradle hugs at least 50 to 65 percent of a round bottle's diameter, or add a small die-cut neck lock tab that grips the bottle threads and stops rotation during transit vibration. Second, add opposing half-moon thumb notches (at least 0.625 inches wide) along the left and right edges of the bottle's middle body so a thumb and index finger can pinch the container effortlessly. If you ship fragile glass droppers or electronics, our custom EVA foam inserts and custom mailer boxes with inserts give snug friction retention without scratching matte bottle coatings.
How do I keep my unboxing box under carrier dimensional weight brackets?
Every major US parcel carrier compares a package's actual scale weight against its dimensional (DIM) weight, calculated as outside Length × Width × Height in inches divided by a DIM divisor (139 for commercial UPS and FedEx accounts, or 166 for USPS Ground Advantage parcels over one cubic foot), and bills whichever number is higher. Because an unboxing box adds spacing around items for visual presentation, you want to earn that theater through horizontal layout rather than wasted vertical air. A 10 × 8 × 3.5 inch mailer equals 280 cubic inches (roughly 2 lb DIM weight at a 139 divisor), whereas a boxy 10 × 10 × 6 inch carton jumps to 600 cubic inches (5 lb DIM weight). Keeping total outside volume at or under 1,728 cubic inches (one cubic foot) exempts USPS Ground Advantage shipments from dimensional weight surcharges altogether. Send our team your kit items and target shipping carrier, and we will optimize your layout to shave unnecessary inches before you lock the dieline.
- Under 1 lb actual weight: keep total outside volume compact so USPS Ground Advantage bills by weight tier rather than DIM.
- 1,728 cu in threshold (12 × 12 × 12 in equivalent): stay below one cubic foot on USPS parcels to avoid dimensional surcharges.
- Trim vertical height first: reducing a 12 × 10 inch mailer's height by just 1 inch cuts 120 cubic inches of billable volume.
- Test one physical prototype: verify both drop retention and exact outer shipping dimensions before running thousands of boxes.
What are the most common unboxing box sizing and layout mistakes?
Most layout problems come from designing the outer box and inner insert separately instead of engineering them as one assembly. Avoid these five mistakes
- Measuring products pushed tightly together with zero bridge space, leaving no room for the 0.5 inch insert walls that separate cavities.
- Ordering a mailer by outside dimensions instead of inside dimensions, which causes the double roll-end side walls to crush the insert tray.
- Leaving more than 0.25 inches of empty vertical gap between the top of the recessed products and the closed lid, allowing items to pop out of their wells in transit.
- Forgetting thumb notches around flush-fitting card or foam cutouts so customers have to dump the box upside down to remove their order.
- Placing tall bottles standing vertically in a deep cube box instead of laying them face-up in a shallow wide mailer that frames the inside lid.
Find your size
Suggested inside size: 6 × 4 × 2 in
A starting point. Your account manager confirms the size with you before the proof.
Quote this size →Packaging for this
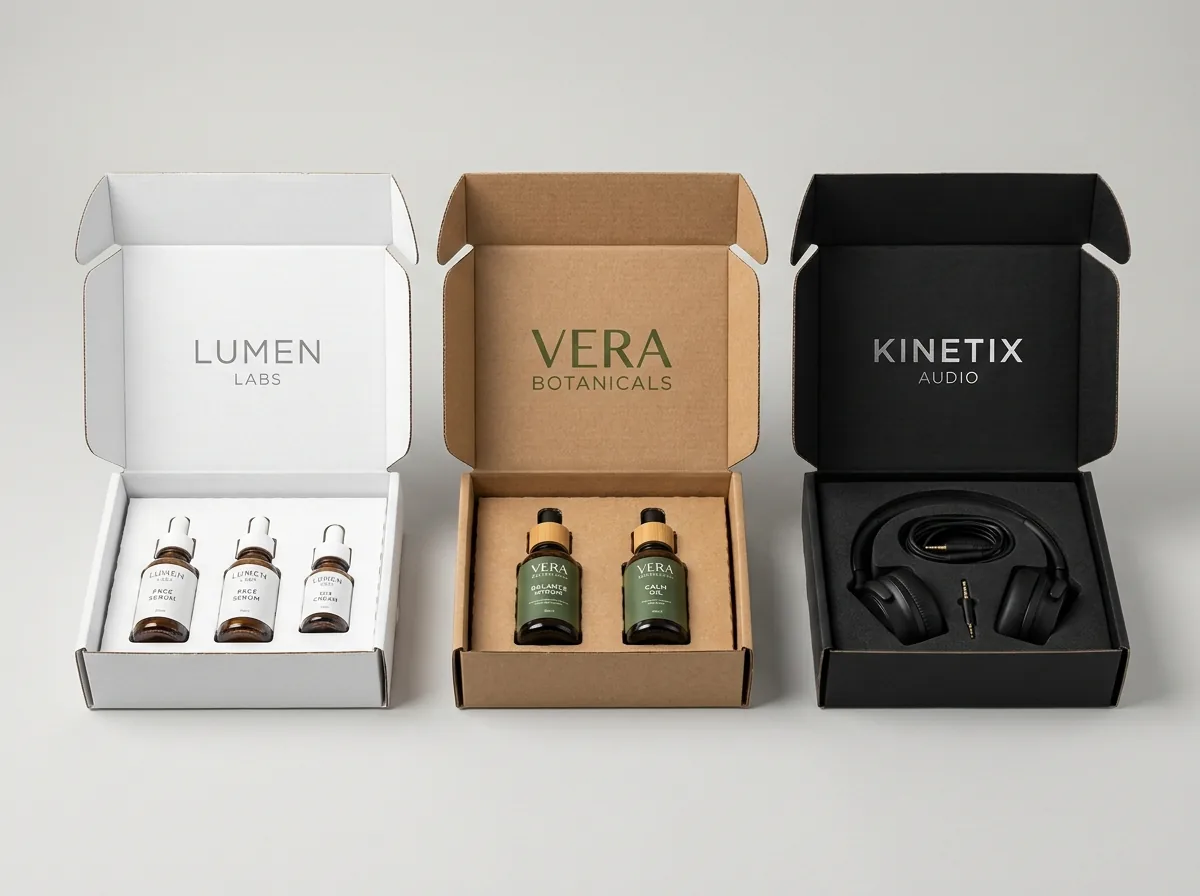
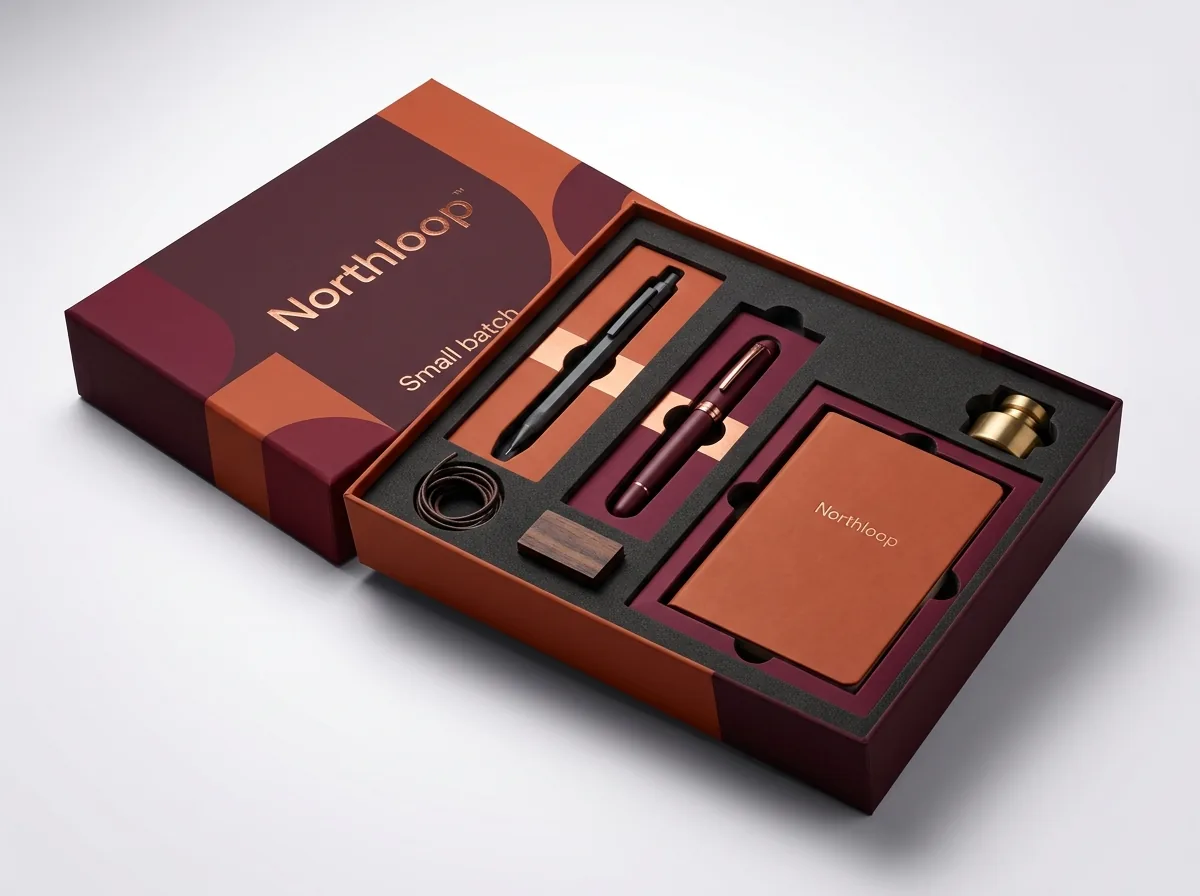
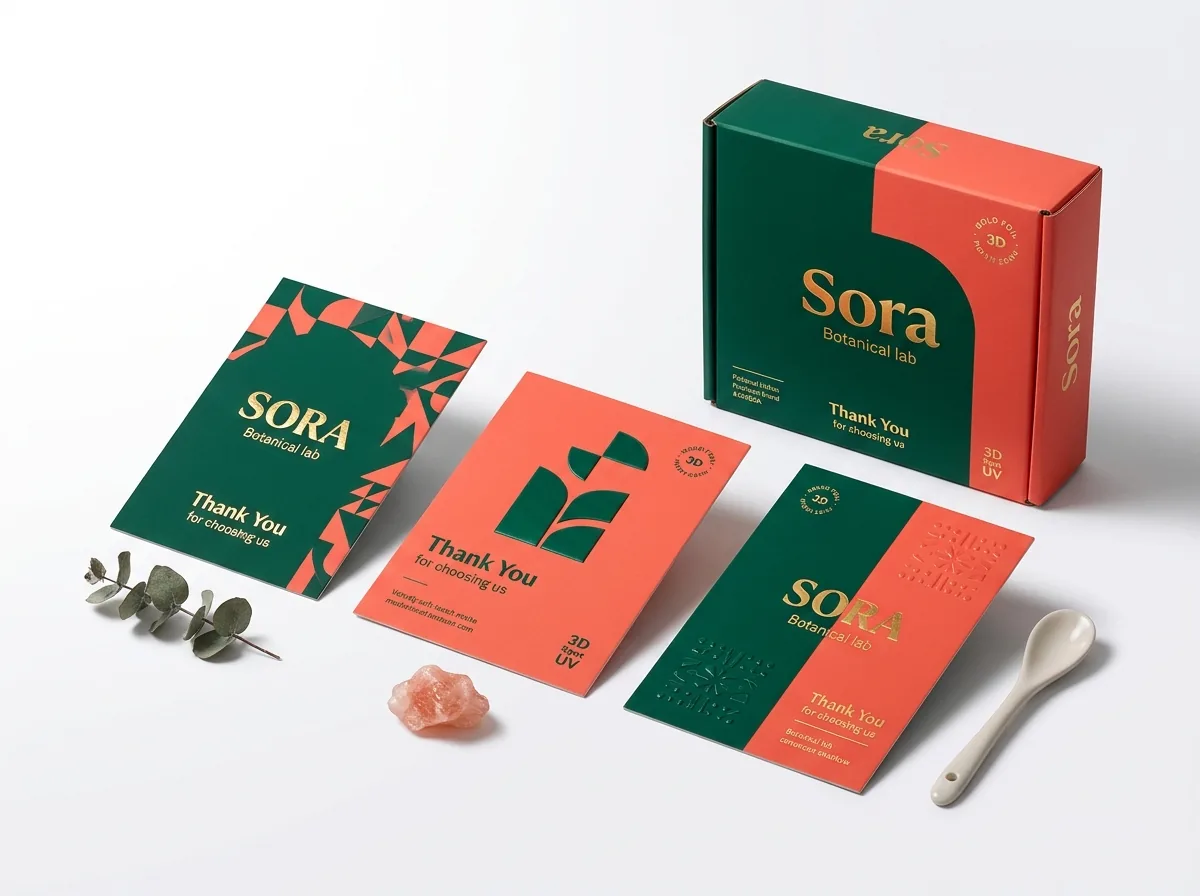
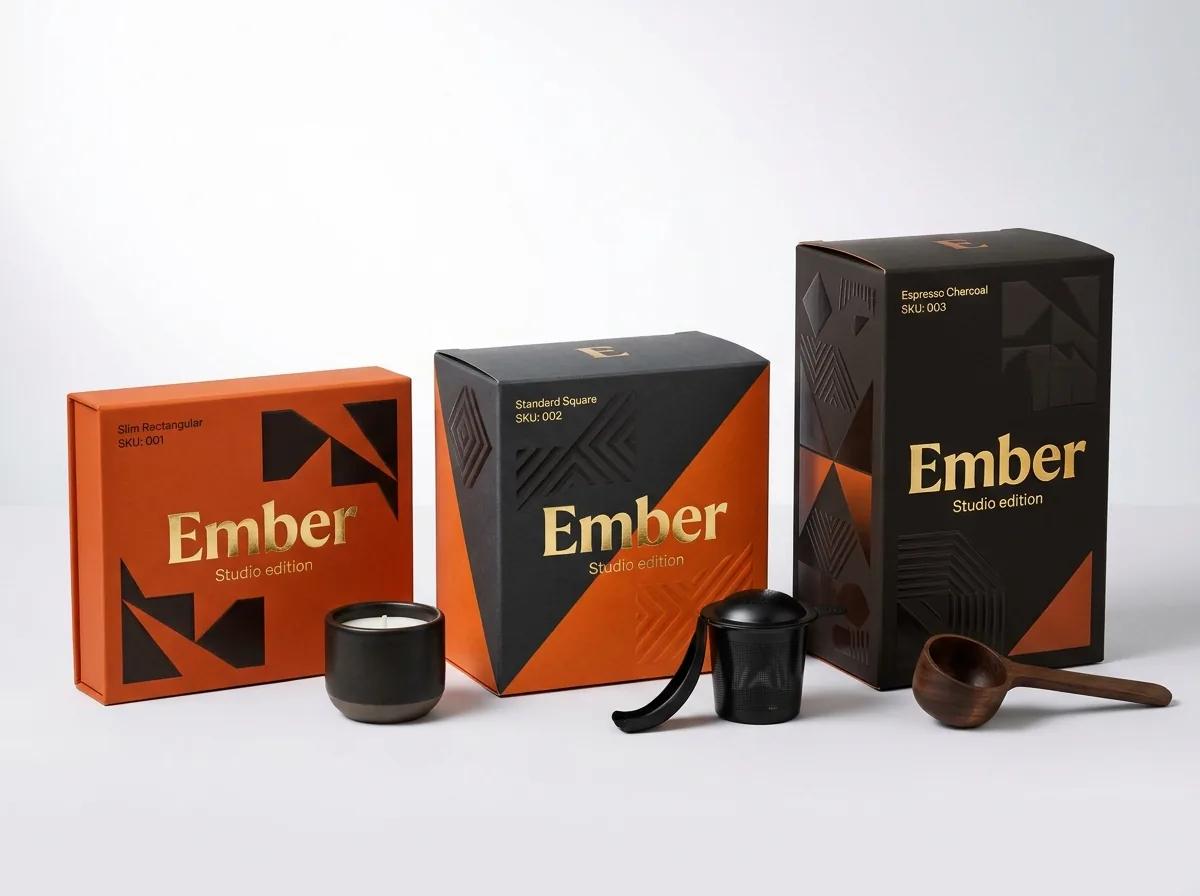
Ready to order unboxing boxes? Compare up to 3 quantities with a free 3D mockup.
Request a Quote →Questions about unboxing boxes
In what order do I write dimensions for a custom unboxing box?
Always write inside dimensions in inches as Length × Width × Height (L × W × H). Length is the left-to-right width across the front opening, Width is the front-to-back depth from the front lip to the back hinge, and Height is the vertical depth from base to lid.
How much space do I need between cavities in a paperboard or foam insert?
Leave at least 0.5 inches between cavities for light cosmetics, pouches or accessories, and 0.75 inches between heavy glass jars or beverage bottles. Also keep a 0.5 inch border around the outer edge of the tray so the walls stay rigid.
Do I need to design the insert dieline myself before requesting a quote?
No. Simply list the dimensions and weights of each item in your kit when you request a quote, or mail physical samples to our structural team. We build the matched box and insert dielines plus a 3D mockup for free.
How do I stop items from popping out of a card insert during shipping?
Keep the vertical clearance between the top of your recessed items and the closed inside lid to 0.125–0.25 inches, and place a rigid welcome card or folded tissue layer across the top of the tray so items cannot lift upward.
Does a custom unboxing box size or custom insert shape add die charges?
No. CubitPack never charges die or plate fees for your outer unboxing box or your custom-cut interior insert. You pay only the per-unit production price for your chosen board, printing and quantity.
Can I test my unboxing box and insert fit before paying for a full run?
Yes. Every order includes a free 2D dieline proof and interactive 3D mockup before payment. You can also order a paid physical sample cut to your exact box and insert dimensions, which is credited toward your full production order.
Still have a question? Ask a packaging specialist.
Request a Quote →Request your unboxing boxes quote
Tell us your size and quantities, and one dedicated account manager prepares pricing for each tier.
- Free design & AI-to-print studio + 3D mockup
- No die or plate charges · 4–5 day rush available
- Free shipping to all 50 states
- 10% off your first order
The layout formulas in this guide combine standard roll-end corrugated wall tolerances, 0.5 inch insert bridge rules, and USPS/UPS dimensional weight divisor math. Checked by a CubitPack packaging specialist. Spot an error? Tell us and we will fix it.
Sources
What changed
- October 22, 2026: First published.
- October 22, 2026: Updated specifications, terminology, and verified source links.
More guides
New packaging guides by email
Sizes, materials and design tips. Unsubscribe anytime.