
Which custom unboxing box design ideas drive repeat orders and shares?
Short answer: Combine a discreet exterior with a flooded Pantone inside lid, a bold 5-word headline, dust-flap micro-copy, matte anti-glare lamination and a QR reorder code next to the thumb notch. You can test these layouts on custom unboxing boxes from 250 units with free design help.
On this page
- How do I use the inside lid and dust flaps to stage a 3-step reveal
- Which unboxing upgrades deliver the biggest impact for the cost
- Why do matte finishes and high contrast matter for unboxing videos
- Where should I place QR codes and insert cards to boost repeat orders
- How can I keep custom unboxing box costs low across multiple products
- Common mistakes
- FAQs
Request a custom quoteFree dieline & 3D mockup
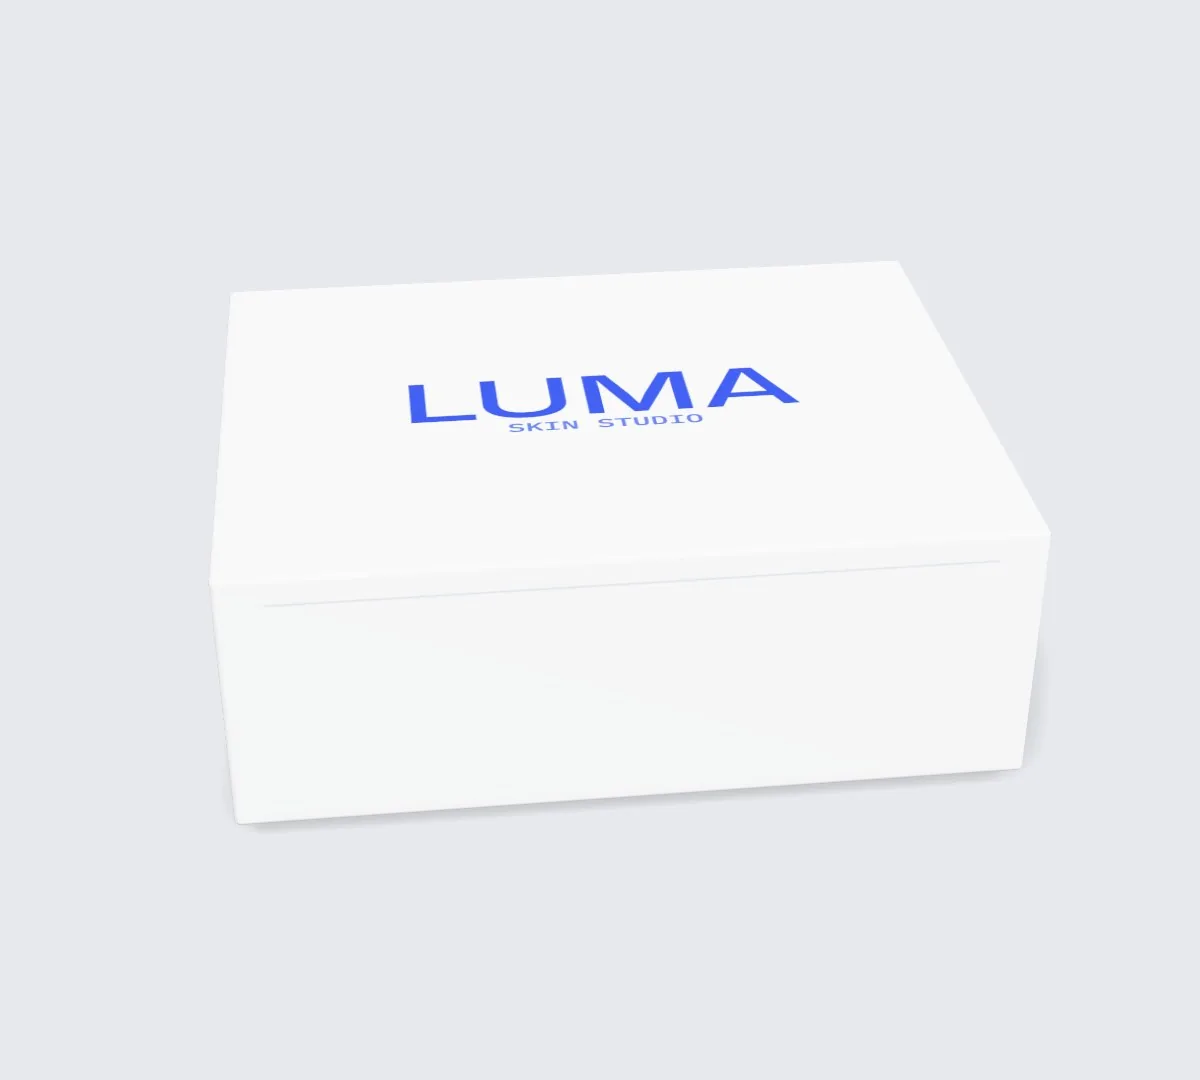
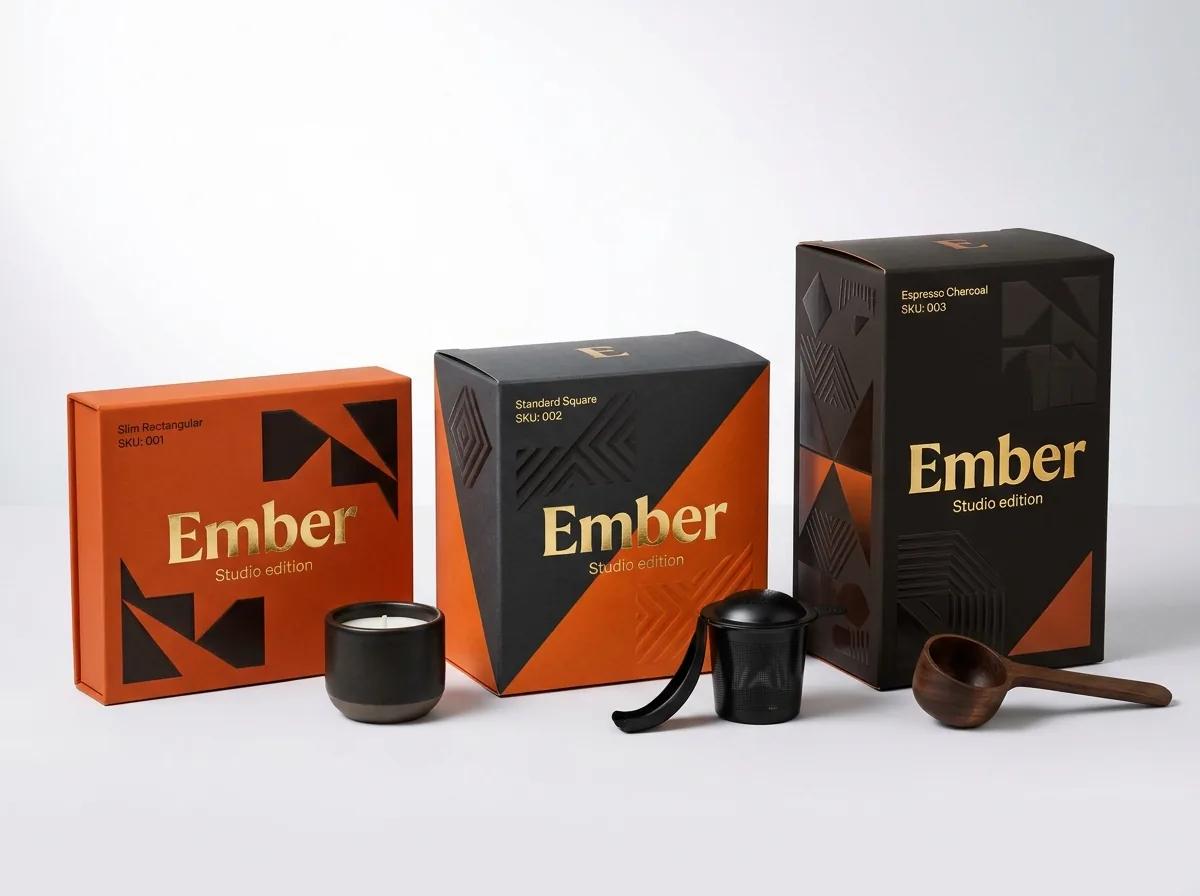
The most effective unboxing boxes do not rely on expensive gimmicks; they guide the customer's eyes through three deliberate moments in the first ten seconds of opening. First, a clean exterior (often a simple one-color mark on kraft or matte white) protects the parcel from porch-pirate attention while building curiosity. Second, lifting the lid reveals a flooded brand color across the interior panels, a short five-to-seven-word headline centered on the inside lid billboard, and playful micro-copy on the left and right dust flaps. Third, a custom-fitted insert or tissue-and-sticker wrap frames the product face-up alongside a scannable QR code that links to a tutorial or one-click reorder page. At CubitPack, every order starts at 250 mailers (or 50 rigid boxes) with free design help, zero die or plate charges, a free 3D mockup and free 50-state shipping.
How do I use the inside lid and dust flaps to stage a 3-step reveal?
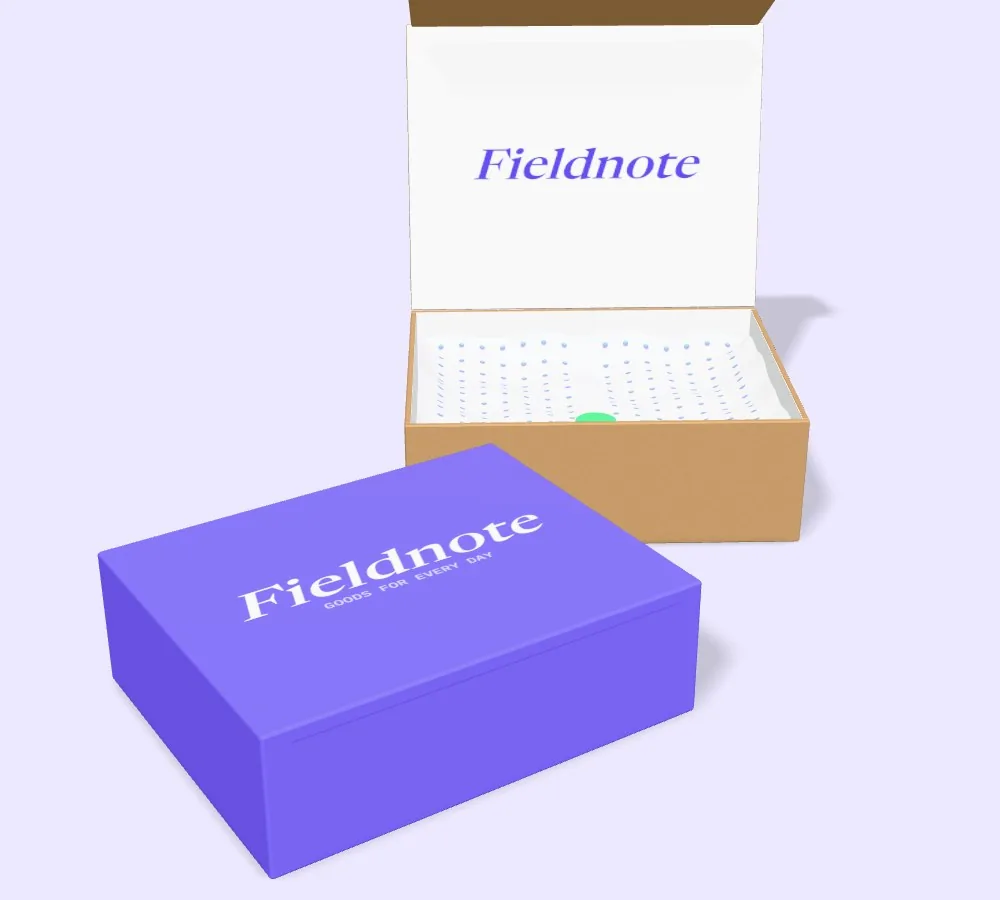
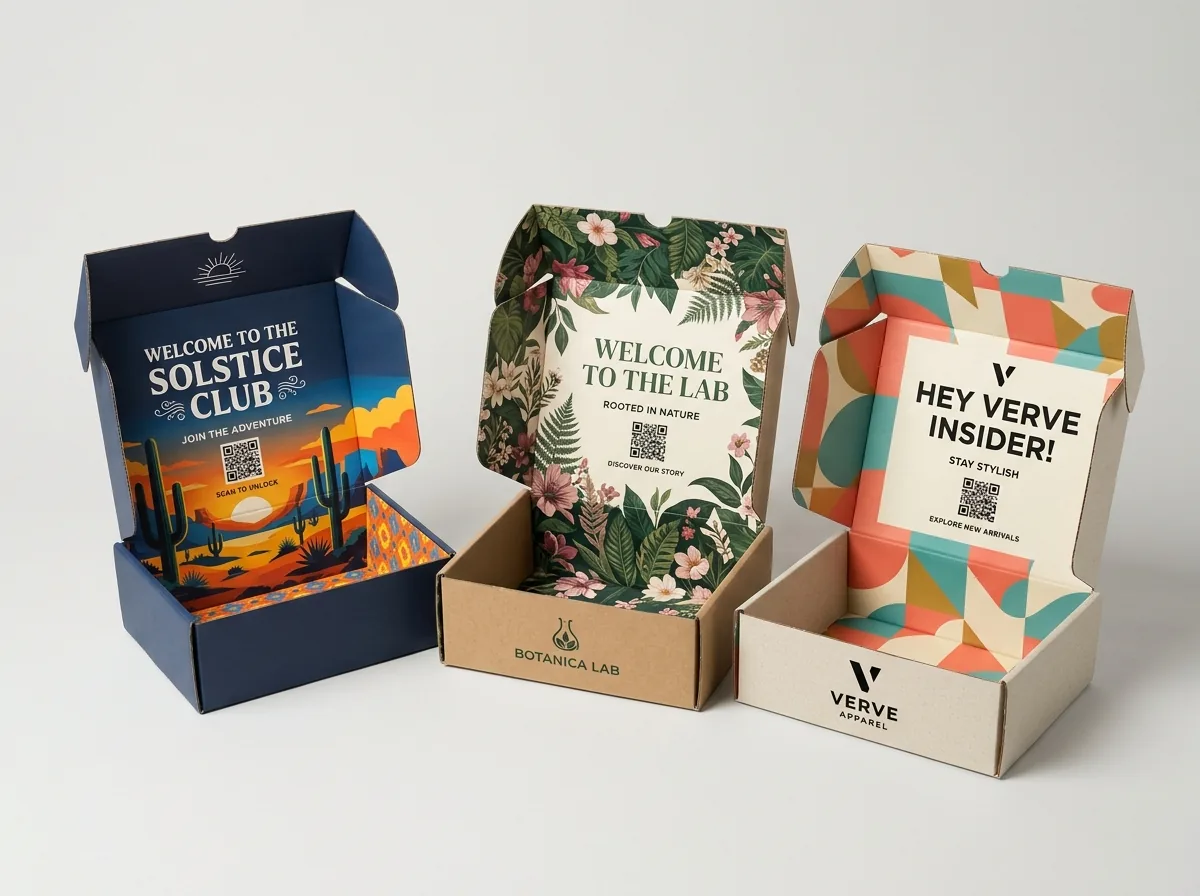
When a customer unlatches the front ear tabs of a roll-end mailer and swings the hinged lid open, the interior top panel stands upright at a 95- to 110-degree angle directly in their line of sight, and directly in the frame of a vertical phone video. That makes the inside lid the highest-value billboard on branded unboxing boxes. Instead of filling the inside lid with a dense wall of small text, treat each interior panel according to the order in which the customer's hands touch it. Keep the inside lid to a bold brand flood, a logo and a five-word conversational headline in at least 28 pt type so it reads clearly from arm's length. Use the two narrow side dust flaps that fold over the tray for short action prompts, social handles or recycling reminders.
- Exterior top panel: understated logo or monogram so the parcel looks polished without advertising expensive contents on a porch.
- Front locking lip / tear strip: a tactile cue such as 'Pull to open' or a contrasting color stripe along the front edge.
- Inside-lid billboard: full-bleed Pantone or CMYK flood with a short, high-contrast headline centered in the upper two-thirds.
- Left & right dust flaps: micro-copy that rewards a closer look, such as 'Made for mornings' on the left and '@yourbrand' on the right.
- Under-product cavity floor: a hidden Easter-egg message printed on the bottom deck that only appears once the last item is lifted out.
Which unboxing upgrades deliver the biggest impact for the cost?
Because no prices are fixed until your size and quantity are quoted, understanding which structural and print choices move the unit cost, and which ones are completely free, helps you allocate your packaging budget where customers actually notice it. At CubitPack, custom box dimensions, custom-shaped die-cut windows and custom insert cavity layouts never incur die or plate charges. Use the table below to compare six high-impact unboxing design elements by their visual payoff, their retention goal and how they affect production.
| Unboxing design element | Customer & camera payoff | Cost & production impact |
|---|---|---|
| Inside-lid color flood + headline | Turns opening into an instant vertical photo frame | Adds inside print pass; high impact per box |
| White ink on natural kraft | Crisp, modern contrast without full-bleed ink coverage | Single-color or 2-color setup; very budget-friendly |
| Folded paperboard insert tray | Locks bottles and jars face-up with zero loose filler | Lower cost than multi-layer foam; ships flat |
| Tissue paper + circle seal sticker | Adds a gift-unwrapping pause and crisp paper sound | Low unit add-on; works across multiple box sizes |
| Matte or soft-touch lamination | Eliminates ring-light glare on unboxing videos | Modest coating upgrade; also prevents scuffing |
| QR code on insert or dust flap | Sends shoppers to 1-click reorder or usage video | Zero extra print cost when included in artwork |
Why do matte finishes and high contrast matter for unboxing videos?
Whether your customer is a professional creator filming under an LED ring light or an everyday shopper snapping a quick story under kitchen downlights, overhead light hits an open box at a steep angle. If the inside lid or insert tray has a high-gloss lamination, the camera lens picks up a bright white specular reflection right across your headline. Choosing matte lamination, soft touch lamination or uncoated natural kraft on interior panels scatters overhead light evenly so colors look rich from any camera angle. If you want a flash of shine as the box moves in the viewer's hands, add selective spot UV or foil stamping on just the brand emblem or headline words. That contrast between a flat velvet background and a gleaming logo reads clearly on phone screens.
Know your size? Compare pricing across up to 3 quantities.
Request a Quote →Where should I place QR codes and insert cards to boost repeat orders?
An unboxing box has a 100 percent open rate, since every single buyer looks inside, which makes it your highest-converting retention channel when paired with the right call to action. However, printing a tiny QR code on the bottom outside of the box next to the shipping barcode almost never gets scanned. Instead, place your QR code at the exact spot where the customer pauses for instructions: either centered on the right interior dust flap, printed right next to the first cavity on a numbered routine insert, or featured on a 4 × 6 inch custom insert card resting on top of your custom tissue paper. Always pair the code with a specific benefit, such as 'Scan for our 60-second application guide + 15% off your first refill', and keep the QR square at least 0.8 × 0.8 inches in dark ink on a light background so phone cameras lock onto it instantly.
- Right interior dust flap: ideal for a quick reorder QR code or customer support text link that stays attached to the box.
- Numbered insert tray dividers: print 'Step 1, Step 2, Step 3' directly beside each cutout well so multi-product kits need no manual.
- Top welcome card (4 × 6 in or 5 × 7 in): easy to swap across seasonal campaigns or customer segments without changing the box print.
- Bottom cavity floor: print a surprise thank-you message or referral code underneath the product so the customer sees it when they lift the bottle.
How can I keep custom unboxing box costs low across multiple products?
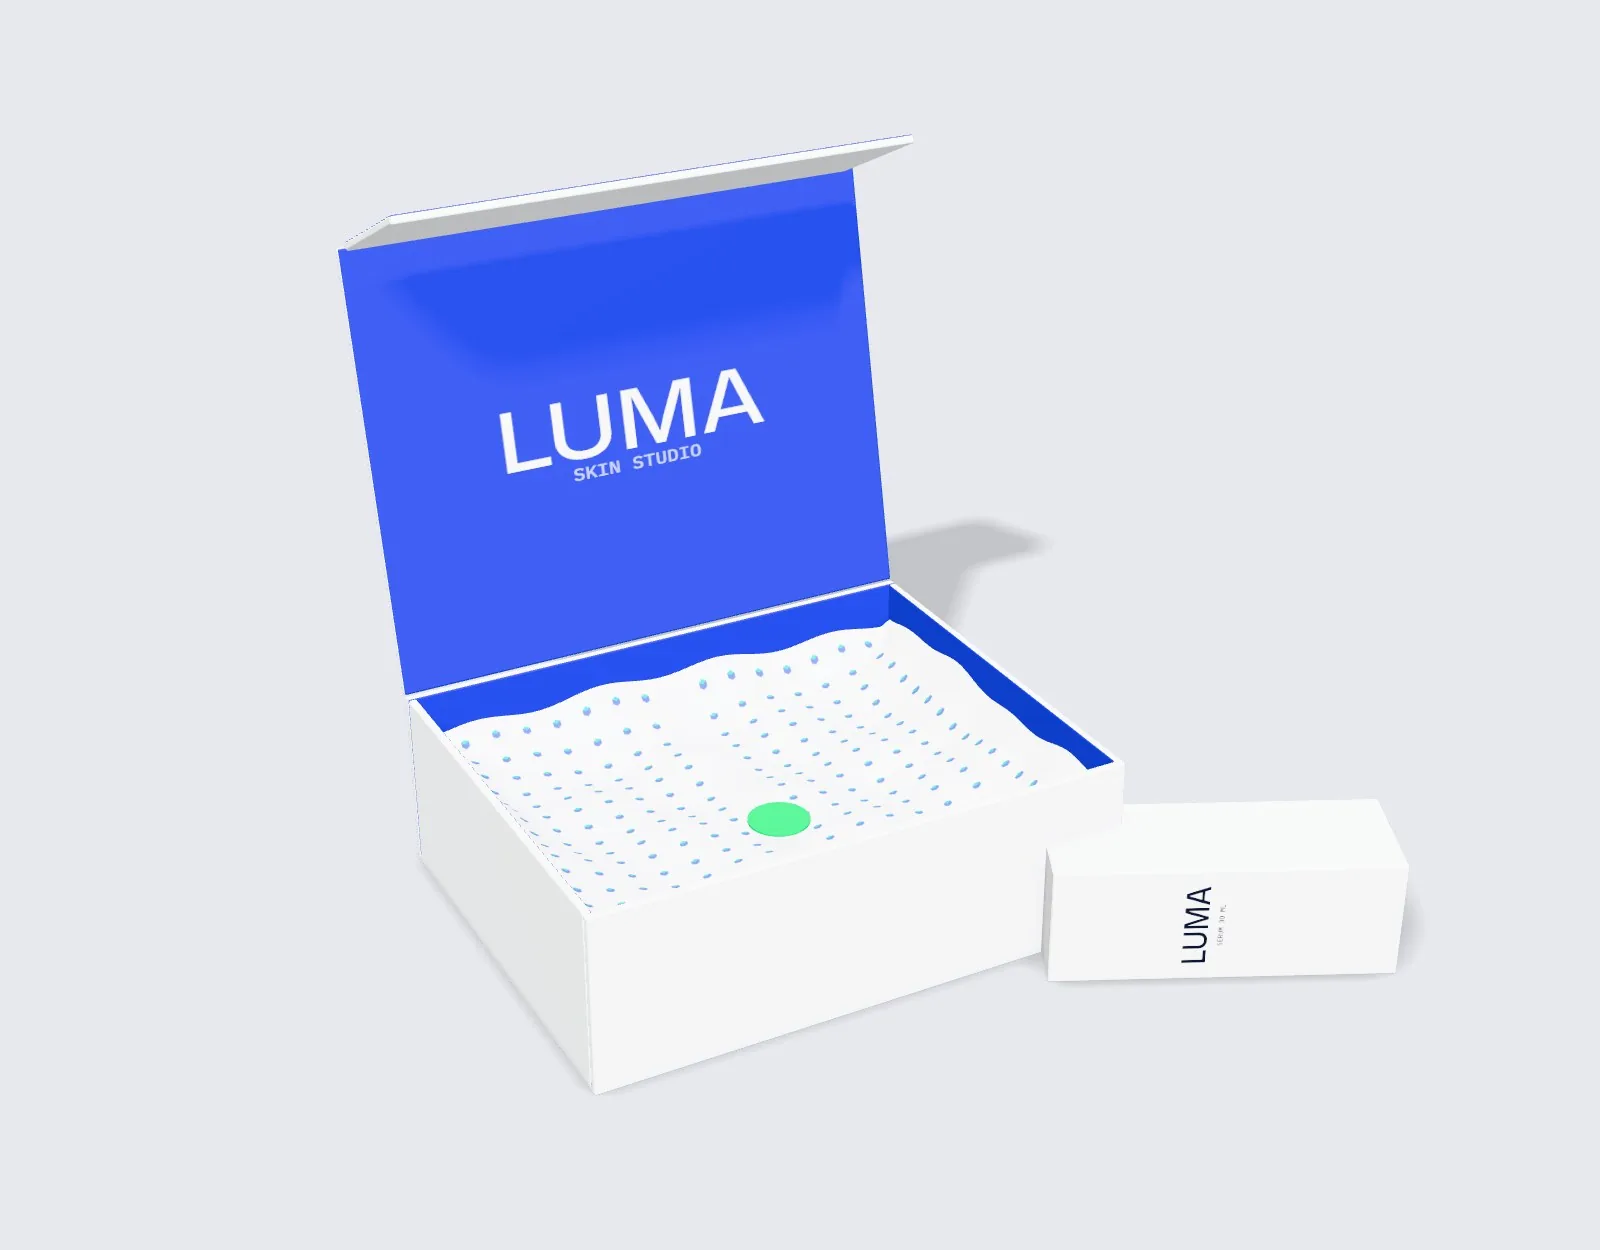
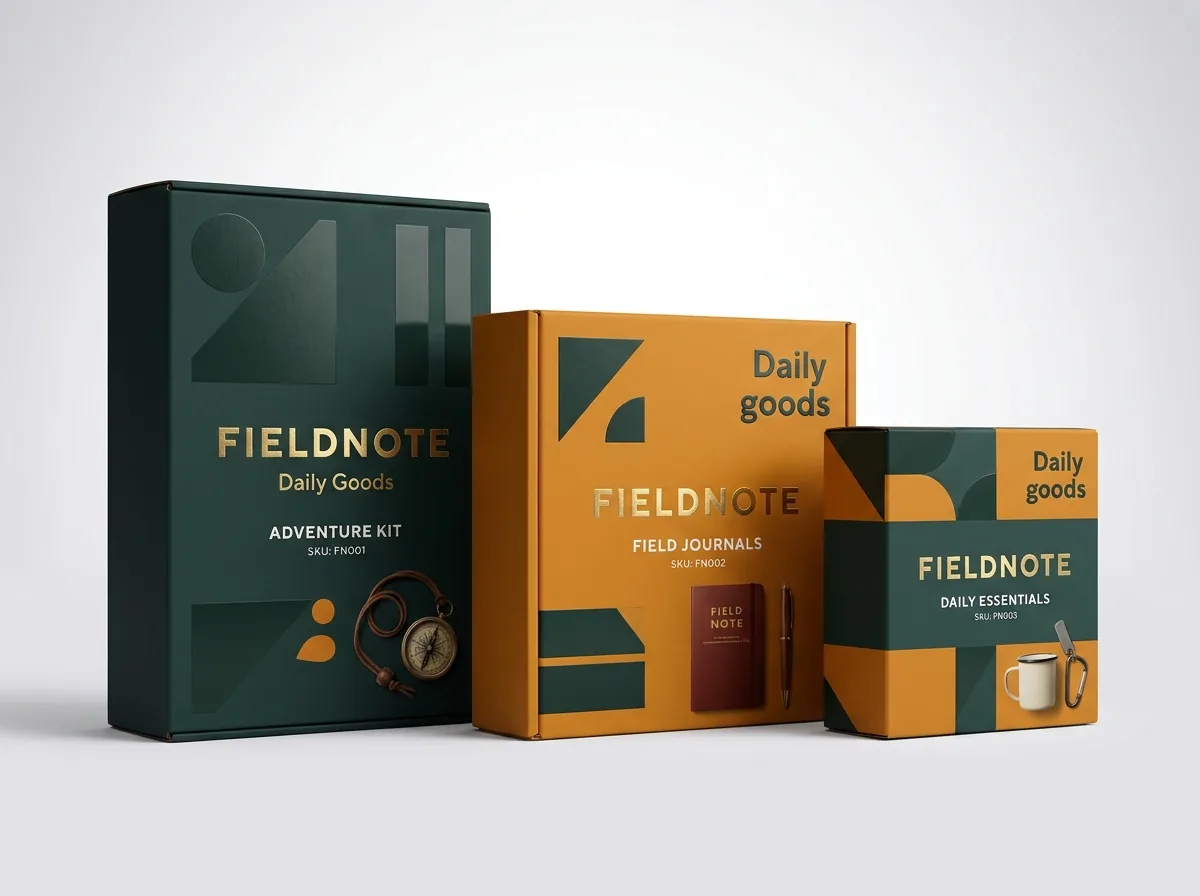
You do not need a separate box dieline for every product bundle in your store. The smartest way to scale custom unboxing packaging is to standardize one or two outer mailer footprints, for example an 8 × 6 × 3 inch small kit box and a 10 × 8 × 4 inch medium kit box, and run all of them together to reach a higher quantity price break. To customize the reveal for different products or seasonal campaigns without re-printing the outer box, swap the interior components: use a modular paperboard insert with universal cavities, apply different custom seal stickers over your tissue wrap, or print 2 or 3 seasonal insert card variations in the same order. That modular approach keeps your warehouse inventory simple while giving repeat customers a fresh unboxing moment every season. Remember that CubitPack gives you 10% off your first order, charges zero die or plate fees, and beats any written quote from a US competitor for the same specifications.
What are the most common custom unboxing box design mistakes?
A great unboxing design feels effortless to open and read, whereas an overworked layout overwhelms the buyer. Watch out for these five design mistakes
- Cramming a 150-word founder essay onto the inside lid in 9 pt type instead of using a bold 5-word headline and putting longer stories on an insert card.
- Coating the inside lid and insert tray in high-gloss lamination, which creates blinding white ring-light glare in customer unboxing photos and videos.
- Printing a QR code without a clear call-to-action sentence or sizing it smaller than 0.75 inches so phone cameras fail to scan it.
- Putting loud full-bleed graphics and product names on the outside of boxes shipping high-value electronics or cosmetics, inviting porch theft.
- Ordering five slightly different box sizes for five similar kits instead of sharing one master mailer size and swapping the inner card insert.
Find your size
Suggested inside size: 6 × 4 × 2 in
A starting point. Your account manager confirms the size with you before the proof.
Quote this size →Packaging for this
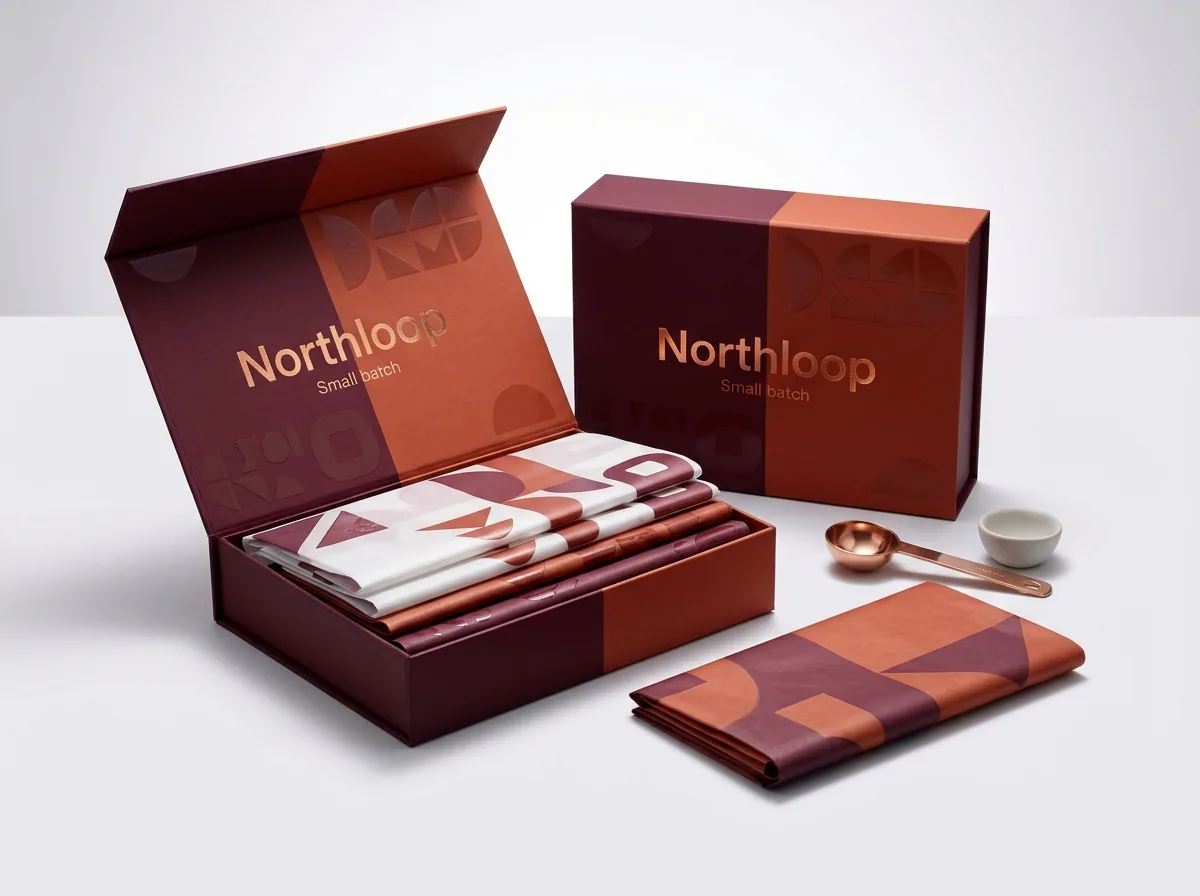
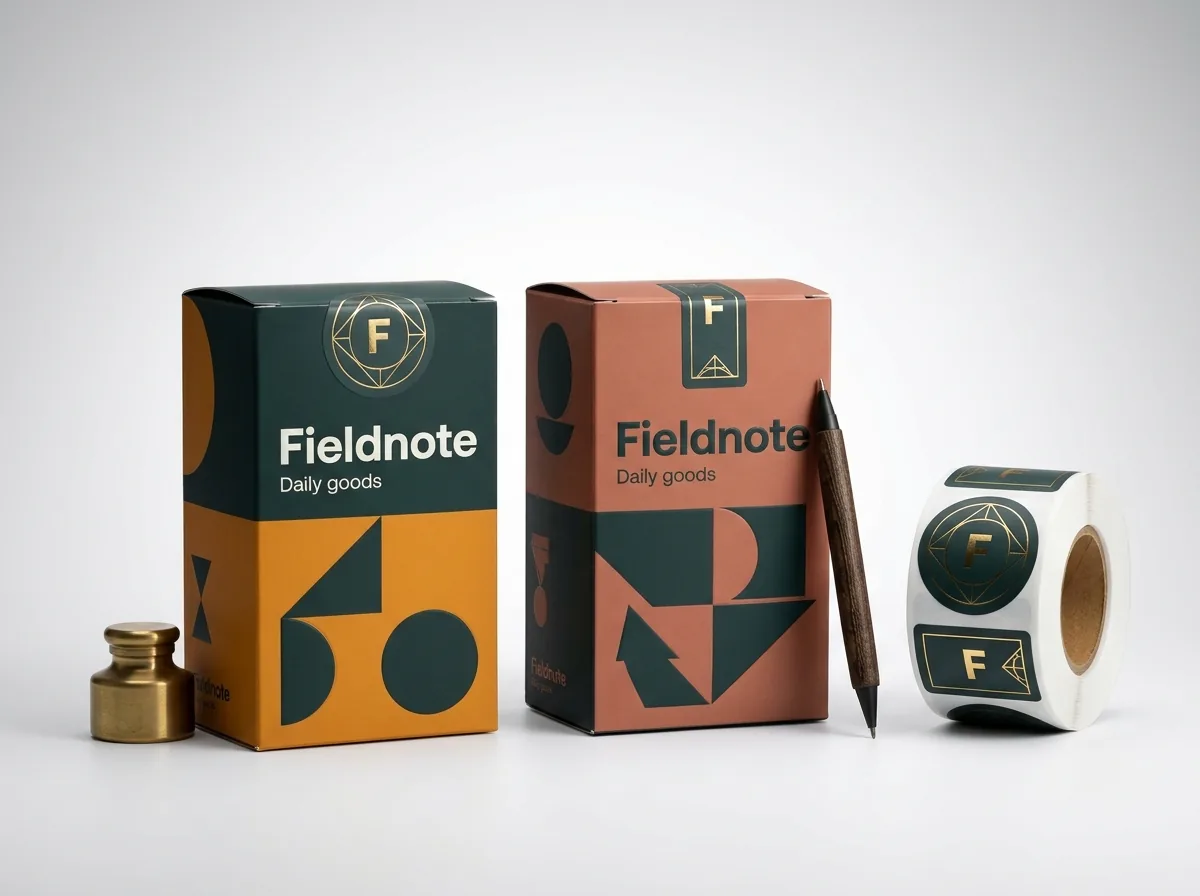
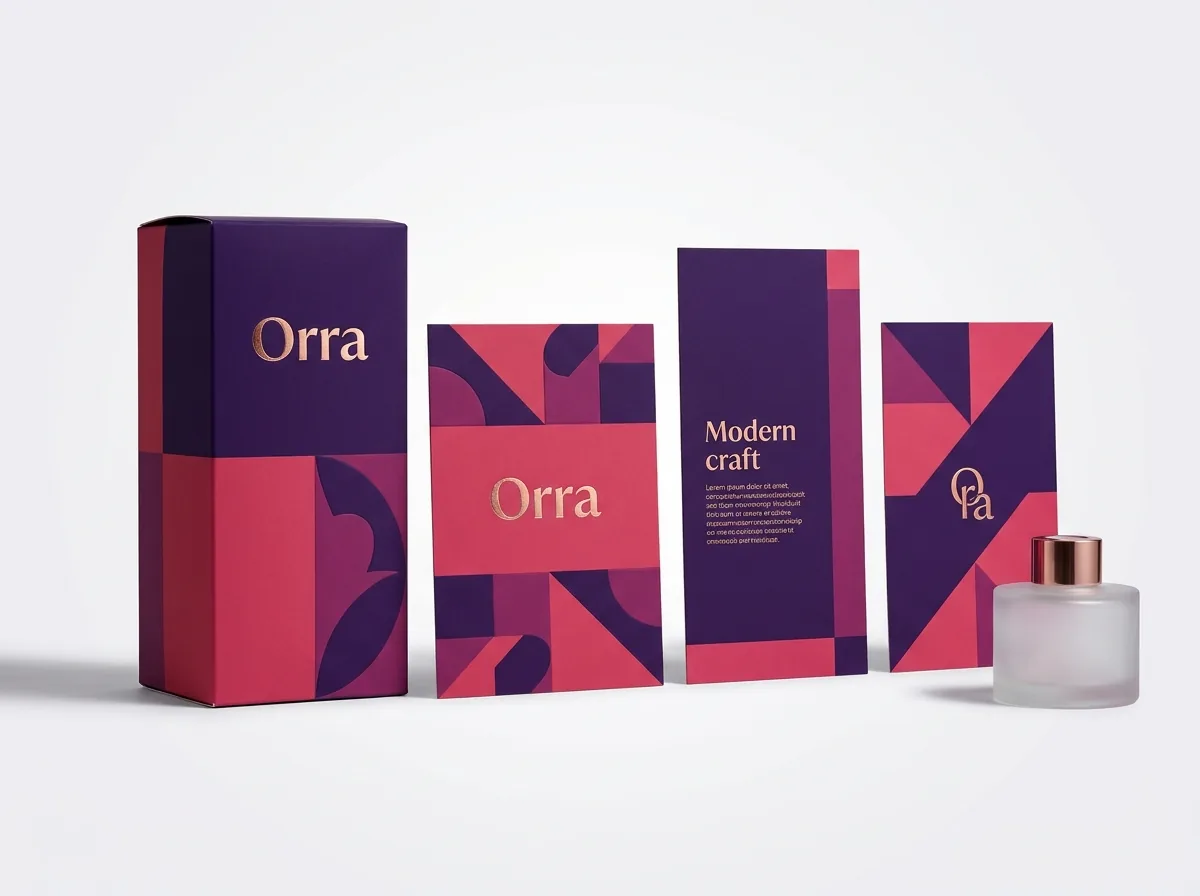
Ready to order unboxing boxes? Compare up to 3 quantities with a free 3D mockup.
Request a Quote →Questions about unboxing boxes
Does printing a QR code or dust-flap message inside my box cost extra?
Once your box includes inside printing, adding a QR code, dust-flap micro-copy or a hidden bottom-panel message costs nothing extra. Our prepress team checks your QR size and contrast on the free digital proof before production.
Can I print white ink on natural brown kraft inside an unboxing box?
Yes. Opaque white ink on natural brown kraft board is one of the most popular and cost-effective ways to create a crisp, modern unboxing interior without paying for a full-bleed four-color ink flood.
What font size should I use for the inside lid of an unboxing mailer?
Use at least 24 pt to 36 pt type for your main inside-lid headline so it is legible from arm's length and on mobile video screens, and keep secondary dust-flap text at 11 pt or larger.
Can I split one order across two or three unboxing artwork designs?
Yes. Select 2 designs or 3+ designs in step 2 of the quote form and note your quantity breakdown. Sharing the same box dieline across multiple seasonal or flavor designs keeps your unit cost down.
What if I only have a logo or an AI concept image for my unboxing box?
Send us your logo, brand colors or AI concept image when you request a quote. CubitPack includes free design help to lay out your outside panels, inside-lid typography and insert dieline, plus a free 3D mockup.
Can I order matching tissue paper, stickers and thank-you cards in one quote?
Yes. You can add custom tissue paper, card or foam inserts, seal stickers and insert cards to your unboxing box quote so our team matches your Pantone colors across every piece of the kit.
Still have a question? Ask a packaging specialist.
Request a Quote →Request your unboxing boxes quote
Tell us your size and quantities, and one dedicated account manager prepares pricing for each tier.
- Free design & AI-to-print studio + 3D mockup
- No die or plate charges · 4–5 day rush available
- Free shipping to all 50 states
- 10% off your first order
The design recommendations in this guide come from two-sided corrugated prepress rules, QR optical contrast standards, and CubitPack's decided offers (free design help, zero die fees, 250-mailer minimum). Checked by a packaging specialist. Spot an error? Tell us and we will fix it.
Sources
What changed
- October 22, 2026: First published.
- October 22, 2026: Updated specifications, terminology, and verified source links.
More guides
New packaging guides by email
Sizes, materials and design tips. Unsubscribe anytime.