
What size starter kit box and insert do I need?
Short answer: Lay every starter kit component in its left-to-right reading order, leave ½ inch for insert bridges between items and ½ inch around the outer border, and set height to your tallest vessel plus ¼ inch. Most custom starter kit boxes measure between 7 × 5 × 2.5 inches and 12 × 9 × 4 inches.
On this page
- How do I calculate inside box dimensions around a multi-cavity insert
- What are the most common starter kit box sizes by product type
- How do stepped inserts keep mixed-height items flush at the top
- How does insert material change your outer box dimensions
- How should I size my starter kit box alongside my monthly refill mailer
- Common mistakes
- FAQs
Request a custom quoteFree dieline & 3D mockup
Unlike a single-product carton where you simply measure one bottle and add ⅛ inch, a starter kit box gets its inside dimensions from the multi-cavity insert that holds the system together. Start by arranging the reusable vessel, refill packs, dosing tools and welcome card on a flat table in the exact sequence a new customer should use them. To calculate the inside Length (left to right) and Width (front to back) of the outer box, add the widths of the arranged items plus ½ inch (0.5 in) for every structural bridge wall between cavities and ½ inch around all four outer edges. Set the inside Height (top to bottom) to the thickness of your tallest item lying flat plus ¼ inch of head clearance. Under shallower items like sachets or scoops, add a folded riser shelf so every part sits flush at the top surface. At CubitPack, box and insert dielines are engineered together for free.
How do I calculate inside box dimensions around a multi-cavity insert?
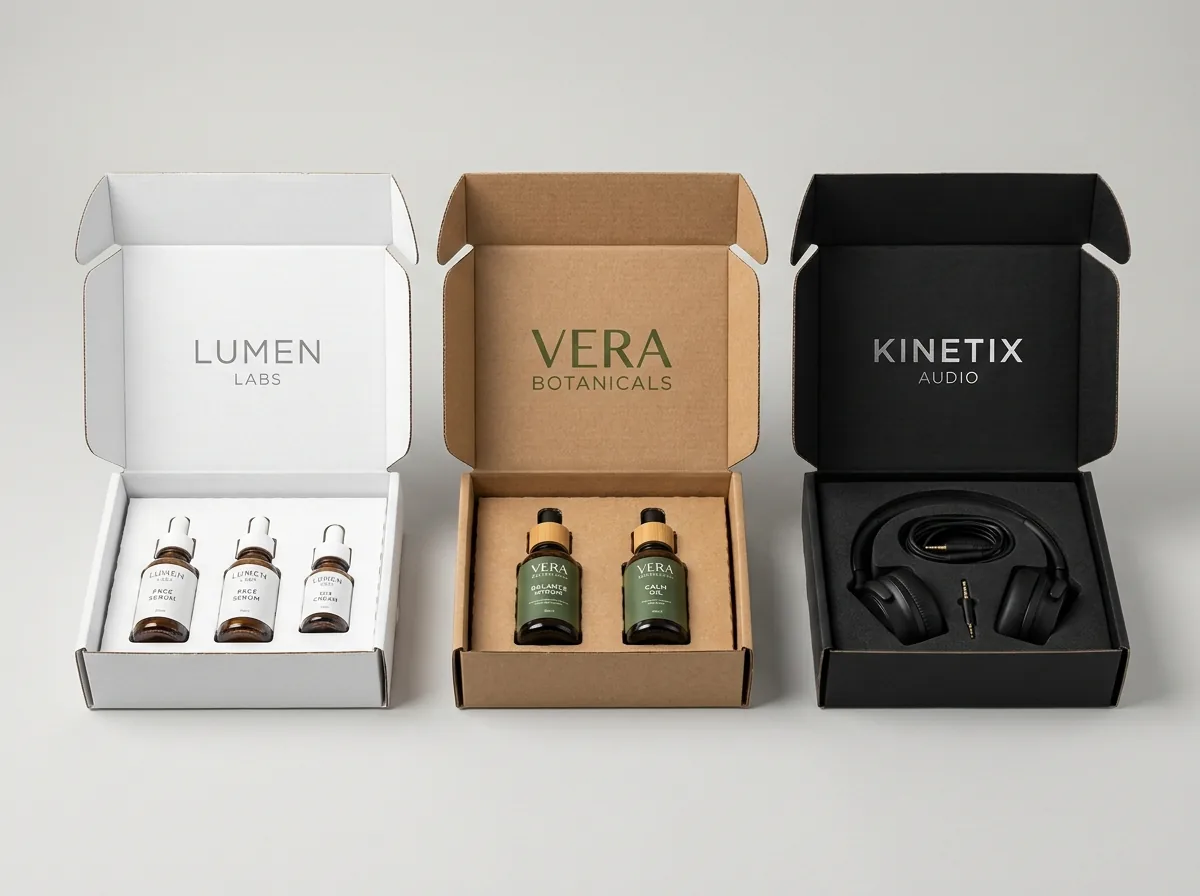
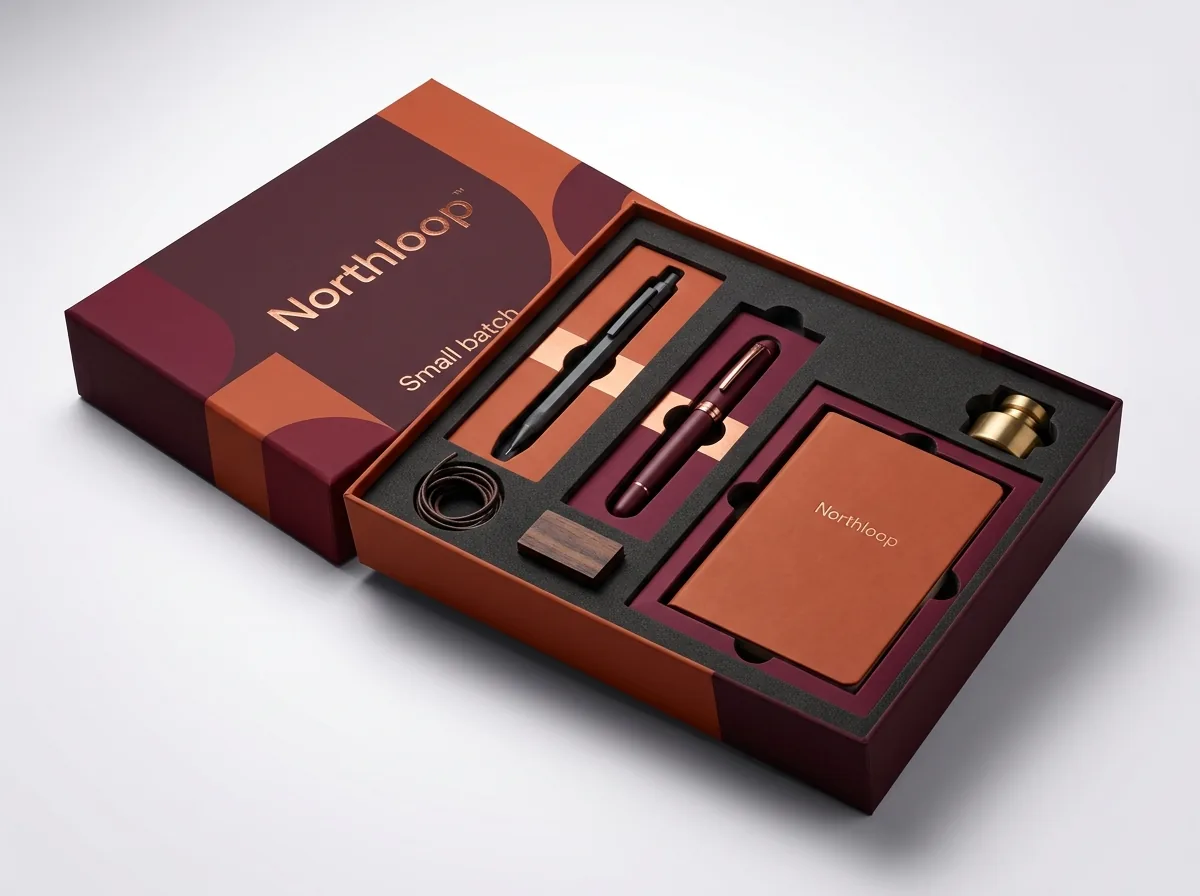
When you build printed starter kit boxes, the insert tray is a structural frame that absorbs parcel drops and keeps parts separated. That frame needs physical width around every cutout. If you place three 2 inch wide bottles side by side and order a 6 inch wide box, there will be zero room left for the cardboard or foam walls between the bottles, and the glass will clink together on the first conveyor belt. Instead, use the bridge-and-border formula on your workbench. Lay your components flat with the main printed face pointing up at the buyer. Between any two items, leave a ½ inch bridge gap for standard items or a ¾ inch bridge gap when separating a heavy glass bottle from delicate refill pods. Around the entire outer perimeter where the insert meets the inside walls of the corrugated mailer, add another ½ inch on all four sides so the folded insert flange has a rigid crush zone.
- Inside Length (L): sum of item widths across the row + (½ in × number of internal bridges) + 1 in total for left and right outer borders.
- Inside Width (W): tallest item length from front to back + 1 in total for front and back outer borders (or two rows plus a ½ in center bridge).
- Inside Height (H): thickness of the thickest item lying flat + ¼ in top clearance for an instruction card or foam pad.
- Heavy-vessel rule: increase the bridge wall to ¾ inch whenever a filled glass bottle or metal tool weighs more than 12 oz.
- Cavity tolerance: die-cut cardboard cavities are cut 1/16 inch wider than the item; EVA foam cavities are cut 1/32 inch snugger for friction grip.
What are the most common starter kit box sizes by product type?
While CubitPack cuts every outer box and inner insert to your exact dimensions with no die or plate charges, most direct-to-consumer starter kits, subscription launch boxes and employee welcome packs cluster around six proven footprints. Use the chart below to benchmark your kit before sending us your component list. Notice how the inside height (the third number) stays between 2.5 and 5 inches across almost every category. Keeping a starter kit wide and low rather than narrow and deep gives the customer a panoramic tabletop reveal when the lid opens, leaves a wide inside lid for step-by-step setup graphics, and keeps total cubic inches below carrier dimensional weight penalties.
| Inside box size (L × W × H) | Typical starter kit components | Best insert & box pairing |
|---|---|---|
| 7 × 5 × 2.5 in | Metal razor handle, 4-blade refill pack, wall mount | E-flute mailer + folded card cradle |
| 9 × 6 × 3 in | 3-step skincare regimen (cleanser, serum, cream) + card | Printed inside mailer + 3-cavity card tray |
| 10 × 8 × 3.5 in | Matcha or pour-over coffee kit (bowl/dripper, tin, whisk) | Corrugated mailer + stepped riser insert |
| 12 × 9 × 4 in | Reusable glass spray bottle, 4 refill pods, silicone funnel | RETF mailer + dual-depth E-flute divider |
| 13 × 10 × 4 in | Smart home hub, power adapter, braided cable, manual | Mailer or magnetic rigid box + EVA foam |
| 15 × 12 × 5 in | Employee welcome kit (tumbler, notebook, hoodie, badge) | Large corrugated mailer + partitioned tray |
How do stepped inserts keep mixed-height items flush at the top?
The hardest part of sizing a starter kit is mixed component depth. In a refillable hand-soap starter kit, the glass pump bottle might be 3.25 inches thick lying flat, while the concentrate refill sachets are only 0.5 inches thick. If you build a single flat insert floor at a 3.25 inch depth, those thin sachets fall into a dark 3 inch trench where they slide around and look tiny when the customer opens the lid. To fix that, our design team builds a stepped insert with a folded false floor (riser shelf) underneath the shallow cavities. In a 3.5 inch tall box, the cavity for the 3.25 inch bottle drops all the way to the base of the mailer, while the cavity for the 0.5 inch refill pouches has a folded support platform raised 2.75 inches off the bottom. When the buyer lifts the lid of your custom mailer box with insert, both the bottle and the pouches sit on the exact same top visual plane.
Know your size? Compare pricing across up to 3 quantities.
Request a Quote →How does insert material change your outer box dimensions?
Choosing between a folded custom cardboard insert, an E-flute corrugated tray or a die-cut EVA foam insert slightly changes how much perimeter and bridge room your outer box needs. Folded paperboard and E-flute inserts rely on creased air cells (hollow rectangular folds around the sides and between items) to cushion impacts. Because a folded paperboard rib needs space to crease and lock into the base, allow at least ½ inch to ¾ inch for each divider wall. Die-cut EVA and EPE foam inserts are solid slabs laminated to a rigid backing board, so they do not require hollow folding scores. However, if a foam wall between two heavy items is narrower than ½ inch, the thin foam web can flex or tear when packers press products into the tray. Keep at least ½ inch of foam between adjacent cavities and ½ inch around the outer border. Whether you pick paperboard, corrugated or foam, our structural team builds both dielines together so the insert drops into the outer box without bowing the walls.
- Folded paperboard (18 pt to 24 pt): needs ½ in folded hollow ribs; best for light cosmetic tubes, sachets and cards under 8 oz.
- E-flute corrugated insert: needs ½ in to ¾ in bridge walls; supports glass bottles, jars, cans and ceramic bowls.
- EVA / EPE closed-cell foam: needs ½ in solid web between cutouts; best for electronics, metal tools and luxury hardware.
- Finger notches: add a ½ inch wide semicircular thumb cutout on at least one side of every flush cavity so buyers can lift items out.
How should I size my starter kit box alongside my monthly refill mailer?
If your business runs on a starter-plus-refill model, sizing your first-order starter kit box and your recurring refill mailer at the same time keeps your brand look cohesive and lowers your shipping overhead. The starter kit box only ships once per customer to deliver the permanent vessel or hardware, while the refill mailer ships every 30 to 60 days carrying only the lightweight pods, pouches or cartridges. Size the starter kit box around the full hardware-plus-refill grid, then size the companion refill mailer around just the refill pods stacked flat so the recurring shipment stays under 2 inches tall and under 1 pound for lowest-tier USPS Ground Advantage rates. Because our minimum for custom mailer boxes is just 250 units, you can order 250 starter kit boxes and 500 or 1,000 compact refill mailers in one coordinated production run with guaranteed Pantone color matching across both boxes.
What are the most common starter kit box and insert sizing mistakes?
Multi-component kits have tighter structural tolerances than single-item boxes. Check these five sizing traps before approving your dieline
- Adding up bare product widths with zero bridge allowance, leaving no room for the cardboard or foam walls that separate the cavities.
- Standing a tall bottle upright instead of laying it flat, which doubles the box height and inflates dimensional weight postage.
- Cutting all insert wells to the same floor depth, causing small refill pods or scoops to disappear at the bottom of a deep trench.
- Forgetting semicircular finger notches on flush-fitting cavities, forcing buyers to pry products out with a fingernail.
- Placing the heaviest bottle at the front opening edge instead of near the double-layered rear hinge wall where drop strength is highest.
Find your size
Suggested inside size: 7 × 5 × 2.5 in
A starting point. Your account manager confirms the size with you before the proof.
Quote this size →Packaging for this
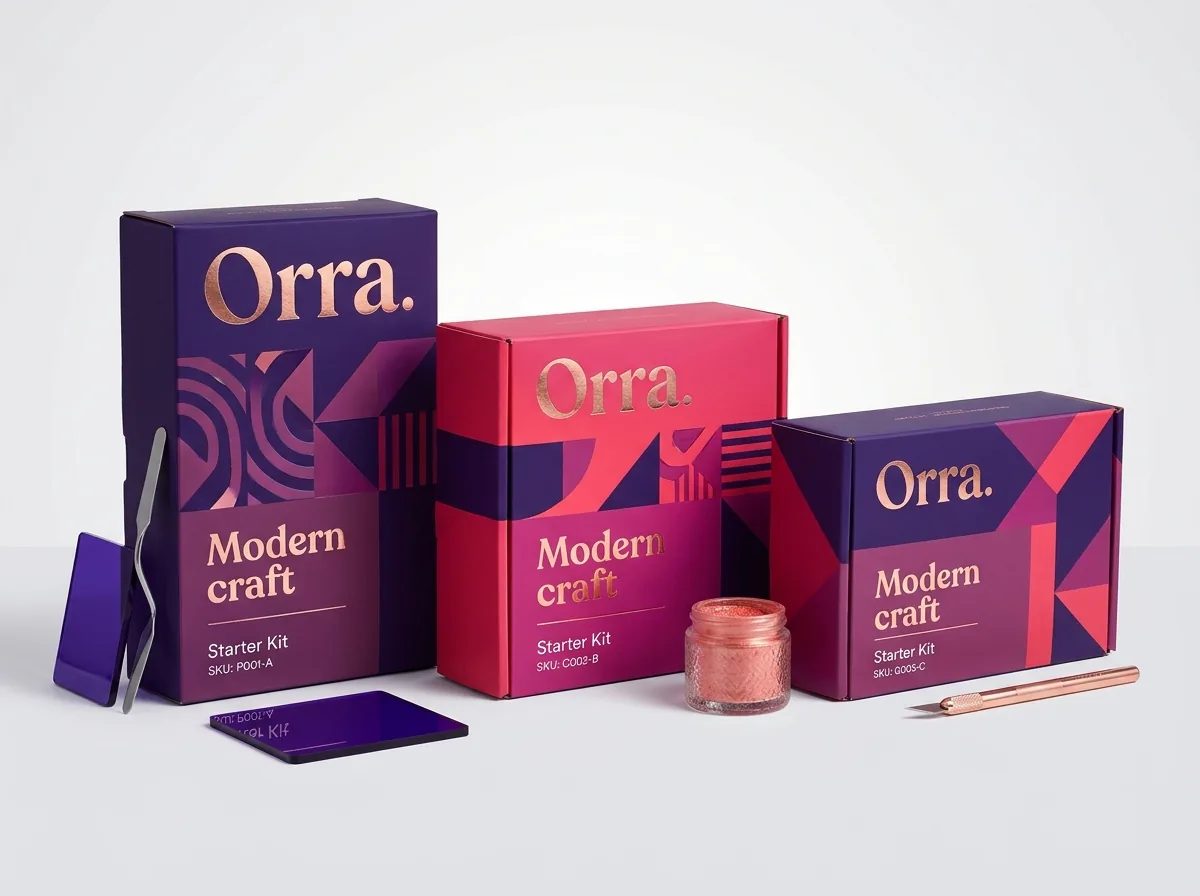

Ready to order starter kit boxes? Compare up to 3 quantities with a free 3D mockup.
Request a Quote →Questions about starter kit boxes
Do I need to calculate the insert cutout dimensions myself before requesting a quote?
No. For your initial quote, just enter the approximate outer box size (or the dimensions of each item in the notes field). Once you start your order, our structural designers engineer the exact multi-cavity insert and outer box dielines for free and show you a 3D mockup before payment.
How much space should I leave between two glass bottles in a starter kit insert?
Leave at least ½ inch to ¾ inch of corrugated bridge or foam between two glass bottles, plus ½ inch between the bottles and the outer mailer walls. That buffer zone absorbs shock if the parcel lands on a corner during carrier sorting.
How tight should a cardboard vs foam insert cavity fit around my product?
A paperboard or E-flute corrugated cavity is typically cut 1/16 inch (about 1.5 mm) larger than the product so items drop in smoothly on your packing line without catching. An EVA or EPE foam cavity is cut 1/32 inch smaller than the product so the foam compresses slightly and grips the item.
Can I ship you my physical starter kit products so you can size the box and insert?
Yes. Sending one physical set of your bottles, pouches and tools is the most accurate way to size a complex multi-piece kit. Our structural team measures every contour, builds a physical prototype to test the stepped risers and finger notches, and sends photos or the sample for your approval.
What if I change the size of one refill pouch inside my starter kit later?
If you use a corrugated mailer with a removable cardboard or foam insert, the outer box dimensions can stay exactly the same while we update only the insert dieline for your next run. And because CubitPack never charges die or plate fees, updating the insert costs nothing extra in tooling.
How much clearance should I leave at the top of the box for a quick-start booklet?
If you place a flat welcome postcard or folded instruction booklet on top of the insert tray, add ⅛ inch to ¼ inch to the inside height (H) of the box. You can also print your setup guide directly on the inside lid and skip the loose booklet altogether.
Still have a question? Ask a packaging specialist.
Request a Quote →Request your starter kit boxes quote
Tell us your size and quantities, and one dedicated account manager prepares pricing for each tier.
- Free design & AI-to-print studio + 3D mockup
- No die or plate charges · 4–5 day rush available
- Free shipping to all 50 states
- 10% off your first order
The bridge widths, perimeter buffers and stepped riser rules in this guide follow standard corrugated and closed-cell foam structural engineering tolerances. A CubitPack packaging specialist verified every size row and clearance rule. Spot something wrong? Tell us and we will fix it.
Sources
What changed
- October 22, 2026: First published.
- October 22, 2026: Updated specifications, terminology, and verified source links.
More guides
New packaging guides by email
Sizes, materials and design tips. Unsubscribe anytime.