
How do you design inside-lid onboarding for starter kit boxes?
Short answer: Divide the inside lid of your custom starter kit boxes into a welcome headline at the top, three numbered setup icons across the middle aligned with the insert cavities below, and a 1 × 1 inch QR code in the bottom corner. Pair matte lamination with high-contrast 12 pt type.
On this page
- How should I structure the visual hierarchy on the inside lid
- Which starter kit panel should carry each piece of onboarding information
- How do you coordinate the inside lid with a printed insert collar
- What are the prepress rules for QR codes, ink contrast and lamination inside a box
- When can inside-lid printing replace a separate instruction booklet
- Common mistakes
- FAQs
Request a custom quoteFree dieline & 3D mockup
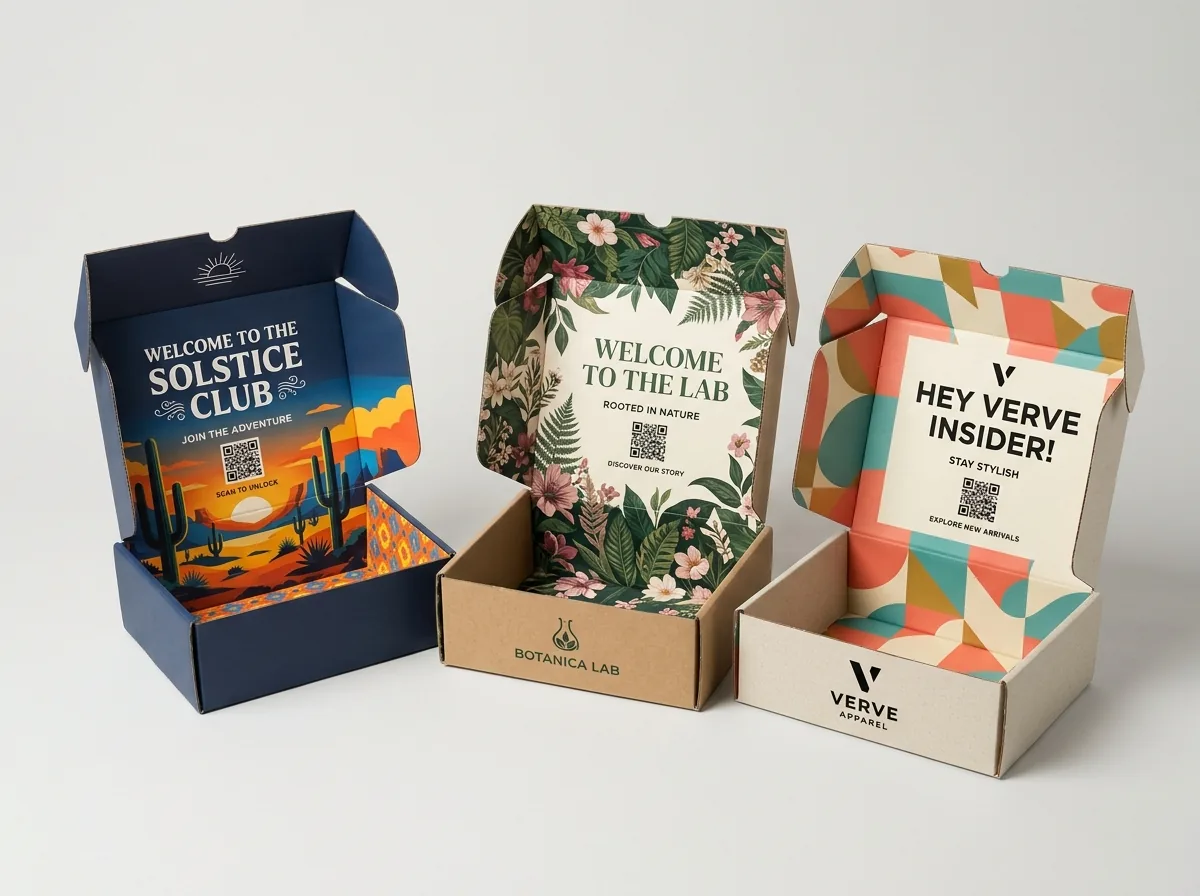
When a first-time subscriber opens a starter kit, their eyes travel straight to the open inside lid before their hands touch the products in the tray. Designing that interior lid panel as a visual quick-start guide eliminates the need for a loose paper manual that gets lost or adds kitting labor. The cleanest layout uses a three-zone hierarchy: a short welcome headline across the upper third, a horizontal 1-2-3 step diagram across the center that mirrors the left-to-right placement of the components in the insert below, and a scannable QR code in the lower right corner for video tutorials or refill reorders. Remember to orient inside-lid artwork right-side-up when the lid is propped open at 100 degrees, keep text at least ½ inch clear of the bottom hinge crease, and choose matte lamination so overhead kitchen or bathroom lights never cause glare. At CubitPack, our designers lay out your inside-lid dieline for free.
How should I structure the visual hierarchy on the inside lid?
An open mailer lid is a tabletop billboard, not a legal pamphlet. If you cram 400 words of tiny 7 pt paragraphs onto the inside lid of custom printed starter kit boxes, customers will skip reading it altogether. Instead, treat the inside lid like a highway sign that can be read from arm's length in ten seconds while standing at a counter. Split the interior lid panel into three horizontal bands. Use the top 20% for a warm welcome line or brand promise. Use the middle 55% for three or four numbered steps paired with simple line icons (such as Fill, Drop, Shake). Use the bottom 25% above the hinge score for a one-line safety or storage tip and a dedicated QR callout box.
- Top band (Welcome): 24 pt to 36 pt display headline welcoming the buyer to the system.
- Center band (Steps 1-2-3): 3 or 4 equal columns with bold numbers, line illustrations and 10 to 15 words per step.
- Bottom band (Action & QR): 1 × 1 inch QR code with a clear callout like 'Scan for 30-second setup video or 1-tap refills'.
- Reading alignment: align Column 1, Column 2 and Column 3 on the lid directly above Cavity 1, Cavity 2 and Cavity 3 in the insert tray.
- Hinge safe zone: keep all text and QR codes at least ½ inch above the center hinge fold line where the board creases.
Which starter kit panel should carry each piece of onboarding information?
A starter kit gives you four distinct printed surfaces: the outer lid, the inside lid, the insert collar face, and optional removable cards. Putting every instruction on one panel creates visual clutter, whereas splitting the job across the four surfaces lets the customer discover information right as they need it. Use the table below to assign each piece of copy, typography size and finish to the panel where it performs best during unboxing.
| Box surface | Best onboarding job | Recommended type size & spec |
|---|---|---|
| Outer top lid | Brand logo, kit name, clean 4 × 6 in carrier label zone | Bold display logo; keep 1 panel clear for postage |
| Inside top lid | Welcome headline, 1-2-3 visual setup steps, QR video link | 12 pt to 16 pt body text; matte low-glare finish |
| Insert collar / tray face | Component names, Step 1/2/3 badges, Morning/Night icons | 10 pt to 14 pt bold labels printed next to each cutout |
| Inside front flap | Refill reorder reminder, hashtag or customer support email | 11 pt to 13 pt single line visible as the flap unfolds |
| Removable insert card | Detailed ingredient list, recipe book or fridge magnet tracker | 8 pt to 10 pt reference copy the buyer keeps after recycling |
How do you coordinate the inside lid with a printed insert collar?
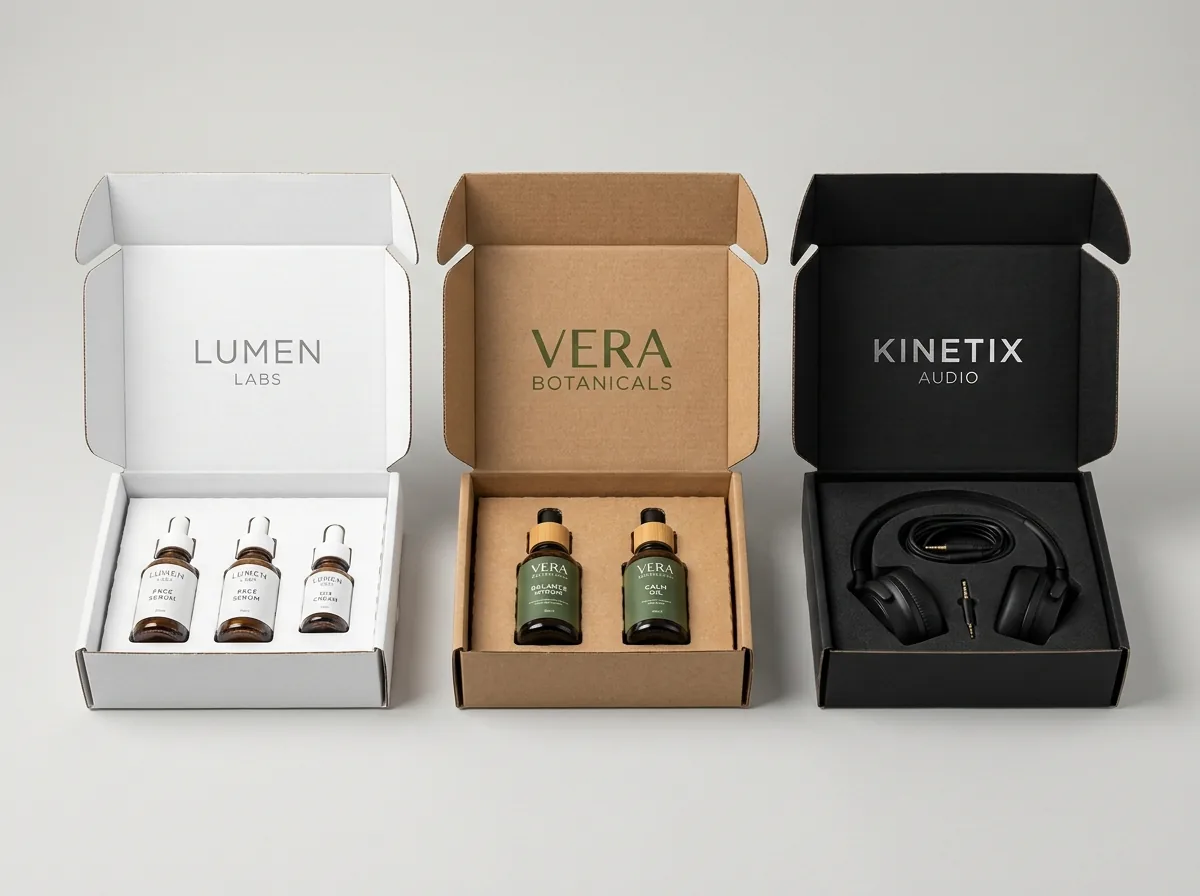
The magic of a great starter kit happens when the inside lid and the custom cardboard insert talk to each other visually. Suppose you sell a 3-step skincare regimen or a 3-part espresso cleaning kit. On the insert tray itself, print a bold '1', '2' and '3' (or 'AM', 'PM' and 'Weekly') right beside the finger notch of each cutout cavity. Then, on the inside lid directly above those three cutouts, print the matching numbered explanations in the exact same column widths. That vertical alignment means a new customer never has to read tiny bottle labels to figure out which vial matches Step 1. You can reinforce the system even further by applying color-coded custom packaging stickers to the bottle caps that match the Pantone accent bars printed on the insert tray and inside lid. If you use a dark charcoal or black EVA foam insert that cannot be offset-printed directly, you can lay a printed paperboard collar card with matching cavity cutouts right over the top face of the foam so you still get crisp printed step labels next to every component.
- Column-to-cavity lock: align each instructional column on the inside lid directly above the physical cutout for that part.
- Printed card collar: print step numbers, dosage measurements and directional arrows around each cavity on the insert face.
- Foam-topper collar card: place a die-cut printed paperboard sheet on top of EVA foam when you want both foam cushioning and printed labels.
Know your size? Compare pricing across up to 3 quantities.
Request a Quote →What are the prepress rules for QR codes, ink contrast and lamination inside a box?
Printing readable onboarding text and scannable QR codes on corrugated board requires slightly different prepress rules than printing on a glossy magazine page. First, never print a QR code smaller than 0.8 × 0.8 inches (1 × 1 inch is ideal) on a box lid, and always leave a quiet zone (a solid white or light cream border at least ⅛ inch wide) around all four sides of the QR matrix. Dark-on-dark QR codes or inverted white-on-kraft QR codes often fail to scan under dim indoor lighting. Second, avoid gloss lamination or Spot UV directly over your QR code or small instructional text inside custom printed inside mailer boxes. Overhead kitchen or bathroom lights reflect off glossy film and blind smartphone cameras. Choose matte lamination, soft-touch lamination or uncoated board inside the lid so the camera focuses instantly and 11 pt to 14 pt type stays effortless to read.
When can inside-lid printing replace a separate instruction booklet?
Printing a separate 8-page saddle-stitched manual adds a second vendor item, requires manual insertion on your kitting line, and risks getting left out of a box during a busy fulfillment shift. Whenever your product setup can be explained in three to five clear steps plus a 60-second video, printing the quick-start guide inside the lid and putting the deep reference video behind a QR code lets you eliminate the paper booklet completely. If regulations or complex recipes require a physical sheet that the customer keeps after recycling the box, slip a single two-sided custom insert card into a die-cut literature slot on the insert tray rather than burying a thick manual under the products. Many refillable subscription brands also print a 'When you have 1 pod left, scan here' reorder prompt on the floor of the last refill cavity so the box reminds the subscriber to restock at the exact moment they run low. At CubitPack, printing inside and outside your mailer requires zero plate charges, and our design team helps format your onboarding graphics at no cost.
What are the most common inside-lid onboarding design mistakes?
Most interior print mistakes come from treating a 3D folding box like a flat web page. Check these five prepress errors before approving your proof
- Orienting the inside-lid artwork right-side-up on the flat 2D template, which causes it to appear upside-down when the customer flips the lid open.
- Placing setup text or QR codes across the bottom hinge score line where the corrugated board folds and pinches the ink.
- Printing a QR code smaller than ¾ inch or putting Spot UV gloss over it, causing overhead lights to glare into phone cameras.
- Writing 300+ words of tiny 7 pt text inside the lid instead of 3 bold numbered steps with icons in 12 pt to 14 pt type.
- Scattering components randomly in the insert tray instead of aligning cavities left-to-right under the matching lid steps.
Find your size
Suggested inside size: 7 × 5 × 2.5 in
A starting point. Your account manager confirms the size with you before the proof.
Quote this size →Packaging for this
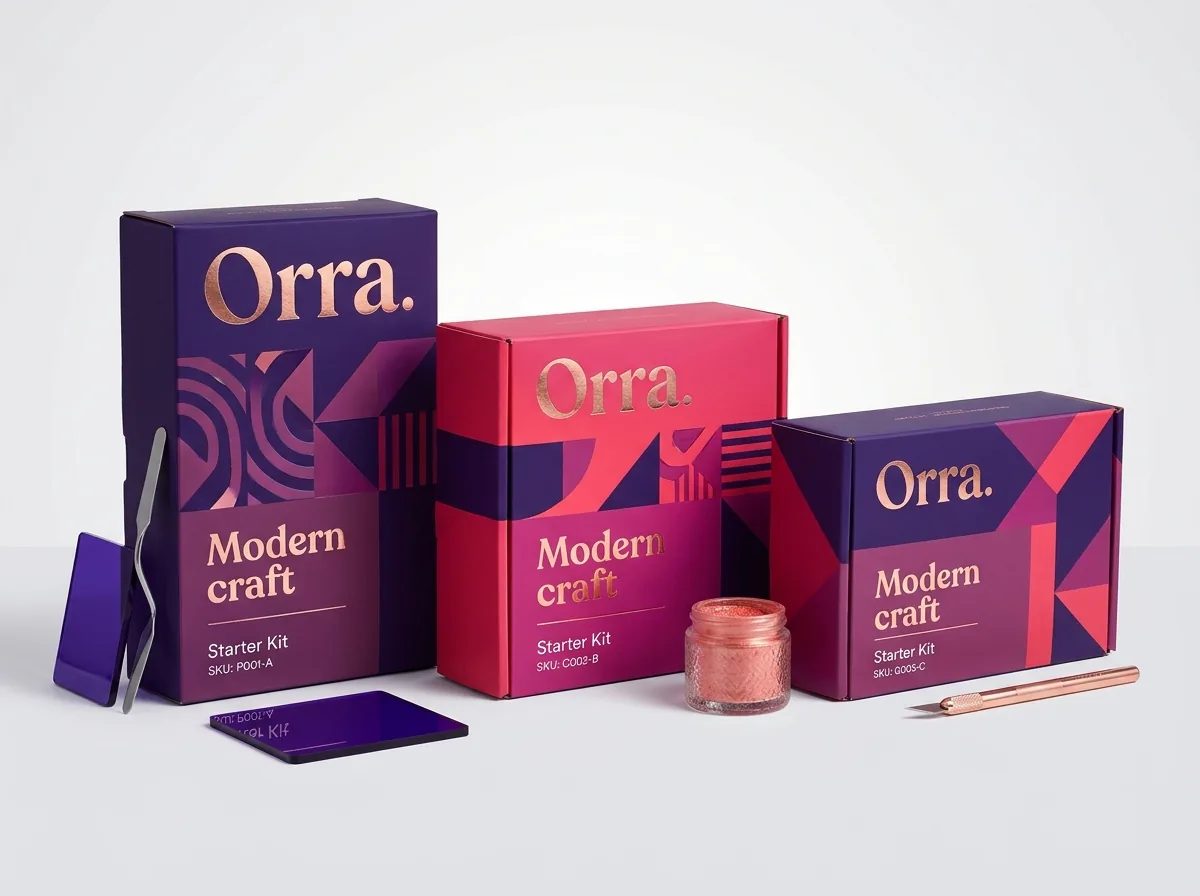

Ready to order starter kit boxes? Compare up to 3 quantities with a free 3D mockup.
Request a Quote →Questions about starter kit boxes
Does printing on the inside lid of a starter kit box require extra plate fees?
No. CubitPack never charges die or plate fees, even when you print full-color CMYK or Pantone artwork on both the outside and inside of your starter kit box and on the insert tray. Two-sided printing adds a modest press pass that we show clearly in your quote.
How do I know which way is 'up' when placing artwork on the inside lid dieline?
You do not have to guess. When we send your free 2D digital proof, we also generate an interactive 3D mockup that folds the box and opens the lid right on your screen. You can rotate the 3D box to verify that every headline, arrow and QR code stands right-side-up.
Can I print white ink onboarding diagrams inside a natural brown kraft box?
Yes. Opaque white ink on natural brown kraft corrugated board is one of the cleanest, lowest-cost ways to print a 1-2-3 setup diagram inside the lid. Just remember to keep any scannable QR code as dark black or dark Pantone ink on a solid white square so phone cameras read the contrast easily.
What minimum font size should I use for instructions printed on corrugated board?
Use at least 11 pt to 14 pt type for body instructions and 18 pt to 32 pt for step numbers and headlines on corrugated board. Avoid thin hairline serif fonts or light gray text below 9 pt, especially when reversing white text out of a dark flood-printed background.
Can your designers create the 1-2-3 step icons and layout for our inside lid?
Yes. Every CubitPack order includes free design help. Send us your rough step-by-step copy, brand logo and QR link (or even an AI concept image), and our packaging designers will lay out the inside lid and insert collar graphics on your custom dieline.
Can I test scan my QR code on a physical box before running 250 or 1,000 units?
Yes. You can test the QR code directly on your high-resolution digital proof, and you can also order a paid printed sample of your exact starter kit box before mass production. The sample fee is credited toward your full order when you proceed.
Still have a question? Ask a packaging specialist.
Request a Quote →Request your starter kit boxes quote
Tell us your size and quantities, and one dedicated account manager prepares pricing for each tier.
- Free design & AI-to-print studio + 3D mockup
- No die or plate charges · 4–5 day rush available
- Free shipping to all 50 states
- 10% off your first order
The typography minimums, QR quiet-zone dimensions and hinge-clearance rules in this guide follow standard corrugated prepress engineering and CubitPack's 2D/3D proofing workflow. A CubitPack packaging specialist checked every specification. Spot something wrong? Tell us and we will fix it.
Sources
What changed
- October 22, 2026: First published.
- October 22, 2026: Updated specifications, terminology, and verified source links.
More guides
New packaging guides by email
Sizes, materials and design tips. Unsubscribe anytime.