
How do you set up a five-panel hanger box dieline, fifth-panel fold-over ply, and side-tuck closure?
Short answer: Set up a custom five-panel hanger box dieline on locked Overprint Stroke vector layers with 0.125 inch bleed, mirror-punched Euro slots across the top fold-over crease, an unvarnished glue reserve on the inside of the 2-ply header, and 180-degree inverted artwork on the rear fold-over ply.
On this page
- How are the 5 panels, fold-over glue ply, and mirror Euro slots arranged on the flat CAD sheet
- Why must artwork on Ply 5B be rotated 180 degrees and how does the inside glue reserve work
- Should you specify a vertical front-hinged top tuck or a horizontal side-tuck five-panel hanger dieline
- How do you preflight your five-panel hanger box dieline in 5 steps before press
- Common mistakes
- FAQs
Request a custom quoteFree dieline & 3D mockup
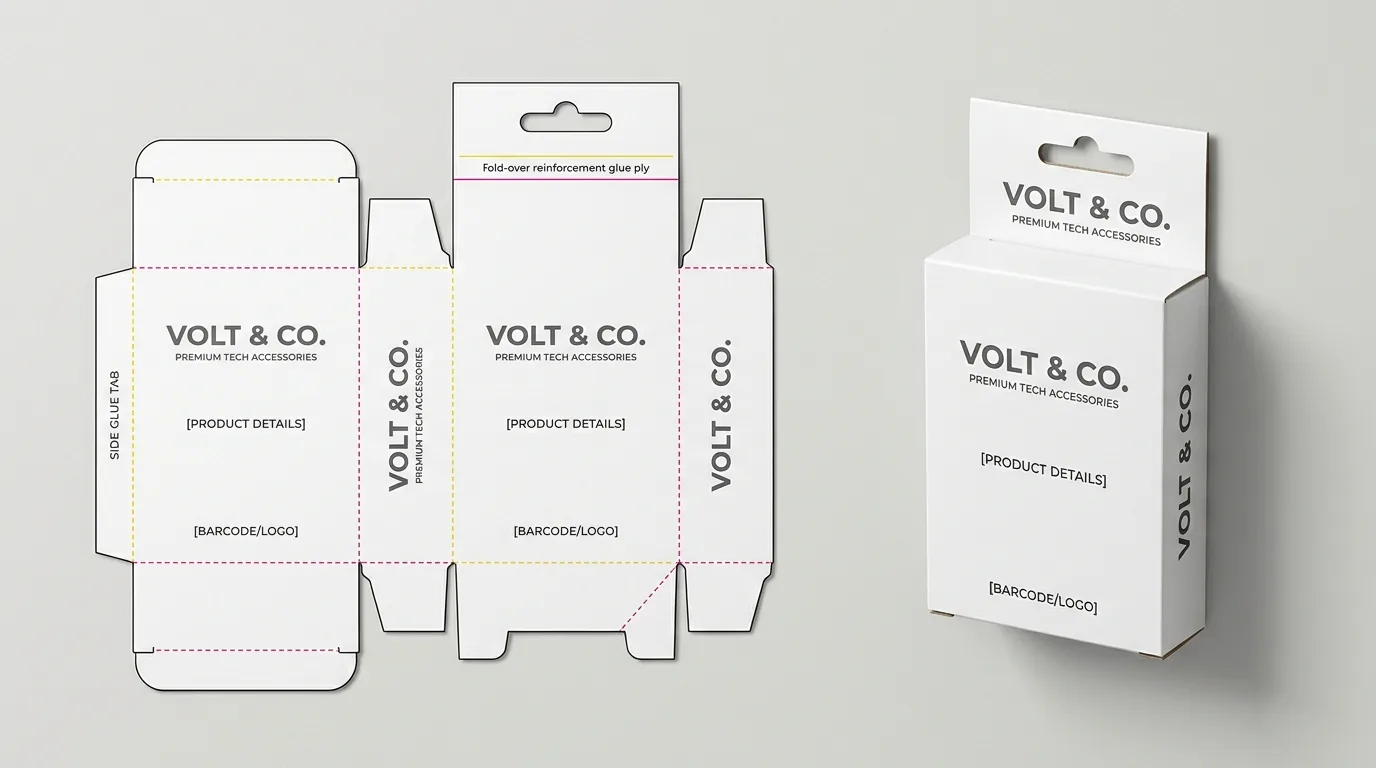
Building a production-ready CAD dieline for custom five-panel hanger boxes requires coordinating four main body walls with two stacked upper extensions above the back panel: Ply 5A (the front-facing fifth-panel billboard) and Ply 5B (the 180-degree fold-over rear glue ply). Because Ply 5B folds 180 degrees downward behind Ply 5A on the folder-gluer, both plies must have mirror-symmetric Euro sombrero, delta, or round peg holes die-cut equidistant from the top horizontal crease rule, and any artwork printed on Ply 5B must be rotated 180 degrees upside down on the flat Illustrator artboard so it reads right-side up on the back of the finished hanger. Keep a 0.125 inch (3.175 mm) ink bleed around all outer cut lines and inside the hang hole, maintain a 0.125 inch inner safe zone, and knock out ink and lamination in the inside header glue mask.
How are the 5 panels, fold-over glue ply, and mirror Euro slots arranged on the flat CAD sheet?
When you open a flat CAD dieline for five-panel pegboard cartons in Adobe Illustrator, the four vertical body panels run left to right - Back Panel (1), Left Side Wall (2), Front Display Panel (3), and Right Side Wall (4) - flanked by a tapered side glue flap. Directly above Back Panel (1) sit two stacked header rectangles of equal height (FH = 1.50 to 2.50 in): Lower Header Ply 5A (which faces the shopper) and Upper Fold-Over Ply 5B (which folds 180 degrees down behind Ply 5A and bonds to it with PVA adhesive). Inspect how each vector layer and prepress tolerance is defined across custom phone case boxes and custom charger boxes: Separating your structural cut, crease, and glue-mask rules onto locked spot-color vector layers ensures high-speed die-cutters and inline folder-gluers register both plies of the fifth panel within ±0.25 mm.
- Mirror Euro slot symmetry across the top fold line: If the center of the Euro slot in Ply 5A sits 0.5625 inches below the top fold crease, the center of the mirror Euro slot in Ply 5B must sit exactly 0.5625 inches above that crease.
- Relief notches at the base of the fifth panel: Small 0.0625-inch (1.5 mm) relief nicks at the left and right corners where Ply 5A meets the top dust flaps let Ply 5B fold 180 degrees down without pinching the side walls.
- Set all CAD rules to Overprint Stroke: Enabling Overprint Stroke in Illustrator's Attributes panel prevents die lines from knocking out white hairlines in your flood-printed background.
| CAD layer / zone | Stroke & spot swatch | Structural & prepress specification | Required tolerance |
|---|---|---|---|
| Cut line (Outer & holes) | Solid · Spot Navy/Magenta (Overprint) | Outer blank perimeter + mirror Euro/delta holes in Plies 5A & 5B | ±0.25 mm die registration |
| Crease / fold lines | Dashed · Spot Cyan/Blue (Overprint) | 4 vertical body scores + 5th-panel base crease + top 180° fold line | Double-rule crease on 20–24 pt |
| Header & side glue masks | Hatched · Spot Teal (Non-printing) | Side seam glue flap + interior face of Fold-Over Ply 5B | 100% free of ink, UV & film |
| Exterior bleed line | Red dashed guide outside cut | Background ink extended past outer edges & into Euro hole interior | 0.125 in (3.175 mm) minimum |
| Safe type & hole margin | Green inner keep-out guide | Distance from cut/score lines to logos, text, and QR codes | 0.125 in (0.20 in around slot) |
| Ply 5B artwork orientation | CMYK / PMS artwork layer | Rotated 180° upside down on flat sheet so it reads upright when folded | Exact 180.0° rotation |
Why must artwork on Ply 5B be rotated 180 degrees and how does the inside glue reserve work?
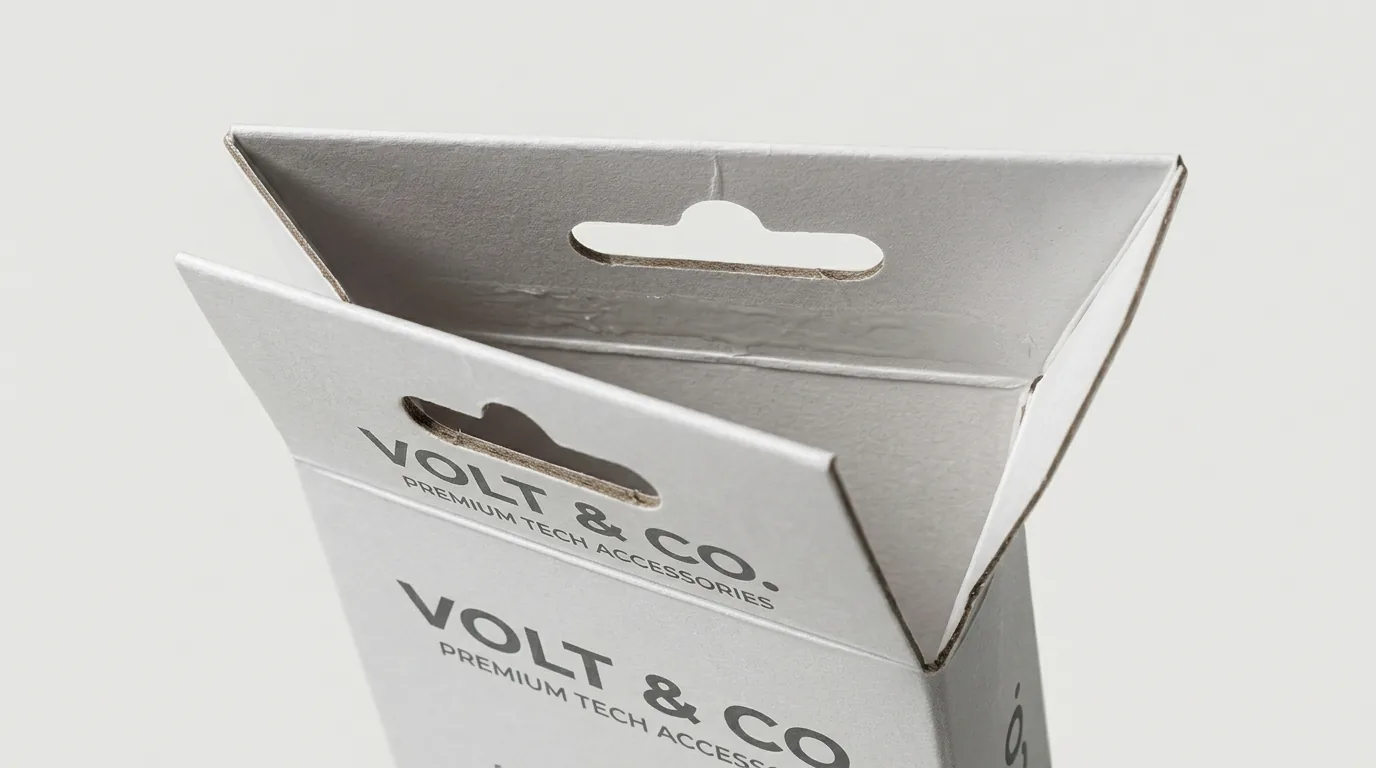
The single most common prepress mistake on five-panel hanger cartons happens on Upper Fold-Over Ply 5B. On a flat one-sided press sheet, all exterior panels are printed on the coated C1S top surface of the board. When the folder-gluer folds Ply 5B 180 degrees downward over the top crease line and glues its uncoated back to the uncoated back of Ply 5A, the printed face of Ply 5B becomes the rear exterior surface of the hanging header - and its top and bottom edges invert completely
- Invert all text and icons on Ply 5B by 180 degrees: Any reorder SKU code, brand tagline, or regulatory mark placed on the upper fold-over panel must look upside down on your flat Illustrator screen so it stands right-side up when hanging on the peg.
- Bleed ink 0.125 inches inside both mirror Euro slots: When the die cylinder punches out the two Euro slots and the plies fold together, extending background color 0.125 inches inside the slot cutout prevents raw white edge slivering if the fold shifts by 0.3 mm.
- Keep the inside glue face unvarnished: Cold-set PVA adhesive bonds paper fibers directly on the uncoated inside of Plies 5A and 5B. If you add full-coverage interior printing, leave a 0.50-inch unvarnished, ink-free glue band around the perimeter of the header.
Should you specify a vertical front-hinged top tuck or a horizontal side-tuck five-panel hanger dieline?
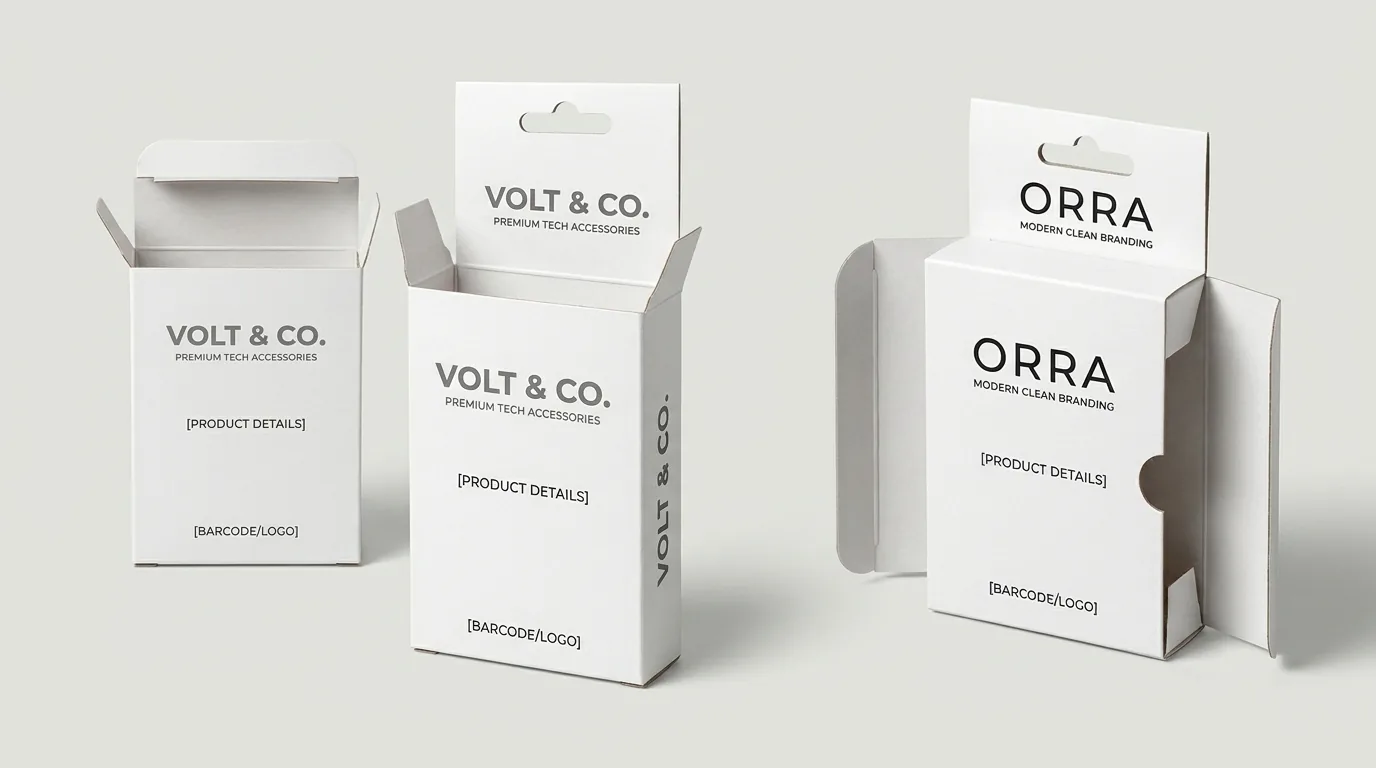
Because the fifth hanger panel occupies the top rear edge of the carton, a five-panel hanger box cannot use a standard rear-hinged reverse tuck top lid. Instead, packaging specialists configure the dieline in one of two proven closure architectures across custom earbud boxes, custom cable boxes, custom eyelash boxes, and custom nail polish boxes
- Vertical Top-Load (Front-Hinged Lid): Best when your packing line drops products vertically from above or when you pair the carton with a custom auto-lock bottom.
- Horizontal Side-Tuck 5-Panel Hanger: Best when you slide a tray, blister cradle, or coiled cable in from the side and want the top hanger junction to remain an unbroken fold of board.
- Window Patch Clearance: Whether you choose top-load or side-tuck, keep any front PET window cutout at least 0.375 inches (9.5 mm) away from all four surrounding crease lines.
| Dieline architecture | How the box opens & closes | Top hanger crease integrity | Ideal retail applications |
|---|---|---|---|
| Option A: Vertical Top-Load (Front-Hinged Lid) | Top lid hinges from Front Panel (Panel 3) and tucks down in front of the upright 5th panel | Rear crease carries load; top lid locks in front of header base | Phone cases, earbuds, nail polish, toys, socks |
| Option B: Horizontal Side-Tuck 5-Panel Hanger | Top and bottom walls are solid panels; Left & Right side walls open as tuck flaps | 100% unbroken top fold into 5th panel - zero top-lid opening stress | Heavy GaN chargers, braided cables, metal tools, eyelash trays |
| Option C: Fifth-Panel Front Book-Flap Cover | A 5th flap hinges from the front left edge and closes over a front PET window with velcro/magnet | Combines 2-ply top header with a flip-open front cover | Flagship gaming mice, pro audio earbuds, collector figures |
Know your size? Compare pricing across up to 3 quantities.
Request a Quote →How do you preflight your five-panel hanger box dieline in 5 steps before press?
Pair this prepress guide with our sizing walkthrough on five-panel hanger box dimensions, fifth-panel height, and peg weight limits and our structural comparison of five-panel hanger boxes vs hang tab boxes and header cards, plus our guide to hang tab box dielines and Euro/delta/round holes. Run this 5-point prepress checklist before uploading your Adobe Illustrator (.AI) or PDF/X-4 file to CubitPack
- Step 1: Confirm that all artwork stays in CMYK or Pantone PMS spot swatches, linked raster images are 300 DPI or higher at 1:1 scale, and all fonts are converted to vector outlines (Create Outlines).
- Step 2: Verify that all graphics on Upper Fold-Over Ply 5B are rotated 180 degrees upside down and that both mirror Euro or delta slots have 0.125 in of inner bleed.
- Step 3: Check that the Euro slot crown bridge measures at least 0.375 to 0.50 inches below the top fold-over crease and that no text sits within 0.20 inches of the hole.
- Step 4: Place your UPC-A barcode (80%–100% magnification, dark bars on a white box) on the lower back wall or bottom panel with bars running perpendicular to the press direction.
- Step 5: Upload your artwork (or even a rough AI concept image via Print Your AI Design) to CubitPack for a free preflight check, 2D CAD dieline, and interactive 3D proof before you pay.
What dieline & prepress mistakes happen most often on five-panel hanger boxes?
Prevent upside-down rear headers, misaligned Euro holes, and cracked fold creases by avoiding these five prepress errors
- Leaving text and icons right-side up on Upper Fold-Over Ply 5B on the flat artboard, which makes them read upside down once folded 180 degrees behind the fifth panel.
- Offsetting the Euro sombrero slot in Ply 5B by even 1.5 mm from the mirror slot in Ply 5A across the top fold crease, creating a stepped ledge inside the peg hole.
- Stopping background color right at the cut line of the fifth panel or Euro hole instead of extending a 0.125-inch bleed past both outer edges and inner slot cutouts.
- Drawing the top tuck lid hinged off the back panel (Panel 1) on a vertical top-load dieline, which occupies the exact same crease as the fifth hanger panel.
- Flooding the interior glue face of Fold-Over Ply 5B with UV varnish or BOPP lamination, preventing the folder-gluer's PVA adhesive from bonding the 2-ply header.
Packaging for this
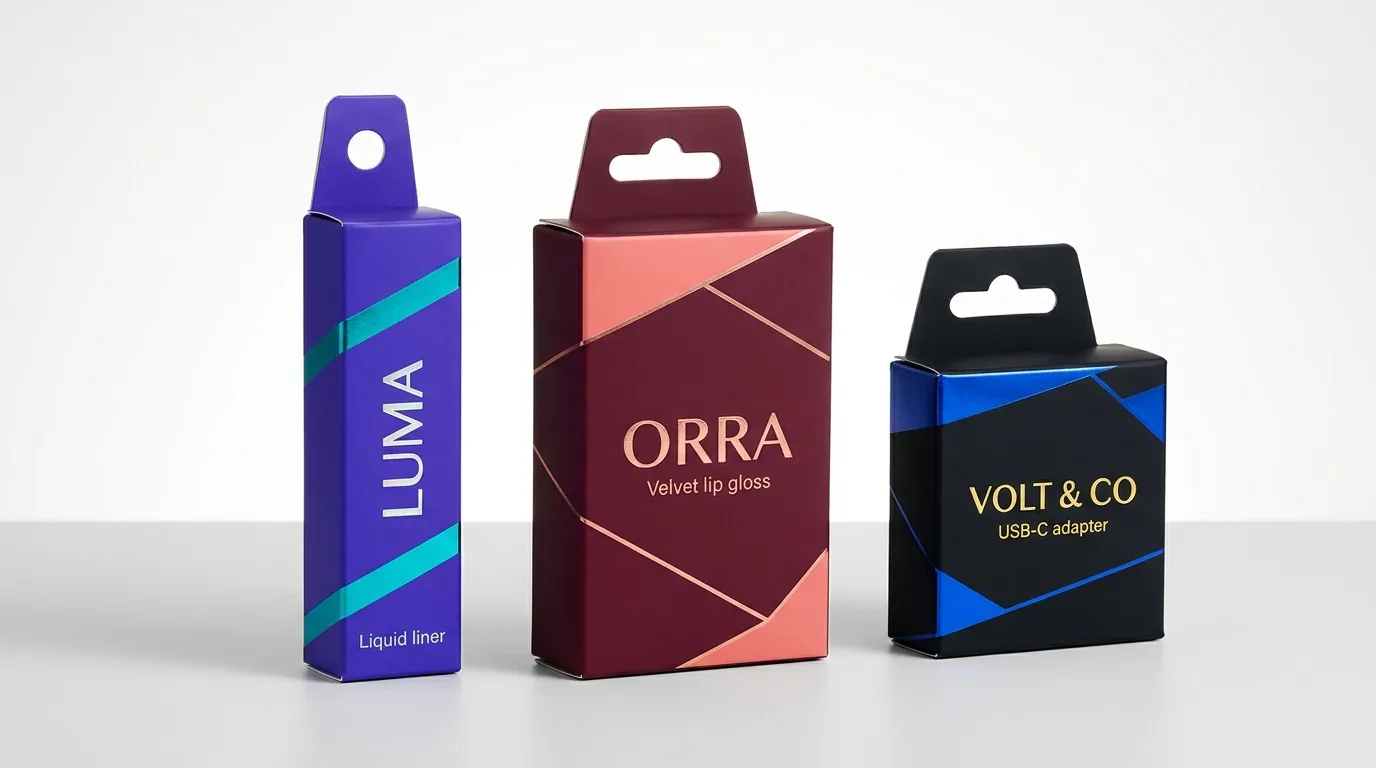
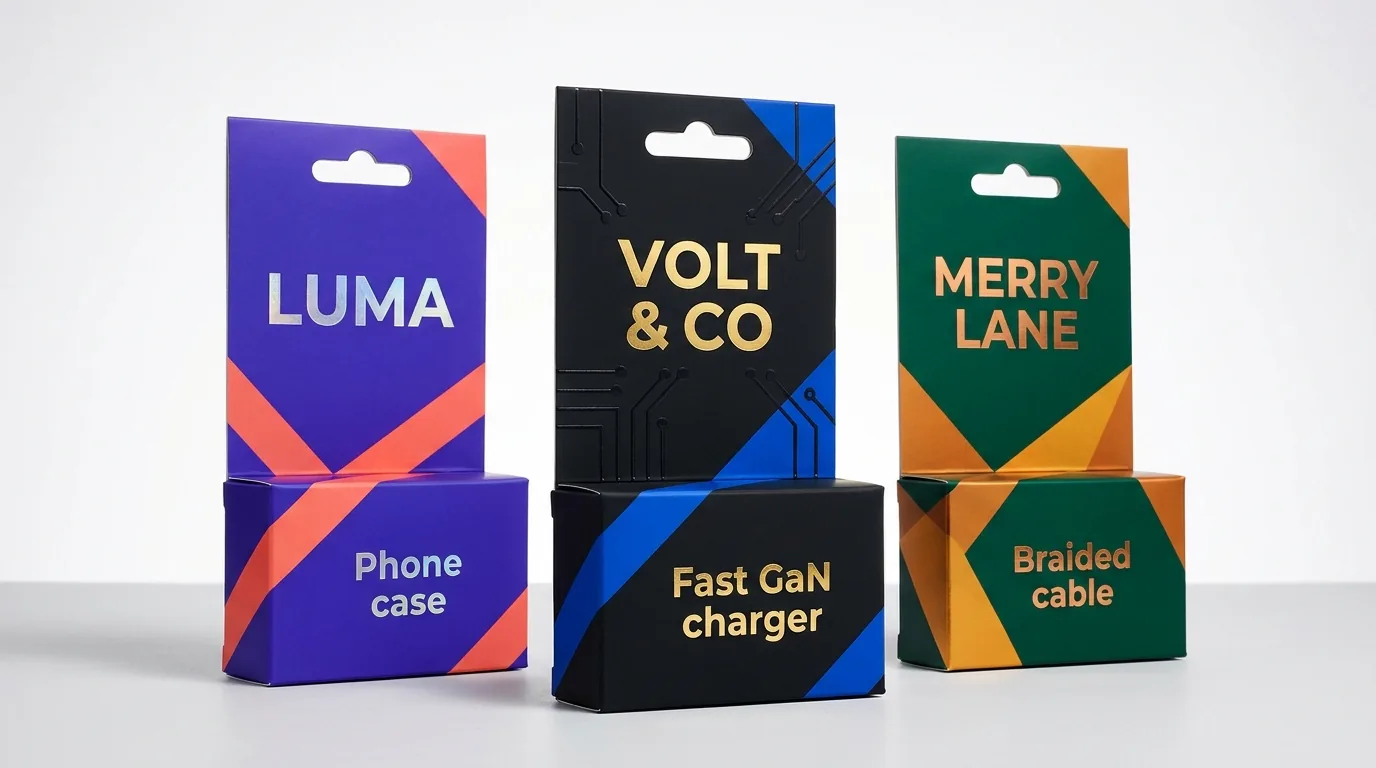
Ready to order five panel hanger boxes? Compare up to 3 quantities with a free 3D mockup.
Request a Quote →Questions about five panel hanger boxes
Why does a five-panel hanger box dieline have two Euro slots stacked above the back panel?
Because the fifth panel is reinforced into a double-ply (36–48 pt) header, the flat dieline includes both the front billboard ply (Ply 5A) and an equal upper fold-over ply (Ply 5B). Both plies are die-cut with mirror-image Euro slots that fold together into one reinforced two-layer hole.
Which panels on a five-panel hanger box dieline need 180-degree rotated artwork?
Any text, logo, or SKU number placed on the upper fold-over header ply (Ply 5B) must be rotated 180 degrees upside down on the flat CAD sheet because that panel folds 180 degrees downward behind the front fifth panel during gluing.
Can I get a free custom five-panel hanger box dieline before placing an order?
Yes. Send us your product dimensions (or select Five panel hanger boxes in our quote form) and our prepress team will send a custom 2D vector CAD dieline (.AI /.PDF) and interactive 3D proof at zero cost before payment.
How close to the fifth-panel crease can I place a front PET display window?
Keep any die-cut front window at least 0.375 inches (9.5 mm) below the top front crease and 0.375 inches inside the left and right vertical creases so the box walls stay rigid and the internal PET film patch has a 0.25-inch glue flange.
What file format should I submit for custom five-panel hanger boxes?
Submit a layered Adobe Illustrator (.AI) or press-ready PDF/X-4 file with the CAD dieline on a separate locked layer, 0.125-inch bleed, outlined fonts, and 300 DPI images. If you only have a logo or AI concept image, our design team sets up the production dieline for free.
Still have a question? Ask a packaging specialist.
Request a Quote →Request your five panel hanger boxes quote
Tell us your size and quantities, and one dedicated account manager prepares pricing for each tier.
- Free design & AI-to-print studio + 3D mockup
- No die or plate charges · 4–5 day rush available
- Free shipping to all 50 states
- 10% off your first order
We verified five-panel hanger CAD panel layouts, mirror Euro/delta slot symmetry across the 180-degree fold-over crease, PVA glue reserve clearances, and front-hinged vs side-tuck closure geometry against ECMA folding carton standards, PPC structural manuals, and ISO 12647 prepress tolerances. Spot something wrong? Tell us and we fix it.
Sources
- Flat blank panel arrangement, 180-degree fold-over header crease geometry, and front-hinged vs side-tuck closure options.
- 0.125 in bleed and safe zone tolerances, mirror Euro slot registration, and PVA glue reserve masks.
- Overprint Stroke CAD layer setup, 300 DPI image resolution, and 180-degree fold-over artwork rotation.
What changed
- November 10, 2026: First published with 6-layer CAD specification table, 180-degree fold-over artwork rotation rules, and top-load vs side-tuck comparison.
More guides
New packaging guides by email
Sizes, materials and design tips. Unsubscribe anytime.