
How do you set up a header card box dieline, double-ply back panel, and Euro sombrero slot?
Short answer: Set up a header card box dieline by hinging the top tuck lid off the front panel (never the back panel), extending the back panel upward by twice the header height (2 x H_hdr) with a double-rule 180-degree fold score, punching mirror-symmetrical Euro sombrero slots on both plies, and inverting rear header artwork 180 degrees.
On this page
- What are the structural zones of a one-piece double-ply header card box dieline
- Why must the top tuck lid hinge off the front panel instead of the back panel
- How do you engineer the 180-degree double-ply header fold and Euro sombrero slot
- How do you orient fold-over artwork and verify your PDF proof before press
- Common mistakes
- FAQs
Request a custom quoteFree dieline & 3D mockup
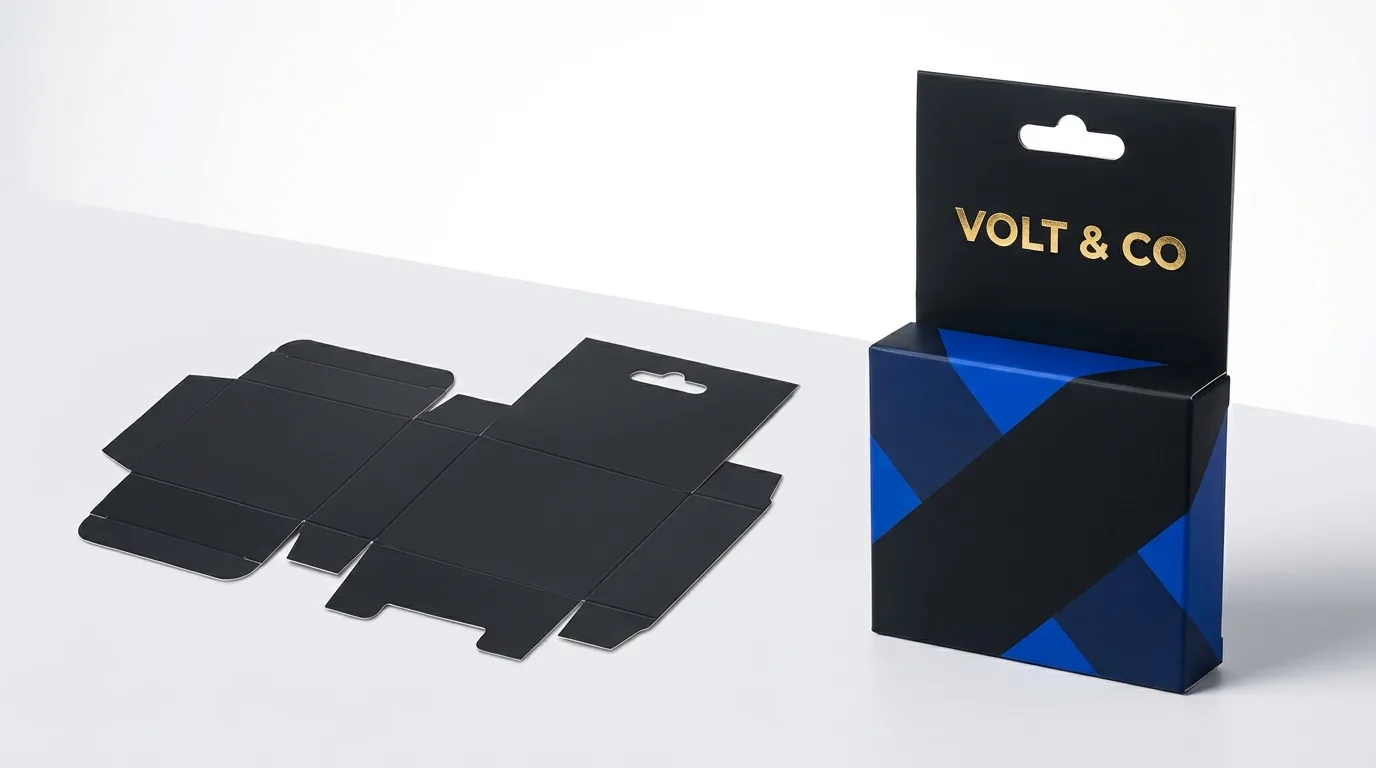
Building a press-ready dieline for custom header card boxes requires three structural departures from a standard straight tuck end carton. First, because the rear wall rises straight up above the box body to form the pegboard billboard, the top closure lid must hinge off the front panel (Panel 3) and fold backward so its tuck flap locks flush against the base of the upright header card. Second, to prevent wire peg hooks from tearing through single-layer paperboard, the back panel extends upward by 2 x H_hdr (4.0 to 5.0 inches) and folds 180 degrees over itself along a double-rule top crown crease (1.0 to 1.5 mm channel width), bonding under folder-gluer pressure into a rigid 36 to 48 pt double-ply header. Third, both header plies must carry mirror-registered Euro sombrero slots (1.25 in W x 0.375 in H with a >= 0.375 in top fiber bridge), upside-down back artwork on the fold-over ply, and unvarnished glue reserves on the inner mating surfaces.
What are the structural zones of a one-piece double-ply header card box dieline?
When laid flat on a CAD table, a one-piece double-ply header card carton is die-cut from a single sheet of 18 pt to 24 pt SBS or natural kraft paperboard measuring 2L + 2W + glue flap wide by H_bottom + H_box + 2H_hdr tall. Walking from left to right across the horizontal body strip reveals how the four enclosure walls, front-hinged lid, and extended rear billboard fit together on a single press sheet across custom electronics boxes and custom phone case boxes
- Four standard CAD line colors: Solid navy (#0F172A) marks through-cut steel knives; dashed blue (#2563EB) marks single and double creasing rules; teal hatch (#0D9488) marks unvarnished PVA glue zones; dashed red (#DC2626) marks the 0.125 in (3.0 mm) exterior and interior slot bleed.
- Outer fold-over flap trim relief (-1/32 in / -0.8 mm): Stopping the bottom edge of the Upper Fold-Over Header Ply 0.8 mm above the top body crease prevents the folded ply from pinching the top lid seam.
- Paperboard grain direction: Run paper grain horizontal (parallel to the main top lid crease and double-ply header crown fold) so the header folds flat without cracking and long fibers resist vertical hook pull.
| Dieline zone | Flat dimension formula | Crease & knife rule spec | Structural function |
|---|---|---|---|
| Side manufacturer glue flap | 0.50 to 0.75 in wide × H_box tall | 15–30 deg tapered cut; single crease | Unvarnished PVA bond seam joining Panel 1 to Panel 4 |
| Back panel (Panel 1) + Lower Header Ply | Width = L · Height = H_box + H_hdr | Horizontal score at H_box; Euro slot | Primary pegboard wall + front face of top billboard |
| Upper Fold-Over Header Ply | Width = L · Height = H_hdr - 0.031 in | Double-rule 180 deg crown score + mirror slot | Folds 180 deg down behind billboard for 2-ply strength |
| Left & Right side panels (Panels 2 & 4) | Width = W · Height = H_box | Top dust flaps with slit-lock shoulders | Set front-to-back depth and lock the top tuck flap |
| Front panel (Panel 3) + Top Lid | Width = L · Lid depth = W + tuck flap | Hinges at top of Front Panel; slit-lock tabs | Carries optional PET window and closes backward to header |
| Bottom closure flaps | Depth = 0.55 W to 0.75 W | Friction tuck, 1-2-3 lock, or crash-lock base | Supports vertical product load from 2 oz up to 16 oz |
Why must the top tuck lid hinge off the front panel instead of the back panel?
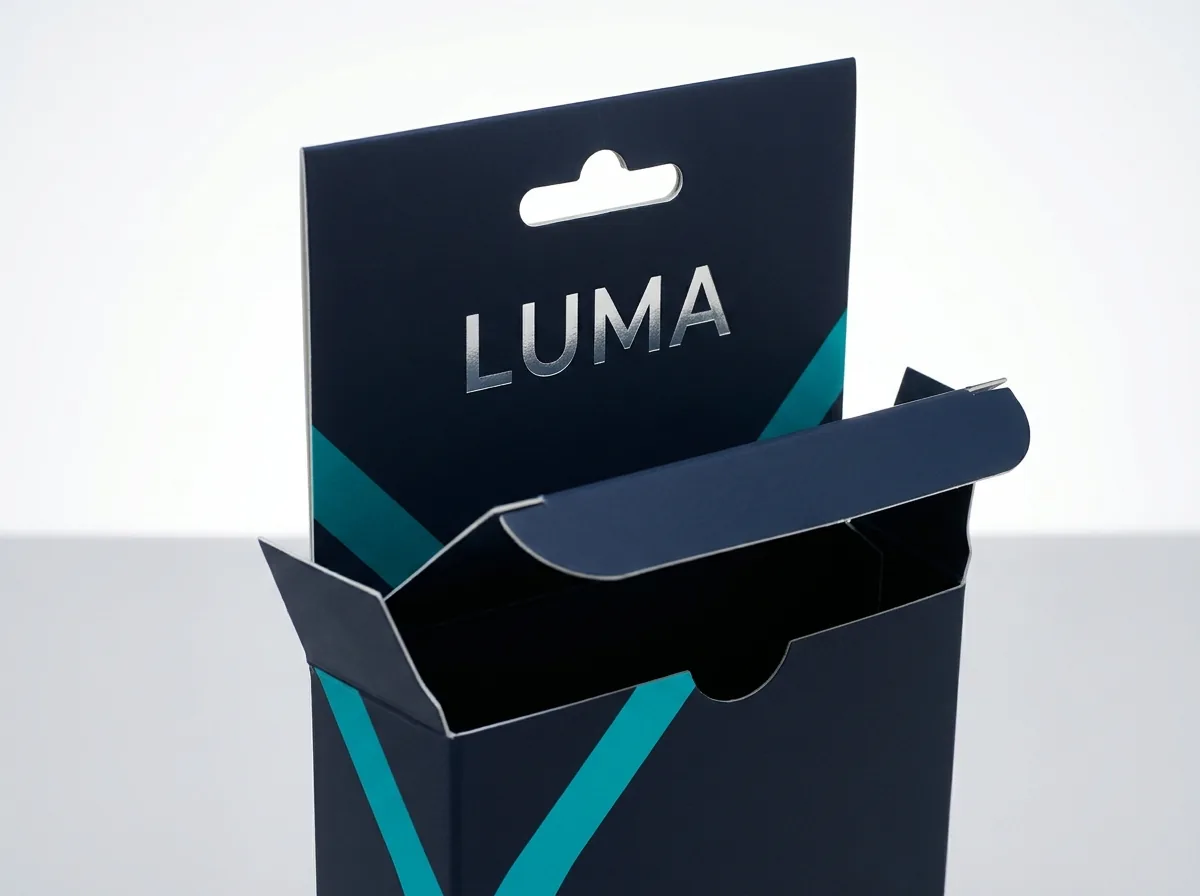
On a standard straight tuck end box, both the top and bottom lids commonly hinge off the rear panel so the raw tuck edges hide along the back seam. However, on a header card box, the top crease of the Back Panel (Panel 1) is permanently occupied by the vertical double-ply header billboard rising 2.0 to 2.5 inches above the carton. If a designer accidentally places the top lid panel above the Back Panel on the dieline, the box cannot close without folding the header card 90 degrees flat across the top opening. Engineering the top closure around the upright header requires three specific CAD details
- Hinge the Top Lid Panel off the Front Panel (Panel 3): The top lid folds 90 degrees backward across the open top of the carton, spanning the front-to-back depth (W).
- Tuck the friction flap downward against the inner back wall: The curved tuck flap (0.625 to 0.75 inches tall) slides straight down right in front of the upright double-ply header card, nesting between the back wall and the folded side dust flaps.
- Add cherry slit-locks on the top dust flaps: Because the top tuck flap sits exposed at the base of the header billboard, adding 0.25-inch locking shoulders on the left and right dust flaps prevents the lid from springing upward while hanging on a retail peg.
How do you engineer the 180-degree double-ply header fold and Euro sombrero slot?
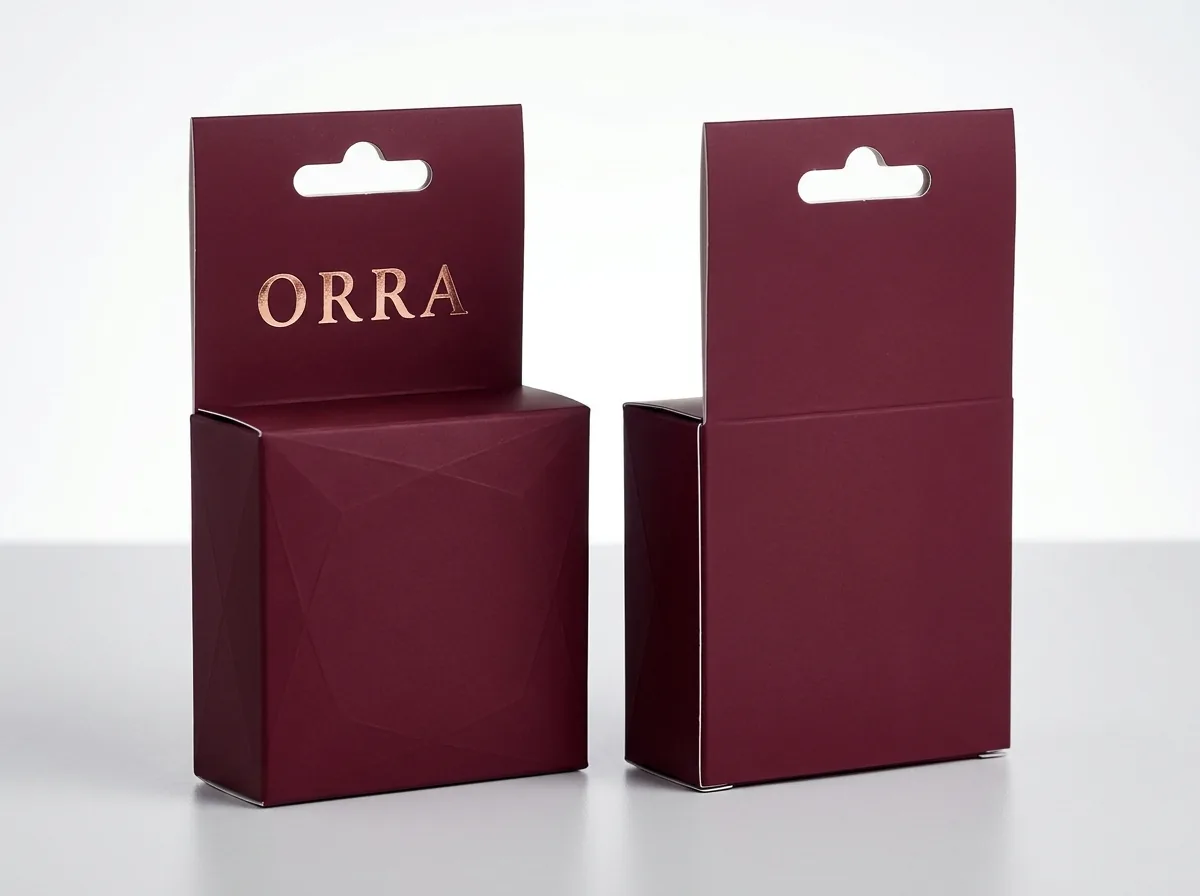
When 20 pt or 24 pt paperboard is folded a full 180 degrees flat back against itself to create a 40 pt to 48 pt double-ply header card, a single standard creasing rule will pinch the inner board ply and crack dark ink or matte film lamination along the top crown of the header. Furthermore, if the two die-cut Euro sombrero slots are misaligned by even 0.5 mm relative to the fold center, one ply will protrude inside the hang hole. Apply these precision tolerances across custom hang tab boxes and custom five-panel hanger boxes
- Invert the upper Euro sombrero cutout on the flat CAD file: On the Lower Header Ply, the rounded sombrero bump points upward toward the top fold; on the Upper Fold-Over Ply, the rounded sombrero bump must point downward toward the top fold so both arcs superimpose when folded 180 degrees.
- Keep foil and Spot UV 3/16 inch (4.8 mm) clear of the slot knife: Die-cutting directly through metallic foil or raised UV polymer can flake around the hang hole.
- Extend background bleed 0.125 inches (3.0 mm) inside the Euro slot: Bleeding background color inward into the scrap cutout area ensures zero white paper edge shows inside the hang hole.
| Header & Euro slot element | Standard production dimension | Tolerance / prepress rule | Why it matters on the pegboard |
|---|---|---|---|
| Euro sombrero slot width × height | 1.250 × 0.375 in (31.8 × 9.5 mm) | ±0.010 in (±0.25 mm) steel rule | Fits standard US single-rod & double-wire Euro hooks |
| Center sombrero crown diameter | 0.500 in (12.7 mm) rounded arc | Centered horizontally on L (±0.25 mm) | Self-centers the box on single-wire peg rods |
| Top fiber bridge above slot crown | 0.375 in (under 8 oz) · 0.500 in (8–16 oz) | Measured from crown fold to top of slot | Prevents vertical hook tear-out during shopper pull |
| Double-rule 180 deg crown crease | 1.0 mm channel (18–20 pt) · 1.5 mm (24 pt) | Two parallel score rules at header fold | Allows flat 180 deg fold without cracking ink or film |
| Mirror slot symmetry across crown | Equal offset d1 = d2 from double-rule center | Upper slot sombrero bump points DOWN | Registers both cutouts cleanly after 180 deg fold |
Know your size? Compare pricing across up to 3 quantities.
Request a Quote →How do you orient fold-over artwork and verify your PDF proof before press?
Because both the front billboard face and the rear header face are printed on the same outside (coated C1S) surface of the paperboard sheet before the upper flap folds 180 degrees over onto the back, prepress layout requires careful orientation. Combine this checklist with our sizing guide on header card box dimensions, billboard height, and peg weight limits, our comparison of header card boxes vs hang tab boxes and five-panel hanger cartons, and our retail overview on folding cartons vs rigid boxes for retail shelves
- Rotate Upper Fold-Over Header Ply artwork 180 degrees (upside down): Any text, regulatory icons, or secondary logo placed on the upper fold-over header panel must be inverted 180 degrees on the flat dieline so it reads right-side up once folded down behind the header.
- Knock out inner varnish and coating on the double-ply glue zone: If ordering inside printing or flood interior coating, leave a bare paperboard glue reserve across the inside mating faces of both header plies so cold PVA glue bonds fiber-to-fiber.
- Keep 0.50 inches (12.7 mm) of board frame around any front PET window: And leave a 0.25 to 0.375 inch unvarnished glue track around the inside perimeter of the window cutout so the clear 0.15 mm PET film patch adheres securely.
- Request a free CubitPack CAD dieline and 3D proof: Submit your target L × W × H_box in our quote form (from 500 units) and our prepress specialists will build your mirror-registered double-ply header dieline free before payment.
What prepress and dieline mistakes happen most often on custom header card boxes?
Prevent backwards lids, upside-down back header text, and misaligned hang slots by checking for these five CAD errors
- Hinging the top closure lid off the Back Panel instead of the Front Panel, which makes it impossible to close the lid without folding the header card down over the box.
- Placing back-of-header text right-side up on the Upper Fold-Over Header Ply, which causes it to read upside down once the flap is folded 180 degrees over the top crease.
- Drawing both Euro sombrero slots pointing upward on the flat dieline instead of mirroring the upper slot downward across the fold line, so the sombrero bump gets blocked when folded.
- Using a single crease rule instead of a 1.0 to 1.5 mm double-rule channel at the 180-degree header crown fold on 20–24 pt board, causing the outer ink to crack.
- Flooding UV varnish or lamination over the inner mating faces of the double-ply header or the side glue flap, causing the header plies to pop apart on the pegboard.
Packaging for this
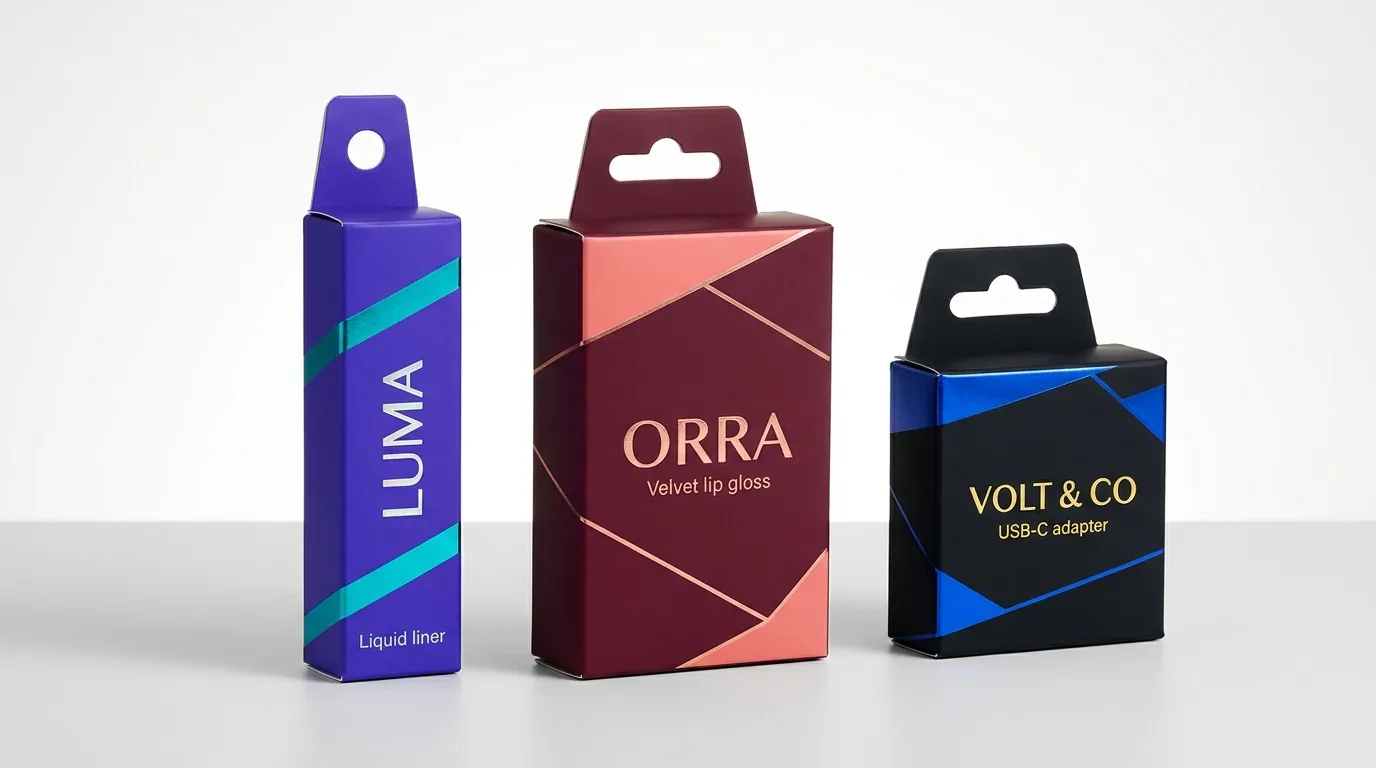
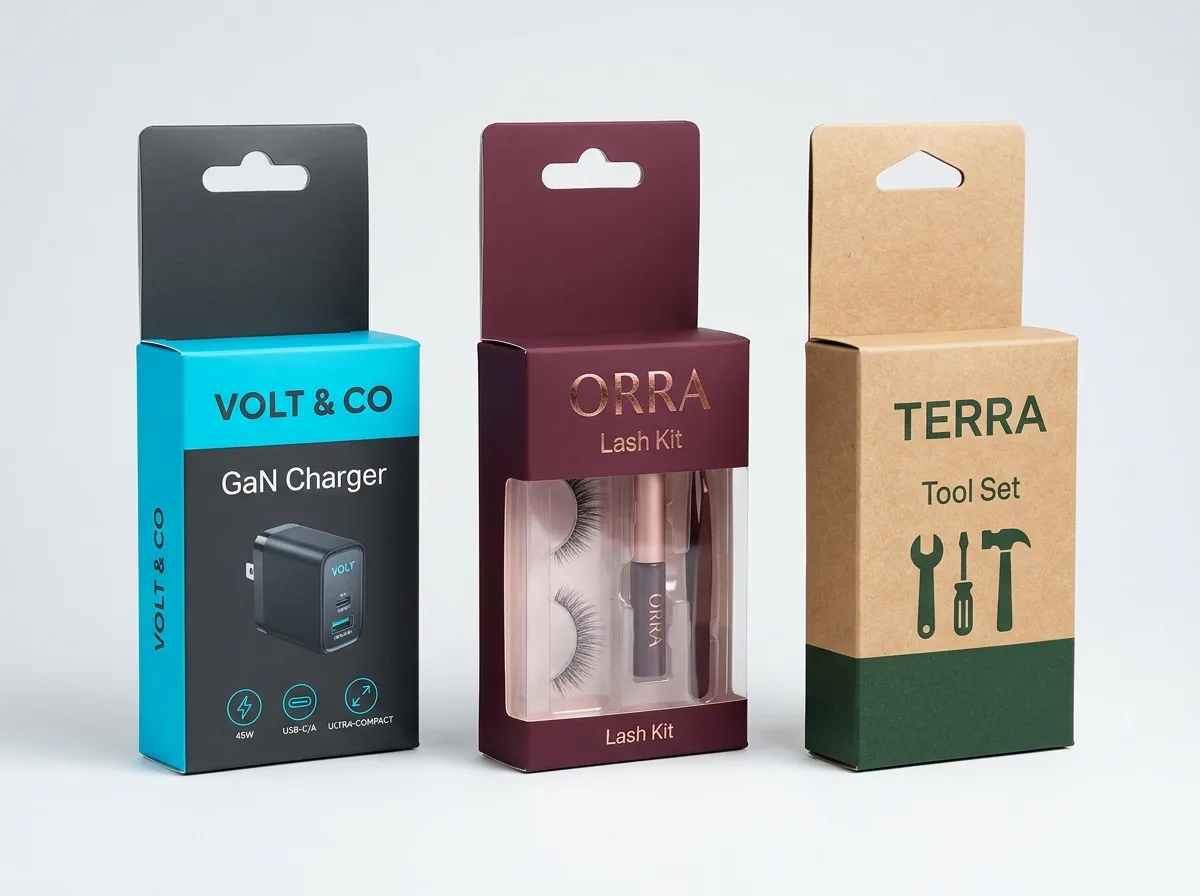
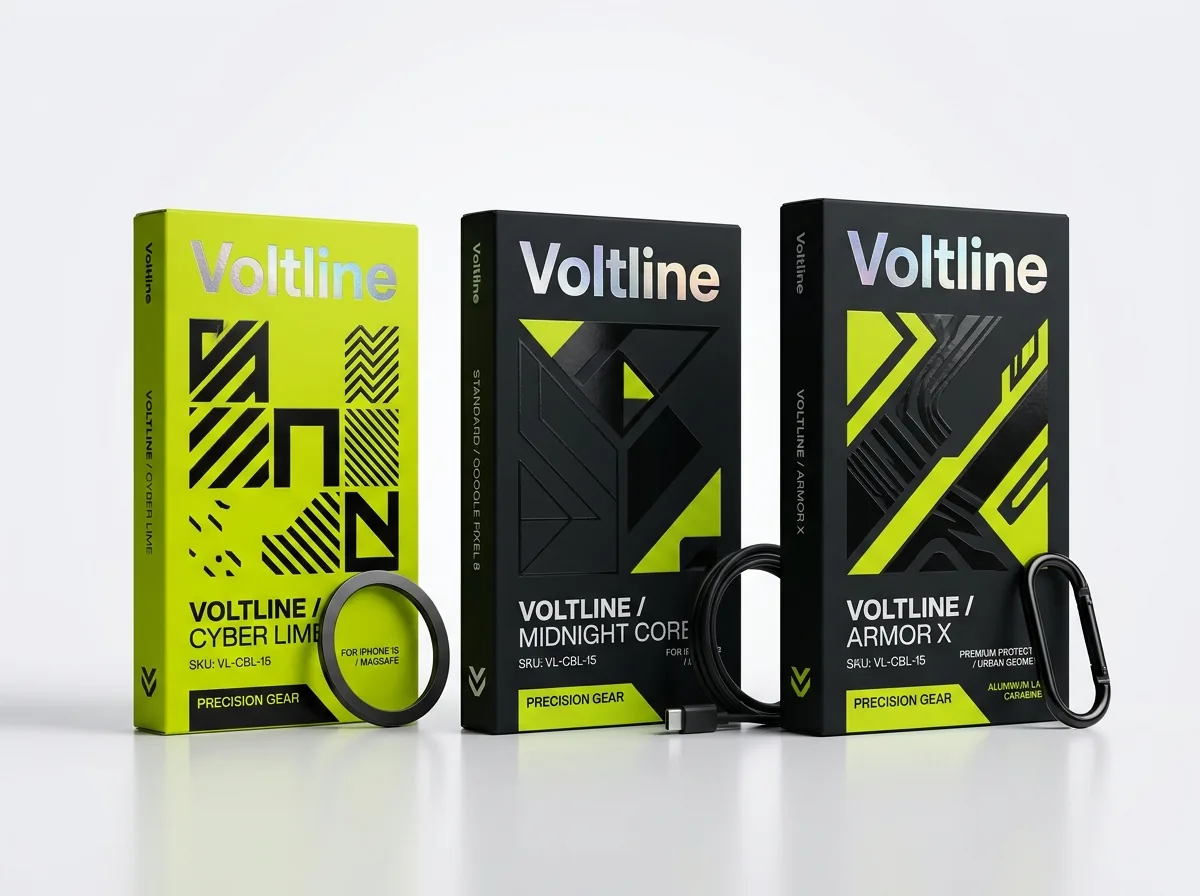
Ready to order header card boxes? Compare up to 3 quantities with a free 3D mockup.
Request a Quote →Questions about header card boxes
How do you set up a double-ply fold-over header card on a box dieline?
Extend the back panel upward above the top box score by twice your desired header height (2 x H_hdr), place a 1.0 to 1.5 mm double-rule creasing channel at the halfway crown line, and punch mirror-symmetrical Euro sombrero hang slots on both plies so they register cleanly when folded 180 degrees and glued.
Why must the top tuck lid hinge on the front panel of a header card box?
Because the back panel continues straight upward above the box body to form the upright header card billboard, hinging a lid on the back crease is impossible. Hinging the top lid on the front panel lets it fold backward across the top opening and tuck downward flush against the base of the header card.
What are the standard dimensions of a retail Euro sombrero hang slot?
A standard retail Euro sombrero hang slot measures 1.25 inches (31.8 mm) wide by 0.375 inches (9.5 mm) tall on the side wings, with a centered 0.50 inch (12.7 mm) rounded sombrero crown that centers the carton on single-rod hooks while fitting wide double-wire Euro hooks.
Should artwork on the upper fold-over header flap be placed upside down?
Yes. Because the upper fold-over ply is printed on the same outside sheet surface as the front of the box and then folded 180 degrees down behind the header billboard, any logos, barcodes, or text on that upper flap must be rotated 180 degrees (upside down) on the flat dieline.
Does CubitPack supply the custom double-ply header card dieline for free?
Yes. Share your internal L x W x H_box dimensions and desired header height in our quote form (starting at 500 units) and our packaging team sends a custom 2D vector PDF dieline and 3D digital proof free before payment.
Still have a question? Ask a packaging specialist.
Request a Quote →Request your header card boxes quote
Tell us your size and quantities, and one dedicated account manager prepares pricing for each tier.
- Free design & AI-to-print studio + 3D mockup
- No die or plate charges · 4–5 day rush available
- Free shipping to all 50 states
- 10% off your first order
We verified front-hinged top lid geometry, 180-degree double-rule crown crease channels (1.0–1.5 mm), mirror-symmetrical Euro sombrero slot dimensions (31.8 x 9.5 mm with 12.7 mm crown), and bleed/glue-reserve tolerances against ECMA folding carton CAD standards, Paperboard Packaging Council (PPC) prepress manuals, and ISO 12647-2 offset guidelines. Spot something wrong? Tell us and we fix it.
Sources
- Front-hinged top lid geometry, double-rule 180-degree fold crease channels (1.0–1.5 mm), and mirror-registered Euro sombrero slot layout.
- Glue reserve knockouts on double-ply laminated headers, slit-lock dust flap retention, and PET window border minimums (>= 12.7 mm).
- 3.0 mm (0.125 in) exterior and internal slot bleed rules and 4.8 mm (0.1875 in) safe margin around die-cut hang holes.
What changed
- November 9, 2026: First published with annotated one-piece double-ply header card box dieline, Euro sombrero slot dimension table, and 180-degree fold-over prepress rules.
More guides
New packaging guides by email
Sizes, materials and design tips. Unsubscribe anytime.