
How do you place die-cut pin holes, earring piercings, necklace slits, and hang slots on backing cards?
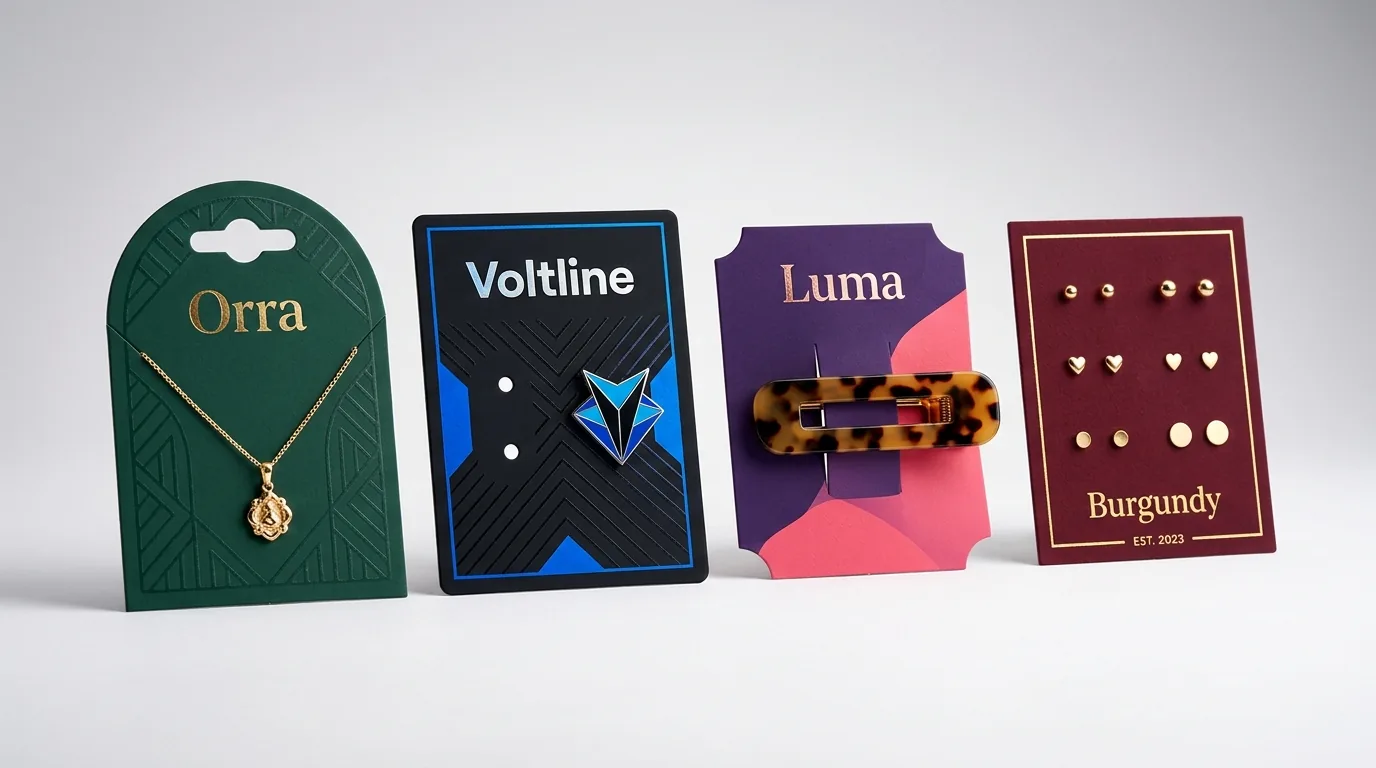
Short answer: On custom backing cards, spec 1.2 to 1.5 mm post punches spaced 0.5 to 0.75 in apart for earrings, match exact dual-post spacing (usually 8 to 12 mm) for pins, cut 45-degree 10 mm shoulder slits for necklaces, and keep at least a 1/4 in top bridge above Euro hang slots.
On this page
- What hole diameters and center-to-center spacings work for enamel pins and earrings
- How do you draw 45-degree necklace slits, French-hook notches, and hair-clip windows
- Should you pick a 1/4 inch round peg hole, delta slot, or Euro sombrero hang slot
- How do you set bleed, foil safe zones, and rear GS1 barcode zones on a backing card dieline
- How does CubitPack set up custom die-cut backing cards with zero tooling fees
- Common mistakes
- FAQs
Request a custom quoteFree dieline & 3D mockup
Precision die-cutting is what separates retail-ready display packaging from hand-punched stationery. When post piercings sit off-center by even 2 millimeters, dual-post enamel pins refuse to push through, statement stud bezels collide in the middle of the card, or heavy keychains tilt sideways on pegboard hooks. On commercial steel-rule dies, every internal punch, angled chain slit, barrette window, and top hang slot is struck in the exact same press pass as your outer card trim so thousands of cards register identically. At CubitPack, custom dielines and steel-rule cutting dies carry zero die or plate charges starting from 250 standalone cards. Send your product measurements or AI artwork concept, inspect your 2D vector dieline proof and interactive 3D mockup before paying, and get finished cards in 10 to 14 business days (4 to 5 day rush available) with free US shipping.
What hole diameters and center-to-center spacings work for enamel pins and earrings?
Standard jewelry earring posts measure 0.7 to 0.9 mm thick, while hard and soft enamel lapel pin posts measure 1.0 to 1.2 mm thick with a tiny base spur. When laying out die-cut backing cards, sizing punches slightly larger than the bare metal wire lets fulfillment staff mount hundreds of units per hour without tearing laminated paperboard
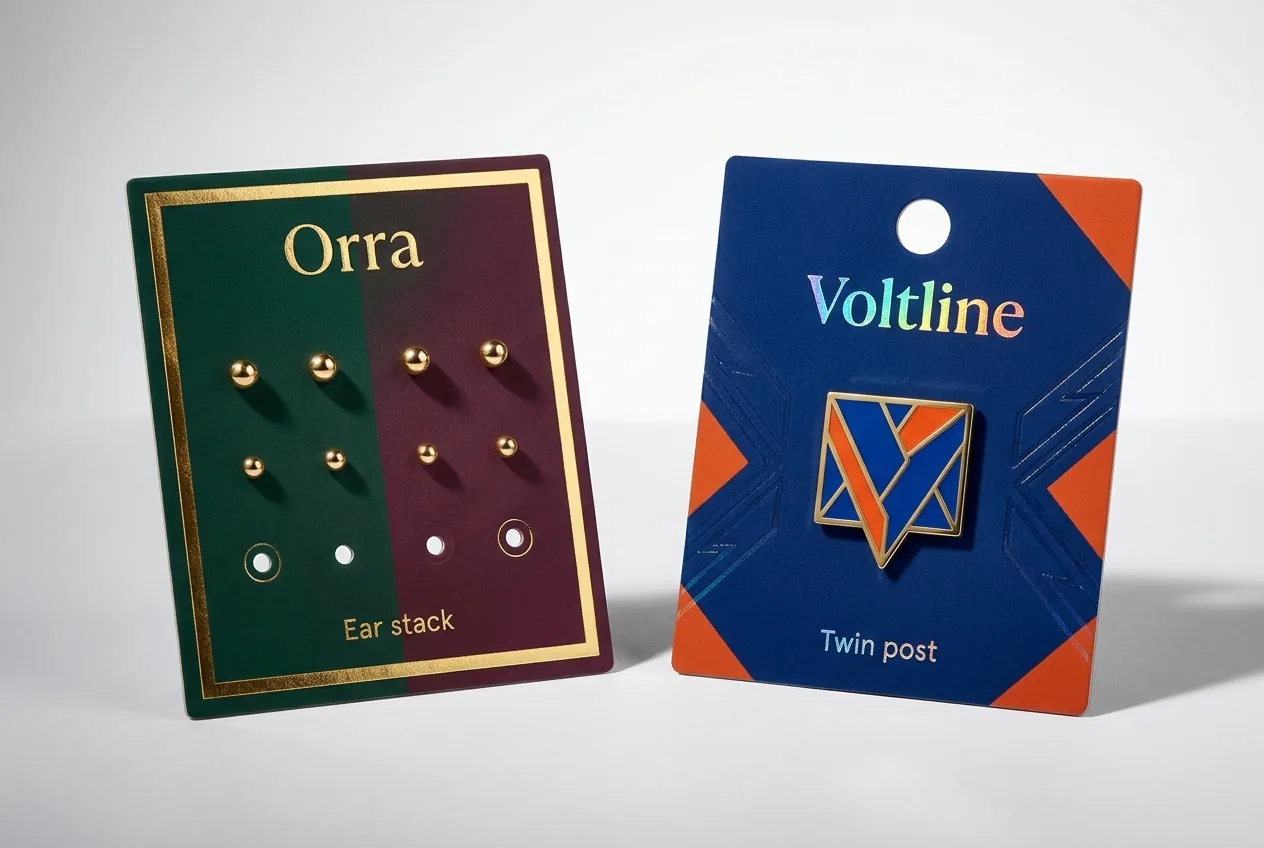
- Pre-punched holes vs printed backside drill dots: When dual-post pin spacing varies across hand-soldered batches, we can print faint 1 mm crosshair guide dots on the back panel instead of punching through, letting pins pierce the exact spot cleanly.
- Hinged huggie hoops and thick sleeper rings: Curved clicker posts cannot thread through a tight 1.2 mm pinhole; swap to twin 1.5 × 4 mm vertical pill slots so hoops snap shut flush against the card face.
- Coordinate card footprints with outer packaging: Check our enamel pin and jewelry backing card sizes guide so multi-pair grids fit cleanly inside custom earring boxes.
| Hardware type | Punch diameter / cut size | Center-to-center spacing | Key dieline placement rule |
|---|---|---|---|
| Mini & standard stud earrings | 1.2 mm to 1.5 mm round punch | 0.50 in (12.7 mm) to 0.75 in (19 mm) | Add stud bezel width + 4 mm gap so stones never touch |
| Oversized statement studs & hoops | 1.5 mm round punch or 3 mm vertical slit | 0.875 in (22 mm) to 1.25 in (32 mm) | Check hoop tube thickness; use vertical mini-slits for hinged cuffs |
| Single-post enamel pin | 1.2 mm to 1.5 mm round punch | Centered horizontally on art focal point | Keep rear 12 mm rubber clutch circle clear of fold lines & UPC |
| Dual-post enamel pin | Two 1.5 mm punches (vertical or horizontal) | Match mold exactly (typically 8-15 mm) | Measure physical sample post centers with calipers before cutting |
| 3-pair ear-stack set card | Six 1.2 mm round punches (3 rows × 2 cols) | 0.60 in horizontal × 0.65 in vertical | Increase vertical row pitch for drop charms on bottom row |
How do you draw 45-degree necklace slits, French-hook notches, and hair-clip windows?
Chains, open ear wires, and spring-loaded hair accessories stay anchored through friction and edge geometry rather than circular holes. Using custom shapes at CubitPack costs nothing extra in die fees, giving you full control over edge retention cutouts
- 45-degree shoulder chain slits (8 mm to 12 mm cut length): Cut inward at a 45-degree downward angle starting 3/8 inch below the top arch or shoulder corners. Adding a tiny 1.5 mm circular stress-relief stop (T-stop or keyhole end) at the bottom of each slit prevents heavy curb or herringbone chains from tearing further inward.
- French-wire dangle notches and T-slots: Open fishhook ear wires slide side-to-side in round holes; cutting paired 3 mm inward edge notches or a small horizontal T-bar slot cradles the curved hook loop upright.
- Horizontal barrette and alligator-clip clamping windows: For snap clips and alligator bows, die-cut two parallel horizontal rectangular windows (typically 1.75 × 0.25 in) or a pinched hourglass waist (narrowed by 3/8 in per side) so clip teeth clamp around a centered vertical strip of cardstock.
- Rear fold-up chain pocket for 18-24 inch necklaces: Add a pre-scored lower flap that folds up behind the card (held by an interlocking tab or clear sticker) to store excess chain length neatly inside custom necklace boxes.
Should you pick a 1/4 inch round peg hole, delta slot, or Euro sombrero hang slot?
Retail fixtures vary from single wire hooks at craft markets to double-prong scanner pegs in national boutiques. Match your top hang cutout to both fixture prong style and mounted product weight (detailed in our cardstock thickness guide for backing cards)
- 1/4 in to 5/16 in (6.5-8 mm) round peg hole: Clean, minimal cutout suited to narrow 2 × 3.5 inch single-pin cards and lightweight stud squares under 15 grams hanging on single-wire countertop spinner trees.
- Triangular delta hang hole (approx. 0.75 × 0.40 in): Self-centering apex keeps asymmetrical items - such as offset charm keychains or single hair bows - hanging straight on single prongs.
- Euro sombrero hang slot (standard 1.25 × 0.375 in / 32 × 9.5 mm): Universal retail standard that fits both single pegs and wide double-wire Euro hooks while stopping 2.5 to 4 inch wide cards from tilting left or right.
- Mandatory 1/4 inch (6.5 mm) minimum top bridge: Regardless of hole shape, keep at least 0.25 inches (0.3125 in on heavy brass keychains) of solid laminated cardstock between the top of the hang slot and the top trim edge of the card.
Know your size? Compare pricing across up to 3 quantities.
Request a Quote →How do you set bleed, foil safe zones, and rear GS1 barcode zones on a backing card dieline?
Because backing cards pack outer trim cuts, inner punches, metallic foil stamping, and retail barcodes onto a compact 2 × 3.5 in or 3 × 4 in canvas, clean layer separation prevents prepress delays. You can pre-check your artwork files in our AI packaging prepress checker or use our free AI design to print service
- Outer bleed and inner safe margins: Extend background colors and illustrations 0.125 inches (3 mm) past every outer die-cut line, and keep critical typography at least 0.125 inches inside trim and away from Euro hang slots.
- 2 mm foil and embossing clearance around punches: Keep hot-stamped foil plates and raised embossing dies at least 2.0 mm (0.08 in) clear of earring post holes, pin holes, and 45-degree chain slits so steel cutting blades shear clean paper rather than metallic film.
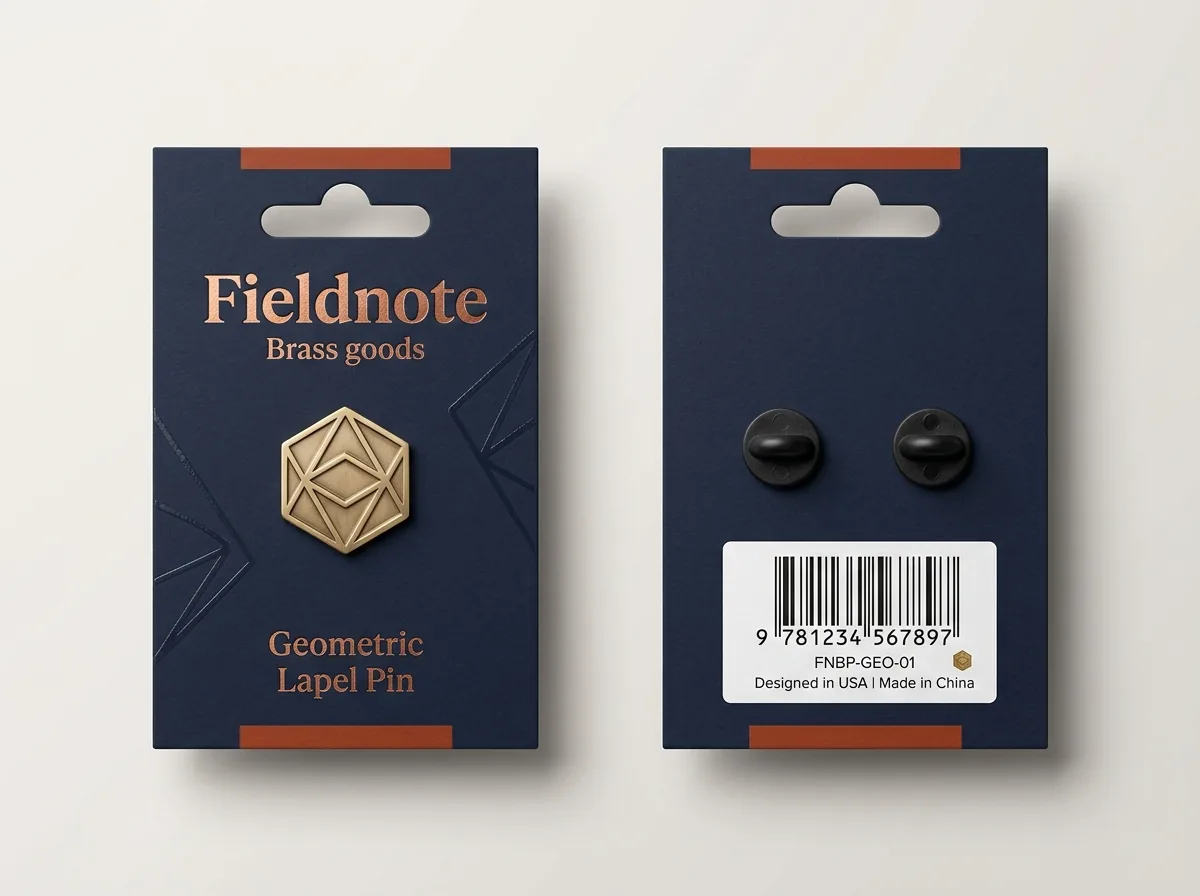
- Map the rear hardware shadow before placing UPC barcodes: Flip your dieline horizontally to mark the 12 mm rear circles where rubber pin clutches sit or the V-path where necklace chains drape, then place your GS1 UPC barcode in a dedicated white quiet-zone box on the unobstructed lower third.
- Vector spot-color dieline layer: Set all outer trims, inner holes, and slits as 0.25 pt vector strokes on a separate non-printing 'DIELINE' layer (solid magenta for cuts, dashed cyan or purple for fold scores).
How does CubitPack set up custom die-cut backing cards with zero tooling fees?
Whether you are launching a 250-card convention pin drop or scaling wholesale retail planograms across custom jewelry boxes and custom flat pouches, our prepress workflow eliminates die setup costs
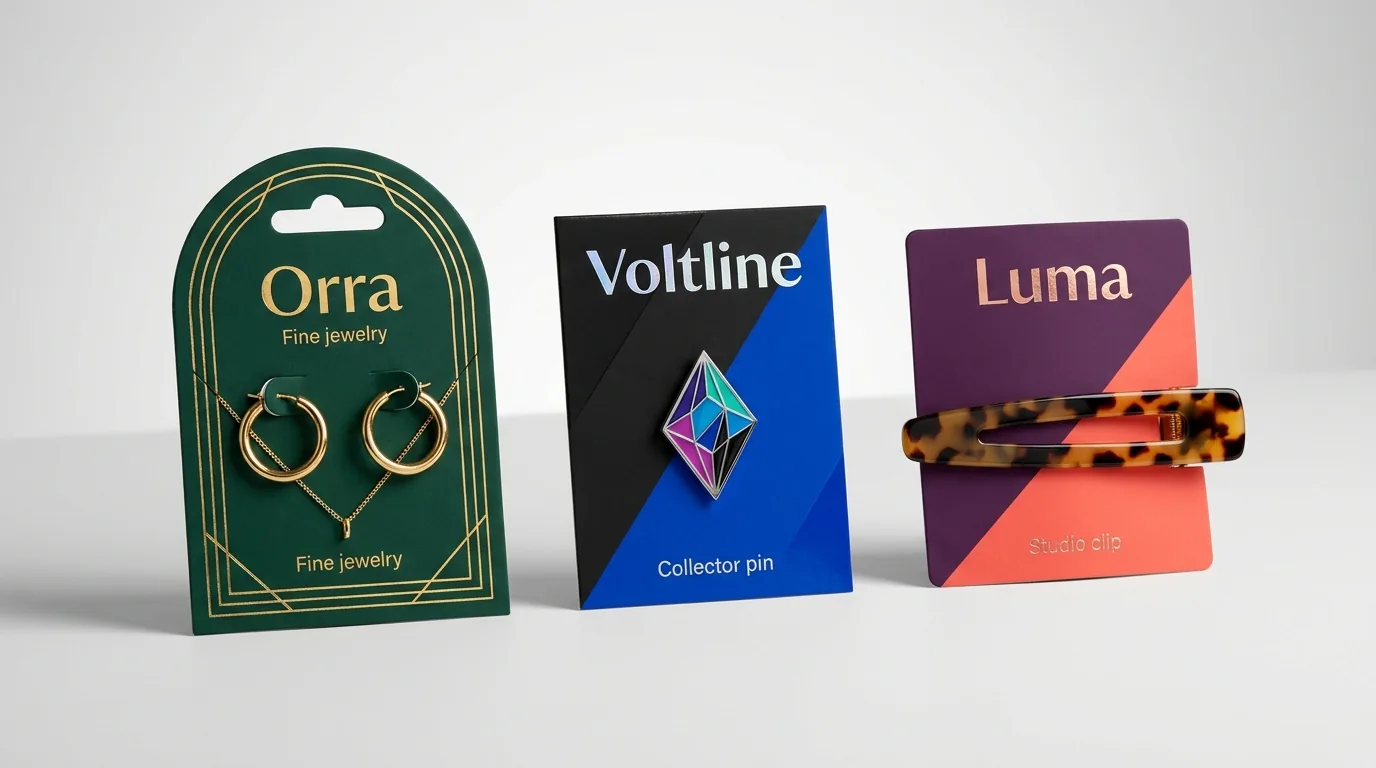
- Zero steel-rule die or printing plate charges: Custom outer contours, arch tops, Euro sombrero slots, multi-pair earring piercings, and barrette windows are included at no extra tooling cost.
- 2D vector proof plus 3D mockup before payment: Verify exact millimeter coordinates of every pin hole, slit, and hang bridge on a dimensioned 2D proof alongside a 3D mockup before you pay.
- Fast 10-14 business day turnaround and Price Beat protection: Receive finished cards with free shipping across all 50 US states (4-5 day rush quoted on request), backed by our Price Beat guarantee on matching written US quotes.
What prepress and die-cut mistakes ruin custom backing cards?
Check your vector dieline against these five common punch and layout mistakes before signing off on your proof
- Guessing dual-post enamel pin spacing instead of measuring the physical pin posts center-to-center, leaving pre-punched holes misaligned by 2-3 mm.
- Drawing 45-degree necklace slits as plain straight razor cuts without a 1 mm inner relief pinhole, allowing heavy chains to tear deeper into the artwork.
- Placing a Euro hang slot less than 1/4 inch from the top trim edge, creating a fragile top bridge that snaps on retail hooks.
- Stamping metallic gold or holographic foil right over 1.2 mm earring post punches, causing tiny foil flakes to peel onto earring posts.
- Forgetting to mirror the dieline when laying out the back panel, resulting in black rubber pin clutches sitting directly on top of the retail UPC barcode.
Packaging for this

Ready to order backing cards? Compare up to 3 quantities with a free 3D mockup.
Request a Quote →Questions about backing cards
What diameter should earring and enamel pin holes be on a custom backing card?
Specify 1.2 mm to 1.5 mm round die-cut punches for standard stud earring posts and single-post enamel pins. That slight clearance lets posts glide through laminated paperboard smoothly without tearing fibers while keeping studs and clutches snug.
How far apart should two earring holes sit on a jewelry backing card?
Standard stud earring post holes are spaced 0.50 to 0.75 inches (12.7 to 19 mm) apart center-to-center. For wide statement studs or chunky hoops, measure one earring's total width and add at least 4 mm so pairs never touch.
Should I pre-punch holes for two-post enamel pins or pierce them manually?
If your pins come from a consistent metal mold with identical post spacing (usually 8 to 12 mm), pre-punching two 1.5 mm holes speeds up packing dramatically. If hand-soldered post positions vary slightly, print faint backside guide dots instead.
What is the standard size and top margin for a retail Euro sombrero hang slot?
A standard retail Euro (sombrero) hang slot measures 1.25 inches wide by 0.375 inches tall (32 × 9.5 mm) centered horizontally near the top of the card, with at least a 0.25 inch (6.5 mm) solid paper bridge above it.
Does CubitPack charge extra for custom hole punches, necklace slits, or Euro slots?
No. CubitPack includes custom dielines and steel-rule cutting dies with zero die or printing plate fees, whether your backing card needs two stud piercings, six ear-stack holes, 45-degree chain slits, barrette windows, or an arch silhouette.
Can CubitPack create the backing card dieline if I only have my logo and product?
Yes. Share your item dimensions, post or clip measurements, and logo or artwork files when requesting a quote. Our design team builds your custom vector dieline free and sends a 2D proof and 3D mockup before payment.
Still have a question? Ask a packaging specialist.
Request a Quote →Request your backing cards quote
Tell us your size and quantities, and one dedicated account manager prepares pricing for each tier.
- Free design & AI-to-print studio + 3D mockup
- No die or plate charges · 4–5 day rush available
- Free shipping to all 50 states
- 10% off your first order
We checked post-punch diameters, 45-degree slit relief stops, Euro sombrero pegboard slot dimensions, foil-to-cutout clearances, and GS1 rear barcode quiet zones against commercial steel-rule die-cutting standards and GS1 symbol specifications. A packaging specialist verified every measurement. Spot something wrong? Tell us and we will fix it.
Sources
- Unobstructed white quiet-zone boxes and rear scan contrast away from protruding pin clutches and chains.
- Minimum 1/4 in top hang-bridge geometry, slit stress-relief stops, and foil-to-rule clearance tolerances.
- Retention security of dual-post pins, French ear wires, and Euro peg slots under retail transit vibration.
What changed
- November 16, 2026: First published with pin and earring punch diameter table, 45-degree necklace slit T-stop geometry, round vs delta vs Euro hang slot specs, and 2 mm foil safe-zone rules.
More guides
New packaging guides by email
Sizes, materials and design tips. Unsubscribe anytime.