
How do sleeve box dielines, tray locking notches, and window cutouts work?
Short answer: An ECMA A15 / FEFCO 0501 sleeve box dieline uses four wrap-around panels (Bottom, Left Side, Top, Right Side) plus a 0.50 to 0.75 inch bare longitudinal glue lap. Adding die-cut side lip-lock slots, double corner creases, or top windows lets the sleeve anchor plastic trays and showcase products cleanly.
On this page
- How does an ECMA A15 / FEFCO 0501 four-panel sleeve box dieline work
- How do tray lip-lock slots, tapered side walls, and double-parallel scores hold plastic trays and mailers
- What are the engineering rules for die-cut windows, thumb notches, and euro hang tabs on a sleeve
- How do I set up bleed, safe margins, and glue-lap knockouts on a sleeve box print file
- How do I get a custom sleeve box dieline and 3D proof from CubitPack
- Common mistakes
- FAQs
Request a custom quoteFree dieline & 3D mockup
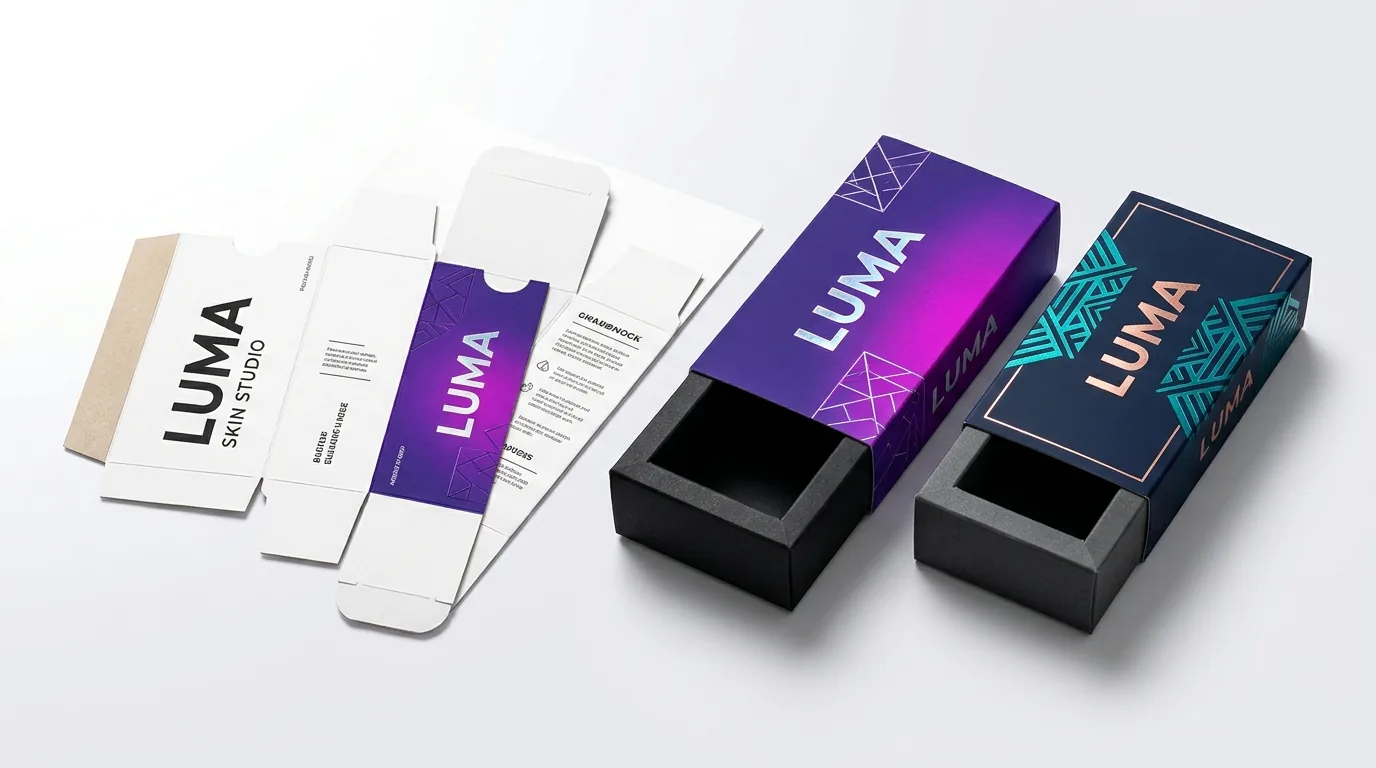
Understanding the engineering of an ECMA A15.10.00.00 / FEFCO 0501 dieline for custom sleeve boxes helps you design a sleeve that glides smoothly over your product or container, locks securely onto plastic trays, and never tears along window bridges. Across the flat press sheet from left to right, the dieline lays out a 0.50 to 0.75 inch unvarnished glue lap, the Bottom/Back panel (Span L), the Left Side wall (Height W), the Top/Front display panel (Span L), and the Right Side wall (Height W), separated by four pre-broken longitudinal score lines. Because both ends of the tube are open die-cut knife edges with zero end flaps, cross-score grain orientation (running perpendicular to the four fold scores) is essential to keep the Top and Bottom panels taut. Adding die-cut side lip-lock slots anchors flanged thermoformed PET trays, while keeping window cutouts at least 0.50 inches inside the open edges prevents tearing.
How does an ECMA A15 / FEFCO 0501 four-panel sleeve box dieline work?
When you order custom sleeve boxes from CubitPack, our structural team builds a custom 2D vector dieline calibrated to your exact Inside Length (L) × Inside Width (W) × Sleeve Band Depth (D) and board caliper (16 pt to 24 pt or E-flute). Here is what each zone on the flat dieline does during converting and packing
| Dieline zone | Location on flat sheet | Engineering rule & dimension | Role during folding & use |
|---|---|---|---|
| Top / Front Display Panel | Column 3 (center-right main face) | Width = Inside L (+0.4 to +1.5 mm clearance) | Carries hero branding, foil, embossing, or window |
| Left & Right Side Walls | Columns 2 & 4 (flanking Top panel) | Width = Inside W · Optional double scores or lip locks | Sets vertical height; grips container sides |
| Bottom / Back Panel | Column 1 (left of Left Side wall) | Width = Inside L · Conceals inside glue seam | Carries ingredients, UPC barcode, and overlap seam |
| Longitudinal Glue Lap | Far left edge of Bottom panel | 0.50–0.75 in (13–19 mm) wide, 15° tapered shoulders | Masked bare of varnish/film for 100% fiber-tear bond |
| Open Top & Bottom Edges | Horizontal perimeter knife lines | Clean steel-rule cut · Optional half-moon thumb notches | Forms the two open ends where product glides through |
How do tray lip-lock slots, tapered side walls, and double-parallel scores hold plastic trays and mailers?
Not every container is a sharp-cornered rigid box. When you are designing custom macaron boxes, custom chocolate boxes, custom bath bomb boxes, or sleeves for corrugated mailers, three specialized dieline features ensure a rock-solid fit
- 1. Side lip-lock slots for flanged thermoformed PET trays: Clear plastic macaron blisters, chocolate cavity trays, and refrigerated meal trays have a projecting 3 to 5 mm horizontal top rim (flange) and tapered lower walls. By die-cutting paired horizontal slots or half-moon tabs along the upper Left and Right Side score lines of the sleeve, the plastic tray flange snaps right through the slots and locks the sleeve horizontally so the tray cannot slide out in transit.
- 2. Tapered (trapezoidal) side panels for sloped food containers: If you want the Left and Right Side walls of the sleeve to hug the angled sides of a tapered pulp or plastic bowl, we angle the four fold scores inward toward the bottom panel so the erected tube forms a snug trapezoid.
- 3. Double-parallel crease scores for corrugated mailers and rounded tins: Corrugated mailer boxes and rolled-edge metal tins have rounded outer corners rather than sharp 90-degree edges. Placing two parallel score lines spaced 2.0 to 3.5 mm apart at each of the four corners lets the paperboard sleeve wrap smoothly around the corner radius without pinching or creasing the front panel.
What are the engineering rules for die-cut windows, thumb notches, and euro hang tabs on a sleeve?
Because an open-ended sleeve has no end flaps reinforcing its mouth edges, die-cut cutouts on the Top or Back panel must preserve strong paperboard bridges across the open ends. Follow these structural minimums across custom soap boxes, custom sock boxes, and custom candle boxes
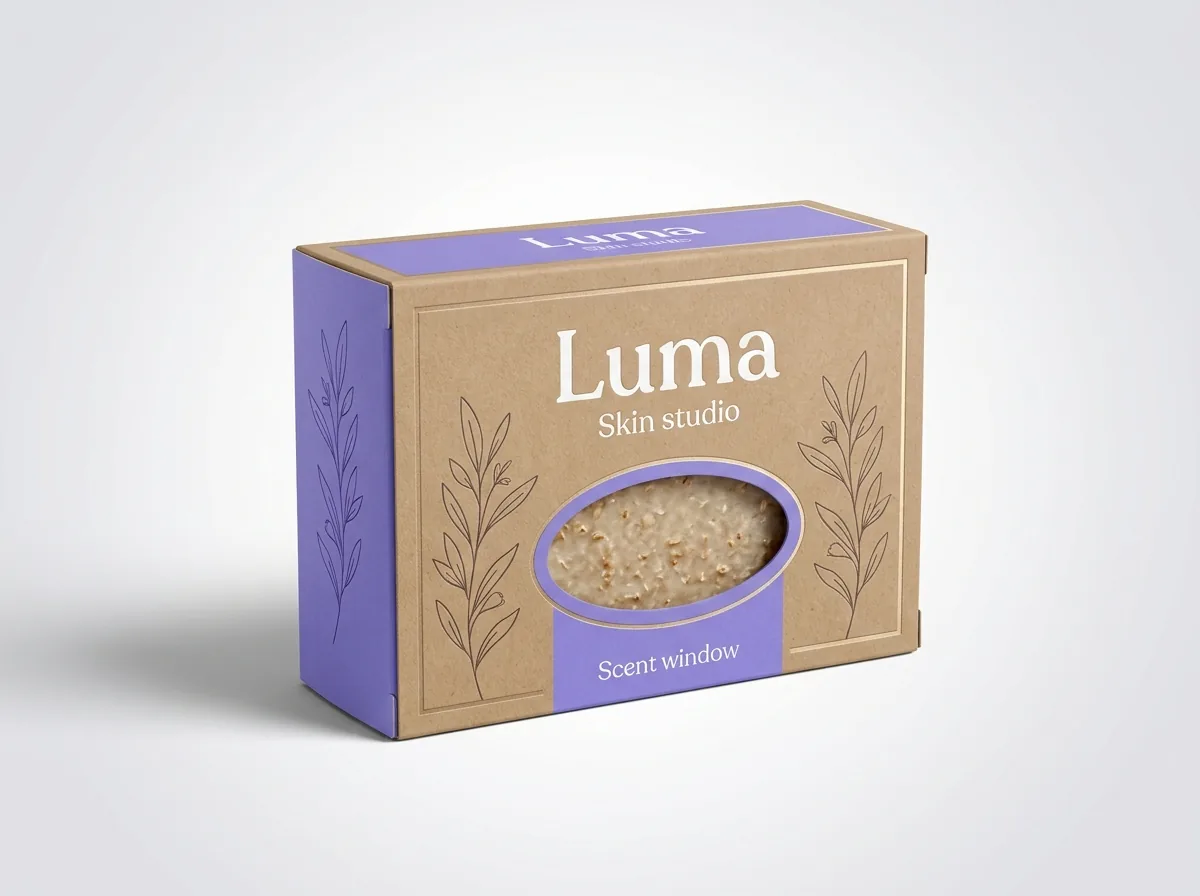
- Minimum 0.50 in (13 mm) window bridge at both open ends: Whether you choose an open die-cut window (for bar soap scent testing) or a clear PET film-patched window (for macarons and bath bombs), keep the window opening at least 0.50 inches away from the open left and right slide edges and at least 0.375 inches (9.5 mm) away from the four corner score lines. That leaves a rigid paperboard bridge that will not buckle or tear when the inner tray slides in.
- Ergonomic half-moon thumb notches (0.625 to 0.875 in wide × 0.375 in deep): Die-cutting a curved finger notch centered on one or both open edges of the Top panel (or Left/Right Side walls) lets customers grip the inner soap bar or drawer box easily.
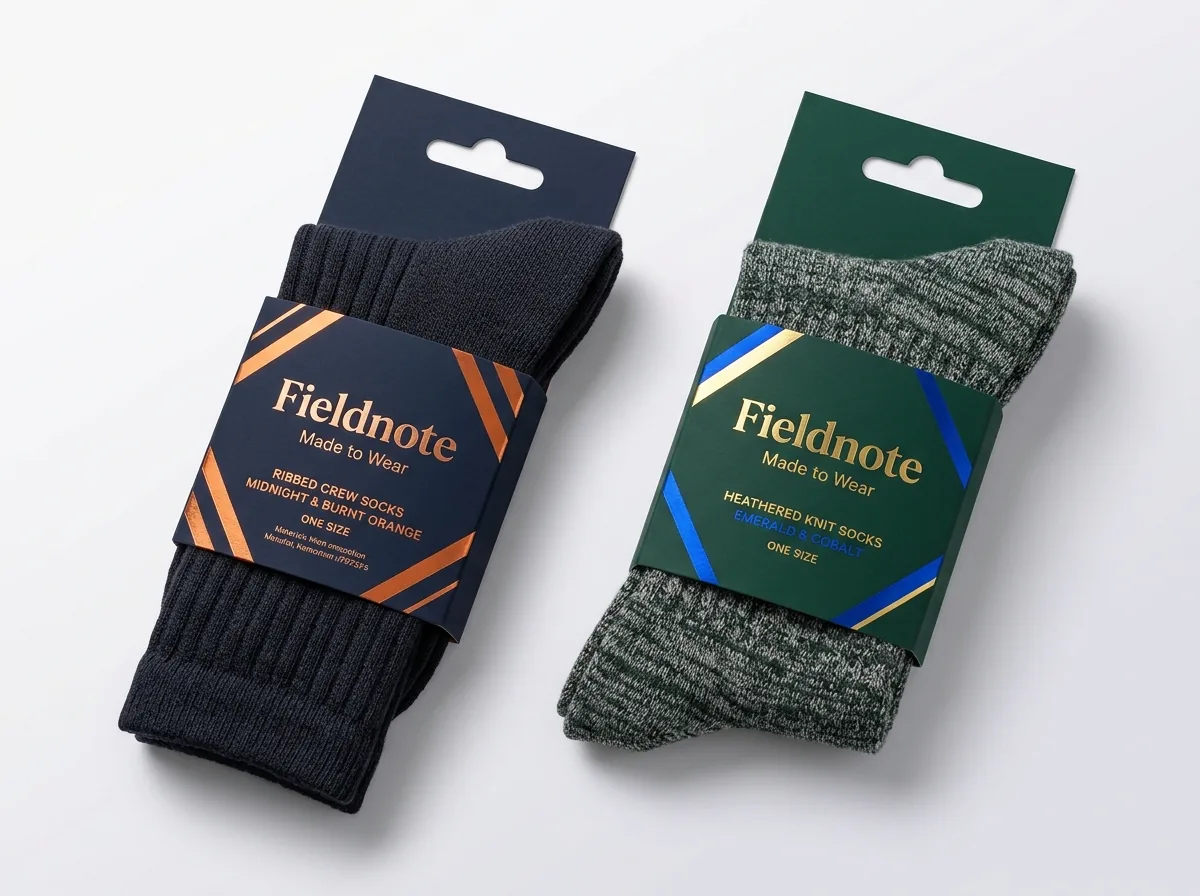
- Extended back-panel euro hang tabs for retail pegboards: For sock belly bands, stationery packs, and small gift sleeves sold on retail peg hooks, we extend the Bottom/Back panel upward by 1.25 to 1.50 inches past the top open edge and die-cut a reinforced delta or euro hang slot.
Know your size? Compare pricing across up to 3 quantities.
Request a Quote →How do I set up bleed, safe margins, and glue-lap knockouts on a sleeve box print file?
Whether you are preparing artwork for custom tea boxes or custom greeting card boxes, setting up your vector dieline layers properly ensures your open edges cut cleanly without white paper slivers and your longitudinal glue seam bonds at 100% fiber-tear strength. Because both ends of a sleeve are exposed to the customer's eye during sliding, extending exterior background colors 0.125 inches past the top and bottom cut lines (and optionally adding a 0.375-inch interior ink return) creates a clean gallery finish. Check your vector file against this five-point prepress specification table before uploading
| Prepress element | Standard specification | Placement on sleeve dieline | Production purpose |
|---|---|---|---|
| Exterior ink bleed | 0.125 in (3.175 mm) outside cut lines | Both open ends + outer right edge + window | Prevents white paper slivers on open edges |
| Text & logo safe zone | 0.125 in (3.175 mm) inside scores & cuts | All 4 panels (Top, Bottom, Left & Right Sides) | Keeps typography and foil off corner creases |
| Glue-lap knockout | 100% ink-, varnish-, and film-free | 0.50–0.75 in left glue lap + inner overlap strip | Ensures 100% fiber-tear longitudinal seam bond |
| Cross-score grain | Grain perpendicular to 4 fold scores | Runs parallel to Sleeve Band Depth (D) | Gives Top and Bottom faces maximum bridge stiffness |
| Inside panel printing | Optional CMYK or Flood Pantone | Interior sheet surface + 0.25 in wrap-in at ends | Hides white board core at both open ends |

How do I get a custom sleeve box dieline and 3D proof from CubitPack?
Ready to lay out your sleeve artwork? Read our companion guides on how to measure and choose board for sleeve boxes and sleeve boxes vs belly bands and tray and sleeve boxes. Every order of printed packaging sleeves from CubitPack starting at 1,000 units includes free prepress support, zero die or plate charges, a custom 2D vector dieline, and an interactive 3D mockup before payment. Whether you are sliding a window sleeve over a 12-cavity macaron tray, wrapping cold-process soap bars in breathable kraft, or versioning five seasonal sleeves over one plain corrugated mailer box, follow this 4-step prepress workflow
- Step 1: Enter your target Inside L × W × D (or the outside dimensions of your box, tray, or soap bar) and quantity in our quote form; our structural team sends back a custom 2D vector dieline (.ai / PDF) with cut lines, score lines, lip-lock slots, window margins, and glue knockouts on separate layers.
- Step 2: Place your CMYK or Pantone artwork on the art layer (or send us your logo and text and let our designers set up your print files for free), keeping any metallic foil stamping, embossing, or spot UV on separate 100% K vector spot layers.
- Step 3: If your sleeve wraps a dark box or soap bar, consider adding flood inside printing (or a 0.375-inch interior ink return along both open ends) so no white paperboard edge shows around the open mouth.
- Step 4: Approve your free 2D vector dieline proof and interactive 3D mockup before payment, or order a physical structural sample to test the slide fit and lip-lock slots on your actual container.
What are the most common dieline and prepress mistakes on custom sleeve boxes?
Check your sleeve artwork file against these five prepress errors before going to press
- Placing a die-cut top window closer than 0.50 inches (13 mm) to the open left or right mouth of the sleeve, leaving a fragile paper strip that tears when the tray slides in.
- Flooding UV gloss coating or soft-touch film lamination over the 0.50 to 0.75 inch longitudinal glue lap instead of leaving it bare for cold PVA or hot-melt bonding.
- Designing a dark exterior sleeve without extending a 0.375-inch ink return onto the inside of the open ends, which can show a bright white inner rim on store shelves.
- Centering the longitudinal glue seam across the Top display face instead of placing it along the corner edge of the Bottom/Back panel.
- Using single sharp 90-degree crease scores on a sleeve that wraps a thick, round-cornered corrugated mailer box instead of specifying double-parallel corner scores.
Get a sleeve dieline at your size
A simplified drawing for planning your design. Your free production dieline comes with your proof, made for your exact size and board.
Packaging for this




Ready to order sleeve boxes? Compare up to 3 quantities with a free 3D mockup.
Request a Quote →Questions about sleeve boxes
Where is the glue seam located on a custom sleeve box?
On a standard ECMA A15 four-panel sleeve box, the 0.50 to 0.75 inch glue lap is hinged to the left edge of the Bottom/Back panel and bonds inside the Right Side wall along a bottom corner crease. That keeps the Top front display panel and both vertical side walls completely free of visible seams.
How do lip-lock notches keep a plastic macaron or chocolate tray inside an open sleeve?
We die-cut paired horizontal slots or winged tabs right along the upper Left and Right Side score lines of the sleeve. When you slide the thermoformed PET tray inside, its projecting top flange snaps into the slots so the tray stays locked in the center of the sleeve until the customer flexes the sides.
Should a bar soap sleeve have an open window or a plastic-patched window?
Most soap makers prefer an open die-cut window (or simply a 2.0 to 2.5 inch Sleeve Band Depth that leaves both ends of the bar exposed) with no plastic patch. That allows shoppers to smell the essential oils directly and lets cured cold-process soap breathe without trapping moisture.
What are double-parallel corner scores and when does my sleeve need them?
Double-parallel corner scores are two crease lines placed 2.0 to 3.5 mm apart at each corner of the sleeve instead of a single crease. They create a micro-chamfer that wraps smoothly around the rounded corners of corrugated mailer boxes or rolled-edge tins without bowing the front panel.
Do I have to draw the lip-lock notches, thumb cutouts, or euro hang tab myself?
No. When you request a quote from CubitPack, our packaging specialists build the exact ECMA A15 2D vector dieline, complete with lip-lock slots, window bridges, thumb notches, or euro hang tabs, at no cost.
Still have a question? Ask a packaging specialist.
Request a Quote →Request your sleeve boxes quote
Tell us your size and quantities, and one dedicated account manager prepares pricing for each tier.
- Free design & AI-to-print studio + 3D mockup
- No die or plate charges · 4–5 day rush available
- Free shipping to all 50 states
- 10% off your first order
We verified ECMA A15.10.00.00 and FEFCO 0501 sleeve dieline geometry, thermoformed tray lip-lock slot rules, double-parallel corner score spacing, and 0.50 in window bridge margins against European Carton Makers Association (ECMA), FEFCO, and Paperboard Packaging Council (PPC) technical manuals. A packaging specialist checked every specification. Spot something wrong? Tell us and we fix it.
Sources
What changed
- October 26, 2026: First published with ECMA A15 4-panel dieline breakdown, PET tray lip-lock and double-score diagram, window/thumb/hang-tab rules, and prepress table.
More guides
New packaging guides by email
Sizes, materials and design tips. Unsubscribe anytime.