
How do I read a magnetic closure rigid box dieline and set up wrap artwork?
Short answer: Unlike a folding carton cut from one sheet of card, a magnetic closure rigid box uses a two-layer template: a V-grooved chipboard core with recessed magnet pockets, plus an outer and inner paper wrap sheet with 15–20 mm (0.6–0.8 in) turn-in margins that fold over the board edges on custom magnetic closure boxes.
On this page
- What are the parts of a magnetic closure rigid box template
- How do 15–20 mm paper wrap turn-ins and V-grooved corners work
- Where sit the hidden magnet pockets, and what should stay clear of them
- How do I orient artwork on the top lid, front flap, and inside lid
- How do I get a custom magnetic closure box template and 3D proof
- Common mistakes
- FAQs
Request a custom quoteFree dieline & 3D mockup
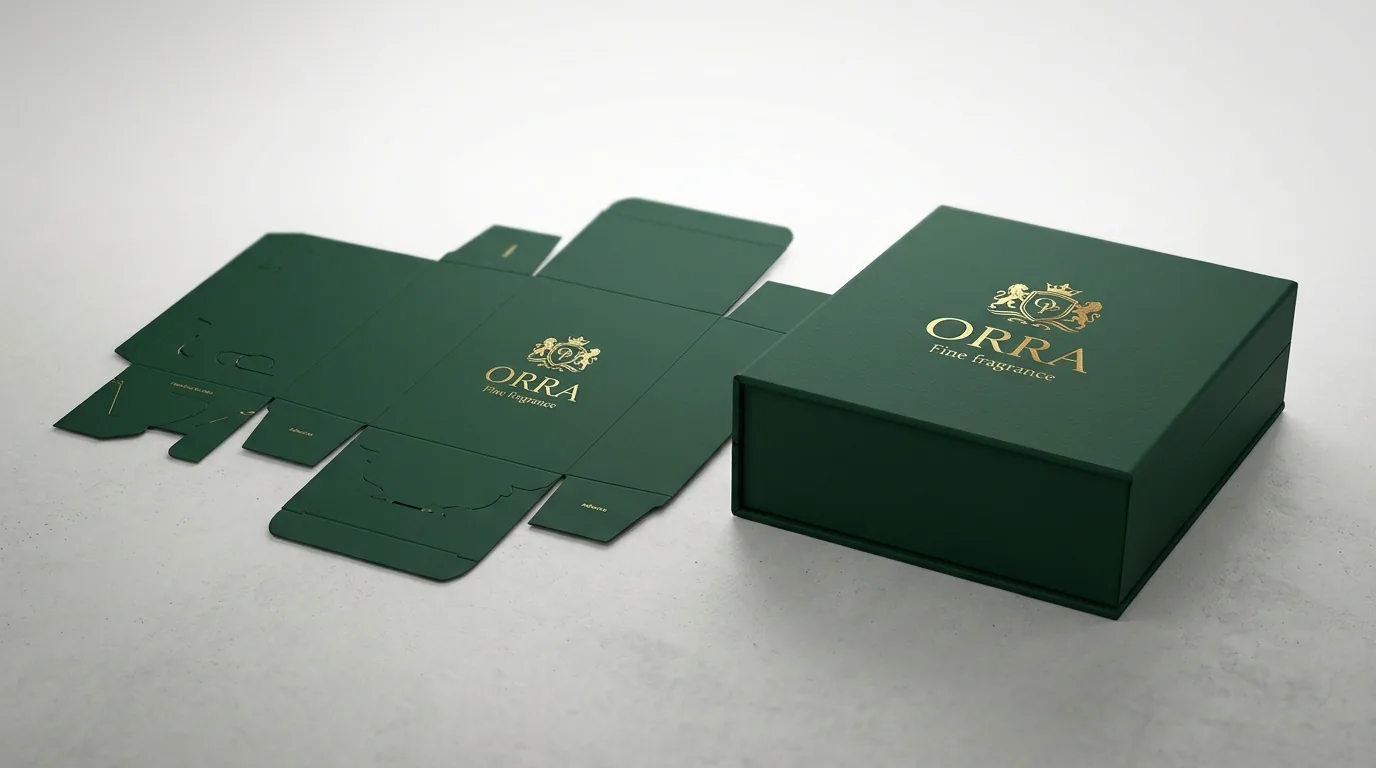
When you open a production dieline for a magnetic closure rigid box in Adobe Illustrator or inspect your CubitPack PDF proof, you will notice right away that it does not look like a one-piece tuck-end carton. Because a rigid setup box is built by wrapping printed 120–157 gsm art paper or kraft paper around a dense 1.5 mm to 3.0 mm gray chipboard skeleton, the structural template is divided into two assemblies: the hinged outer case wrap (spanning the under-floor panel, the back spine, the top lid, and the front magnetic closure flap) and the four-wall base tray wrap (plus the inside liner). Surrounding every outer board edge is a 15 to 20 mm (0.6 to 0.8 inch) wrap turn-in zone that folds around the 90-degree V-grooved board edge and tucks inside before the inner liner is laminated on.
What are the parts of a magnetic closure rigid box template?
When our structural team prepares the production template for your printed magnetic closure boxes, we lay out the exterior case wrap, the interior liner, and the base tray wrap side by side. Compare each zone on your proof against the table below
| Template part | Where it sits on the flat wrap sheet | Mechanical role on the finished box | Artwork & prepress rule |
|---|---|---|---|
| Base under-floor panel | Bottom rectangle of the 4-panel outer case wrap | Glues underneath the rigid base tray floor; rests on the table | Good spot for subtle brand mark, website URL, or recycling icon |
| Back spine hinge | Horizontal strip between the base floor and top lid (Height = box H) | Double V-grooved spine that hinges the lid open and closed like a book | Keep small text at least 0.25 in inside the upper and lower V-groove hinges |
| Top lid panel (main face) | Large center rectangle above the back spine | Primary top surface of the closed box facing the customer | Main zone for centered logo, foil stamping, blind debossing, or spot UV |
| Front magnetic closure flap | Topmost panel of the outer case wrap (typically 60%–80% of box H) | Folds down 90 degrees over the front tray wall and snaps onto the magnets | Orient text upside-down on the flat sheet so it reads upright when folded down |
| Wrap turn-in margin (15–20 mm) | Outer perimeter border extending 0.6–0.8 in past the board edges | Wraps around the 2 mm board thickness and tucks onto the inside surface | Extend background color and patterns across the entire turn-in + 3 mm bleed |
| Inside lid & spine liner | Separate flat sheet laminated onto the interior of the open case | Covers the raw turn-in edges and forms the inside-lid presentation surface | Place welcome messages, founder notes, or inside foil centered on the lid zone |
| Four-wall base tray wrap | Cross-shaped or strip wrap covering the four upright rigid tray walls | Skins the exterior and top rim of the V-grooved four-wall tray | Front tray wall sits behind the closed magnetic flap; side walls show when closed |
How do 15–20 mm paper wrap turn-ins and V-grooved corners work?
The signature crisp, 90-degree edges of a luxury rigid box come from combining V-grooved chipboard with a generous paper wrap turn-in. On the converting line, a V-grooving machine cuts a 90-degree wedge halfway through the 2.0 mm chipboard along every fold line so the board folds into a sharp right angle without bulging. Next, an automatic wrapping machine glues the printed 157 gsm paper wrap onto the outside of the board and folds the 15–20 mm perimeter turn-in margin over the top edge of the wall and down onto the inside face.
- Board edgeline (solid black or blue line): Marks the outer edge of the 1.5–3.0 mm chipboard.
- V-groove / hinge line (dashed purple line): Marks where the outer case bends 90 degrees at the spine and front magnetic flap.
- Wrap turn-in zone (15–20 mm / 0.6–0.8 in outside the board edge): This paper wraps over the thickness of the board and 15 mm onto the reverse side before the inner liner covers it.
- Safe zone for logos and foil (0.25 in / 6 mm inside V-grooves and board edges): Keep all text, borders, and foil dies safely inside the flat face of each panel.
Where sit the hidden magnet pockets, and what should stay clear of them?
To make the magnetic closure invisible from both the outside and inside, pairs of thin neodymium disk magnets (or rectangular bar magnets) are glued into die-cut recesses in the chipboard before the paper wrap is laminated over the board. On your dieline proof, these magnet locations appear as two or four small circles near the outer edge of the front closure flap and at matching coordinates on the front wall of the rigid base tray.
- Printing over magnet zones is fine: CMYK ink, Pantone flood coats, soft-touch lamination, and spot UV pass smoothly over the wrapped magnet pockets without any visible bump or color shift.
- Keep deep embossing and debossing 0.5 in (12 mm) away: Because a metal debossing die presses into the chipboard under high tonnage, stamping directly on top of a recessed steel magnet will crush the board pocket or leave a ring impression.
- Keep top lid windows clear of the front fold: If you add a clear PET window on the top lid, leave at least 0.6 inches (15 mm) of solid wrapped board between the window cutout and the front magnetic flap hinge so the lid frame stays rigid.
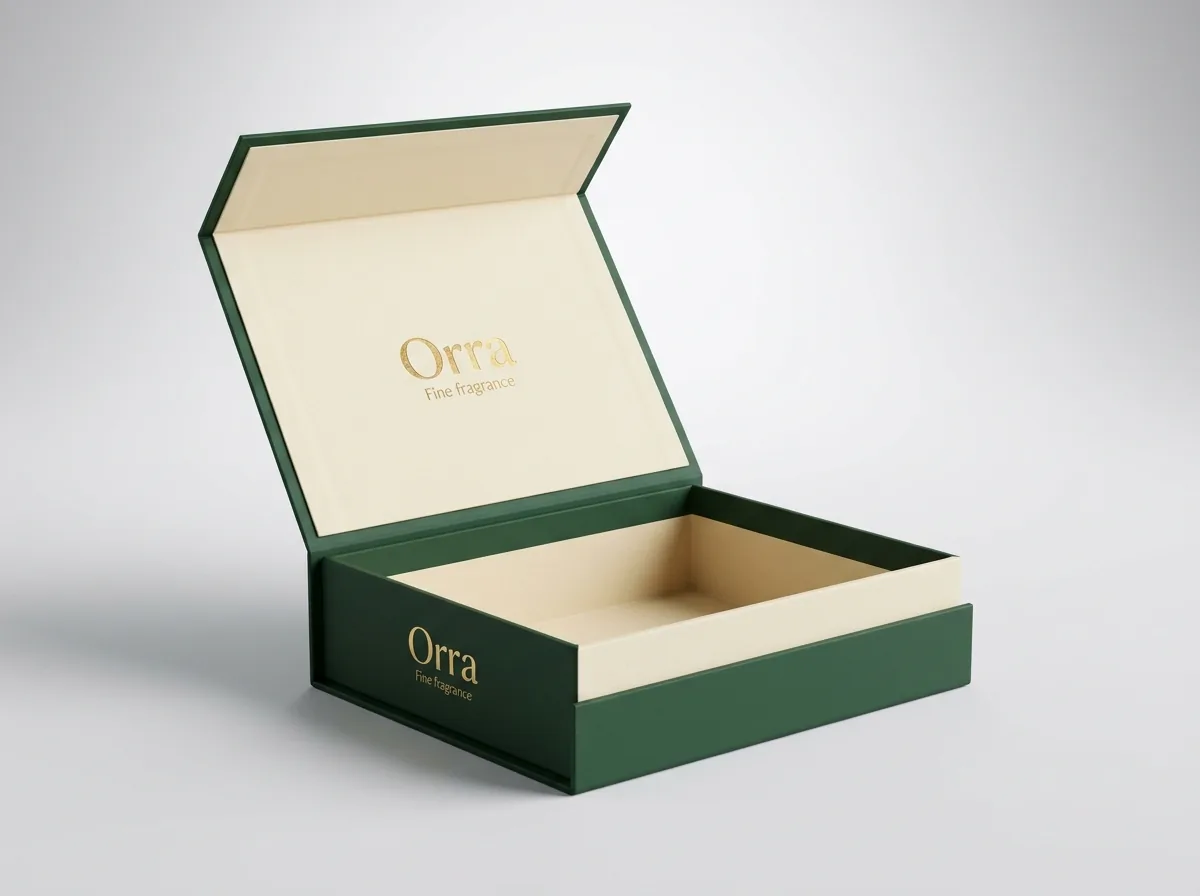
- Ribbon pull tab clearance: If you add a satin or grosgrain ribbon pull tab centered on the front flap (like on our custom bridesmaid proposal boxes), the two magnets sit to the left and right of the center ribbon slot.
Know your size? Compare pricing across up to 3 quantities.
Request a Quote →How do I orient artwork on the top lid, front flap, and inside lid?
Because the four-panel outer case wrap wraps around the bottom, back spine, top lid, and front wall of the box, artwork orientation changes as you move up the flat template
- Top lid panel: When viewing the flat outer case wrap with the base floor at the bottom and the front magnetic flap at the top, place your Top Lid artwork right-side up. When the box sits closed on a table with the front flap facing the viewer, the lid reads right-side up.
- Front magnetic closure flap: On that same flat layout, the front flap sits above the Top Lid and folds down 90 degrees toward the viewer. Orient any logo or tagline on the front flap upside-down on the flat template so it stands right-side up once folded down over the front wall.
- Back spine panel: Orient spine text horizontally along the length of the spine so it reads cleanly when boxes are stacked.
- Inside lid liner: On the separate Inside Liner template, orient your welcome message or illustration right-side up so it greets the recipient when they lift the lid back.
How do I get a custom magnetic closure box template and 3D proof?
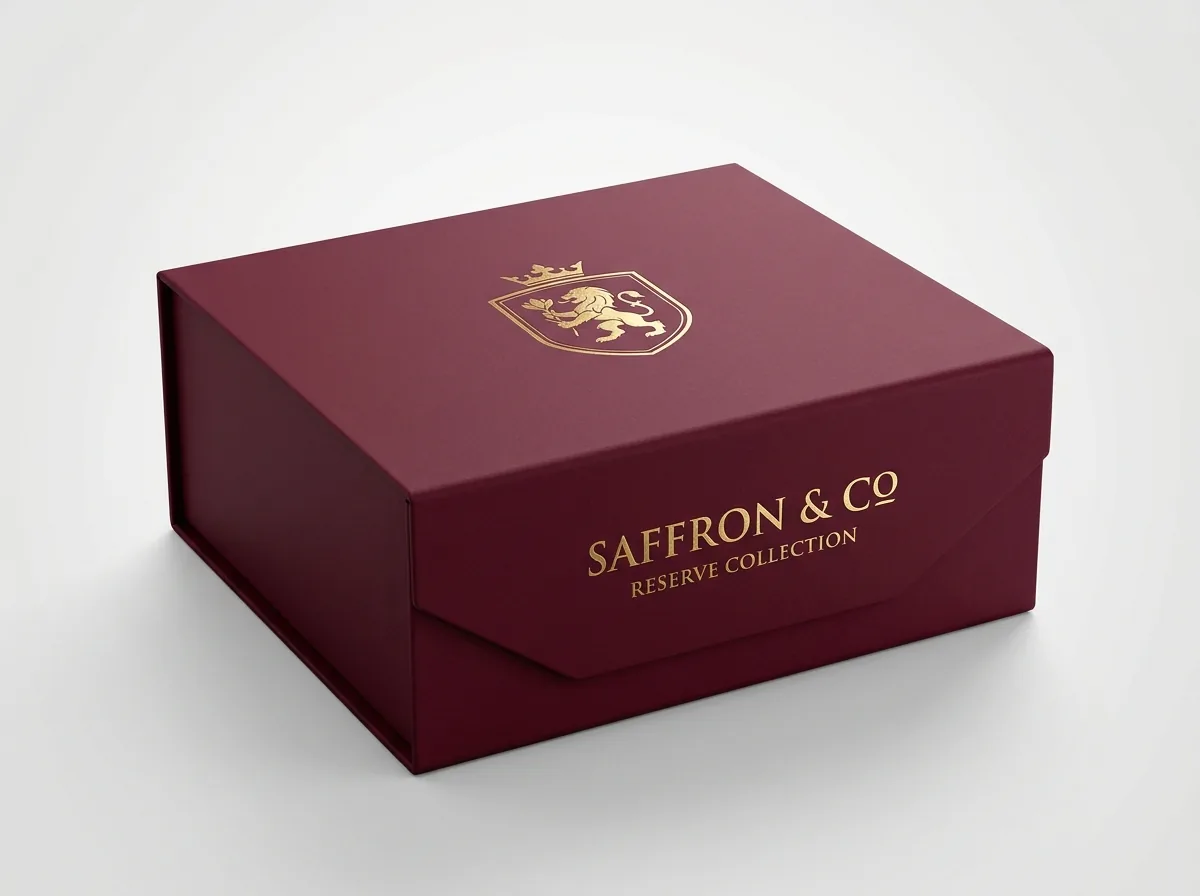
Because every rigid box size and board thickness (1.5 mm, 2.0 mm, 2.5 mm, or 3.0 mm) changes the exact spine width, front magnetic flap drop, and 15–20 mm wrap turn-in dimensions, our structural team builds a custom vector template for every order at no cost. Whether you are ordering 50 custom perfume boxes, custom watch boxes, or custom book-style boxes, simply enter your inside tray Length × Width × Height in the quote form (see how to measure for a magnetic closure rigid box and our comparison of magnetic closure vs book-style and collapsible rigid boxes). You can upload your finished Illustrator file on the template, work with our packaging designers to lay out your foil stamping and spot UV layers, or generate concepts with AI-assisted design. Before you pay a cent, we send a full digital prepress proof and an interactive 3D mockup showing the closed lid, the front magnetic flap, and the open interior tray. Standard production takes 10–14 business days (with 4–5 business day rush available), there are zero die or plate charges, and shipping is free across all 50 US states.
What are the most common magnetic rigid box dieline mistakes?
Check your wrap file against these five prepress pitfalls before sending artwork to production
- Stopping background color at the chipboard edge instead of extending it across the full 15–20 mm paper wrap turn-in margin.
- Orienting text right-side up on the flat front magnetic flap panel, which makes it read upside-down once the flap folds down over the front wall.
- Placing a deep blind-debossed logo or foil die directly over the recessed neodymium magnet pockets on the front flap.
- Running unlaminated dark ink across the 90-degree V-grooved spine and corner turn-ins. Always add soft-touch, matte, or gloss lamination on dark wraps so paper fibers never crack.
- Using a folding carton dieline for a rigid box. Rigid setup boxes require separate wrap turn-in and inner liner allowances for 1.5–3.0 mm board.
Packaging for this
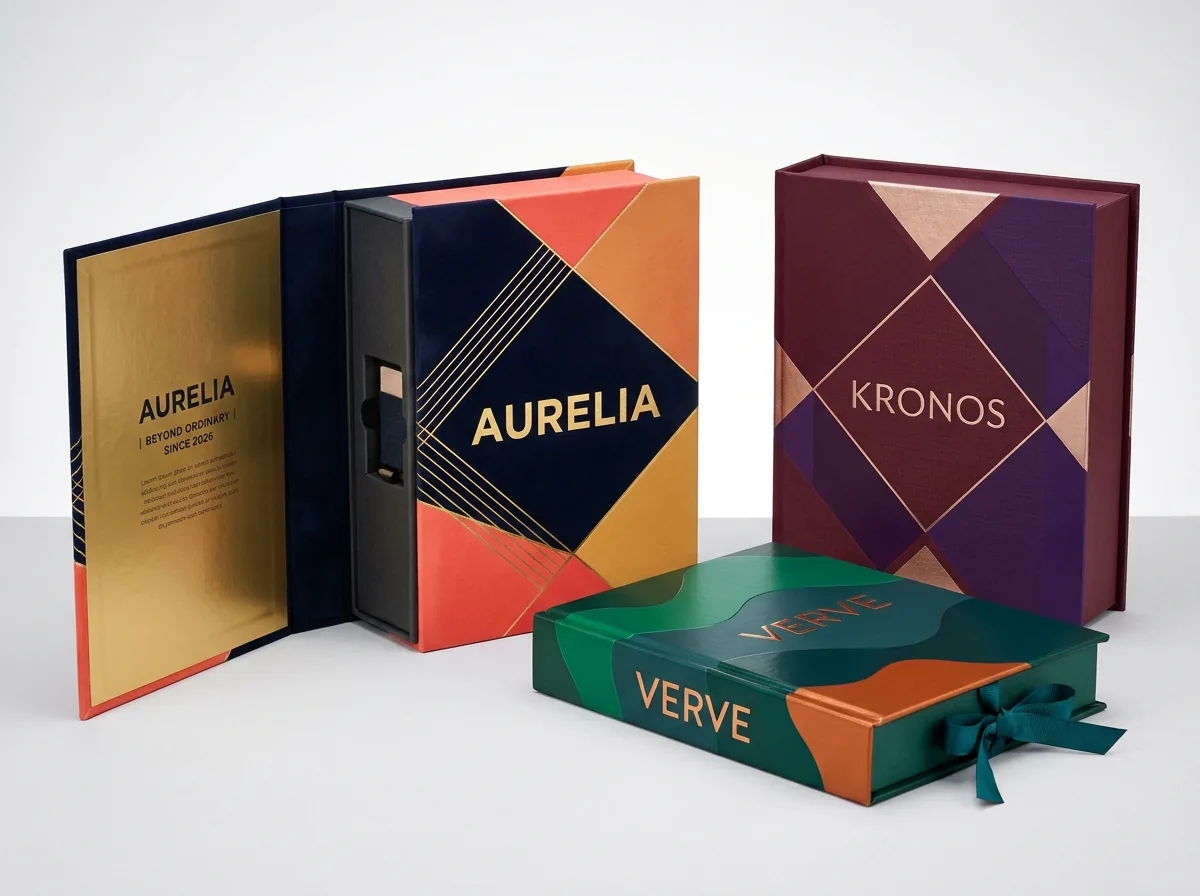
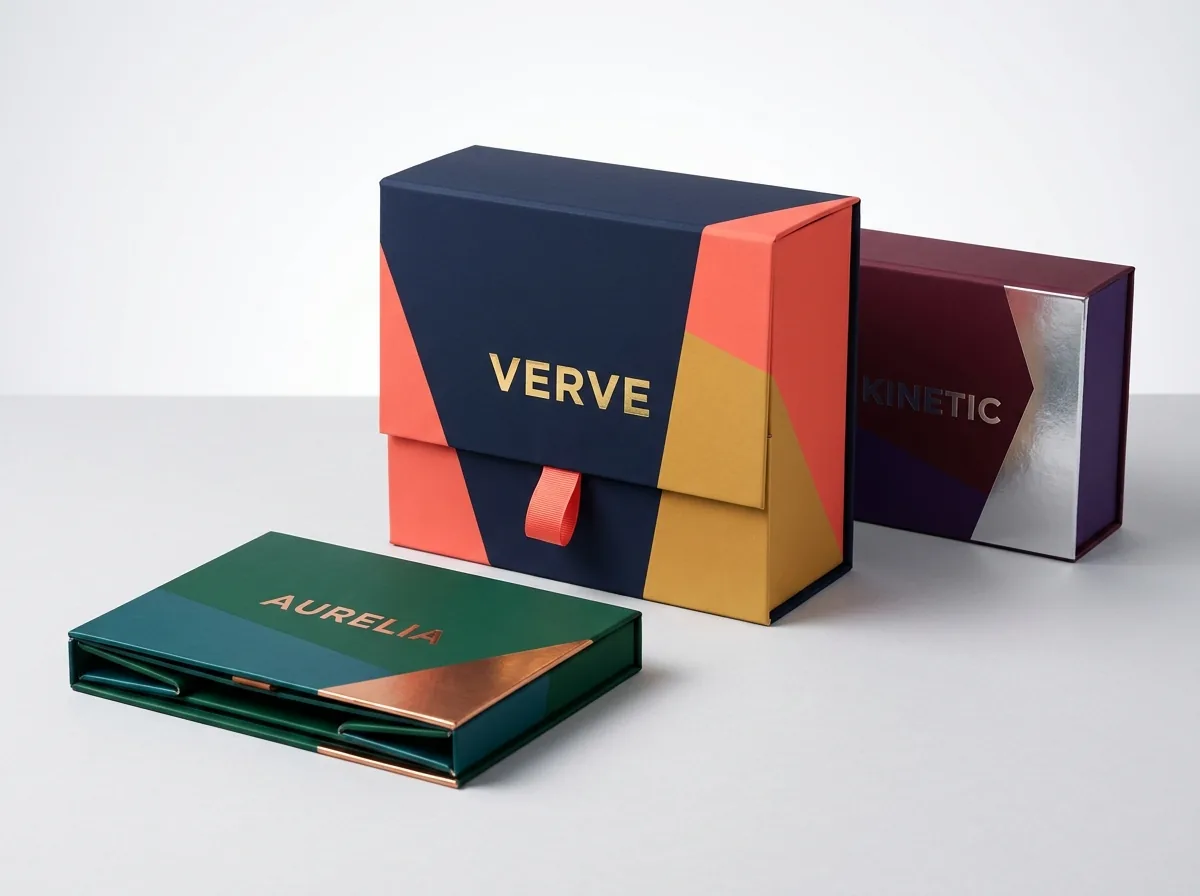


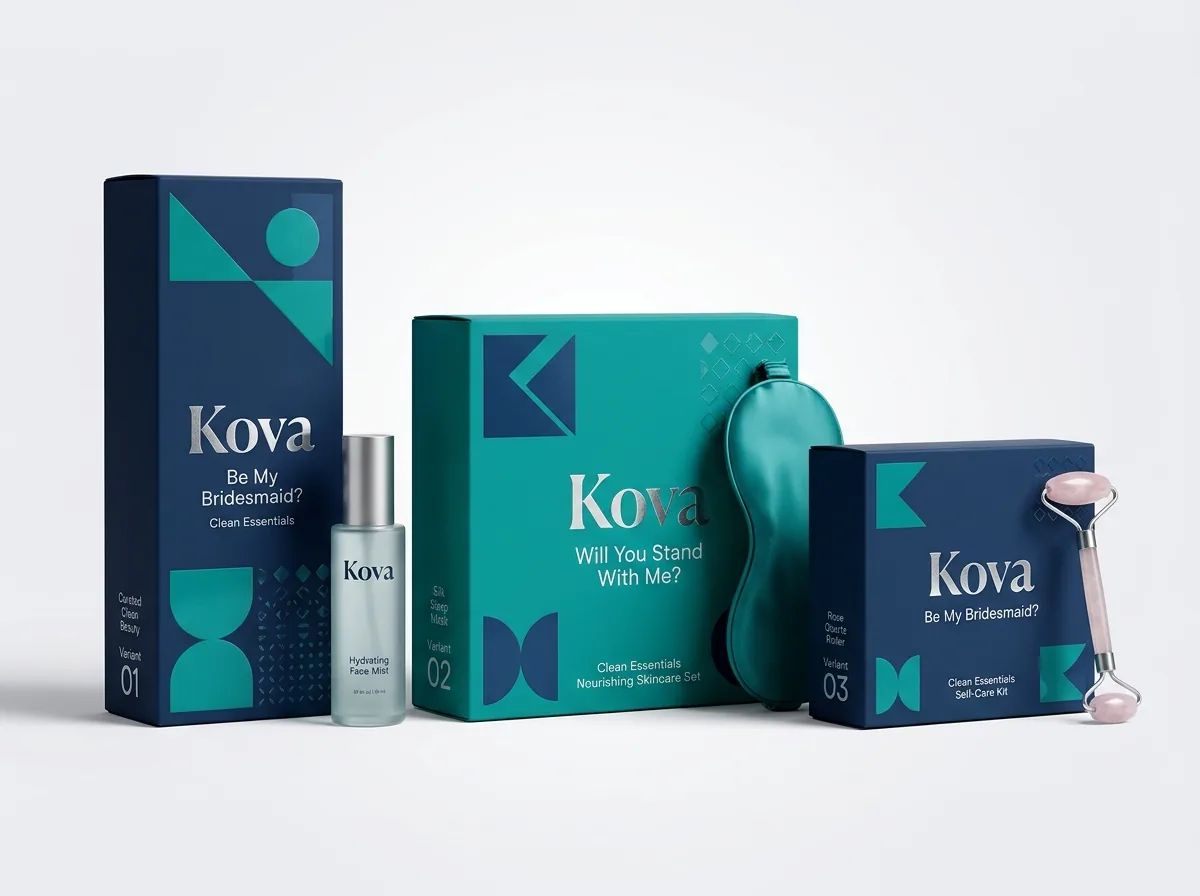
Ready to order magnetic closure boxes? Compare up to 3 quantities with a free 3D mockup.
Request a Quote →Questions about magnetic closure boxes
Why does a magnetic closure rigid box dieline have a 15–20 mm border around the panels?
That 15–20 mm (0.6–0.8 inch) border is the paper wrap turn-in. After the printed paper is glued to the outside of the thick chipboard, the wrapping machine folds that extra margin over the top edge of the board and onto the inside wall before the inner liner is applied.
Can I print across the hidden magnet pockets on the front flap?
Yes. Standard CMYK or Pantone ink, lamination, and spot UV print smoothly over the wrapped magnet zones. Just keep heavy metal debossing or embossing dies at least 0.5 inches away from the magnet circles.
How do I avoid white corner cracks on a black, navy, or forest green rigid box?
Add soft-touch, matte, or gloss film lamination over the printed 157 gsm C2S art paper wrap. The flexible lamination film seals the paper fibers so they fold cleanly around the sharp 90-degree V-grooved chipboard corners.
How is inside printing set up on a magnetic closure box?
Inside printing is placed on a separate Inside Liner sheet that is laminated onto the interior of the back spine, top lid, and front flap after the outer wrap turn-ins are folded down.
Do I need to calculate the board thickness offset on the wrap dieline myself?
No. Simply tell us your usable inside tray Length × Width × Height, and our structural team builds the exact chipboard and paper wrap templates for your chosen board caliper (1.5 mm to 3.0 mm) at no charge.
Will I see a 3D mockup to verify panel orientation before my boxes are made?
Yes. Every order (starting from 50 boxes) includes a free digital proof and an interactive 3D mockup before payment so you can verify the top lid, front magnetic flap, spine, and inside lid alignment.
Still have a question? Ask a packaging specialist.
Request a Quote →Request your magnetic closure boxes quote
Tell us your size and quantities, and one dedicated account manager prepares pricing for each tier.
- Free design & AI-to-print studio + 3D mockup
- No die or plate charges · 4–5 day rush available
- Free shipping to all 50 states
- 10% off your first order
We verified two-part rigid setup box wrap layouts, 90-degree V-groove scoring rules, 15–20 mm paper wrap turn-in tolerances, and recessed magnet pocket clearances against Paperboard Packaging Council rigid box guidelines and FEFCO multi-part construction standards. A packaging specialist checked every prepress rule. Spot something wrong? Tell us and we fix it.
Sources
What changed
- October 24, 2026: First published with two-part rigid wrap panel map, 15–20 mm turn-in diagram, and magnet pocket prepress rules.
More guides
New packaging guides by email
Sizes, materials and design tips. Unsubscribe anytime.