
How do I prepare custom lip gloss box dielines and shade names?
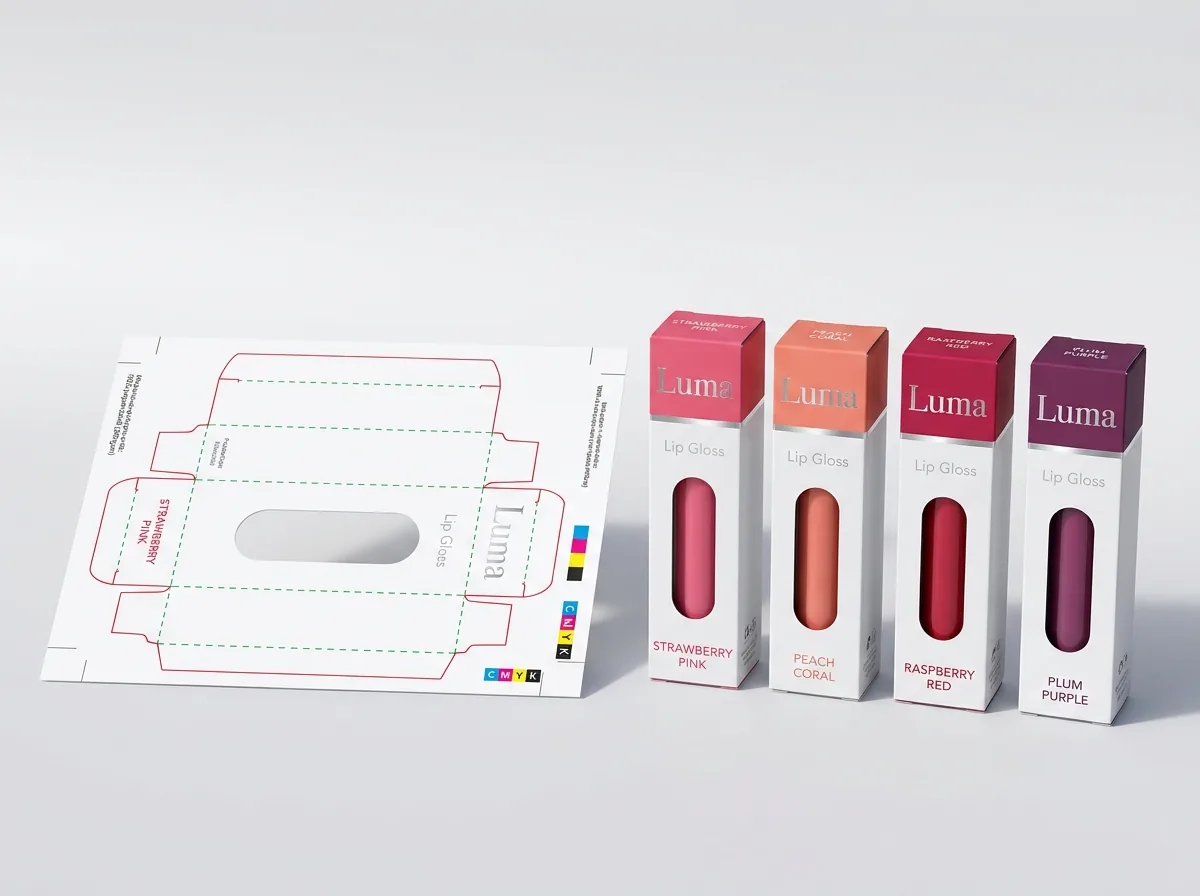
Short answer: Prepare a lip gloss box dieline by locking one master vector template (cut lines, fold scores, 0.125 inch bleed and optional window cutout) across all flavors, placing shade names and Pantone swatches on the top tuck flap, and isolating foil or spot UV on separate vector spot layers for custom lip gloss boxes.
On this page
- Which panels of a lip gloss carton carry the window, shade badge, ingredients and barcode
- How do you set up vector layers for die-cut windows, foil and gloss spot UV drips
- How do you batch 4 to 12 lip gloss shades or flavors in one production run
- What prepress checklist should you run before approving your 3D mockup
- Common mistakes
- FAQs
Request a custom quoteFree dieline & 3D mockup
A multi-shade lip gloss or lip oil line works best when every SKU shares one master vector dieline with a locked structural layer and a swappable shade layer. Start by setting your exact inside Length × Width × Height (such as 0.8125 × 0.8125 × 4.5 inches for a doe-foot wand vial or 1.25 × 0.875 × 4.25 inches for a crimped squeeze tube) and locking the cut lines, fold scores, 0.125 inch outer bleed, die-cut window aperture and shared ”May Contain [+/-]” ingredient list on a master background layer. Then create one artwork layer per shade or flavor that swaps the Pantone color band, the top-flap shade badge, the flavor illustration and the unique UPC barcode. Isolate high-gloss spot UV drip graphics and metallic foil stamping on separate 100% vector spot layers. At CubitPack, multi-shade runs start at 1,000 total boxes with free design help and zero die or plate charges.
Which panels of a lip gloss carton carry the window, shade badge, ingredients and barcode?
A tall, slender lip gloss carton (typically 0.8125 inches wide by 4.5 inches tall for a wand vial) gives you four narrow vertical walls plus a top tuck flap and bottom base flaps. Assigning each piece of copy and graphic element to the right panel keeps your front face uncluttered while giving retail staff and warehouse pickers instant visibility across printed lip gloss boxes. 1. Front principal display panel (PDP): Holds your brand logo (often foil stamped near the top), the product line title (for example, ”High-Shine Peptide Lip Glaze”), the net fluid volume at the bottom (such as 0.20 fl oz / 6 ml), and either a centered die-cut window cutout or a printed Pantone shade band. 2. Top tuck flap: In beauty boutiques, Sephora-style gondola gondolas and acrylic counter displays, lip gloss cartons stand vertically in snug grid slots where only the top tuck flap is visible from above. Always repeat the shade number, shade name or fruit flavor icon inside a full-bleed Pantone swatch on the top tuck flap. 3. Back panel: Dedicated to your full cosmetic ingredient declaration in descending order of predominance, followed by a shared ”May Contain [+/-]” color additive bracket so all shades in your collection can use the exact same back-panel text plate. 4. Left and right side panels: Place usage directions, cruelty-free or vegan icons, distributor city/state/ZIP, Period After Opening (PAO) jar symbol (such as 12M), and your scannable UPC or EAN barcode. 5. Inside panels and internalglue flap: Keep the narrow side glue flap completely free of ink and lamination so food-grade or cosmetic-grade carton adhesive bonds directly to raw paper fibers.
| Carton panel | What goes on this panel | Safe margin from fold/cut | Prepress layout tip |
|---|---|---|---|
| Front panel (PDP) | Brand logo, product name, window or shade band, net volume | 0.0625 to 0.125 in (0.1875 in window pillars) | Stop window top edge 1/4 in below the vial cap skirt |
| Top tuck flap | Full-bleed Pantone shade swatch, shade number & flavor name | 0.0625 in inside top score | Extend background color 0.125 in onto top dust flaps |
| Back panel | Full ingredient list & shared 'May Contain [+/-]' pigments | 0.0625 in inside vertical scores | Use 100% single-color black (K) or crisp white knockouts |
| Left side panel | Flavor notes, applicator highlights, PAO icon, brand URL | 0.0625 in inside vertical scores | Keep text oriented consistently (bottom-to-top or horizontal) |
| Right side panel | UPC/EAN barcode on white box & distributor address | 0.125 in quiet zone around barcode bars | Orient barcode bars vertically (ladder style) on narrow walls |
| Side glue flap | Unprinted raw paperboard (no ink or lamination) | Full width of glue flap | Ensures side seam stays permanently bonded |
How do you set up vector layers for die-cut windows, foil and gloss spot UV drips?
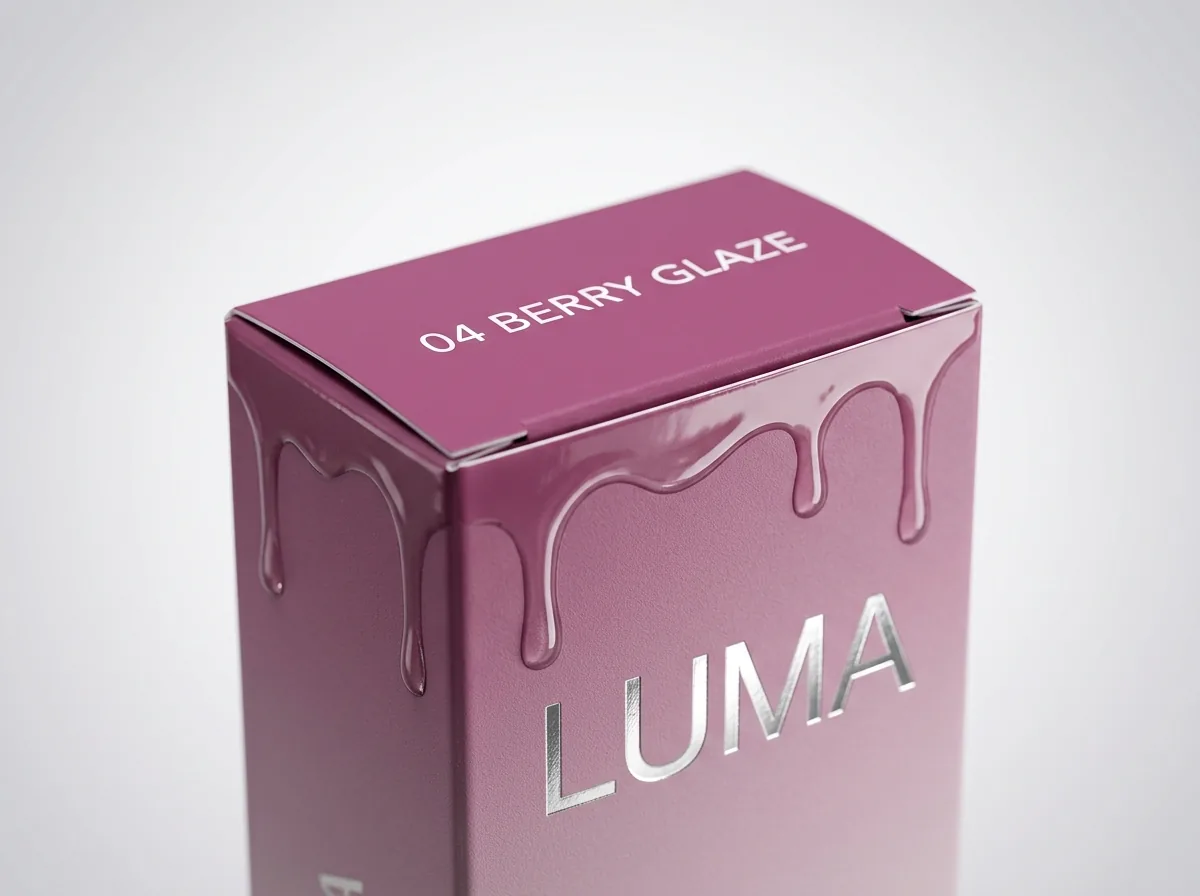
Lip gloss packaging relies heavily on tactile contrast, such as pairing a velvety soft-touch or smooth matte carton with a shiny die-cut window, holographic foil lettering and high-gloss spot UV ”liquid drips” cascading down from the top flap. Setting up your Adobe Illustrator (.ai or vector.pdf) file with clean layer separation ensures every finish hits its mark on press. Create five named layers in your master document (or request a ready-made vector file through our Dieline templates tool and free design help): 1. DIELINE (locked top layer): Solid magenta or red vector lines (0.5 pt) mark through-cuts (including the outer box perimeter, any front window cutout and optional pegboard euro-slot hang tabs), while dashed cyan or green lines mark fold scores. Set all dieline strokes to ”Overprint Stroke” so they never knock out white gaps in your artwork. 2. BLEED & ARTWORK (CMYK + Pantone layer): Extend all background colors, gradients and fruit illustrations 0.125 inches (3 mm) past the outer cut lines. If your carton has an open die-cut window, let the background color bleed 0.125 inches inward into the window opening so the cut edge never shows a sliver of white board. 3. FOIL STAMPING (100% vector spot layer): Place metallic gold, silver, rose gold or holographic foil logos on their own layer filled with a 100% spot swatch named FOIL. Keep minimum foil line thickness at 0.5 pt and leave 1/16 inch between foil stamping and any die-cut window edge. 4. SPOT UV (100% vector spot layer): Draw your glossy drip motifs, wave borders or shiny shade swatches as solid vector paths on a layer named SPOT_UV. If your spot UV drips run off the top fold score or wrap around side corners, extend them neatly to the score or bleed line. 5. SAFE ZONE (non-printing guide): Keep all ingredient text, net volume numbers and barcodes at least 0.0625 to 0.125 inches inside fold scores and cut lines.
- Window pillar check: Leave at least 3/16 in (0.1875 in) of solid paperboard on the left and right sides of any front window cutout.
- Foil-to-window clearance: Keep foil stamping dies at least 1/16 in away from window cut lines so pressure does not crush the cutout edge.
- Outline all typography: Convert every font on the front, back and top flap to vector outlines (Create Outlines) before saving your print PDF.
How do you batch 4 to 12 lip gloss shades or flavors in one production run?
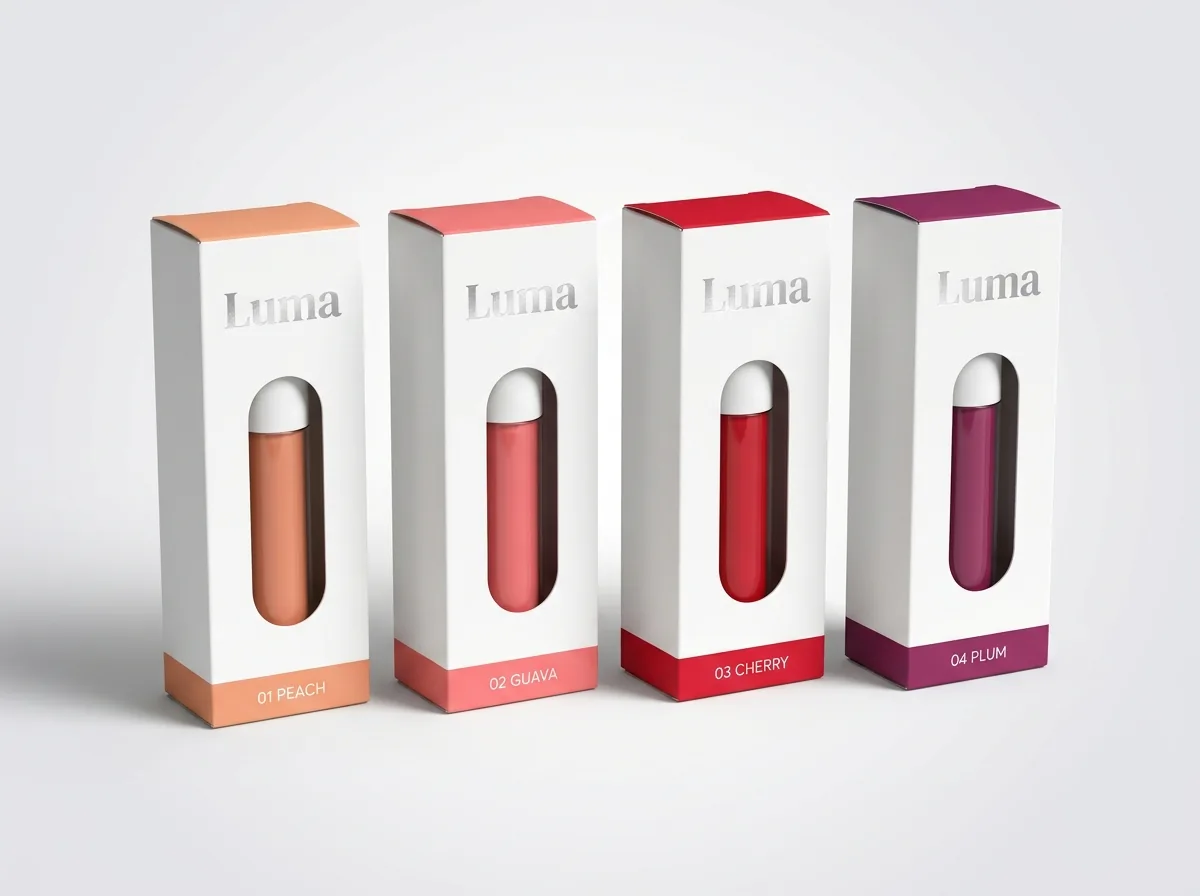
Whether you are launching four sheer fruit lip oils (Watermelon, Peach, Cherry, Coconut) or twelve shimmer lip gloss shades, you do not need to place separate full orders for every single SKU. At CubitPack, our minimum order for paperboard folding cartons is 1,000 boxes, and you can combine multiple shades or flavors into a single order whenever they share one identical structural dieline. Wait, what happens if your collection includes both cylindrical doe-foot wand vials (0.8125 × 0.8125 × 4.5 in) and heat-crimped plastic squeeze tubes (1.25 × 0.875 × 4.25 in)? Because those two containers require different carton footprints (as detailed in our sizing guide on what size lip gloss box fits wand vials and squeeze tubes), group all wand-vial shades onto one shared square dieline and group all squeeze-tube flavors onto a second shared rectangular dieline. Neither dieline carries a die or plate fee. To make multi-shade artwork prep take minutes instead of days, lock the shared elements across your collection, including your brand logo foil plate, the front window cutout (or read window lip gloss boxes vs solid shade band cartons to compare both styles), the company address and the shared ”May Contain [+/-]” ingredient block. Then duplicate the artboard for each shade and update only four items: the Pantone color code, the top-flap shade badge, the front shade/flavor subtitle and the SKU-specific UPC barcode. If you also package solid bullet lipsticks in the same collection, coordinate your top-flap Pantone codes with our custom lipstick boxes so your entire lip display matches.
Know your size? Compare pricing across up to 3 quantities.
Request a Quote →What prepress checklist should you run before approving your 3D mockup?
Every CubitPack order includes a free flat digital proof and an interactive 3D mockup before you pay. Before signing off on your proof for standard 10 to 14 business day production (or 4 to 5 business day rush), run through this six-point prepress check: 1. Verify container fit and orientation: Confirm whether your dieline is square for a rigid wand vial or rectangular for a crimped squeeze tube. 2. Check window height against your physical vial: Make sure the top edge of any front window cutout sits at least 1/4 inch below the bottom of the cap skirt so neck threads and the fill air gap stay hidden. 3. Confirm 3/16 inch side window pillars: Check that the solid paperboard strips on the left and right of the window are at least 3/16 inch wide. 4. Inspect top-flap shade readability: Rotate the 3D mockup to view the top tuck flap from straight above and verify that the shade name and number have crisp contrast against the Pantone background. 5. Test barcode scan & quiet zone: Confirm the UPC barcode sits on a high-contrast light rectangle with at least 0.125 inches of margin from fold scores. 6. Check bleed & unprinted glue flap: Verify that background colors extend 0.125 inches past all cut lines and that the side glue tab is left completely unprinted.
What dieline mistakes delay lip gloss box printing?
Check your artwork files for these five common prepress errors before submitting your lip gloss cartons
- Reusing the exact same UPC barcode across multiple lip gloss shades or flavors instead of assigning a unique GTIN to every SKU.
- Placing a horizontal barcode across a narrow 0.8125 inch side panel so the left and right bars wrap around the vertical fold scores.
- Sending spot UV drip graphics or foil logos as low-resolution JPEG/PNG images instead of 100% solid vector spot-color paths.
- Forgetting to stop the top edge of a front window cutout 1/4 inch below the cap skirt, exposing bottle neck threads and air headspace.
- Extending full-bleed background ink and soft-touch lamination over the side glue flap, which weakens the structural side seam.
Find your size
Suggested inside size: 0.75 × 0.75 × 3.5 in
A starting point. Your account manager confirms the size with you before the proof.
Quote this size →Packaging for this
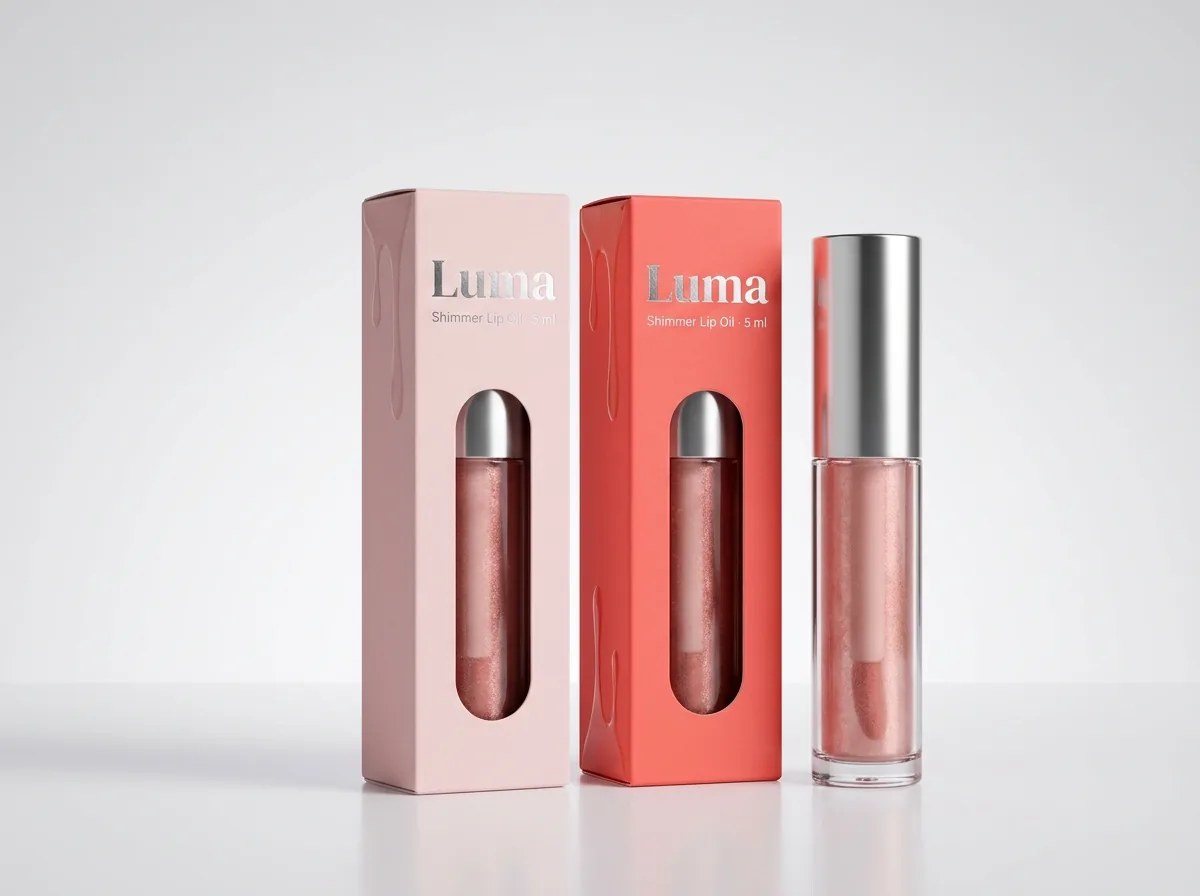
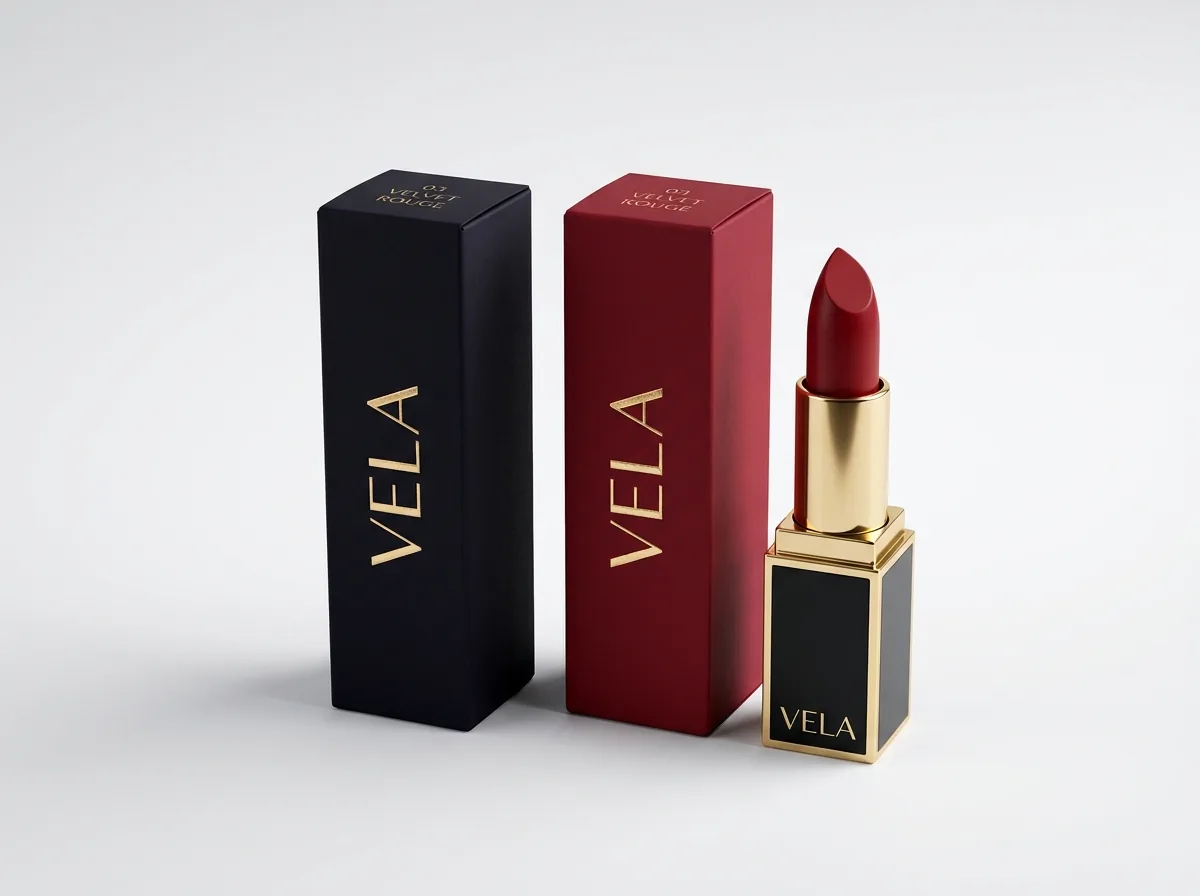
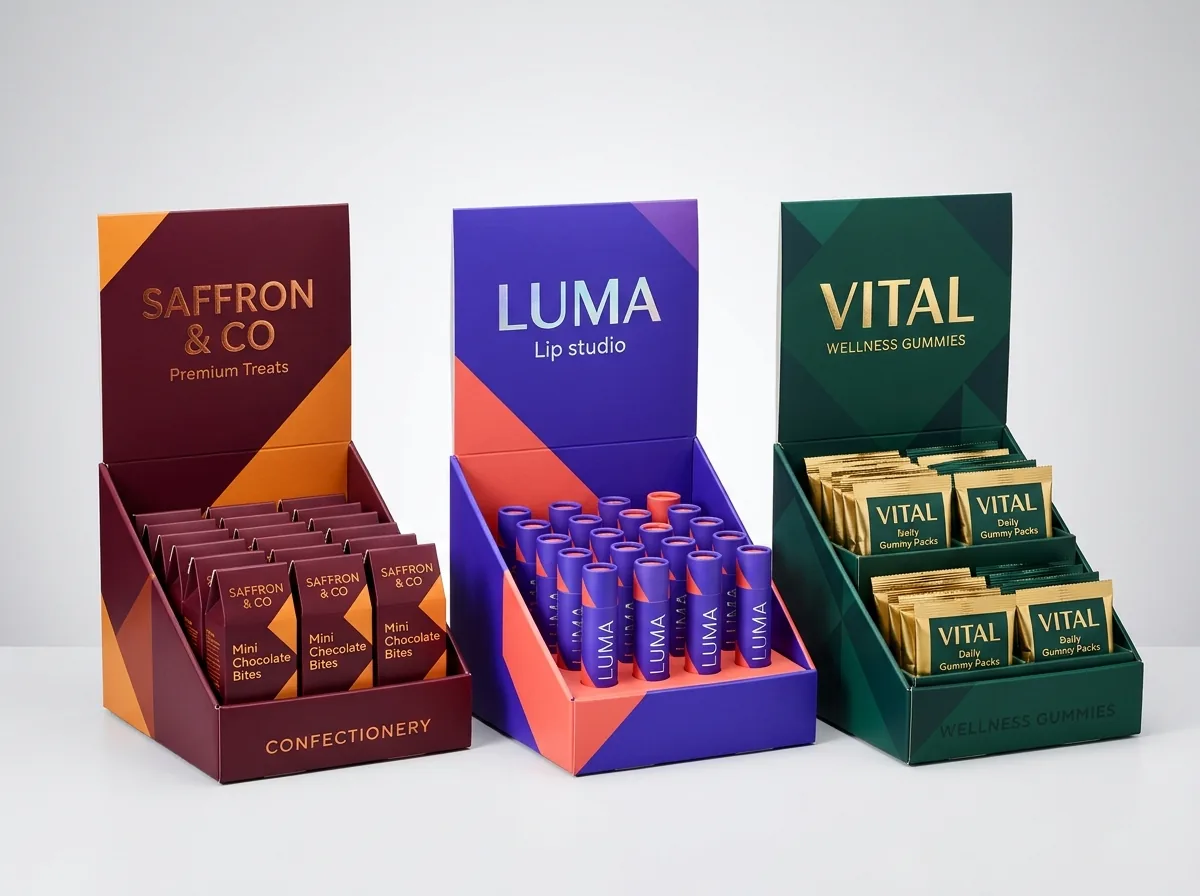
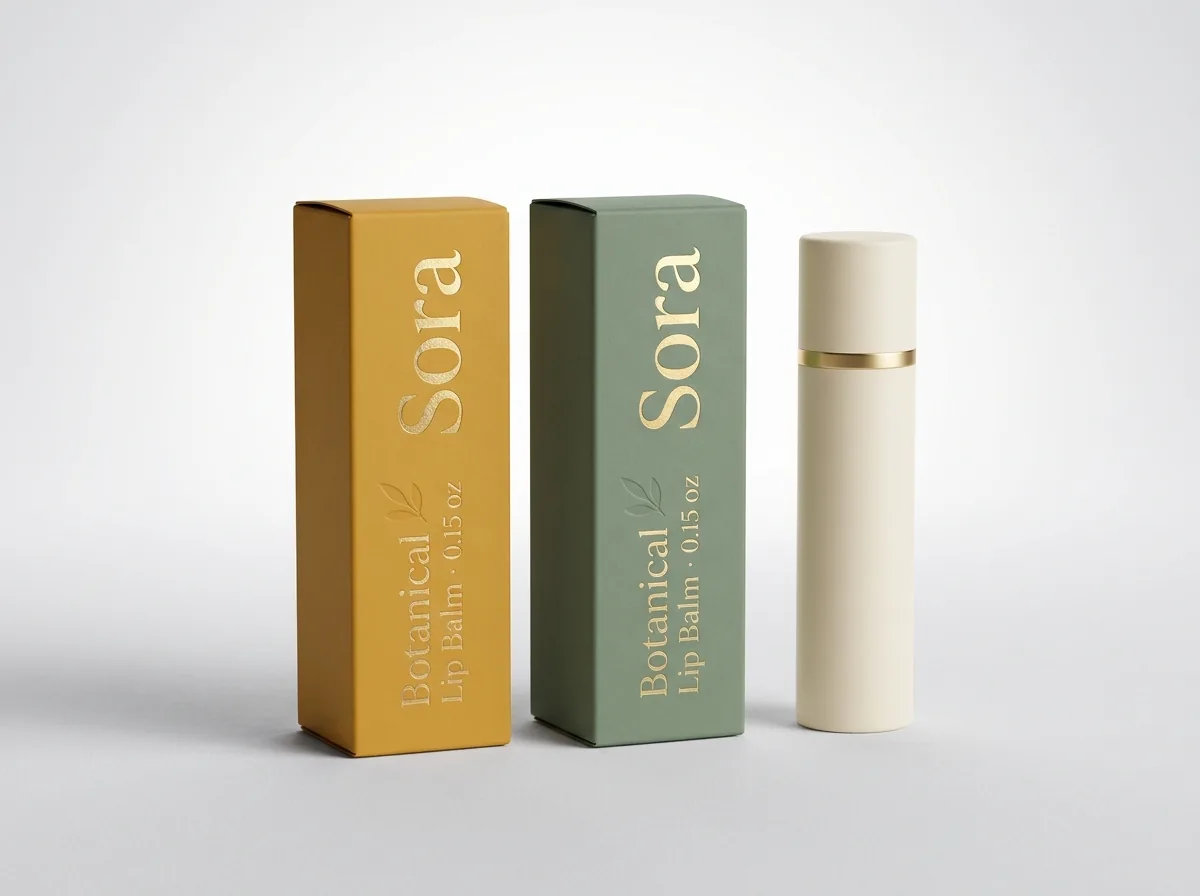
Ready to order lip gloss boxes? Compare up to 3 quantities with a free 3D mockup.
Request a Quote →Questions about lip gloss boxes
Where can I get a custom dieline template for my lip gloss vial or squeeze tube?
Share your vial diameter (or squeeze-tube crimp width) and total closed height in our quote form, and our engineering team will send you a custom vector dieline template (.ai /.pdf) for free, with zero die charges.
Do I pay extra plate or die fees when ordering multiple lip gloss shades?
No. At CubitPack, there are never any die or plate charges, even when you split a multi-shade collection across several artwork files on a shared dieline.
How do I set up a glossy liquid drip effect on a matte lip gloss box?
Specify matte or soft-touch lamination for the carton body, then draw your drip shapes as 100% solid vector paths on a separate layer named SPOT_UV. We print a high-gloss clear UV coat over those exact vector shapes.
Can your design team lay out my shade names and ingredient panel for me?
Yes. Free design help is included with every order. Send us your logo, shade list, Pantone references and ingredient text, and we will prepare the print-ready dieline files and 3D mockups before you pay.
How does CubitPack keep my lip gloss shade colors accurate across reorders?
We offer full CMYK printing plus guaranteed Pantone color matching. Specifying the exact Pantone Coated (PMS C) code for each shade band and top tuck flap guarantees identical color on every future run.
Should I convert my shade names and ingredient text to vector outlines before sending the file?
Yes. Convert all typography on the front, back, side panels and top tuck flap to vector outlines (Create Outlines in Adobe Illustrator) so no font substitutions happen during prepress.
Still have a question? Ask a packaging specialist.
Request a Quote →Request your lip gloss boxes quote
Tell us your size and quantities, and one dedicated account manager prepares pricing for each tier.
- Free design & AI-to-print studio + 3D mockup
- No die or plate charges · 4–5 day rush available
- Free shipping to all 50 states
- 10% off your first order
All CubitPack prepress and order rules come from our published product specifications and were reviewed by a packaging specialist. Spot something wrong? Tell us and we will fix it.
What changed
- October 22, 2026: First published.
- October 22, 2026: Updated specifications, terminology, and verified source links.
More guides
New packaging guides by email
Sizes, materials and design tips. Unsubscribe anytime.