
How do you design custom product insert cards for instructions, QR onboarding and reorders?
Short answer: Dedicate the front of your custom insert cards to 3 to 5 numbered visual usage steps in 8 pt+ high-contrast type, and use the back for a single conversion goal: a 0.8 × 0.8 in setup or warranty QR code, a refill discount badge, or a 3-product cross-sell grid.
On this page
- What belongs on the front vs the back of a two-sided or folded insert card
- What font sizes, bleed margins and QR code specs guarantee readability
- Which lamination and specialty finishes keep insert cards looking sharp in use
- How should your copy change for DTC Shopify orders vs Amazon FBA packages
- What drives the cost of custom insert cards and how can you save across SKUs
- Common mistakes
- FAQs
Request a custom quoteFree dieline & 3D mockup
Every custom insert card has a three-second window to prove its value before the customer sets the packaging aside. Cards that look like dense legal disclaimers or pushy coupon flyers get tossed with the shipping box, while cards designed around immediate product success get kept on bathroom vanities, kitchen counters and office desks. The secret is pairing utility with a single frictionless next step: use the front panel to help the buyer get the best result from the item they just bought (through numbered icons, dosing schedules, brewing ratios or assembly diagrams), and use the back panel to bridge them to their second purchase or warranty registration via a high-contrast QR code. Choosing the right lamination, font size and multi-SKU layout turns a simple piece of cardstock into your highest-converting retention channel for both e-commerce and retail packaging.
What belongs on the front vs the back of a two-sided or folded insert card?
When you select Both sides under Printing in our cards quote form, your printed packaging insert cards gain two distinct zones, or four full pages if you pick a pre-scored Folded card. Instead of crowding every message onto one face, divide your hierarchy between product mastery on the front and post-purchase action on the back. When customers see a clean visual roadmap for using the product on Side A, they naturally flip the card over to Side B to scan your video guide, register their warranty or claim a refill code. Use the blueprint table below to plan your copy, typography and finish callouts before sending your files for our free prepress review.
| Card zone | Primary job | Recommended word count & elements | Best print & finish spec |
|---|---|---|---|
| Front header (top 20%) | Instant product identification | Brand mark, product SKU name and 6-word ritual or quick-start headline | Pantone brand bar, gold foil seal or spot UV logo |
| Front body (center 65%) | Step-by-step usage or dosing | 3 to 5 numbered steps with line icons (60 to 100 words total in 8-10 pt type) | Matte lamination for zero glare under overhead room lights |
| Front footer (bottom 15%) | Key safety or care rule | 1 bold callout box (e.g., 'Patch test 24 hrs' or 'Trim wick to 1/4 in') | Tinted callout box or reverse white text on dark band |
| Back top half | QR onboarding or warranty | 0.8 × 0.8 in dark-on-white QR code + specific benefit ('Scan for 60-sec video') | Crisp CMYK or black ink with 0.1 in white quiet zone |
| Back bottom half | Cross-sell or batch QC stamp | 2-3 companion products with reorder code, OR uncoated lot/inspector box | Uncoated write-on zone if stamping batch dates by hand |
What font sizes, bleed margins and QR code specs guarantee readability?
Instructional insert cards often fail on press because they are designed on a zoomed-in 27-inch monitor without testing actual print scale. Before our prepress team sends your free digital proof and 3D mockup, we check four technical benchmarks on every file: 1. Minimum font size of 7.5 pt to 8 pt: For dosing instructions, brewing ratios and safety warnings, keep body copy at 8 pt or larger with at least 11 pt line spacing. Never print body text smaller than 7 pt, and avoid knocking out thin 6 pt white text inside a rich four-color CMYK black background where slight ink spread can close up letterforms. 2. Bleed (+1/8 in) and safe zone (-1/8 in): Extend background colors and photography 0.125 inches (1/8 inch) past all four cut lines, and keep all text, step numbers and borders at least 0.125 inches inside the cut line (and 0.125 inches away from the center score line on folded cards). 3. QR code size and quiet zone: Size your warranty, video or reorder QR code at 0.75 × 0.75 inches to 1.0 × 1.0 inches minimum, printed in 100% black or a dark Pantone ink on a solid white square with a 0.1-inch white margin around the code.
Which lamination and specialty finishes keep insert cards looking sharp in use?
Unlike a greeting card that is read once and put in a drawer, a product insert card often lives right beside the product in a steamy bathroom, a busy kitchen or a tool bag. Match your finish in Step 2 of the quote form to where the card will live: - Matte lamination + Spot UV (Best for instructions & manuals): Matte lamination eliminates overhead light glare so small instructional type stays effortless to read from any angle. Adding Spot UV over the numbered step circles or product diagram lines creates a subtle tactile sheen that guides the reader's eye. - Gloss lamination (Best for food, coffee & kitchen recipes): High-gloss film seals the cardstock against water splashes, coffee drips and cooking oils so customers can wipe the recipe card clean and reuse it. - Soft-touch lamination + Foil stamping or Embossing (Best for authenticity & warranties): For watches, fine jewelry inside custom rigid boxes and leather goods, a velvety soft-touch card stamped with a metallic gold foil crest or raised blind embossing signals genuine provenance. - No lamination or hybrid one-side coating (Best for QC batch cards): When your quality-control team stamps lot numbers, expiration dates or inspector initials on the back, keep the writing surface unlaminated so ink dries immediately.
Know your size? Compare pricing across up to 3 quantities.
Request a Quote →How should your copy change for DTC Shopify orders vs Amazon FBA packages?
If you sell both on your own direct-to-consumer store (shipped in custom mailer boxes) and through third-party marketplaces like Amazon FBA (packed inside custom product boxes), you should know what each channel permits on an insert card: - Direct-to-consumer (Shopify / WooCommerce / Subscription): You own the customer relationship completely. Include a direct reorder URL or QR code, a first-refill discount code (such as REFILL15), a referral reward, or a 3-item cross-sell matrix showing what to pair with their purchase. - Marketplace-fulfilled (Amazon FBA / retail distribution): Marketplace rules strictly forbid offering incentives (gift cards, free products or discounts) in exchange for positive reviews, or diverting marketplace traffic to external checkout links. For FBA units, design a dedicated neutral product insert card focused on step-by-step usage diagrams, troubleshooting tips, safety warnings, support email/phone details and non-conditional product warranty registration.
- Use numbered visual icons instead of dense paragraphs so buyers scan steps in 3 seconds.
- Pair every QR code with a specific callout ('Scan for 45-second setup video' beats 'Scan me').
- Show 2 to 3 complementary products on the back ('Step 2 in your routine') to lift repeat orders.
- Keep FBA insert cards strictly focused on usage instructions, support contact and neutral warranty registration.
- Order DTC and FBA card versions in the same print run using Step 2's '2 designs' option.
What drives the cost of custom insert cards and how can you save across SKUs?
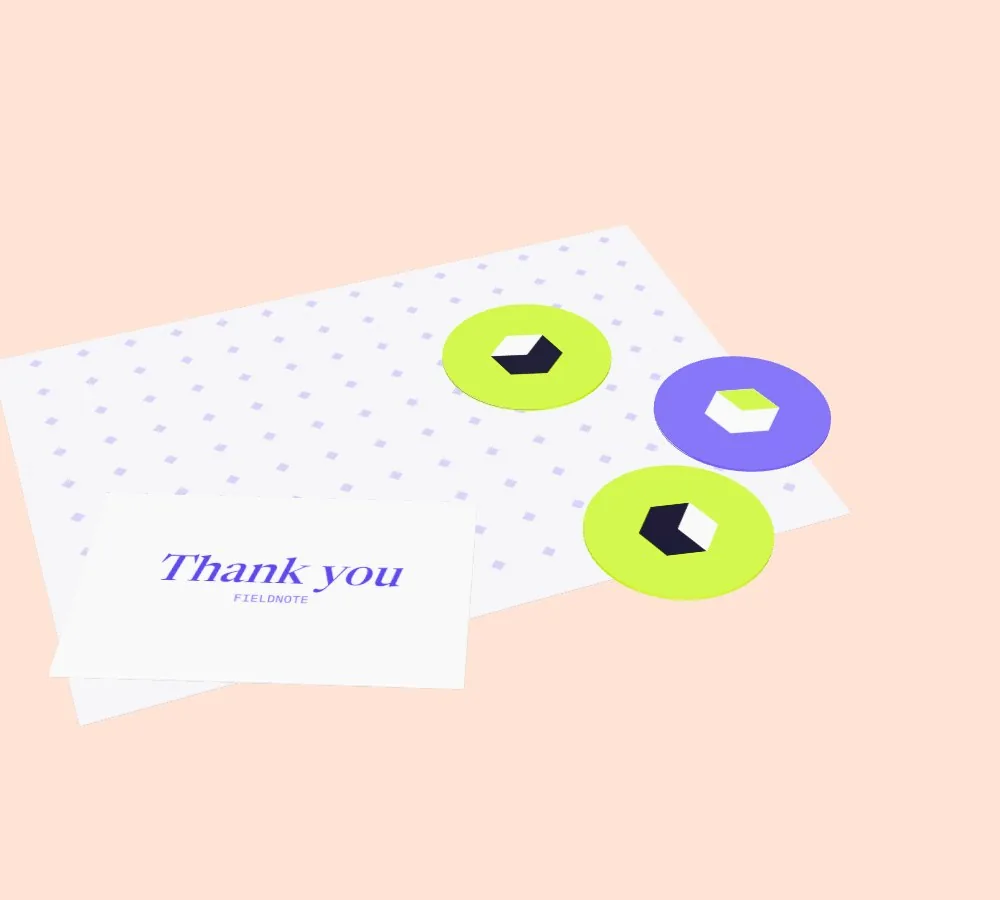
Four main variables determine your per-card unit price: card dimensions and flat-vs-folded style, one-side vs both-side printing, lamination and specialty finishes, and total order quantity across presets of 500, 1,000, 2,500 and 5,000+ cards. The smartest cost reducer for multi-product brands is multi-SKU ganging. Suppose you have three supplement formulas (Sleep, Focus and Immunity) or need both a DTC promotional card and a neutral retail instruction card. Instead of placing small separate orders, keep the exact same card size (such as 2 × 3.5 inches or 4 × 6 inches), cardstock and lamination for all versions, and select 2 designs or 3+ designs in Step 2 of the quote form. We run all designs together with zero die or plate charges, free prepress layout checks and free shipping across all 50 US states. You can also match your card colors to your custom thank you cards and custom QR code stickers using our Pantone match guarantee.
What design mistakes ruin the impact of custom product insert cards?
Even a well-printed card will end up in the recycling bin if the text is illegible or the QR code fails to scan. Avoid these five mistakes
- Writing a 300-word wall of 6 pt text instead of breaking instructions into 3 to 5 numbered steps with simple line icons at 8 pt or larger.
- Printing a QR code smaller than 0.75 × 0.75 inches or placing it over a dark patterned background without a 0.1-inch white quiet zone.
- Including 'Leave a 5-star review to get a free gift' language inside marketplace-fulfilled cartons, which risks seller account suspension.
- Using high-gloss lamination over dense instructional paragraphs where bright bathroom or kitchen lights create blinding reflections.
- Forgetting to include a 0.125-inch bleed outside the cut line or placing step numbers within 0.0625 inches of the trim edge.
Packaging for this
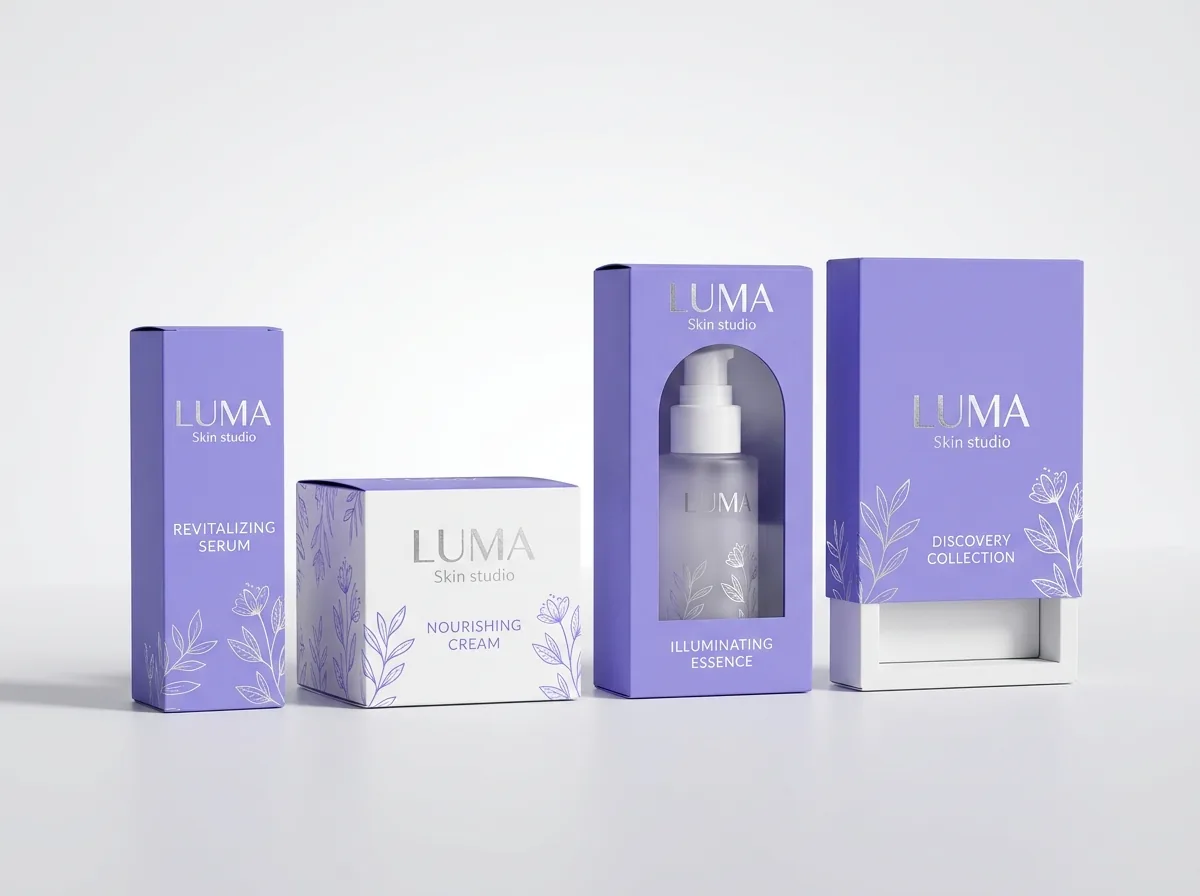
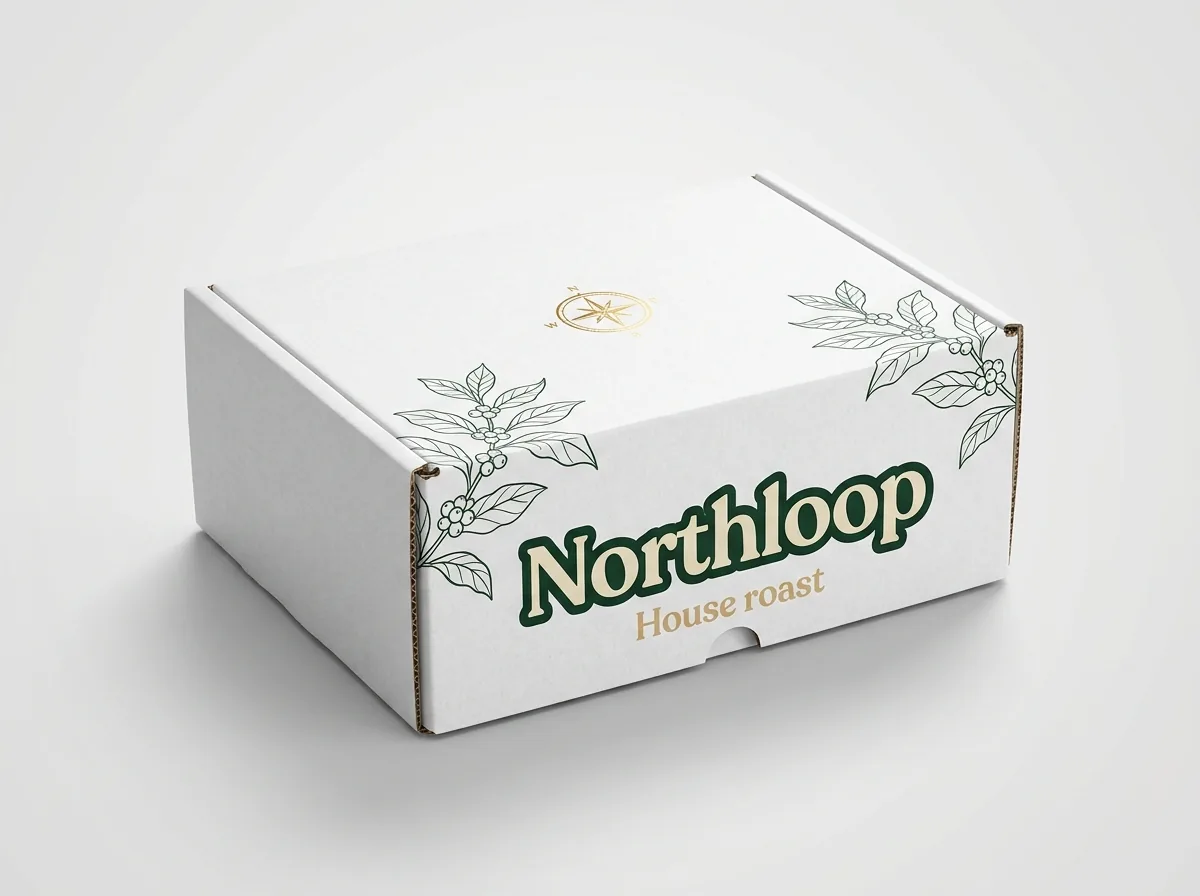
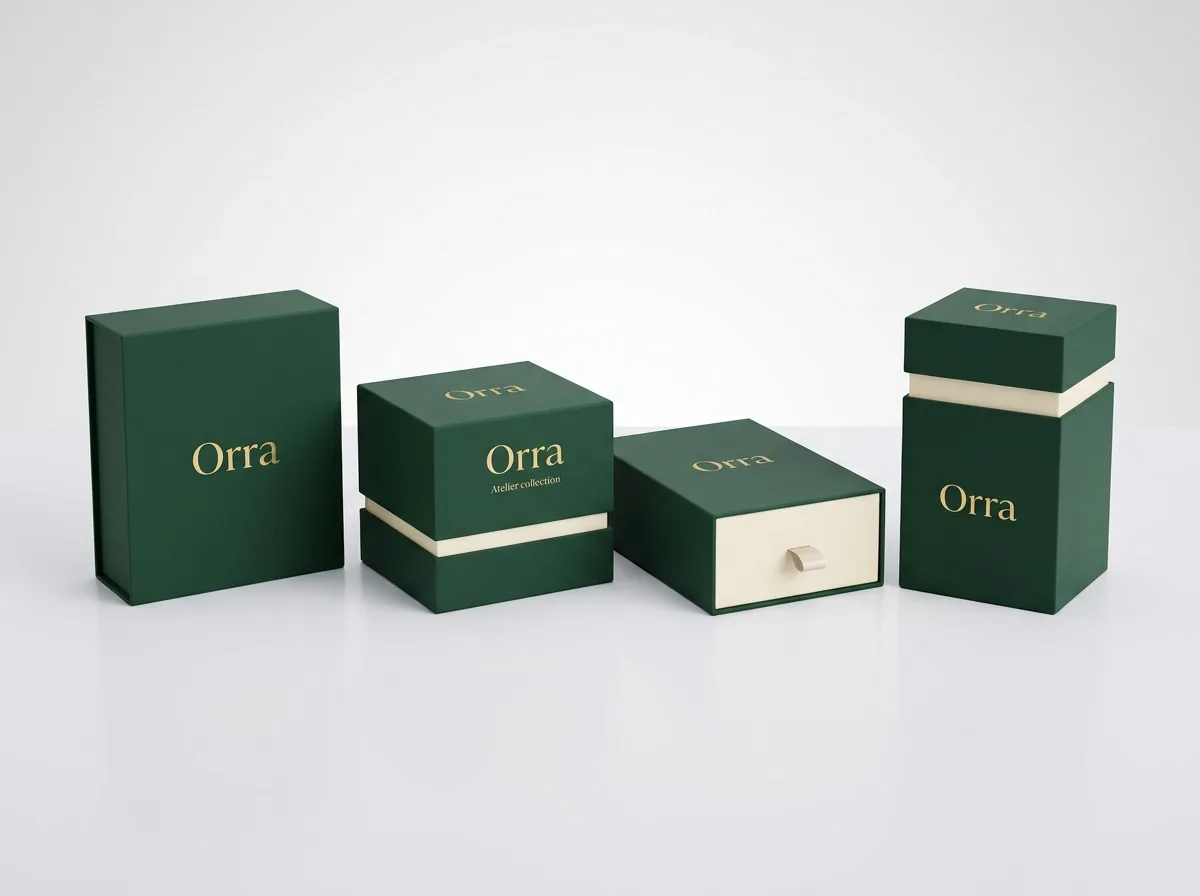
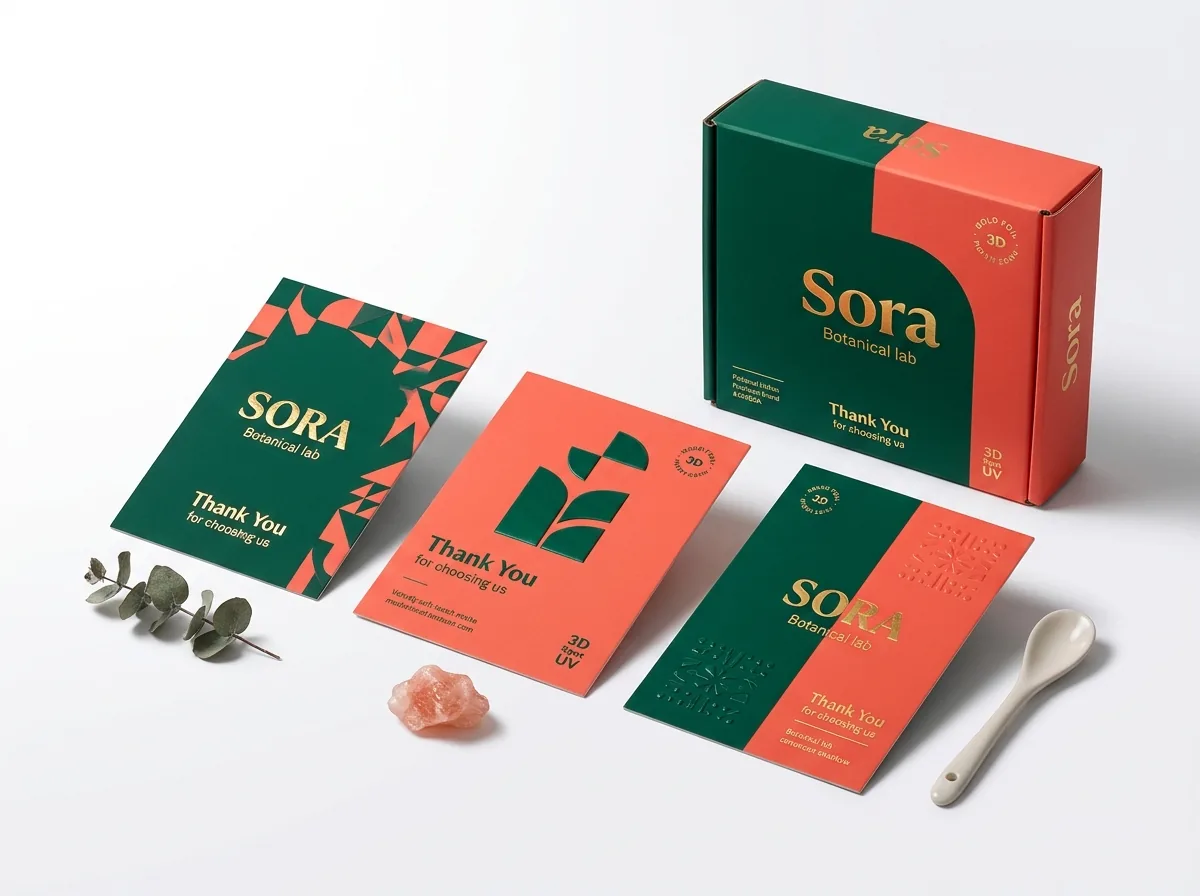
Ready to order insert cards? Compare up to 3 quantities with a free 3D mockup.
Request a Quote →Questions about insert cards
Can CubitPack help lay out our product instruction steps and QR code for free?
Yes. Every order includes free design help, custom dielines, a scaled digital proof and a 3D mockup before payment. Select 'Free design help' in Step 2 of the quote form, upload your logo and raw instruction copy, and our designers will build a print-ready layout.
Should I use CMYK or Pantone printing for custom product insert cards?
Choose Full color (CMYK) when your card includes product photography, full-color cross-sell grids or multi-color illustrations. Choose 1, 2 or 3+ Pantone spot colors when you want exact brand color matching across your folding cartons, labels and insert cards, backed by our Pantone match guarantee.
How many SKU instruction designs can I combine in a single insert card order?
In Step 2 of the quote form under Designs in order, pick '2 designs' or '3+ designs' and write the SKU names and quantities in the notes. As long as all cards share the same dimensions, stock and finish, we group them into one production run.
What is the best finish for a skincare or supplement routine insert card?
Matte lamination is the top choice for skincare and supplement instruction cards because it resists bathroom moisture and oil smudges while eliminating glare over small 8 pt dosing tables. Add Spot UV over your header logo or step numbers for extra visual polish.
Can you print an authenticity card with sequential serial numbers or a stamp box?
We can leave an uncoated signature or stamp panel on the back of your card so your quality-control team can hand-write serial numbers or stamp batch codes without smearing.
How fast can you print and deliver custom product insert cards?
Standard production takes 10 to 14 business days after you approve your free digital proof and 3D mockup. Rush production in 4 to 5 business days is available (quoted per order), and standard shipping to all 50 US states is always free.
Still have a question? Ask a packaging specialist.
Request a Quote →Request your insert cards quote
Tell us your size and quantities, and one dedicated account manager prepares pricing for each tier.
- Free design & AI-to-print studio + 3D mockup
- No die or plate charges · 4–5 day rush available
- Free shipping to all 50 states
- 10% off your first order
The layout hierarchy, prepress bleed rules and QR code contrast specifications in this guide come from CubitPack's decided cards offerings and ISO/TAPPI print standards, reviewed by a packaging specialist. Spot something wrong? Tell us and we will fix it.
Sources
What changed
- October 22, 2026: First published.
- October 22, 2026: Updated specifications, terminology, and verified source links.
More guides
New packaging guides by email
Sizes, materials and design tips. Unsubscribe anytime.