
How do I design luxury stationery and planner boxes?
Short answer: Echo the tactile feel of fine paper by pairing matte or soft-touch lamination with blind debossing and metallic foil, frame card windows with at least 3/8 inch borders, and organize desk kits with custom dividers. Order custom stationery boxes from 1,000 units with free design help.
On this page
- Which finishes and foils complement letterpress paper and linen journals
- How do you design one master window box for 20 different card SKUs
- How do I set up artwork, bleed and foil layers on a stationery dieline
- How do you design compartment inserts for planners, pens and desk kits
- What drives the price of custom stationery boxes and how can I lower unit cost
- How do I verify paper shade, foil tone and card fit before full production
- Common mistakes
- FAQs
Request a custom quoteFree dieline & 3D mockup
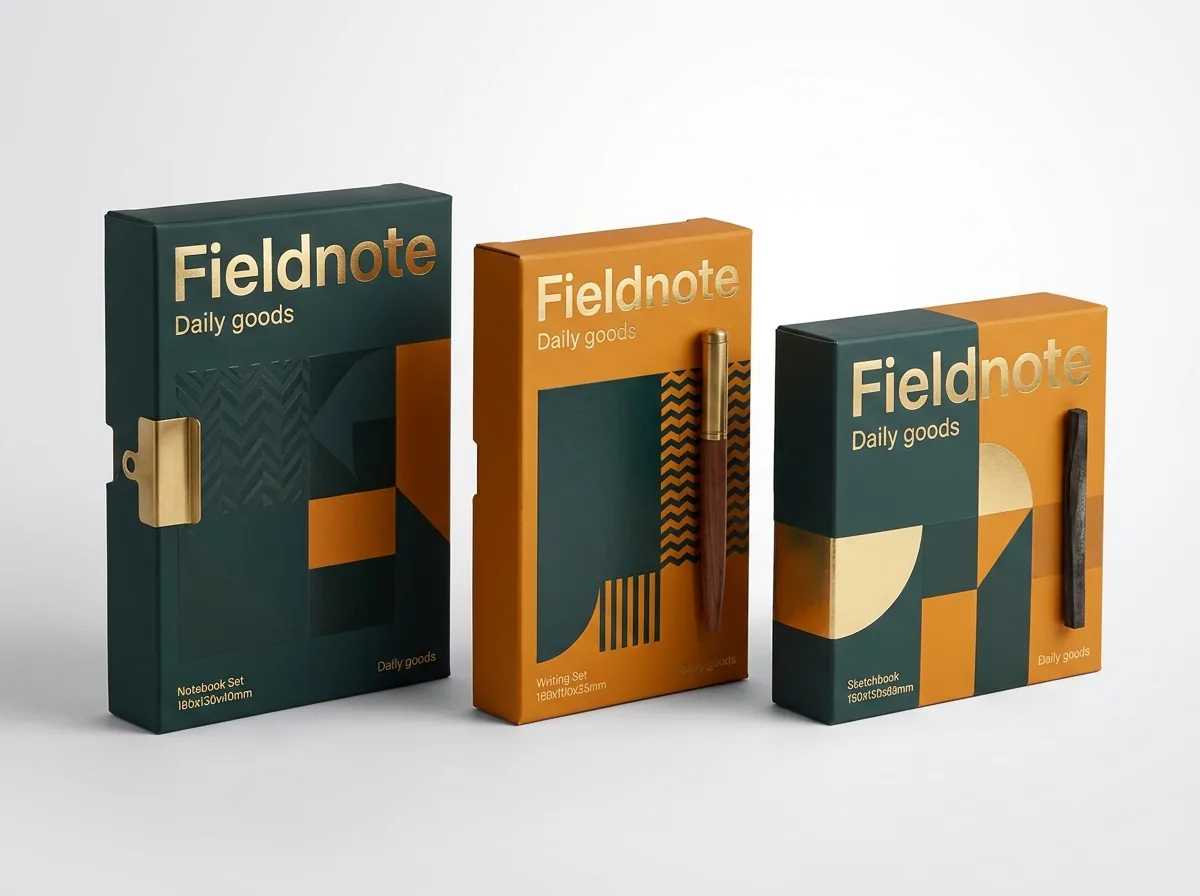
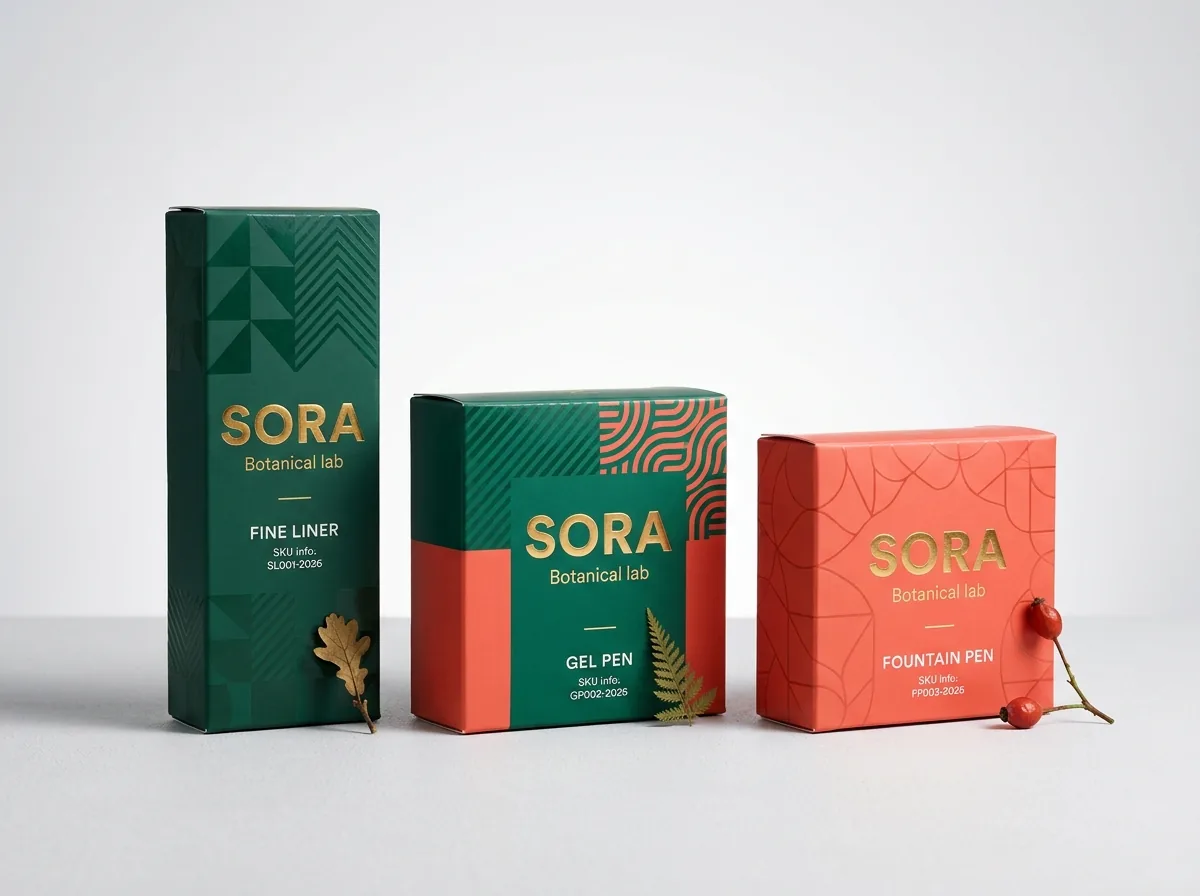
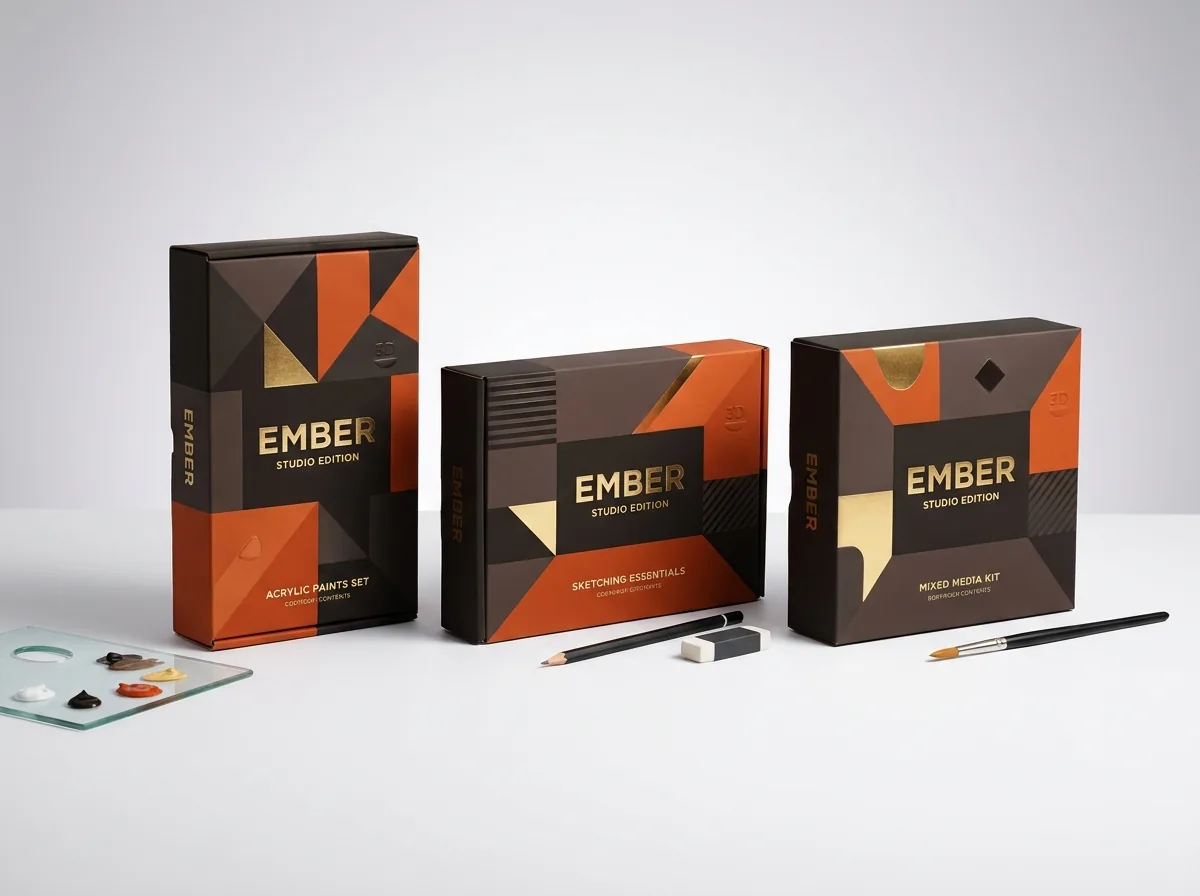
Designing packaging for fine stationery, wedding suites and dated planners requires restraint and tactile detail. Because stationery customers buy paper for how it looks and feels under their hands, glossy overly busy cartons often clash with uncoated cotton rag cards, linen journal covers and deckled envelopes. Instead, anchor your design around a calm Pantone background or natural brown kraft board, protect the surface with low-glare matte or soft-touch lamination, and add one tactile focal point such as a blind-debossed crest or champagne gold foil monogram. For wholesale greeting card lines, use a die-cut lid window so the top card artwork becomes the centerpiece, and for planner kits, engineer a fitted paperboard or foam insert that holds notebooks, pens and washi tape rolls in clean alignment. Every order at CubitPack includes free design help, zero die charges and a 3D mockup before payment.
Which finishes and foils complement letterpress paper and linen journals?
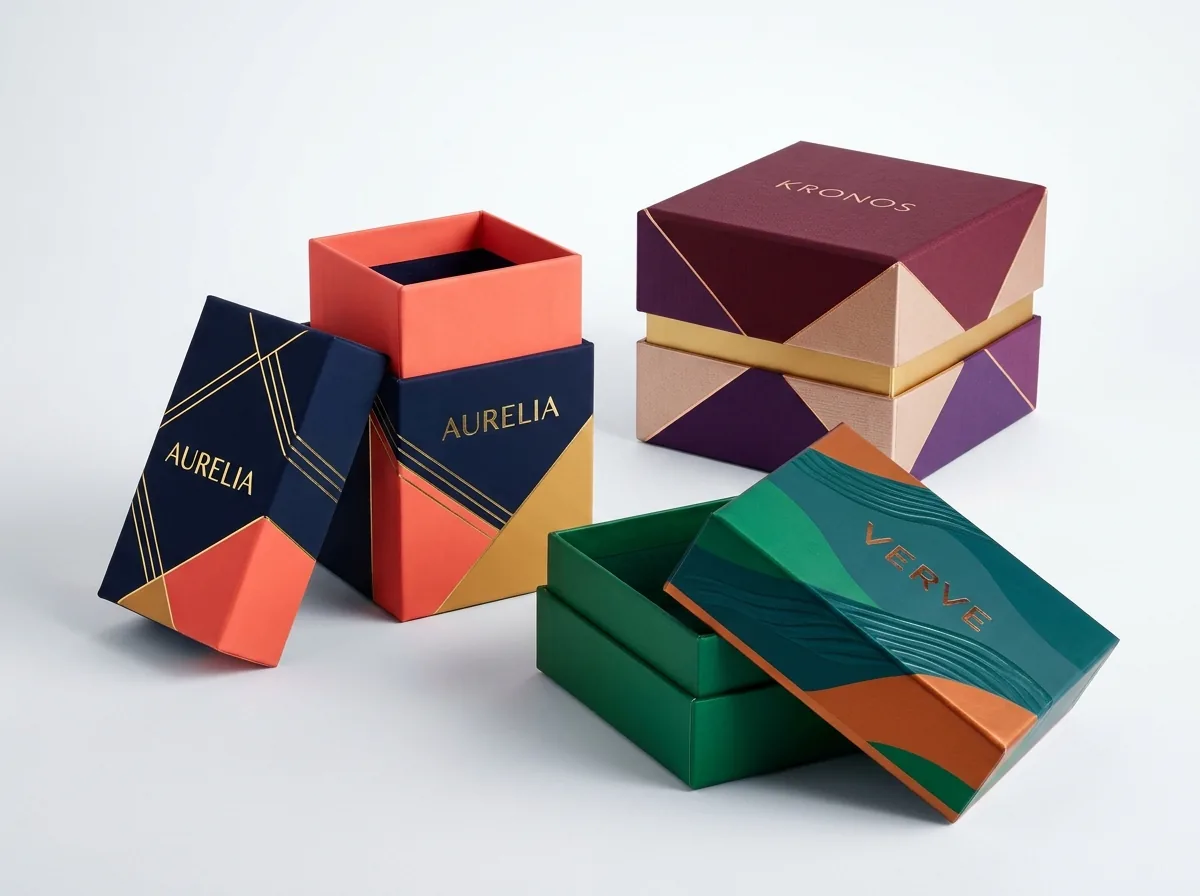
When a customer opens a box of correspondence cards or unwraps an annual daily planner, the outer carton sets the expectation for the paper quality inside. Finishes that mimic traditional printmaking (such as blind debossing, registered embossing and hot foil stamping) bridge the gap between the outer box and the stationery inside our printed stationery boxes. Use the table below to pair your paper stock and brand aesthetic with the right board surface and press finish.
| Surface finish or detail | Visual & tactile feel | Best stationery pairing |
|---|---|---|
| Blind debossing or embossing | Sculpted 3D impression pressed into the board without ink | Cotton letterpress note card sets and monogram suites |
| Hot foil stamping (gold, champagne, copper) | Crisp metallic shine sunken into the lid or spine | Wedding invitation boxes, dated planner lids, studio logos |
| Matte lamination | Smooth, glare-free editorial surface that prevents fold cracking | Pastel botanical card boxes, A5 journal sleeves |
| Soft-touch lamination | Velvety, suede-like finish that resists fingerprints | Luxury undated agendas, corporate onboarding desk kits |
| White ink on natural kraft board | Opaque crisp line art over warm unbleached brown fibers | Botanical note cards, recycled paper lines, holiday sets |
| Inside-lid pattern printing | Unexpected floral, stripe or grid pattern when the lid lifts | Two-piece note card trays and quarterly subscription boxes |
How do you design one master window box for 20 different card SKUs?
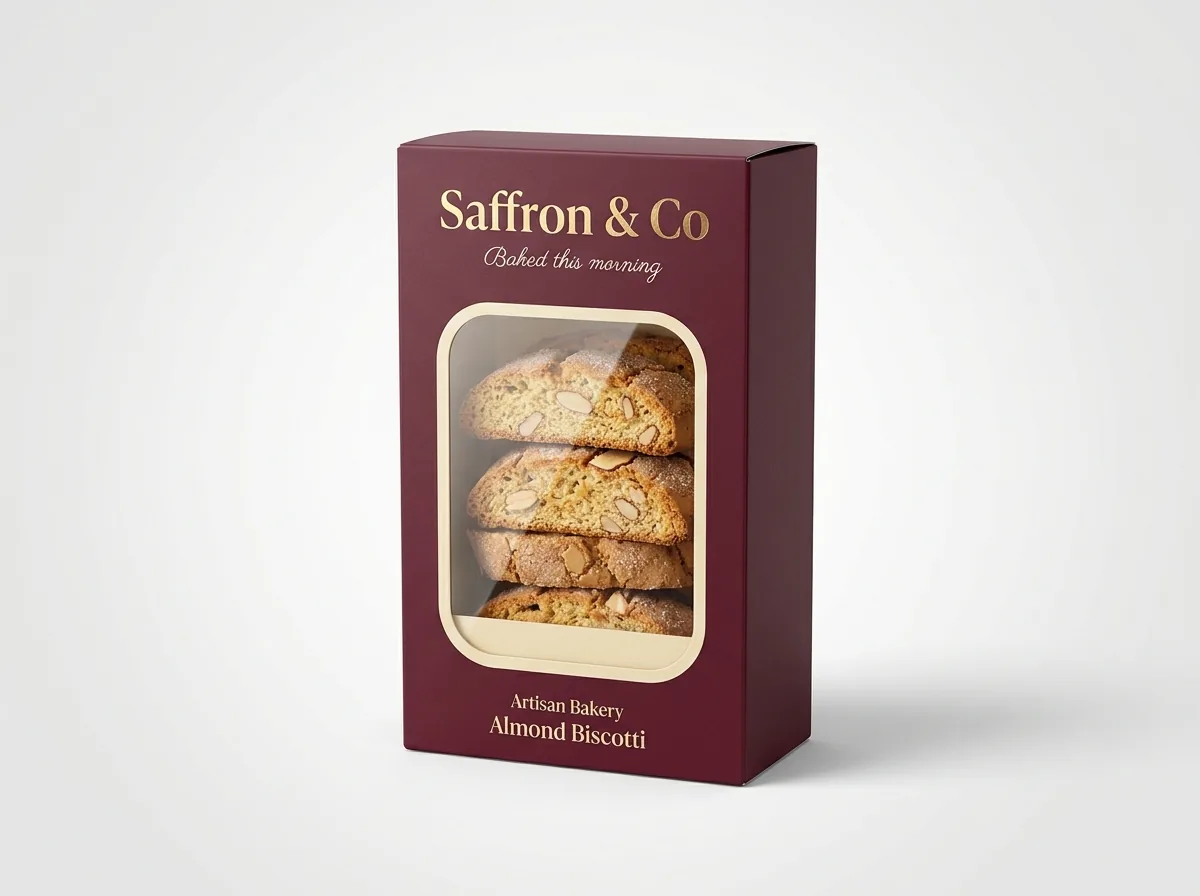
Most greeting card and stationery studios release dozens of seasonal illustrations across A2, A6 and A7 formats. Printing 1,000 boxes for each individual card illustration quickly multiplies your packaging budget. A smarter approach is designing one universal custom window box per envelope size. Keep the outer box color neutral (such as warm ivory, sage green, charcoal or natural kraft) and foil-stamp your studio wordmark along the bottom margin below a large die-cut window. When you pack each SKU, the top greeting card in the stack shows through the window and supplies the seasonal artwork and title. On the back panel, leave a clean white rectangle where your team can apply a small barcode and SKU sticker for each collection, or split your print run across several back-panel versions.
How do I set up artwork, bleed and foil layers on a stationery dieline?
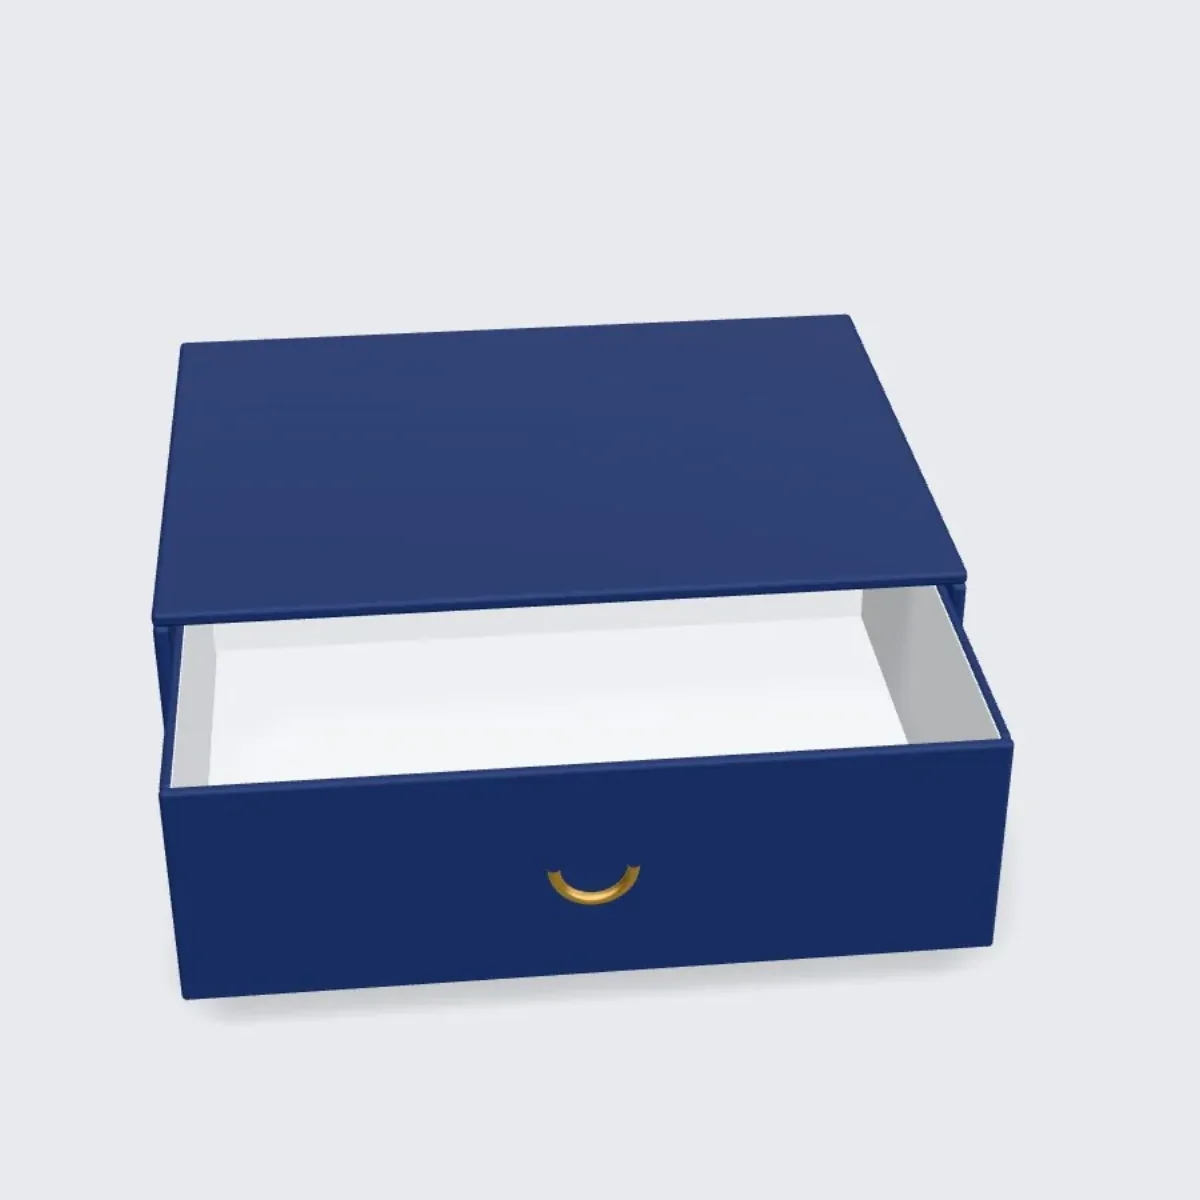
Whether you are laying out a custom two-piece box or a slide-out custom drawer box, clean prepress setup ensures your borders and monograms land dead center. Extend all background colors and wrap-around patterns 1/8 inch beyond the outer cut lines for bleed, and keep text, thin border frames and logos at least 1/8 inch inside every fold score. On a two-piece telescope lid, remember that the four side walls fold down 90 degrees from the top panel and wrap around the bottom corners. If you place a thin decorative pin-line border around the top of the lid, set it at least 1/4 inch inset from the score lines so minor board folding tolerances never make the border look off-center. Our team provides free custom dielines and checks every panel alignment on an interactive 3D mockup before you pay.
- Set artwork files to CMYK or specify exact Pantone (PMS) spot color codes for solid studio backgrounds.
- Place hot foil stamping, embossing and spot UV masks on separate named vector layers in 100% solid black.
- Check inside-lid and inner-tray orientation on the 3D mockup so patterns never appear upside down when opened.
- Include thumb notch cutouts on the dieline layer so you can verify they do not intersect side-wall text.
Know your size? Compare pricing across up to 3 quantities.
Request a Quote →How do you design compartment inserts for planners, pens and desk kits?
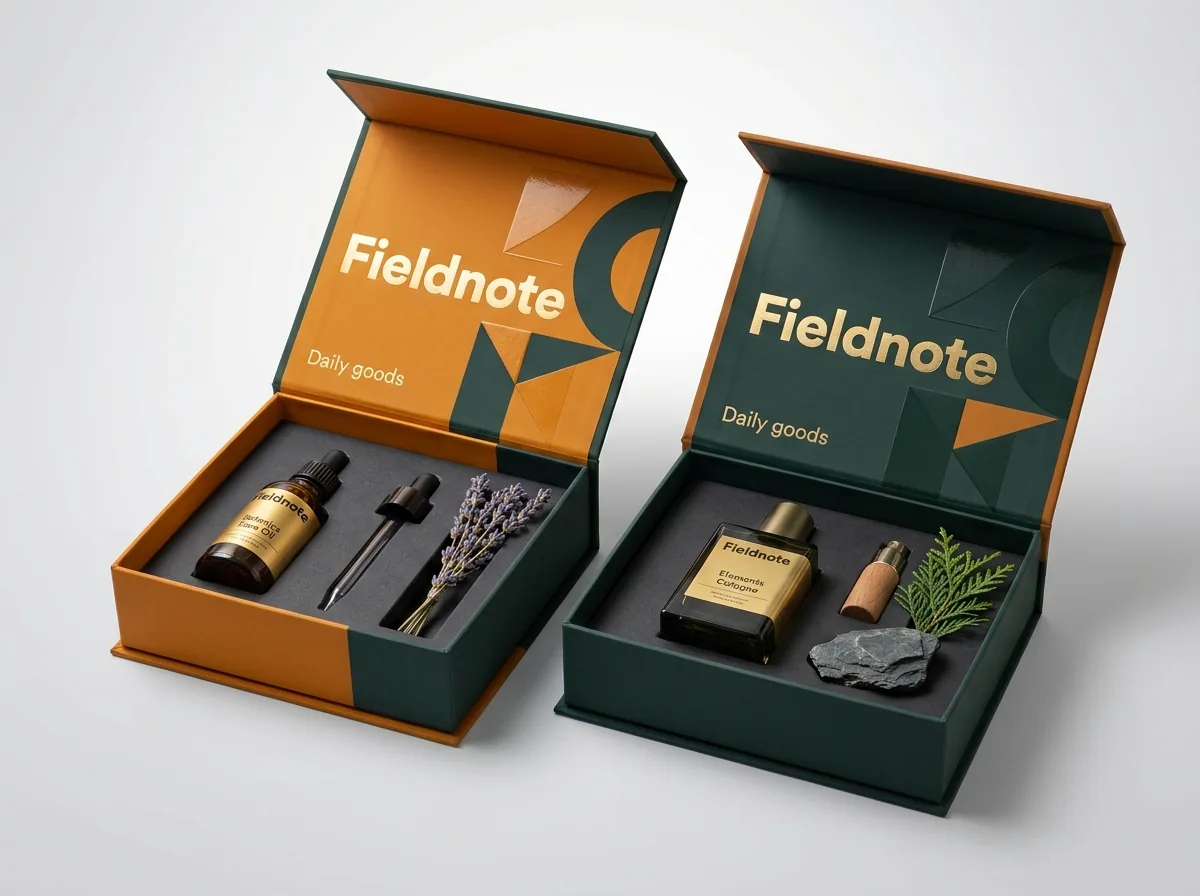
When a stationery box holds more than a single stack of flat paper (such as a dated planner paired with a brass rollerball pen, rolls of washi tape, brass page markers and die-cut sticker sheets), the interior insert creates the entire presentation. Without a divider, small desk accessories slide into one corner during shipping and scratch the planner cover. A custom-slotted custom box insert made from matching printed paperboard or die-cut EVA foam gives every piece its own framed stage. You can print subtle labels or icons right onto the paperboard insert deck next to each slot, and add half-circle finger scoops beside the journal cavity so the recipient can lift the notebook out smoothly.
What drives the price of custom stationery boxes and how can I lower unit cost?
Four factors shape the unit price of custom stationery packaging: box structure (one-piece window tuck carton vs two-piece folding box vs wrapped rigid drawer box), flat board area, order quantity, and the number of special press passes like foil stamping or window patching. Ordering 2,500 or 5,000 boxes lowers the per-unit price substantially compared with 1,000 because setup is shared across the run. To keep costs lean across a broad stationery line, standardize on two core footprints (for example, an A2 note card box and an A5 journal box) and combine multiple artwork designs in one production run. You can also use our free design help or our print your AI design service, where our prepress specialists turn your botanical sketches or AI illustrations into press-ready vector artwork at no charge.
- Use one shared window box across all A2 card designs so the top card inside provides the seasonal artwork.
- Combine a solid Pantone box exterior with a single metallic foil stamp for a high-end look without complex multi-pass finishes.
- Use printed paperboard belly bands around a neutral two-piece base to differentiate holiday, birthday and thank-you sets.
- Enter three quantities on the quote form (such as 1,000, 2,500 and 5,000) to see where the biggest unit price break lands.
How do I verify paper shade, foil tone and card fit before full production?
Screen monitors emit light, whereas paperboard reflects light, so cream, ivory, sage and blush stationery tones always look slightly warmer in person than on a laptop. Before any full run begins, CubitPack sends a free 2D dieline proof and 3D mockup, and guarantees exact Pantone (PMS) color matching. If you want to test how your envelopes stack inside the tray or see how champagne foil catches the light on matte vs soft-touch lamination, order our $50 sample kit or a custom physical prototype of your box. Both are credited toward your production order, and our packaging specialists check every panel transition before your run goes to press. Reviewing the 3D mockup also lets you confirm that back-panel barcodes, studio credits and inner lid patterns face the right direction when a customer lifts the lid.
What are the most common stationery box design mistakes?
Even beautiful stationery illustrations can suffer from small structural or prepress oversights. Check these five mistakes before approving your proof
- Placing thin pin-line borders closer than 1/4 inch to the fold scores of a two-piece lid, where slight folding variation makes the frame look uneven.
- Printing dark charcoal, navy or forest green boxes without matte or soft-touch lamination, leading to white cracks along the folded corners.
- Making a display window too wide for the envelope inside, allowing the top card corner to catch on the window edge.
- Packing metal pens or brass clips in the same open cavity as a hardcover planner without a divider wall.
- Submitting raster JPEGs for foil stamping or blind debossing instead of crisp 100% vector paths.
Find your size
Suggested inside size: 4.625 × 6 × 1 in
A starting point. Your account manager confirms the size with you before the proof.
Quote this size →Packaging for this
Ready to order stationery boxes? Compare up to 3 quantities with a free 3D mockup.
Request a Quote →Questions about stationery boxes
What file format do I need for blind debossing and foil stamping?
Provide a vector PDF, AI or EPS file with your foil or deboss artwork on a separate named spot layer in 100% solid black vector paths. If you do not have vector files ready, our free design team will prepare the press layers for you.
Can I print a pattern on the inside of a two-piece stationery box?
Yes. Inside printing lets you add a botanical pattern, stripe, brand story or care note inside the lid and base tray with zero plate fees. Many paper brands pair a minimal foil-stamped exterior with a colorful patterned interior.
How narrow can lines and typography be for hot foil stamping?
For clean, sharp foil release without bridging, keep positive foil stroke weights at least 0.5 pt (0.007 in) thick and reverse knockout gaps at least 0.75 pt wide. Our prepress team checks your foil line weights on your free digital proof.
Can I split my 1,000-box order across multiple stationery designs?
Yes. As long as the boxes share the exact same inside dimensions and dieline, you can choose 2 designs or 3+ designs on the quote form to split your run across different colorways or seasonal prints while keeping the total volume price break.
Should I choose matte or soft-touch lamination for a planner box?
Both eliminate glare and prevent score cracking. Matte lamination has a smooth, crisp paper-like feel that suits everyday note cards and botanical prints, while soft-touch lamination adds a velvety, suede-like texture favored for luxury dated planners and wedding suites.
Do you charge extra for custom window shapes like arches or ovals?
No. CubitPack never charges die fees or plate fees. Whether you want a classic rectangular window, a curved arch, a circle or a custom scalloped opening, we cut your window shape at no extra tooling cost.
Still have a question? Ask a packaging specialist.
Request a Quote →Request your stationery boxes quote
Tell us your size and quantities, and one dedicated account manager prepares pricing for each tier.
- Free design & AI-to-print studio + 3D mockup
- No die or plate charges · 4–5 day rush available
- Free shipping to all 50 states
- 10% off your first order
This stationery design guide combines CubitPack prepress specifications with standard foil, debossing and window-margin tolerances, checked by a packaging specialist. Spot an issue? Tell us and we will fix it.
Sources
What changed
- October 22, 2026: First published.
- October 22, 2026: Updated specifications, terminology, and verified source links.
More guides
New packaging guides by email
Sizes, materials and design tips. Unsubscribe anytime.