
How do I design custom zipper pouches around tear notches and heat seals?
Short answer: Extend background artwork 0.125 inches past all outer cut edges for bleed, but keep logos, text and barcodes at least 0.375 inches inside the side seals and 1.5 inches below the top edge so they clear the heat-seal band, tear notches and zipper ridge on custom zipper pouches.
On this page
- Where do the top heat seal, tear notches and zipper flange sit on a dieline
- What are the exact safe-margin measurements for custom zipper pouch artwork
- Where should I place the UPC barcode and nutrition facts on a zipper pouch
- How do clear windows and white ink underbases work on kraft and metallic films
- How do hang holes and multi-SKU artwork splits affect pouch layout and cost
- Common mistakes
- FAQs
Request a custom quoteFree dieline & 3D mockup
Setting up artwork on a flexible zipper pouch is very different from laying out a flat postcard or folding carton because several zones of the bag are thermally welded, punched or torn away by the customer. Background colors and patterns can bleed edge to edge across the entire front, back and bottom gusset panels because ink is reverse-printed inside the outer film layer where heat-sealing jaws cannot scorch it. Critical typography, brand marks, nutrition panels and UPC barcodes, however, must stay inside the unsealed flat face. On a standard stand-up or 3-side-seal zipper bag, the top 1.5 inches contains the impulse heat-seal band, the side tear notches, the laser score line and the raised plastic zipper flange. Keeping your key copy in the safe zone below the zipper and inside the 0.3125 inch side seals guarantees a clean retail presentation.
Where do the top heat seal, tear notches and zipper flange sit on a dieline?
When you open a CubitPack dieline for custom printed resealable pouches, the top 1.5 inches of the front and back panels is divided into three horizontal bands. From the top cut edge down to 0.375 inches sits the top heat-seal band. When your packing team fills the pouch and clamps the mouth in an impulse or rotary band sealer, heated jaws crimp this strip into a waffled or ribbed texture. Just below that crimp zone, at about 0.5 inches down from the top edge, sit two small V-shaped or U-shaped die-cut tear notches on the left and right side seals, connected by a micro-etched laser score line. Remember that your customer will tear this entire top 0.5 inch strip off and throw it away on day one, so never put mandatory ingredient text, lot codes or your main logo above the tear line. Directly below the tear line, from roughly 0.625 inches down to 1.375 inches from the top lip, the internal plastic zipper flange is thermally welded to the film, creating a slight horizontal ridge across the outside of the bag.
- 0.0 to 0.375 in from top edge: top heat-seal crimp zone (keep only background color or a 'Tear Here' arrow).
- 0.5 in from top edge: left and right tear notches + horizontal laser score line (torn off by the customer).
- 0.625 to 1.375 in from top edge: internal zipper track weld band (leaves a subtle raised ridge on the exterior).
- 1.5 in and below: smooth, undisturbed main billboard zone for your brand logo, product title and claims.
What are the exact safe-margin measurements for custom zipper pouch artwork?
Every pouch size has slightly different seal widths depending on how much weight the bag carries, and our prepress team sends you a free custom dieline with these exact lines marked in separate Illustrator layers before you pay. Use the benchmark table below when mocking up your initial layout so nothing has to be resized during proofing. Because multi-layer barrier pouches trap the CMYK and Pantone ink layer between the outer matte or gloss film and the middle barrier layer, you do not need to leave bare unprinted film along the heat-seal edges. Let your background color, gradient or repeat pattern extend all the way across the side seals, top header and 0.125 inch outer bleed.
| Dieline zone or feature | Standard dimension / location | Artwork rule for designers |
|---|---|---|
| Outer bleed margin | 0.125 in (3 mm) outside all cut edges | Extend background colors and patterns to the outer bleed line |
| Left & right side heat seals | 0.25 to 0.375 in (6 to 10 mm) wide | Full background ink allowed; keep text 0.125 in inside the seal line |
| Top impulse heat-seal band | Top 0.25 to 0.375 in of pouch height | Gets crimped by heat sealer and torn off; background color only |
| Laser tear-notch corridor | 0.5 in down from the top cut edge | Optional small 'Tear Here' icon; never place brand or legal text here |
| Zipper flange weld zone | 0.625 to 1.375 in down from top edge | Avoid small text, fine foil lines and barcodes over the raised rib |
| Round or sombrero hang hole | Centered 0.25 in down in the top header | Leave 0.1875 in clear buffer around the punched hole outline |
| Bottom gusset fold (stand-up) | Folded W-base at bottom of pouch | Curves inward when filled; keep front text 0.75 in above base crease |
Where should I place the UPC barcode and nutrition facts on a zipper pouch?
When a stand-up pouch is filled with product, the upper quarter of the bag pinches flat toward the zipper while the lower third bellies outward into a rounded oval where it meets the bottom gusset. That 3D curvature matters for two things: retail barcode scanners and small 6-point FDA or supplement facts typography. Place your Nutrition Facts or Supplement Facts box in the flat middle band of the back panel, starting at least 1.5 inches below the top edge (well clear of the zipper ridge and ultrasonic side-seal crush welds) and stopping at least 1.0 inch above the bottom edge. Place your UPC barcode on a high-contrast white rectangle in the lower-right quadrant of that flat middle zone, or centered on the flat bottom gusset panel itself for larger 8 oz to 5 lb bags. Always orient barcode bars vertically or horizontally on a flat surface rather than wrapping them into the curved bottom corner where grocery laser scanners lose contrast. If you prefer to apply variable flavor stickers to a master pouch, see our custom roll labels and custom stand up pouches guides.
Know your size? Compare pricing across up to 3 quantities.
Request a Quote →How do clear windows and white ink underbases work on kraft and metallic films?
If you choose custom stand up pouches with window or transparent barrier films, the window is created during lamination by leaving a defined area of the film unprinted and un-metallized so shoppers can see the product inside. On your artwork file, draw the window shape as a solid vector spot-color swatch on its own layer. Keep the window at least 0.5 inches below the lower zipper flange and 0.5 inches inside the left and right side seals so the window never weakens the structural welds. On custom kraft stand up pouches, clear films and metallic foil laminates, standard CMYK inks are semi-translucent. Printing yellow, sky blue or pastel pink directly onto brown kraft paper or silver film makes the colors look dark or metallic. Our prepress team sets up a selective white ink underbase layer behind any artwork elements you want opaque, while leaving other areas without white ink where you want a natural kraft texture or metallic shimmer to show through.
How do hang holes and multi-SKU artwork splits affect pouch layout and cost?
If your pouches hang on retail pegboards in convenience stores, pharmacies or hardware aisles, we punch either a 0.25 inch round hole or a wide sombrero (euro-slot) hole centered in the top heat-seal header above the tear line. When adding a hang hole, we increase the top header height by about 0.25 inches so the heat-seal jaws seal around the hole without cutting into the laser tear path. From a cost perspective, keeping every flavor or scent in your catalog on the exact same Width × Height × Gusset dieline and zipper position lets you combine multiple designs in a single order to unlock higher quantity price breaks. You never pay die or plate charges at CubitPack, and our designers check every layer of your artwork and send a free 3D mockup before payment.
- Round hang hole (0.25 in): suits lightweight flat packets and small stand-up bags under 4 oz.
- Sombrero / euro-slot hang hole: wide slot that keeps 4 oz to 16 oz pouches hanging level on single or double pegs.
- Multi-SKU dieline sharing: keep identical pouch dimensions and window shapes across flavors to combine volume.
- Free prepress & AI design setup: upload vector files or an AI concept and we build the print-ready dieline for free.
What are the most common custom zipper pouch artwork mistakes?
Almost every prepress revision on a reclosable pouch involves moving text out of the top 1.5 inch header or away from the bottom gusset curve. Avoid these five mistakes
- Placing the brand logo or mandatory net weight text in the top 0.5 inch header above the tear notches where customers rip it off.
- Setting small ingredient text or a UPC barcode directly over the horizontal zipper flange ridge at 0.75 to 1.25 inches from the top.
- Putting a clear product window in the upper third of the pouch where it shows empty headspace instead of the settled product.
- Pushing front-panel text closer than 0.75 inches to the bottom edge of a stand-up pouch, where the expanding gusset pulls the film inward.
- Forgetting to specify a white ink underbase beneath light pastel colors and barcode boxes on brown kraft or metallic films.
Packaging for this
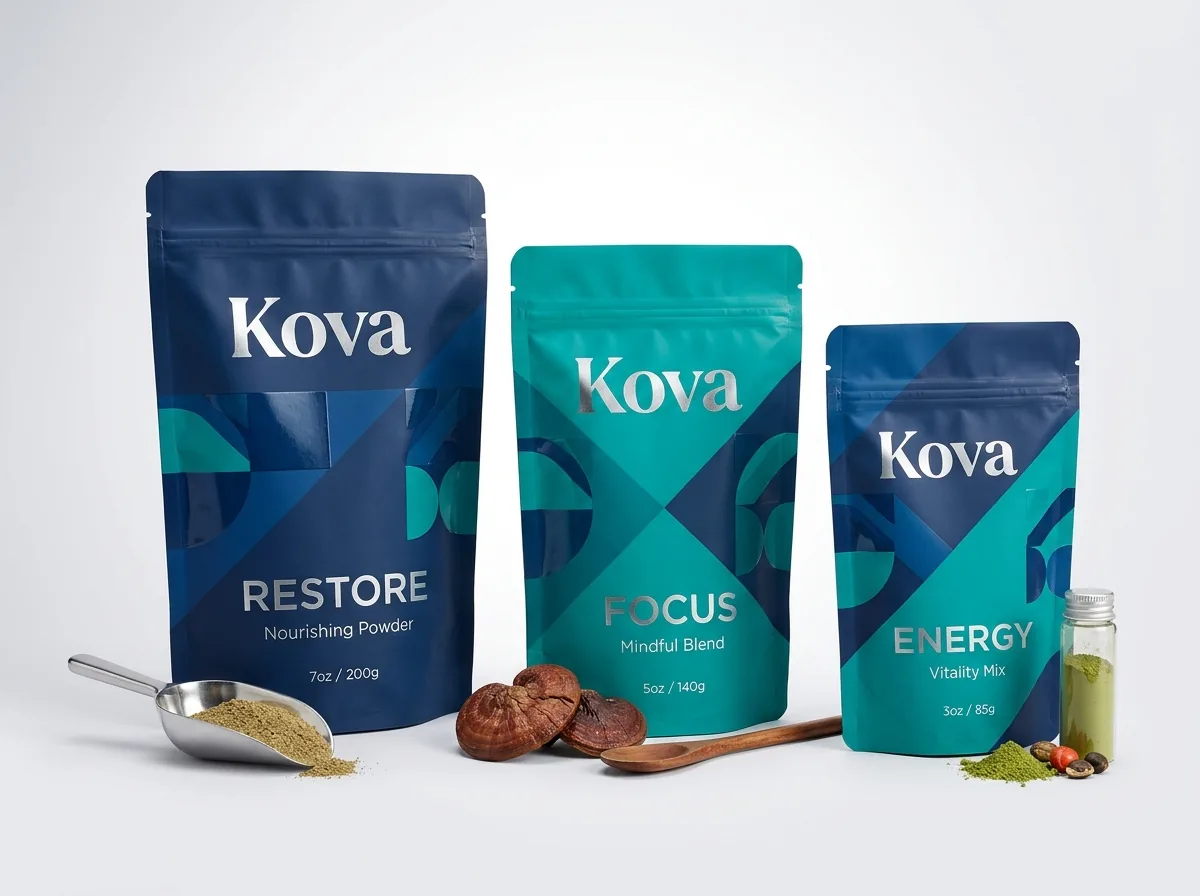
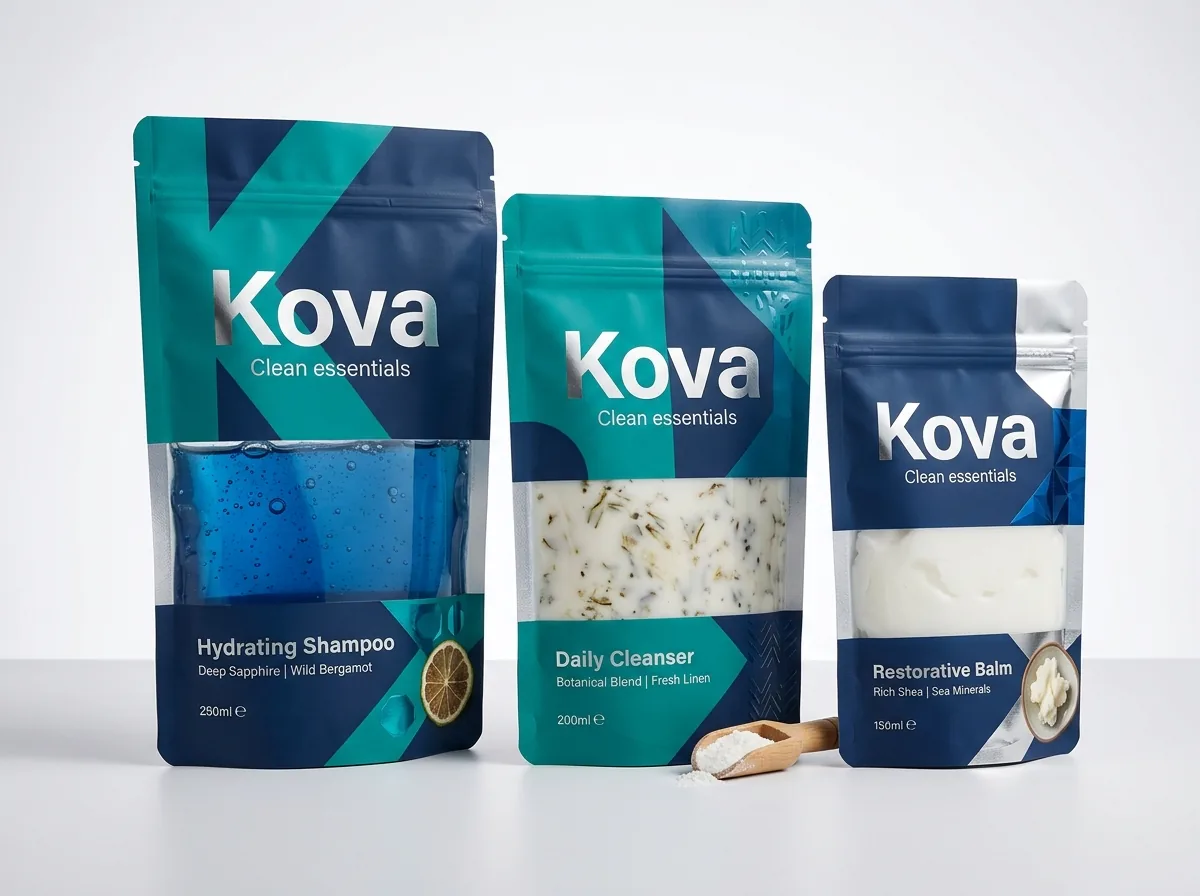
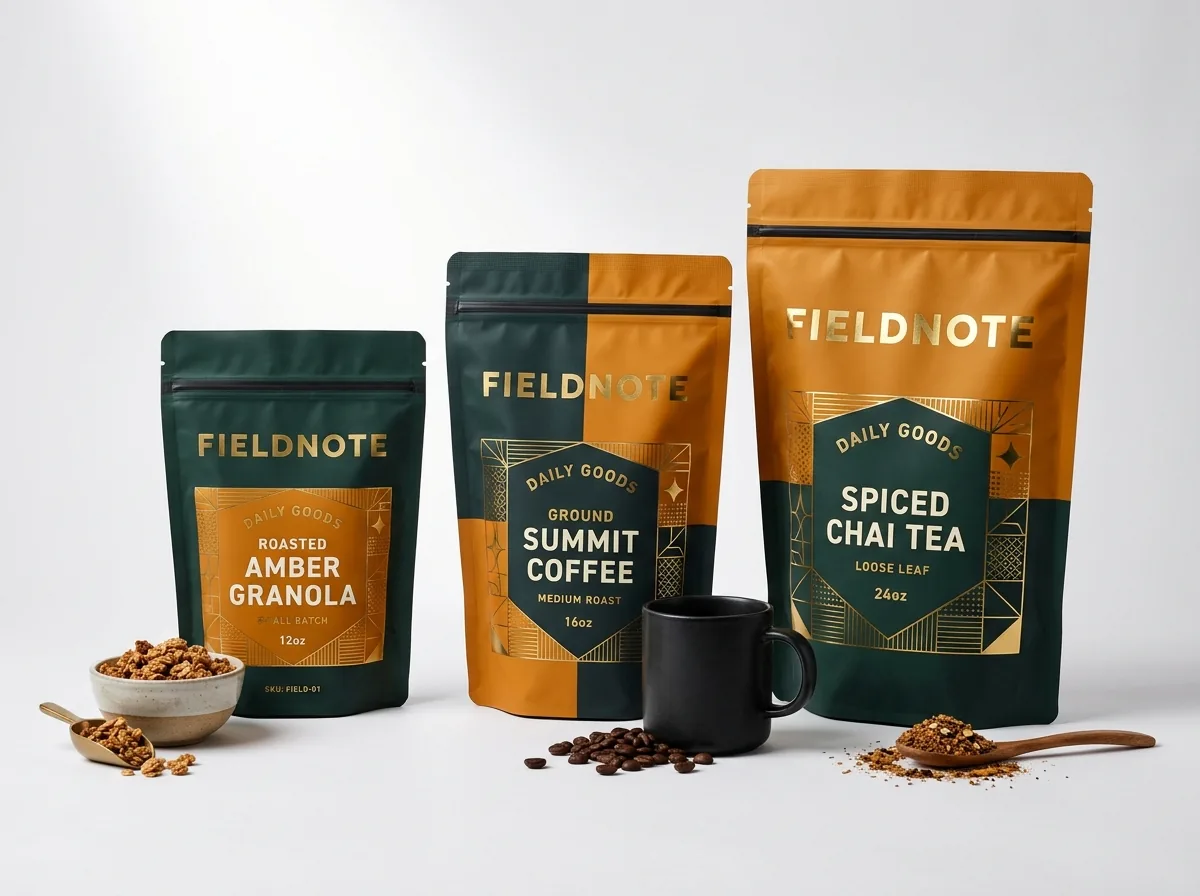
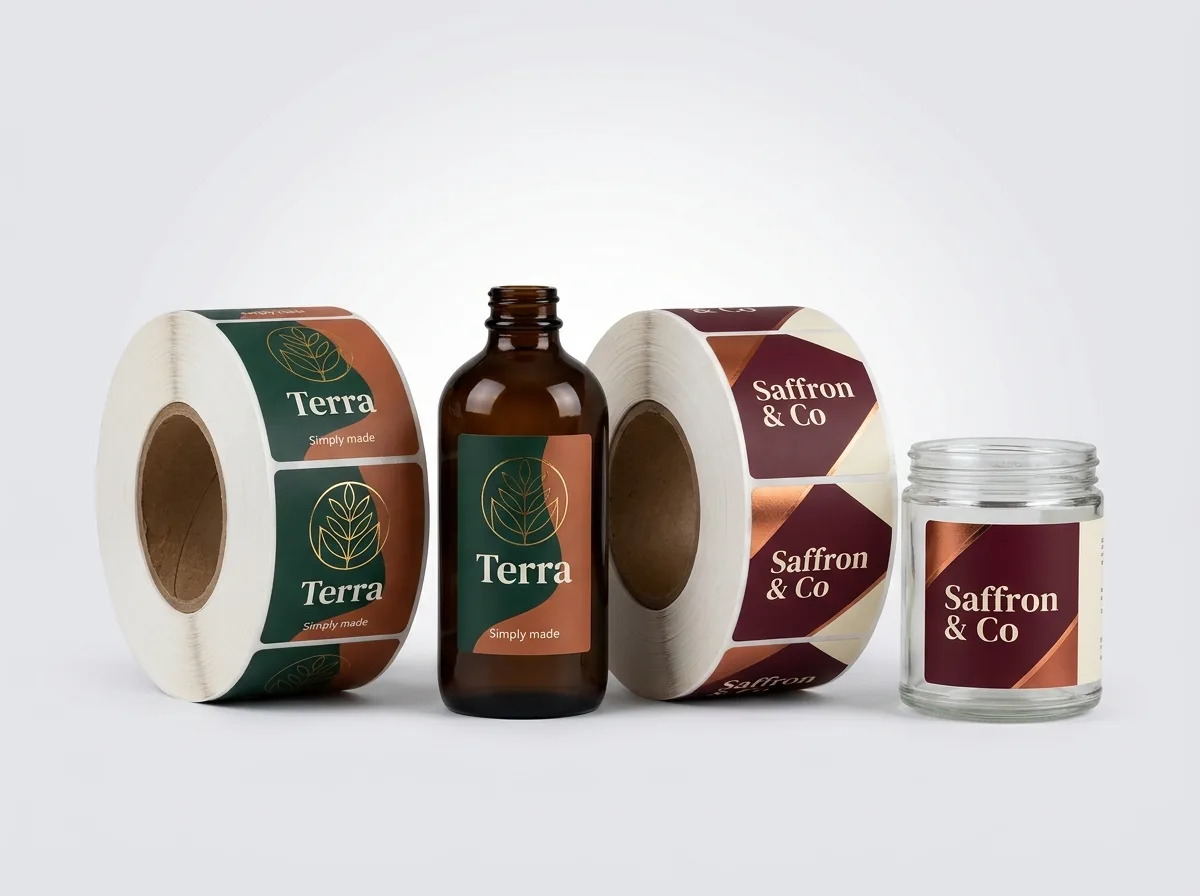
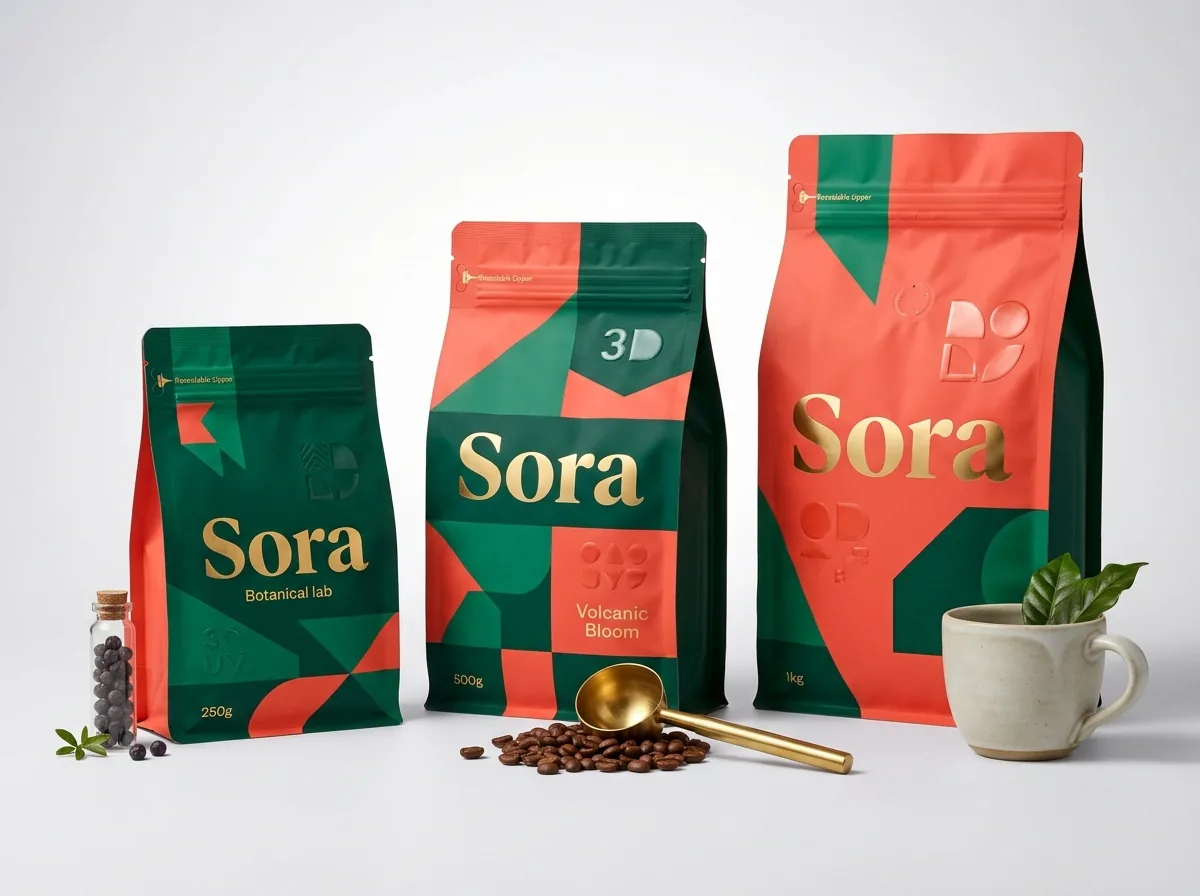
Ready to order zipper pouches? Compare up to 3 quantities with a free 3D mockup.
Request a Quote →Questions about zipper pouches
Can I print full background color over the top and side heat seals?
Yes. Because flexible pouch inks are reverse-printed on the inside of the outer PET or BOPP film layer before lamination, your heat-sealing jaws only touch the outer protective film. You can run solid colors and patterns edge to edge across all heat seals.
Why should I keep text and barcodes off the zipper flange zone?
When the plastic zipper track is thermally welded to the inner sealant layer, heat and pressure leave a subtle 0.375 inch horizontal band on the outside of the pouch. Keeping fine type and barcode bars below that ridge keeps them completely flat and scannable.
What file format should I upload for custom zipper pouch artwork?
Vector PDF or Adobe Illustrator (.ai) files with outlined fonts and embedded high-resolution images (300 DPI at 100% print size) are ideal. If you only have a logo, a sketch or an AI-generated image, our design team sets up the dieline for free.
Do I pay plate charges if I have three different pouch designs in my order?
No. CubitPack never charges die or printing plate fees. Select 2 designs or 3+ designs in Step 2 of the quote form and list your flavors in the notes so your account manager can quote the combined volume.
Can I print on the bottom gusset of a stand-up zipper pouch?
Yes. On printed film stand-up pouches, you can print background colors, batch code boxes or a centered UPC barcode on the bottom gusset panel. Just keep text 0.25 inches away from the center fold crease and outer seal rim.
Will I see where the zipper and tear notches sit before my pouches are printed?
Yes. Every order includes a free 2D digital proof showing the exact cut line, bleed, side seals, tear notches, hang hole and zipper track overlaid on your artwork, plus a 3D mockup that you approve before payment.
Still have a question? Ask a packaging specialist.
Request a Quote →Request your zipper pouches quote
Tell us your size and quantities, and one dedicated account manager prepares pricing for each tier.
- Free design & AI-to-print studio + 3D mockup
- No die or plate charges · 4–5 day rush available
- Free shipping to all 50 states
- 10% off your first order
The dieline clearance measurements in this guide follow standard flexible converting tolerances for impulse heat seals, laser tear lines, ultrasonic zipper welds and retail barcode placement, verified by a CubitPack packaging specialist. Spot an error? Tell us and we will fix it.
Sources
What changed
- October 22, 2026: First published.
- October 22, 2026: Updated specifications, terminology, and verified source links.
More guides
New packaging guides by email
Sizes, materials and design tips. Unsubscribe anytime.