
How do footwear brands design custom shoe boxes that stack and unbox cleanly?
Short answer: Design your footwear box around three functional zones: a scuff-resistant top lid for brand impact, a dedicated short end-panel box for the US/EU/UK size sticker and barcode, and an interior tissue wrap that stops upper-to-upper rubbing. You can build all three on custom shoe boxes with zero die or plate charges.
On this page
- How should I lay out the short end panel for stockrooms and 3PLs
- Which functional cutouts, pulls and finishes suit footwear boxes
- How do you protect white midsoles, suede and patent leather inside the box
- What drives custom shoe box cost and how can footwear brands save
- Can I print an AI-generated sneaker illustration or colorway pattern on my box
- Common mistakes
- FAQs
Request a custom quoteFree dieline & 3D mockup
A well-engineered shoe box works just as hard in a dimly lit stockroom aisle as it does in a customer's unboxing video. While most first-time footwear founders focus entirely on the top lid graphic, experienced shoe production teams design the short end panel, the structural hardware and the interior barrier at the same time. The short end panel needs a clean, high-contrast 3 × 2 inch zone on the base tray so warehouse pickers and store associates can read the model name, colorway, shoe silhouette and US/UK/EU/CM size grid from a ten-foot ladder. Inside the box, a laminated or coated wall paired with custom printed tissue paper prevents dark inks or buckles from marking white midsoles, suede or patent leather. At CubitPack, our prepress team sets up your custom dieline, thumb notches, vent cutouts and 3D mockup for free.
How should I lay out the short end panel for stockrooms and 3PLs?
Once your shoes leave the production line, the top lid of the box is hidden inside a vertical stack until the customer takes the pair home. In a 3PL warehouse bin or a retail backroom, only one short end panel faces outward toward the aisle. Designing that short end panel deliberately on your custom printed shoe boxes speeds up order picking and cuts mis-shipped sizes. Instead of printing each shoe size directly onto the box board (which would force you to split your print run into 14 separate plate setups), print a universal branded frame or alignment box on the short end of the base tray. The footwear packing crew then applies a variable-data custom rectangle label inside that frame for each specific pair.
- Place the label frame on the left or center of one short base end panel, below the overlap line of a two-piece lid.
- Leave a 3 × 2 inch or 3.5 × 2.25 inch light or unprinted rectangle so thermal barcode labels adhere flat and scan cleanly.
- Include space on the sticker for model name, colorway, line-art shoe silhouette, US/UK/EU/CM size conversion grid and UPC/EAN barcode.
- Print your brand logo vertically or horizontally beside the label zone so the brand is recognizable from across the stockroom.
Which functional cutouts, pulls and finishes suit footwear boxes?
Footwear boxes get opened and closed dozens of times during factory inspection, retail try-ons and home closet storage. Adding small structural cutouts and protective surface finishes keeps the box working smoothly without tearing the board. Because CubitPack never charges cutting die fees, adding die-cut thumb notches, finger pull holes or ventilation cutouts to your dieline costs nothing extra in tooling. Use the reference table below to pick the right combination of hardware and surface finishes for your footwear line.
| Footwear box feature | What it does structurally | Best footwear application |
|---|---|---|
| Die-cut thumb notch | Semicircular cutout on the front lip or lid sides | Lets clerks flip open hinged sneaker lids or lift tight two-piece lids |
| Ventilation air hole | 0.5 to 0.75 in round cutout on the short end wall | Allows fresh leather dress shoes and boots to breathe in storage |
| Ribbon or finger drawer pull | Grosgrain ribbon tab or round finger hole on tray front | Slide-out collector sneaker drawers and stacked closet boxes |
| Matte or soft-touch lamination | Scuff-resistant film barrier over dark ink coverage | Prevents white scuff lines when dark boxes slide on stockroom shelves |
| Hot foil & blind embossing | Metallic shine or 3D raised tread/crest texture on lid | Bridal heels, Italian loafers, signature athlete collaborations |
| Inside lid & tray printing | Full-color or Pantone flood inside the box cavity | Collaborations, brand stories, care guides and QR authentication |
How do you protect white midsoles, suede and patent leather inside the box?
Two shoes packed together without an interior barrier will rub against each other on every mile of ocean freight and parcel delivery. Metal eyelets on a work boot can gouge the opposite leather upper, crystal embellishments on a bridal pump can snag satin, and dark unlaminated interior box ink can transfer onto stark white rubber midsoles. The simplest, most effective barrier is a generous sheet of custom tissue paper folded in an S-curve: half the sheet lines the bottom and sides of the box, a middle fold passes between the two nested shoes to separate the uppers, and the top flap folds over both shoes before the lid closes. If you print dark ink inside the box, add matte lamination inside so the ink is sealed away from the footwear.
- S-fold tissue wrap: line the base, loop the tissue sheet between the two nested uppers, and fold the top edge over both shoes.
- Laminated interior walls: seal heavy dark inside prints under matte lamination so pigment never rubs onto white soles.
- Toe stuffers and boot shapers: pair outer box walls with tissue or card inserts inside the toe box to hold the upper shape.
Know your size? Compare pricing across up to 3 quantities.
Request a Quote →What drives custom shoe box cost and how can footwear brands save?
Four factors shape the unit price of a custom shoe box: the construction family (corrugated hinged vs rigid chipboard), the flat board dimensions, the number of box sizes in your run, and the number of finishing passes. By far the biggest lever for a footwear brand is consolidating your size curve into two or three shared box footprints. Instead of ordering 10 separate box dimensions across US sizes 5 through 13, grouping your line into Small/Medium and Large/XL pools your volume into higher quantity tiers where the unit price drops sharply. You can also print a striking one-color Pantone graphic on natural kraft or white corrugated board and use a printed tissue wrap inside for color. CubitPack charges zero die or plate fees, gives 10% off your first order, and beats written US competitor quotes for identical specs.
- Consolidate US shoe sizes into 2 or 3 shared box footprints and use end-panel labels for individual sizes.
- Use one-piece hinged corrugated boxes (from 250 units) or collapsible rigid boxes (from 50 units) to slash flat shipping and storage volume.
- Print one or two spot Pantone colors outside and reserve full-color illustrations for the inside lid or tissue wrap.
- Request three quantity tiers in one free quote so you can see the exact unit-cost break before choosing your run size.
Can I print an AI-generated sneaker illustration or colorway pattern on my box?
Yes. Custom sneaker designers, streetwear labels and independent footwear founders often use AI tools to generate vintage technical illustrations, outsole blueprint art, topographic maps or abstract camo patterns for their box lids. Raw AI image files are usually low-resolution RGB rasters that pixelate when enlarged across a 13.5 × 8.5 inch shoe box lid, and traditional printers often turn them away. Through CubitPack's free print your AI design service, our prepress specialists rebuild and vectorize your AI graphic, convert colors to CMYK or guaranteed spot Pantone inks matched to your shoe's leather or mesh swatches, fit the layout onto your exact shoe box dieline, and send you a 2D digital proof and 3D mockup before you pay. We also verify that fine line art, end-panel frames and thumb notches sit cleanly away from fold scores so the finished box folds sharply.
- Upload your raw AI illustration, outsole sketch or colorway moodboard in Step 2 of the quote form.
- Our prepress team redraws pixelated edges into sharp vector paths scaled to your 13.5 × 8.5 in or 14.5 × 10 in dieline.
- We match spot Pantone inks to your upper leather, suede or midsole colorway with a free reprint guarantee if a Pantone shade is clearly off.
- You inspect and approve the 2D flat dieline proof and interactive 3D mockup before payment.
What are the most common custom shoe box design mistakes?
A shoe box design that looks bold on screen can cause real friction in a stockroom or scratch expensive uppers in transit. Check these five before approving your proof
- Printing individual shoe sizes directly on the box board instead of leaving an end-panel zone for variable size and barcode stickers.
- Placing the end-panel barcode zone on the upper half of a two-piece base where the telescoping lid covers it up when closed.
- Using unlaminated dark charcoal, black or red ink on the box interior where white rubber midsoles rub during transit.
- Skipping the S-fold tissue paper separator between nested leather or embellished shoes, allowing buckles and eyelets to scratch the opposite shoe.
- Designing inside-lid text upside down relative to how a hinged sneaker lid flips open away from the customer.
Find your size
Suggested inside size: 8.5 × 5.5 × 3.5 in
A starting point. Your account manager confirms the size with you before the proof.
Quote this size →Packaging for this
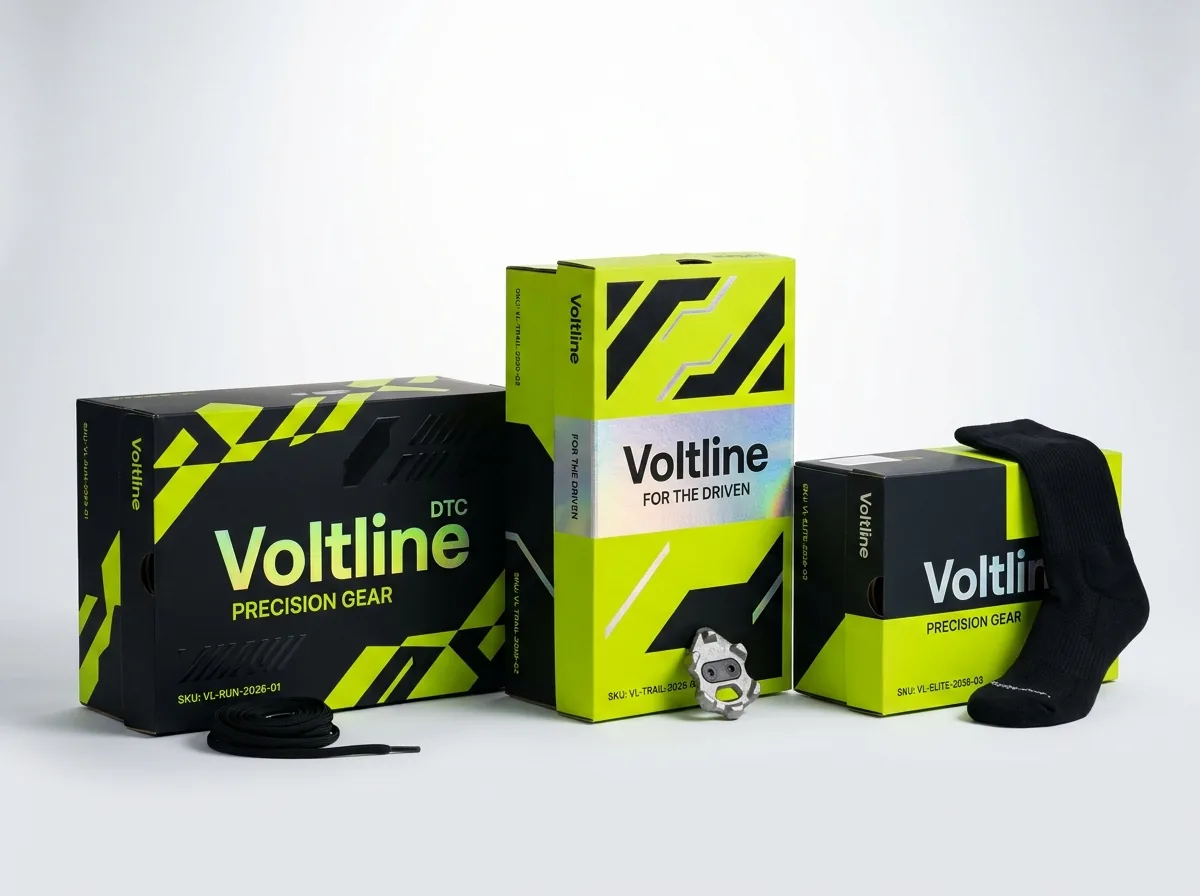

Ready to order shoe boxes? Compare up to 3 quantities with a free 3D mockup.
Request a Quote →Questions about shoe boxes
Do die-cut thumb notches or ventilation holes add extra die charges?
No. CubitPack never charges cutting die or printing plate fees. We can add semicircular thumb notches, round finger pull holes and circular ventilation holes directly into your custom shoe box dieline at zero extra tooling cost.
What size label fits the short end panel of a standard shoe box?
Most footwear brands use a 3 × 2 inch or 3.5 × 2 inch rectangle label on the short end panel of the base tray. That gives ample space for the style name, colorway, shoe silhouette icon, US/UK/EU/CM size grid and scannable UPC barcode.
How do you guarantee my shoe box color matches my footwear colorway?
Provide your Pantone (PMS) color codes when requesting your quote. CubitPack guarantees Pantone color matching on custom shoe boxes: if a printed Pantone ink is clearly off from the approved specification, we reprint at no cost to you.
Can you print both the outside and inside of a hinged sneaker box?
Yes. Two-sided printing is very popular on custom sneaker boxes. You can print a clean logo and colorway accent on the outside walls and flood the inside lid and tray with collaboration artwork, care instructions or authentication QR codes.
What file format should I upload for my shoe box artwork?
Vector files (AI, PDF, EPS or SVG) with outlined fonts and 300 DPI linked images are ideal. If you only have a PNG, sketch or AI-generated image, our design team prepares the print-ready dieline and 3D mockup for free.
Can I order custom printed tissue paper and end-panel labels together with my shoe boxes?
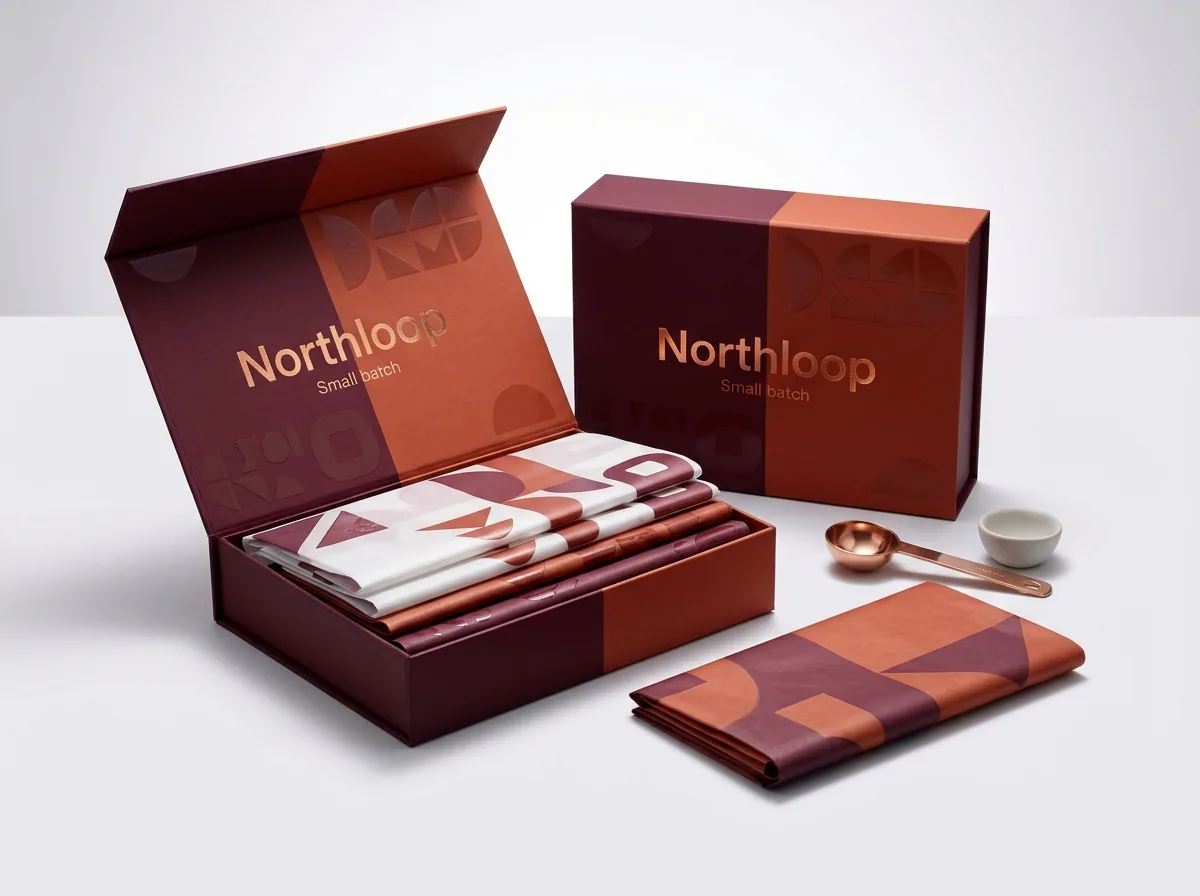
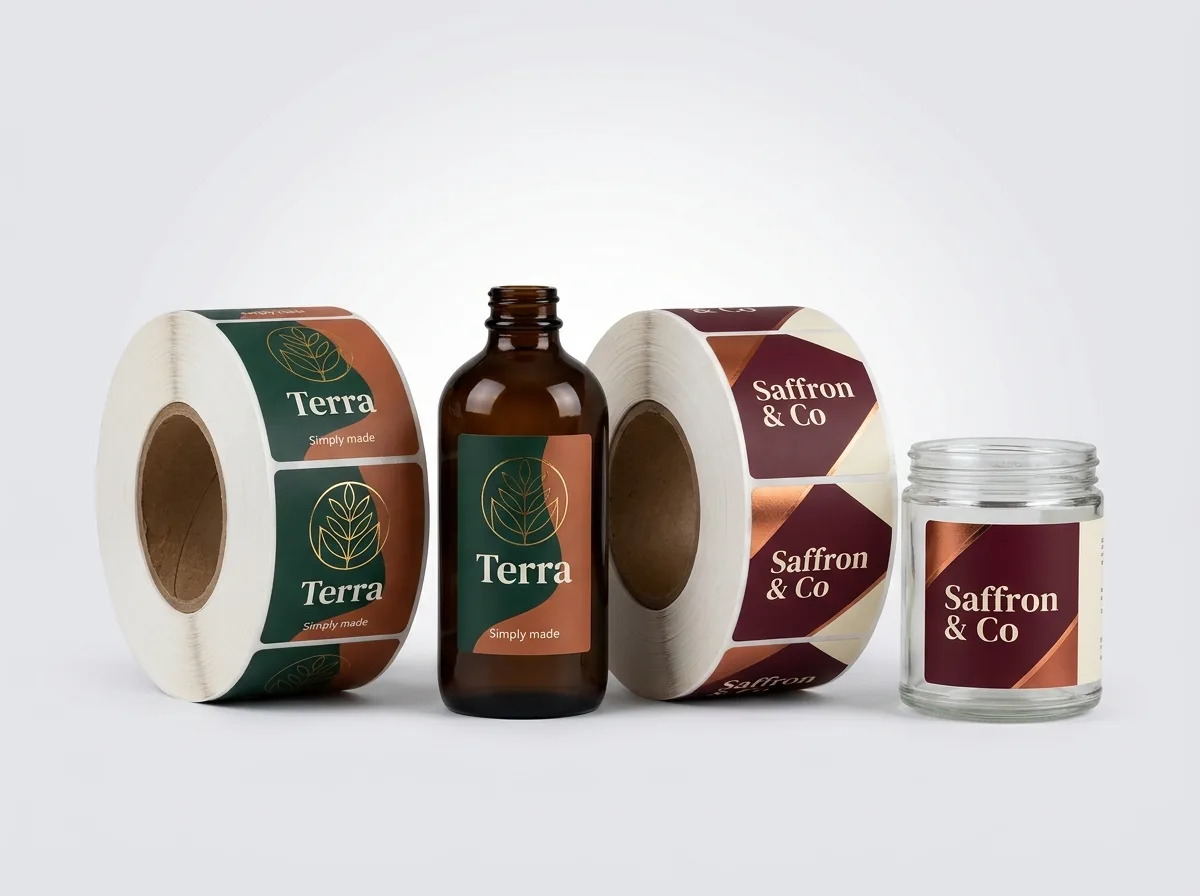
Yes. CubitPack produces custom printed tissue paper, roll labels and sticker sheets alongside custom shoe boxes so you can source your entire footwear packaging kit from one team with matched Pantone colors.
Still have a question? Ask a packaging specialist.
Request a Quote →Request your shoe boxes quote
Tell us your size and quantities, and one dedicated account manager prepares pricing for each tier.
- Free design & AI-to-print studio + 3D mockup
- No die or plate charges · 4–5 day rush available
- Free shipping to all 50 states
- 10% off your first order
This footwear packaging design guide combines CubitPack's decided printing, finish and guarantee rules in our published product specifications with TAPPI scuff-resistance practices and retail stockroom labeling standards. A CubitPack packaging specialist verified every detail. Spot something wrong? Tell us and we will fix it.
Sources
What changed
- October 22, 2026: First published.
- October 22, 2026: Updated specifications, terminology, and verified source links.
More guides
New packaging guides by email
Sizes, materials and design tips. Unsubscribe anytime.