
How do I design custom kitchenware boxes and cookware inserts?
Short answer: Engineer the internal restraint around the tool's center of gravity first - using a slotted neck bridge for skillets, an inverted lid tray for Dutch ovens, or bolster-grip EVA foam for knives - then place a clear stovetop and oven-temperature spec bar on the front panel of your custom kitchenware boxes.
On this page
- How do you engineer pan-handle neck bridges and inverted Dutch oven lid trays
- Which internal insert matches each kitchenware and cutlery product
- How do you design EVA foam knife cradles and multi-slot utensil display racks
- What stovetop, oven-temperature and care icons belong on a cookware carton
- What drives the cost of custom kitchenware boxes and how can I save
- Common mistakes
- FAQs
Request a custom quoteFree dieline & 3D mockup
Great kitchenware packaging solves two problems at once: preventing heavy metal, glass or ceramic pieces from wrecking the box in transit, and answering a home cook's compatibility questions in three seconds on a crowded store shelf. Inside the carton, never rely on loose paper fill to hold an unbalanced frying pan or an enameled pot lid. Instead, lock a skillet at the neck joint where the handle meets the pan bowl, suspend Dutch oven lids upside-down inside an upper corrugated tray, and clamp forged chef knives at the bolster inside routed EVA foam. On the outside of the box, pair overhead culinary photography with a standardized icon bar showing induction, gas, electric, maximum oven temperature (°F/°C) and dishwasher safety. CubitPack provides free structural dielines, free design help and a pre-payment 3D mockup on every custom kitchenware order.
How do you engineer pan-handle neck bridges and inverted Dutch oven lid trays?
When a 10-inch or 12-inch skillet ships in a rectangular mailer box, the heavy round pan bowl sits at one end while the narrow handle extends into empty space at the other end. Without an insert, the pan rotates on impact and drives the steel handle tip straight through the end wall of the carton. Our design team stop that rotation with a one-piece folded cardboard insert that combines a U-shaped bowl bumper at the heavy end with a slotted corrugated neck bridge across the handle. For Dutch ovens, stockpots and ceramic casseroles with lids, the biggest transit hazard is rim-on-rim impact between the lid and the pot body. We design a square corrugated upper tray with a center circular cutout: you place the tray over the open pot rim, lay a non-scratch tissue sheet down, and set the lid upside-down so the handle knob drops into the center hole. When you order custom printed cookware boxes, we build the outer box and the internal insert on one coordinated proof so your assembly team can pack every pot in under twenty seconds.
- Skillet neck bridge: a double-wall corrugated cross-brace with a keyhole slot that traps the narrow handle neck and keeps the bowl centered.
- Handle-tip air buffer: keeps the end of a long frying pan handle 0.5 inches away from the outer carton flap.
- Inverted pot-lid tray: suspends a heavy cast-iron or glass lid upside-down above the pot rim with zero metal-to-metal contact.
- Nesting bowl rings: die-cut corrugated or heavy card collars placed between stacked ceramic mixing bowls so glazed rims never rub together during shipping.
Which internal insert matches each kitchenware and cutlery product?
Because CubitPack charges zero cutting die fees, customizing an internal brace for your exact cookware or gadget silhouette does not add tooling setup costs. Use the engineering matrix below to pick the right internal restraint for your product before requesting your dieline. Notice how every insert locks the product by its strongest structural point - the pan neck, the pot foot, the knife bolster or the utensil handle - while leaving fragile glass carafes, enameled rims and sharpened blade bevels completely untouched inside a suspended air pocket that absorbs parcel drops and warehouse stack vibration.
| Kitchenware product | Primary transit or display risk | Recommended internal insert design |
|---|---|---|
| 10 in & 12 in skillets / frying pans | Pan bowl pivots; handle pierces end flap | E-flute/B-flute bowl cradle + slotted neck bridge |
| Enameled Dutch ovens & stockpots | Heavy lid chips pot rim on vertical drop | Bottom corner bumpers + inverted upper lid tray |
| 8 in chef knives & steak knife sets | Blade edge slices carton or dulls against wall | Polymer tip guard + bolster-grip routed EVA foam |
| Glass French presses & carafes | Borosilicate beaker shatters on side impact | Full 4-wall E-flute suspension liner + spout slot |
| 5-piece silicone spatula & whisk sets | Tools tangle and slide behind display window | Die-cut paperboard comb rack with handle slots |
| 3-piece nesting ceramic mixing bowls | Inner bowls jam and crack outer bowl base | Stepped corrugated separator rings between bases |
How do you design EVA foam knife cradles and multi-slot utensil display racks?
For forged chef knives, santoku blades and steak knife sets packed in 50-minimum two-piece rigid boxes, the insert must hold the knife rock-steady without touching the honed cutting edge. When we route a custom EVA foam insert, we cut a tight friction-fit pocket around the contoured handle and the thick metal bolster, then widen the cavity around the lower blade bevel by 0.125 inches and add semicircular finger notches beside the handle grip so the customer can lift the knife safely out of the tray. For 3-piece to 6-piece silicone spatula, spoon and tongs sets sold in retail window boxes, loose tools immediately tumble into a pile at the bottom of the carton as soon as the box stands upright. We solve this with a folded paperboard comb rack at the base and neck of the box: each utensil handle snaps into its own die-cut slot so all five heads fan out evenly behind the front display window without touching or twisting.
Know your size? Compare pricing across up to 3 quantities.
Request a Quote →What stovetop, oven-temperature and care icons belong on a cookware carton?
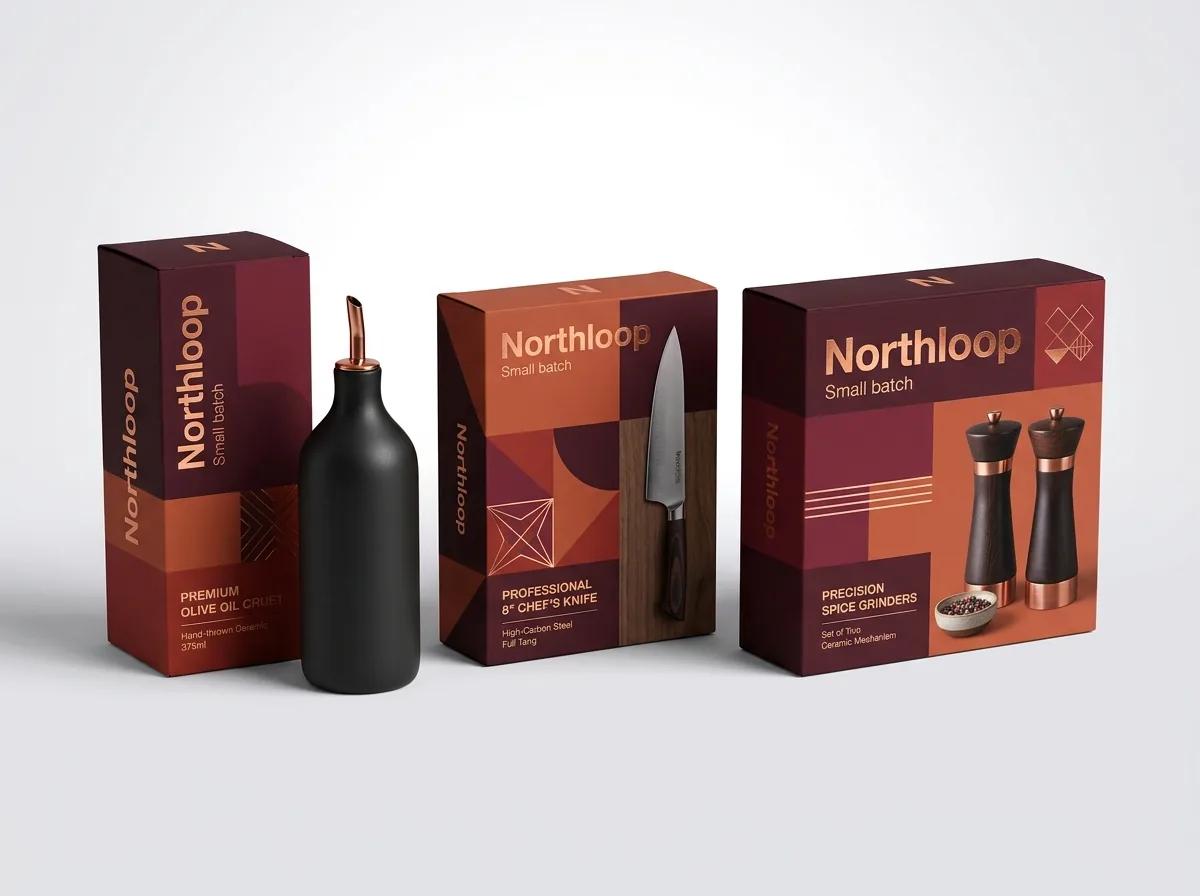
Walk down any department-store cookware aisle and you will see shoppers scanning boxes for three technical answers before they ever lift a carton: Does this pan work on my induction cooktop? How hot can it go in the oven (including the lid knob)? Can I put it in the dishwasher? If those answers are buried in 8-point text on the bottom flap, shoppers put the box back on the gondola. Place a clean, high-contrast specification bar along the bottom 1.5 inches of your front panel and repeat the full compatibility chart on the back panel. Use universally recognized pictograms - the induction coil symbol, gas flame, electric spiral, halogen/ceramic ring, an oven icon with exact maximum °F / °C ratings, and a dishwasher or hand-wash icon - alongside net weight, capacity in quarts/liters, and pan diameter in both inches and centimeters. For multi-ply stainless or nonstick pans, a simple cross-section diagram showing the aluminum or copper core layers builds instant authority at the shelf.
What drives the cost of custom kitchenware boxes and how can I save?
Four factors control the unit cost of custom kitchenware packaging: board stock (paperboard vs E-flute/B-flute corrugated vs 2 mm rigid), flat blank surface area, the number of separate insert components, and order quantity. Because CubitPack never charges cutting die or printing plate fees, adding a front touch window, a sombrero hang tab or a custom handle-neck slot adds zero tooling cost to your run. To keep per-unit pricing lean across a multi-piece culinary collection, standardize your gadget cartons onto one or two shared dieline footprints so you can gang-run five utensil SKUs together in a single production run. For heavy cookware, printing a bold 2-color Pantone design on unbleached kraft B-flute corrugated or using inside-lid printing for your cast-iron seasoning steps and chef recipe guide gives buyers a memorable unboxing without the extra cost of printing and inserting a separate paper instruction booklet.
What are the most common kitchenware box design and insert mistakes?
Most damaged cookware returns and retail shelf rejections come from overlooked insert physics, unguarded rims or missing compatibility specs. Check these five design mistakes before approving your proof
- Designing a rectangular skillet box without an internal handle-neck bridge, allowing the heavy pan bowl to pivot and tear the end flap during shipping.
- Routing an EVA foam knife cavity that pinches the sharpened blade edge instead of clamping the handle and thick metal bolster.
- Packing a 5-piece silicone utensil set in a window box without a slotted card comb rack, so the tools slide into a crooked heap on the shelf.
- Leaving induction compatibility, maximum oven temperature (°F/°C) and dishwasher safety icons off the front retail display panel.
- Placing a UPC barcode on a curved corner or too close to an open touch cutout where retail laser scanners cannot read it cleanly.
Find your size
Suggested inside size: 2.5 × 1.5 × 7.5 in
A starting point. Your account manager confirms the size with you before the proof.
Quote this size →Packaging for this

Ready to order kitchenware boxes? Compare up to 3 quantities with a free 3D mockup.
Request a Quote →Questions about kitchenware boxes
Can CubitPack design both the outer cookware box and the internal handle or lid insert?
Yes. Send us the measurements and weight of your skillet, Dutch oven, knife or utensil set (or mail a physical sample to our structural team), and we will engineer both the outer carton dieline and the internal corrugated or EVA foam insert for free.
How do you keep a frying pan handle from poking through the end of the box?
We place a folded corrugated neck bridge across the narrow pan handle right where it joins the pan bowl, locking the bowl at one end of the mailer while keeping a 0.5-inch air gap between the handle tip and the end flap.
Can I print seasoning instructions or a chef recipe inside the lid of a skillet box?
Yes. Two-sided printing lets you put your brand photography and stovetop compatibility bar on the outside of the carton and print cast-iron seasoning steps, knife care diagrams or a signature recipe inside the top lid.
What is the best way to package a glass French press or pour-over coffee carafe?
Borosilicate glass carafes need a 1/4-inch air cushion on all six sides. We use an E-flute auto lock bottom carton lined with a folded corrugated suspension sleeve that cradles the base, top rim and protruding glass spout.
Can I combine multiple kitchen gadget designs in one 1,000-box order?
Yes. If your peeler, zester, pizza wheel and thermometer share the same 2.5 × 1.5 × 7.5 inch hang-tab carton dieline, you can split your 1,000-box minimum across multiple SKU artworks in one production run.
Do I see a 3D mockup of my cookware box and insert before I pay?
Yes. Every order includes a free 2D dieline proof (showing cut, fold and window/insert lines) plus a 3D mockup before payment. You can also order a paid physical sample credited toward your full run.
Still have a question? Ask a packaging specialist.
Request a Quote →Request your kitchenware boxes quote
Tell us your size and quantities, and one dedicated account manager prepares pricing for each tier.
- Free design & AI-to-print studio + 3D mockup
- No die or plate charges · 4–5 day rush available
- Free shipping to all 50 states
- 10% off your first order
This structural and graphic design guide draws on CubitPack prepress standards for skillet neck bridges, inverted Dutch oven lid trays, routed EVA knife foam and retail housewares specification panels. Verified by a CubitPack packaging specialist.
Sources
What changed
- October 22, 2026: First published.
- October 22, 2026: Updated specifications, terminology, and verified source links.
More guides
New packaging guides by email
Sizes, materials and design tips. Unsubscribe anytime.