
How do I design custom gadget boxes for retail impulse shelves and hardware launches?
Short answer: Pass the 3-second retail test with a 1:1 Spot UV product graphic, a 5-word benefit headline and a 3-icon action strip on the front panel, then pair it with a contoured insert and an inside-lid QR setup guide. Every order of custom gadget boxes includes free dielines and design help.
On this page
- How do you design the front panel of a gadget box to pass the 3-second shelf test
- What information belongs on each panel of a retail and crowdfunding gadget box
- How do you engineer the insert to protect buttons, lenses and screens from metal mounts
- How should you lay out inside-lid QR onboarding, serial barcodes and battery warnings
- How can you create a special Kickstarter or Founder's Edition without doubling print costs
- Common mistakes
- FAQs
Request a custom quoteFree dieline & 3D mockup
When you sell a familiar product like a candle or a pair of socks, shoppers already know how to use it. When you launch an original hardware gadget, such as a magnetic vlogging light, a pocket synthesizer, a Bluetooth item finder or a laser distance meter, your box has to educate the buyer before they ever pick it up. Great gadget packaging works in two stages. On the outside, it passes the 3-second shelf test by showing the exact hardware at 1:1 scale, stating what problem it solves in five plain words, and offering a scannable QR code for a 15-second demo video. On the inside, a contoured paperboard or EVA foam cradle suspends joysticks and lenses away from the lid, isolates metal carabiners and tripod screws in a separate pocket, and greets the user with a 3-step onboarding diagram on the inner flap of your printed gadget boxes.
How do you design the front panel of a gadget box to pass the 3-second shelf test?
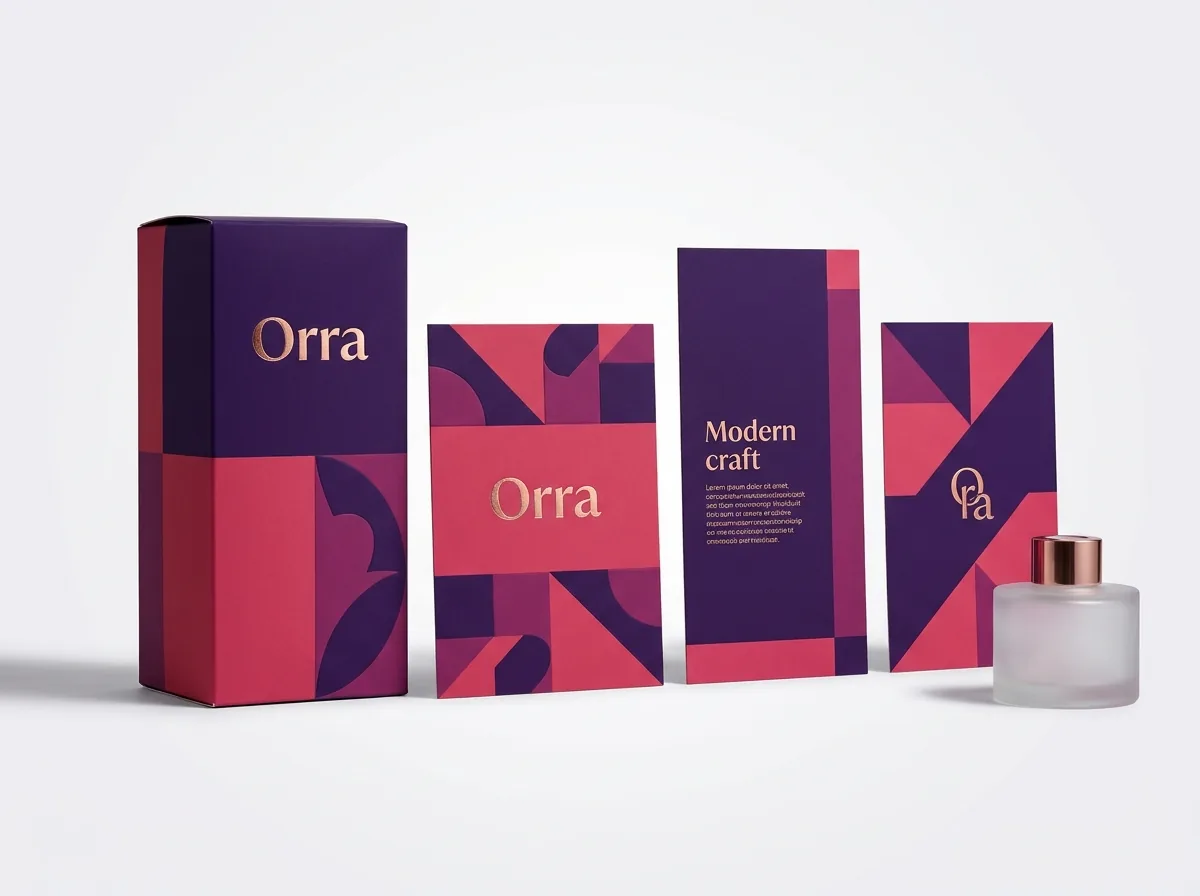
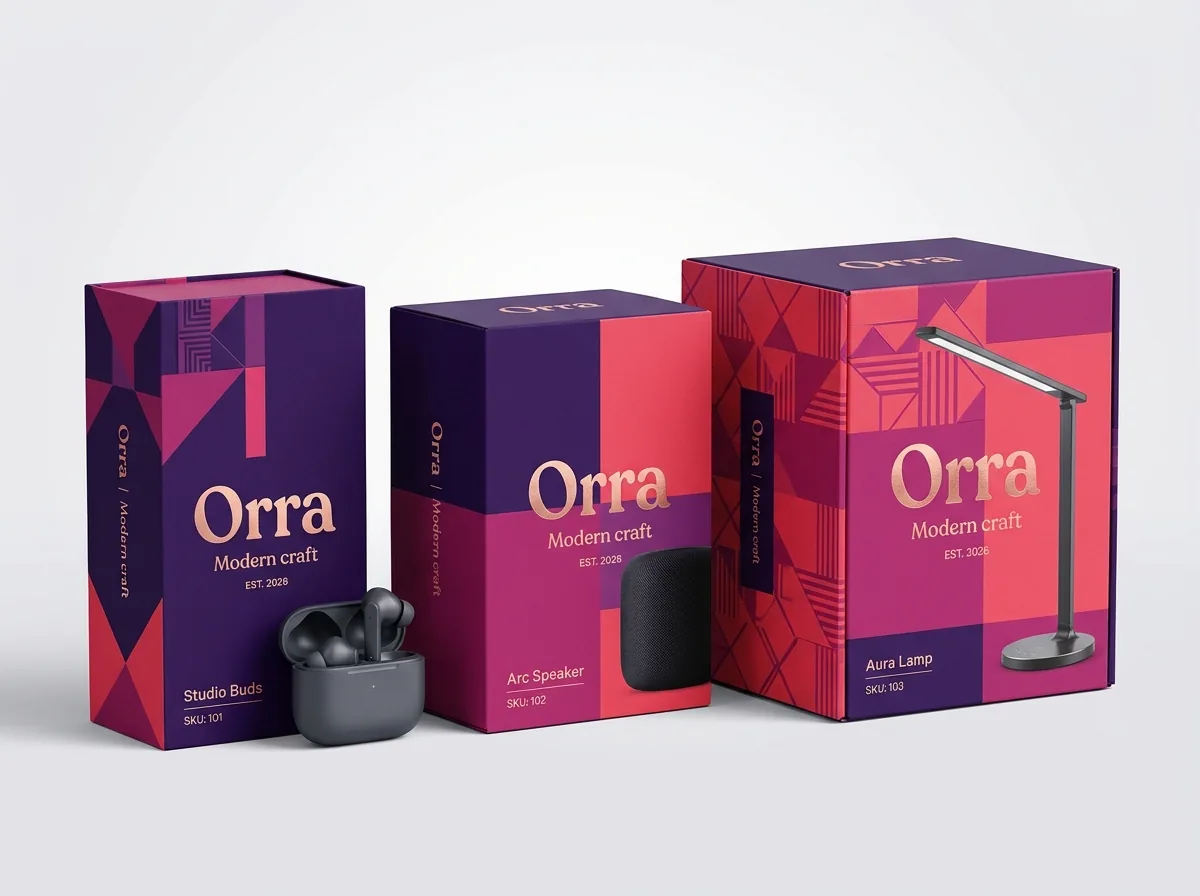
The biggest mistake hardware inventors make on their first retail carton is designing the front panel like a mysterious luxury jewelry box: a black lid with a small logo in the center and zero explanation of what is inside. Unless your brand is already a household name, a mysterious black box gets walked past in retail aisles. To pass the 3-second shelf test on custom gadget boxes, build a clear visual hierarchy on the front face: a crisp 1:1 product photo or 3D render in the center, a plain-spoken 4-to-6 word functional headline right below the product name (for example, 'Pocket 3-Axis Gimbal for Phones' or 'Rechargeable Bluetooth Item Finder'), and three vector feature badges along the bottom edge.
- 1:1 scale hardware render: print the gadget at true life size on the front panel so shoppers immediately grasp how compact it is in the pocket.
- Registered Spot UV callouts: use high-gloss Spot UV over the screen, LED ring or active buttons against a matte laminated background.
- Plain 5-word benefit line: tell the shopper what the device actually does in everyday words rather than internal engineering jargon.
- Three bottom icon badges: highlight the top three buying specs (such as 'USB-C Fast Charge', 'MagSafe Compatible' and '60-Day Battery').
- Colorway indicator bar: print a Pantone-matched color strip along the side spine so retail staff and warehouse pickers can spot Atomic Orange, Glacier White or Matte Slate SKUs at a glance.
What information belongs on each panel of a retail and crowdfunding gadget box?
Whether a customer picks up your box in a retail store or unboxes their Kickstarter reward at home, every panel of the dieline has a specific job. The front panel hooks curiosity in three seconds, the side spines show true hardware thickness and colorway, the back panel proves how the gadget works in three steps, and the inside flap guides the first 60 seconds of setup. Use this six-zone layout checklist when preparing artwork for your free CubitPack vector dieline.
| Box panel or interior zone | Key copy, icons & hardware elements | Finish & prepress recommendation |
|---|---|---|
| Front face (lid or sleeve) | Brand logo, 1:1 gadget render, 5-word function headline & 3 key spec badges | Matte or soft-touch film + Spot UV on gadget |
| Back panel ('How it works') | 3-step action diagram, 'Scan for 15-sec demo' QR code & 'What's in the box' list | Crisp vector illustrations + 0.75 in high-contrast QR |
| Left & right side spines | 1:1 side thickness profile, port callouts (USB-C, 1/4-20 thread) & SKU color bar | Pantone (PMS) spot color match for brand accents |
| Bottom compliance & barcode panel | UPC-A barcode, FCC ID, CE/RoHS, coin-cell battery warning & serial/MAC box | Leave serial/MAC sticker zone free of lamination |
| Inside top lid or tray cover flap | 60-second quick-start pairing guide, button map & firmware/app QR code | Inside CMYK print replaces loose paper manuals |
| Internal contoured cradle | Thumb notches beside the gadget + walled pocket for metal mounts & cord | Folded paperboard or die-cut charcoal EVA foam |
How do you engineer the insert to protect buttons, lenses and screens from metal mounts?
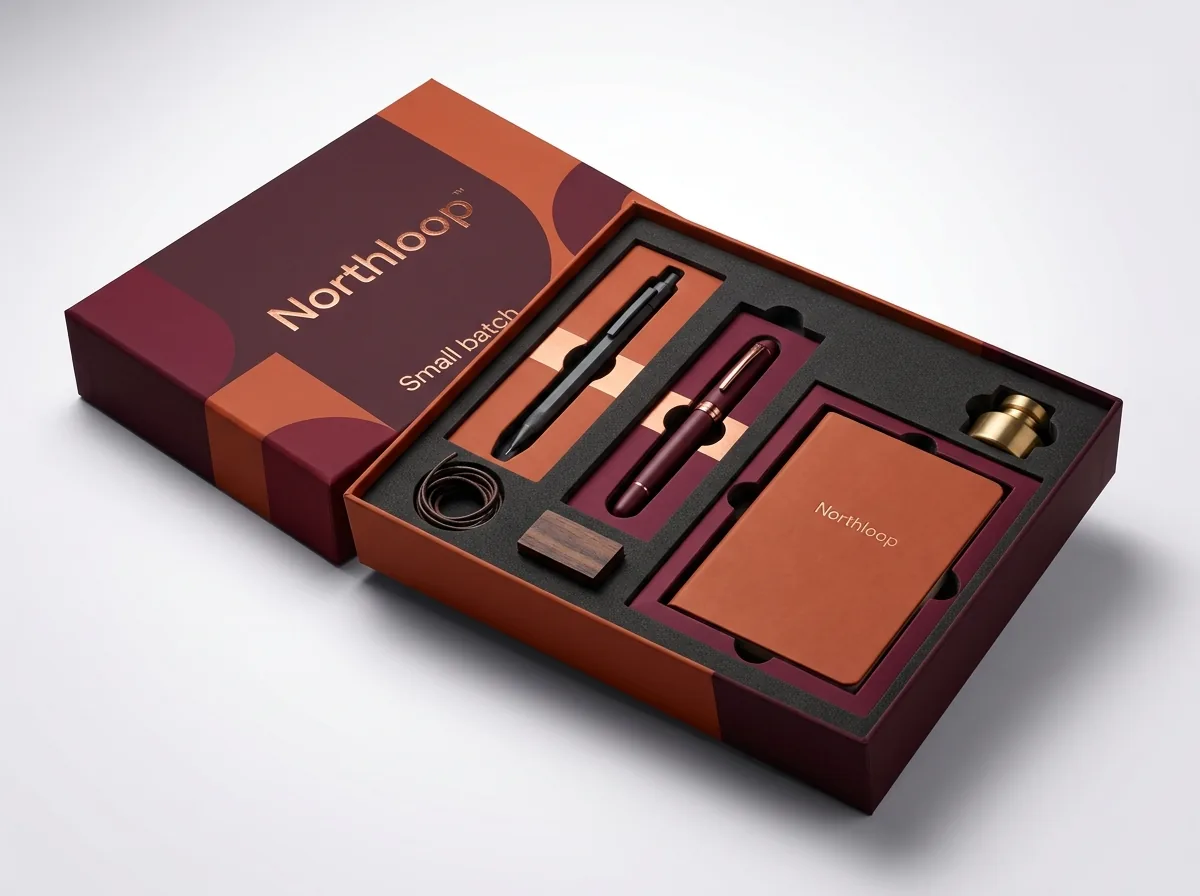
Once the outer sleeve slides off or the lid lifts, the internal tray determines whether your gadget arrives in mint condition. Gadgets frequently combine delicate surfaces (OLED screens, acrylic LED diffusers, camera optics) with hard metal accessories (spring carabiners, split keyrings, 1/4-20 steel tripod screws and USB-C plugs). Our design team designs a two-part defense using custom EVA foam inserts or custom cardboard inserts. First, we cut the primary cavity to your exact 3D CAD contour with two 0.6-inch finger notches on opposite sides and a recessed step so protruding joysticks or knobs never touch the lid. Second, we place all metal mounts, screws and charging cords inside a separate walled lower or side compartment so metal hardware can never migrate into the display cavity during parcel drops. If you want a 100% curbside paper-recyclable box for retail chains with strict plastic-free targets, we can engineer a two-level folded paperboard cradle with locking side gussets that suspends the gadget without foam or plastic trays.
Know your size? Compare pricing across up to 3 quantities.
Request a Quote →How should you lay out inside-lid QR onboarding, serial barcodes and battery warnings?
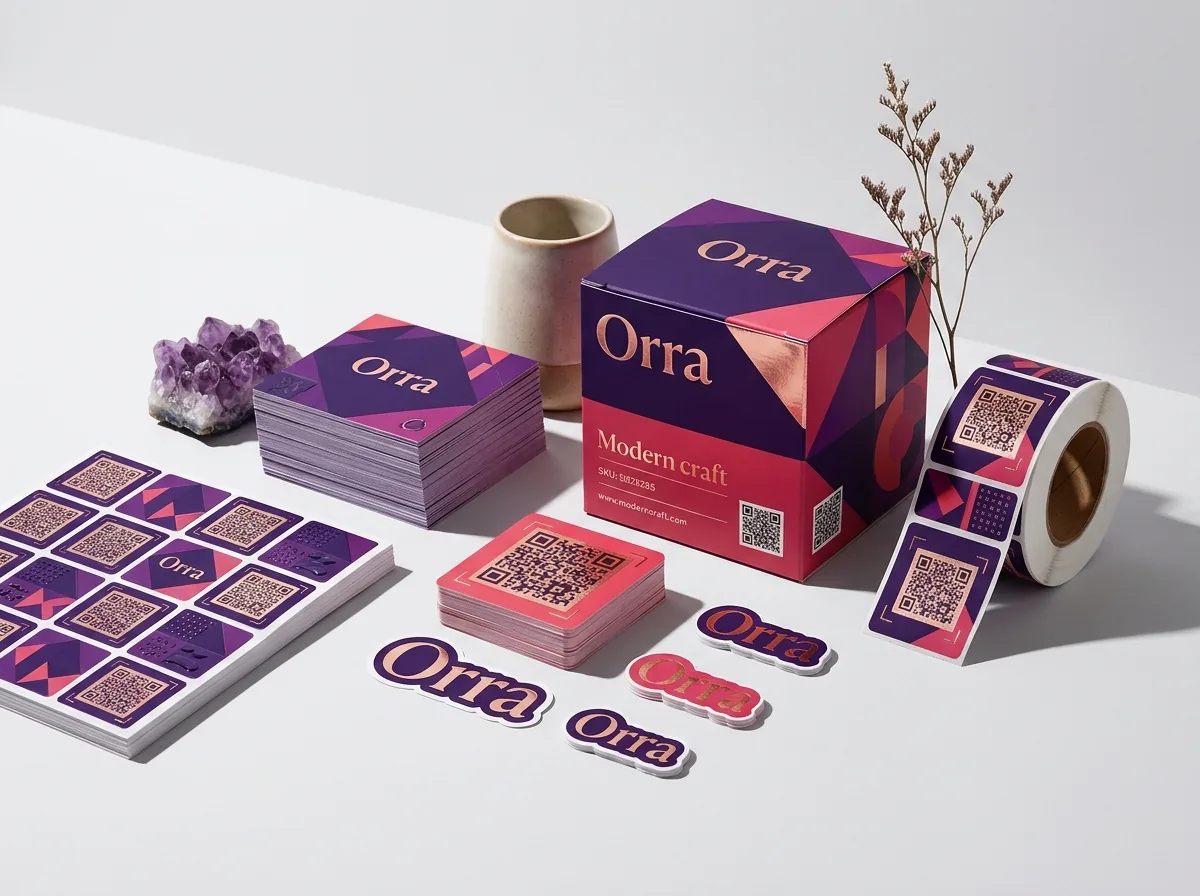
Novel gadgets generate far fewer customer support tickets and returns when the first 60 seconds of setup are printed right inside the box. Instead of stuffing a folded 12-panel tissue leaflet on top of the hardware, print a clean 3-step button map and an onboarding QR code ('Scan for 60-second setup & app download') directly on the inside of the top lid or on a removable paperboard cover card from our custom insert cards line. On the bottom panel, leave a clean unvarnished rectangle for your assembly plant's thermal-transfer serial number and Bluetooth MAC address barcode sticker, and seal retail tuck flaps with custom QR code stickers or clear wafer seals. If your smart tracker, key finder or pocket remote uses a replaceable button or coin cell (such as a CR2032 battery), be sure to allocate space on the principal display and back panels for the required child-safety battery warning icon and text. For gadgets containing rechargeable lithium-ion or lithium-polymer cells (like wireless microphones, pocket RGB lights and handheld consoles), printing the milliamp-hour capacity alongside the watt-hour rating (such as 18.5 Wh) and USB-C input voltage on the back spec grid helps travel retailers and frequent flyers verify carry-on compliance.
How can you create a special Kickstarter or Founder's Edition without doubling print costs?
Crowdfunding campaigns and hardware pre-orders often promise early backers an exclusive Founder's Edition or Pro Kit alongside the standard retail unit. Ordering two completely different box sizes splits your purchasing volume and increases prepress work. A smarter approach is to standardize on one box size and one contoured EVA foam or paperboard insert across both editions. For your main 1,000+ unit retail and standard backer run, use a matte CMYK tray-and-sleeve folding carton. For your VIP or Founder's Edition, either run a second sleeve artwork variant with holographic foil stamping on the same press sheet, or drop the same insert into a 50-to-250 unit two-piece rigid box. You get 10% off your first CubitPack order, zero die or plate charges, and free shipping to all 50 US states. Before production begins, our prepress team checks every panel of your artwork for 300 DPI image resolution, 1/8-inch outer bleed, Spot UV mask registration and barcode contrast, then sends your free digital proof and 3D mockup so you can share preview renders with your backers or retail buyers.
What are the most common gadget box design and prepress mistakes?
Avoid these five artwork and structural mistakes before approving your digital proof and 3D mockup
- Printing only a brand logo on the front lid without a 1:1 product render or 5-word functional headline explaining what the gadget does.
- Placing a loose paper instruction sheet on top of the gadget so it hides the hardware during the unboxing reveal instead of printing the 3-step setup diagram inside the top lid.
- Dropping metal keyring clips or tripod screws into the main device cavity without a paperboard or foam divider wall.
- Applying soft-touch lamination over the bottom serial and Bluetooth MAC barcode zone where assembly thermal stickers must adhere.
- Omitting button-cell or coin-battery safety warnings on smart tracker and pocket remote cartons that ship with CR2032 cells.
Find your size
Suggested inside size: 3.25 × 0.625 × 4.25 in
A starting point. Your account manager confirms the size with you before the proof.
Quote this size →Packaging for this

Ready to order gadget boxes? Compare up to 3 quantities with a free 3D mockup.
Request a Quote →Questions about gadget boxes
Can your design team help lay out our front benefit icons and Spot UV mask?
Yes. Free design help is included with every CubitPack order. Send us your gadget photos or 3D renders, logo and feature list, and our prepress specialists will build the dieline layout and Spot UV mask and send a 3D mockup before payment.
Should we print the quick-start guide inside the lid or on a separate insert card?
Both work well. Printing the 3-step setup diagram and QR code directly inside the top lid costs less than a separate booklet and ensures the instructions can never be lost. On slide-out sleeve boxes, a thin cover card resting over the tray is also popular.
Can we add raised embossing over the buttons or D-pad on the front of the box?
Yes. Combining registered Spot UV over the gadget screen with blind embossing over the D-pad, rotary dial or action buttons gives retail shoppers a tactile preview of the hardware controls through the closed carton.
How do you keep a crowdfunding gadget box looking pristine through international or US mail?
Always ship retail folding cartons or rigid collector boxes inside an outer corrugated mailer or shipping carton, or choose an E-flute corrugated mailer box with a protective exterior coating so the presentation box arrives with crisp corners.
Can we split a 1,000-box folding carton order across multiple gadget colorways?
Yes. As long as your colorway boxes (for example, Matte Black, Cyber Yellow and Glacier White) share the exact same dieline dimensions, we can gang-run the artwork versions together with zero die or plate charges.
What is the turnaround time for custom printed gadget boxes and foam inserts?
Standard production takes 10 to 14 business days after you approve your digital proof and 3D mockup and complete payment. Rush production in 4 to 5 business days is available on request, and US shipping is free.
Still have a question? Ask a packaging specialist.
Request a Quote →Request your gadget boxes quote
Tell us your size and quantities, and one dedicated account manager prepares pricing for each tier.
- Free design & AI-to-print studio + 3D mockup
- No die or plate charges · 4–5 day rush available
- Free shipping to all 50 states
- 10% off your first order
This design and launch guide combines CubitPack's decided prepress, minimum and turnaround facts from our published product specifications with FCC and CPSC consumer hardware packaging considerations. A packaging specialist reviewed every section. Spot an error? Tell us and we will fix it.
Sources
What changed
- October 22, 2026: First published.
- October 22, 2026: Updated specifications, terminology, and verified source links.
More guides
New packaging guides by email
Sizes, materials and design tips. Unsubscribe anytime.