
How do I design custom cosmetic boxes with finishes and shade bands?
Short answer: Map your artwork across the four panels and top flap: keep the front panel focused on brand, product identity and net weight; place a spot Pantone shade band on the top flap; set INCI ingredients in 100% single-plate ink on the side or back; and layer foil or spot UV over soft-touch lamination on custom cosmetic boxes.
On this page
- Where does each piece of information go on a custom cosmetic box dieline
- How do I keep lipstick, concealer and foundation shade bands accurate across SKUs
- How should I combine soft-touch lamination, foil stamping, embossing and spot UV
- What bleed, safe zone and font rules keep small 5 pt INCI ingredient text sharp
- Common mistakes
- FAQs
Request a custom quoteFree dieline & 3D mockup
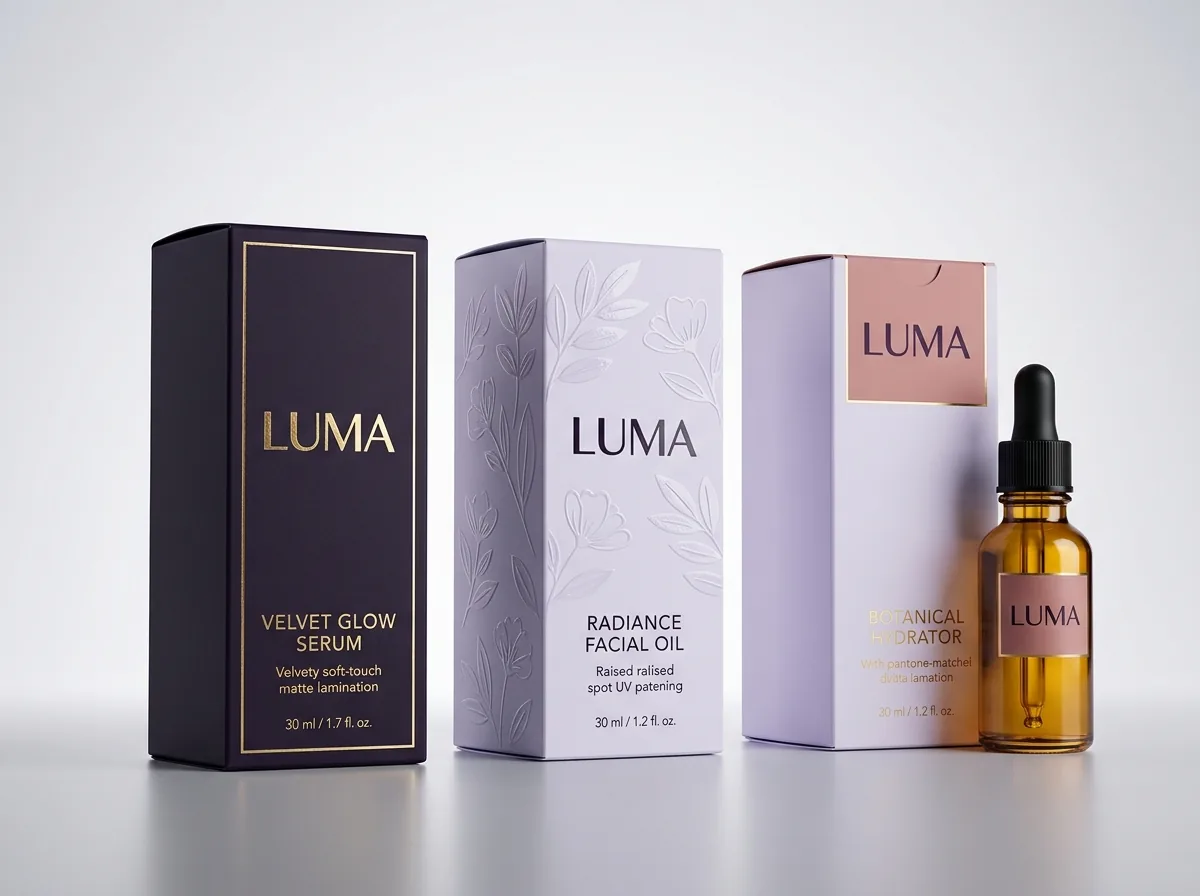
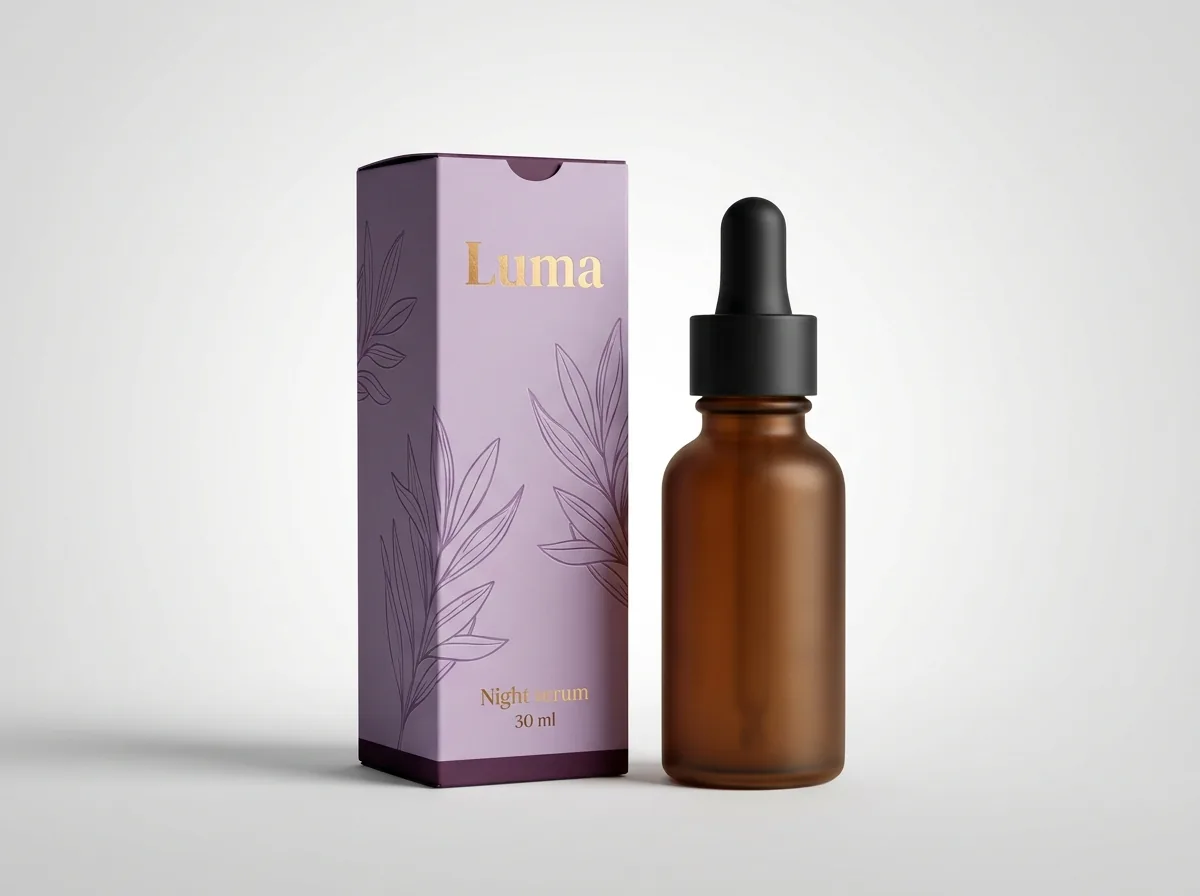
Designing a retail-ready cosmetic carton requires balancing clean shelf appeal with dense regulatory copy across six distinct printable zones. On a standard Straight Tuck End carton, the front panel acts as your Principal Display Panel (brand logo, product title, key benefit and dual net contents in oz/ml or g), while the top tuck flap carries the shade number, shade name and a spot Pantone color swatch so shoppers can pick shades from above. Back and side panels organize usage directions, warnings, distributor location and the mandatory INCI ingredient list, and the bottom flap holds the retail UPC barcode. By printing your base sheet with velvety soft-touch lamination and highlighting focal elements with metallic hot foil stamping, raised embossing or spot UV, your carton feels unmistakably luxurious in the hand. CubitPack provides free custom dielines, free design help, guaranteed Pantone color matching and a free digital proof and 3D mockup before payment.
Where does each piece of information go on a custom cosmetic box dieline?
Cosmetic cartons carry more mandatory text per square inch than almost any other consumer package, especially on a 1 × 1 × 3.5 inch lipstick tube box or a narrow eyeliner carton. Assigning each category of copy to a dedicated panel keeps your front facing clean and modern while making sure retail buyers and checkout scanners find every required element. Before placing a single logo, request your exact inside L × W × H vector dieline from our structural team (or check our cosmetic box size guide). Use the panel map below to organize your front, top, back, side, bottom and glue-lap zones. When laying out custom printed cosmetic boxes across multiple container sizes, establish a clear typographic grid on your hero carton first. Keep the brand mark in the upper third of the front panel, place the product name and shade family in the optical center, and anchor the net weight declaration in the bottom quarter so every carton in your collection aligns cleanly on a display tray.
| Carton panel | Primary merchandising and compliance content | Prepress layout rule |
|---|---|---|
| Front panel (Principal Display Panel) | Brand logo, product name, hero benefit, statement of identity and dual net weight (e.g., 1 FL OZ / 30 mL) | Keep all text and logos at least 1/8 in (0.125 in) inside all four score lines |
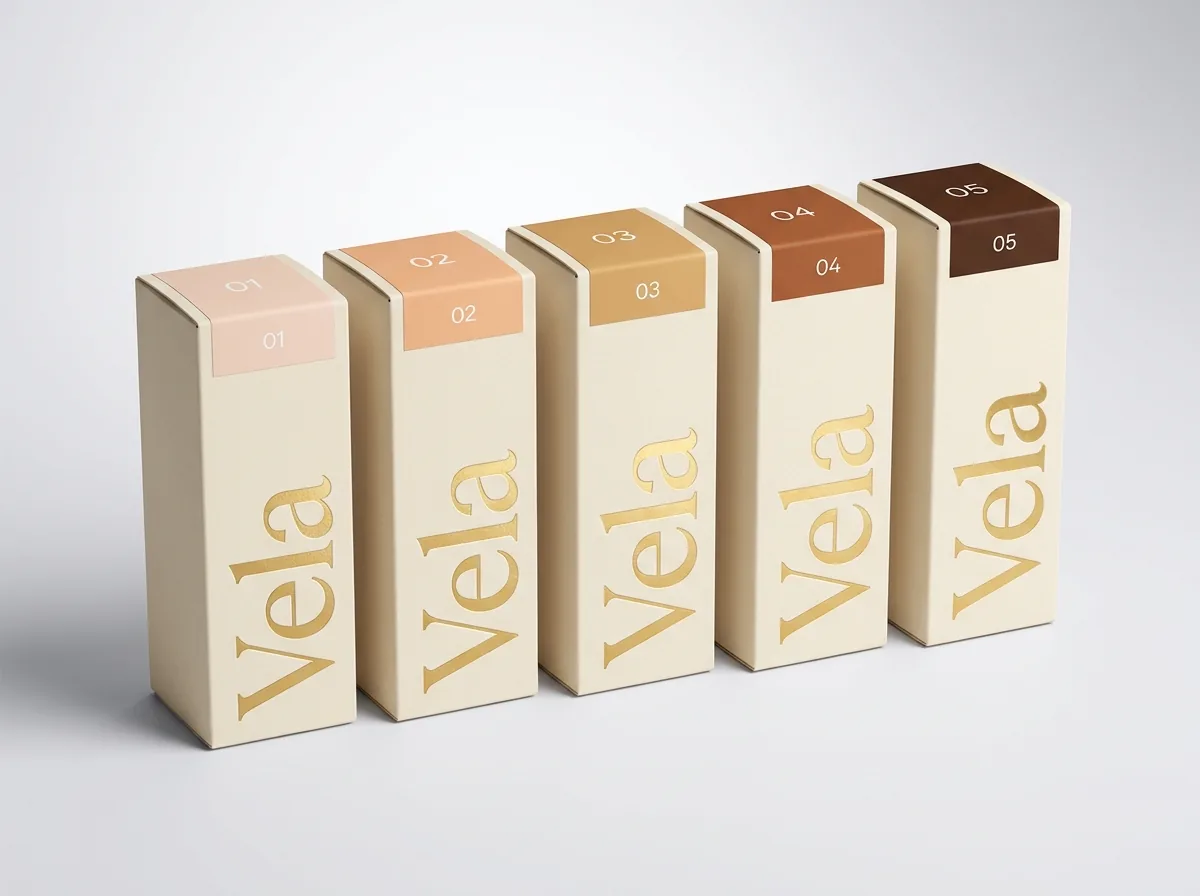
| Top tuck flap | Shade number, shade name and color-matched Pantone swatch band (or secondary monogram) | Orient text so it reads right-side-up when looking at the front face of the assembled box |
| Back panel | Brand story, key active callouts, usage instructions, PAO jar icon (6M / 12M) and recycling symbols | Check that the top tuck tongue does not obscure inside-lid printing when closed |
| Left and right side panels | Full INCI ingredient list, warning statements, distributor city/state/zip and country of origin | On narrow 1 in tubes, run INCI copy across the back panel or rotated 90 degrees on a side panel |
| Bottom flap | UPC or EAN retail barcode on a high-contrast white rectangle, SKU number and lot-code zone | Never wrap a barcode over a fold score; leave 1/8 in white quiet margins on both sides |
| Glue lap (inside seam tab) | No ink, foil, lamination or UV varnish so adhesive bonds directly into paperboard fibers | Bleed background color 1/16 in past the score onto the lap edge, leaving the rest bare |
How do I keep lipstick, concealer and foundation shade bands accurate across SKUs?
When a beauty brand launches a 12-shade lip oil line or a 30-shade liquid foundation collection, the outer carton uses one master layout (identical dieline, identical soft-touch lamination, identical metallic foil logo) while swapping only the shade number, shade name, UPC barcode and top-flap color swatch across SKUs. If you build those top-flap shade swatches out of standard 4-color process (CMYK) halftone dots, even a minor two-percent density shift on press can turn a neutral beige foundation band overly pink or shift a cool berry lipstick swatch toward orange. Instead, assign a dedicated solid Pantone (PMS) spot ink to each shade band or use a press-calibrated CMYK + Pantone profile. At CubitPack, Pantone color matching is guaranteed, and we group multi-SKU runs onto shared press forms (starting at 1,000 cartons) so your unit pricing reflects your total run volume.
- Use solid Pantone (PMS) spot swatches for hero brand colors and top-flap makeup shade bands.
- Keep a unified master dieline across all shades in a product family so cartons gang-run efficiently.
- Remember that matte and soft-touch lamination slightly warm and soften ink tones compared to gloss film.
- Order a credited printed production sample before a major multi-SKU launch to verify physical shade bands in hand.
How should I combine soft-touch lamination, foil stamping, embossing and spot UV?
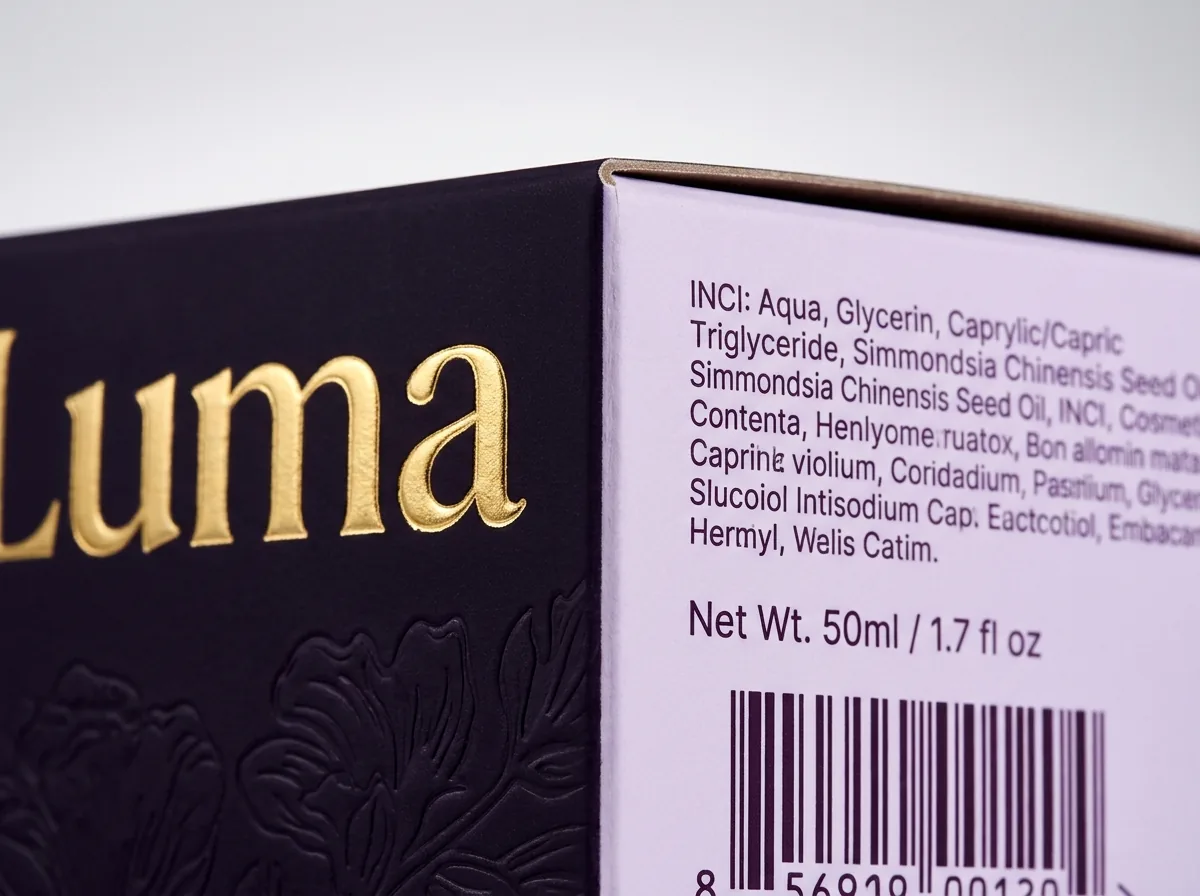
In prestige beauty packaging, tactile surface contrast does more work than crowded illustrations. Because soft-touch lamination gives paperboard a velvety, rose-petal feel with almost zero light reflection under bright store spotlights, any reflective accent stamped on top of it immediately catches the shopper's eye. Our most requested cosmetic finish stack starts with full-color CMYK and Pantone printing sealed under velvety soft-touch lamination, followed by hot metallic foil stamping (gold, rose gold, silver or copper) on the brand logo or shade border. You can also register a brass embossing die underneath the foil so the metallic lettering rises above the board surface, or apply high-gloss Spot UV varnish over a dark matte background to create a subtle tone-on-tone botanical or geometric pattern. When setting up your artwork file, place each specialty finish on its own named 100% vector spot-color layer (FOIL, EMBOSS, SPOT_UV) set to overprint. Don't overlook the inside of the carton when planning your finish stack. Printing a saturated brand color, a subtle monogram pattern or a step-by-step application ritual on the inside walls and dust flaps of a cosmetic box surprises the buyer the moment they pop the top tuck flap open, turning a functional outer carton into a keepsake unboxing moment without adding a separate paper insert.
Know your size? Compare pricing across up to 3 quantities.
Request a Quote →What bleed, safe zone and font rules keep small 5 pt INCI ingredient text sharp?
Fitting a 35-item INCI ingredient declaration and bilingual usage directions onto a narrow serum or mascara carton requires small typography, often between 5 pt and 6.5 pt. If small ingredient text is built out of four overlapping CMYK ink plates (such as a rich black mix of C60 M40 Y40 K100), even a tiny press registration tolerance will make 5 pt letters look soft around the edges. To keep small regulatory type razor-sharp, set all dark body copy and INCI lists under 8 pt to a single 100% ink plate: either 100% Black (K only, set to overprint) or a single solid Pantone spot ink. If your carton uses white knockout text reversed out of a dark background, choose a clean sans-serif typeface with medium stroke weight at 5.5 pt to 6 pt minimum so ink gain never fills in small letter loops. Finally, extend all background artwork 1/8 inch (0.125 in) past exterior cut lines for bleed, and keep all text and Spot UV shapes at least 1/8 inch away from fold scores. Comparing closure styles for your dieline? Read our guide on straight tuck vs reverse tuck vs auto lock cosmetic boxes. Before sending your artwork to press, print your dieline at 100% scale on a desktop laser printer and fold it into a quick paper dummy. Checking the folded paper model in your hand immediately reveals whether any side-panel INCI copy reads upside-down, whether the top shade band faces the front, and whether the bottom barcode sits flat away from the corners.
- Bleed and safe margin: extend background graphics 1/8 in past cut lines and keep text 1/8 in inside score lines.
- Single-plate small text: set 5 pt to 7 pt INCI lists in 100% K (Black only) or a single solid Pantone ink.
- Foil and Spot UV minimum stroke: keep foil lines at 0.5 pt minimum with 0.75 pt gap between fine letters.
- Keep Spot UV off fold creases: stop glossy UV varnish 1/16 in short of score lines so cured resin never cracks.
- Outline fonts and embed links: convert all type to vector outlines (Create Outlines) and include 300 DPI images.
What are the most common cosmetic box artwork and finish mistakes?
Most prepress delays on beauty cartons come from multi-plate small text, upside-down flap orientation or finish layers crossing fold lines. Avoid these five artwork errors
- Setting 5 pt INCI ingredient lists in 4-color CMYK rich black instead of 100% single-plate Black (K) or a single Pantone ink.
- Orienting the shade number and swatch on the top tuck flap upside-down relative to the front Principal Display Panel.
- Running rigid Spot UV varnish directly across 90-degree fold score lines instead of stopping 1/16 inch shy of the crease.
- Covering the interior side glue lap (or bottom lot-code stamp window) with ink and soft-touch lamination so glue cannot bond.
- Wrapping the retail UPC barcode across a bottom fold crease instead of placing it flat with a 1/8 inch white quiet margin.
Find your size
Suggested inside size: 1 × 1 × 3.5 in
A starting point. Your account manager confirms the size with you before the proof.
Quote this size →Packaging for this
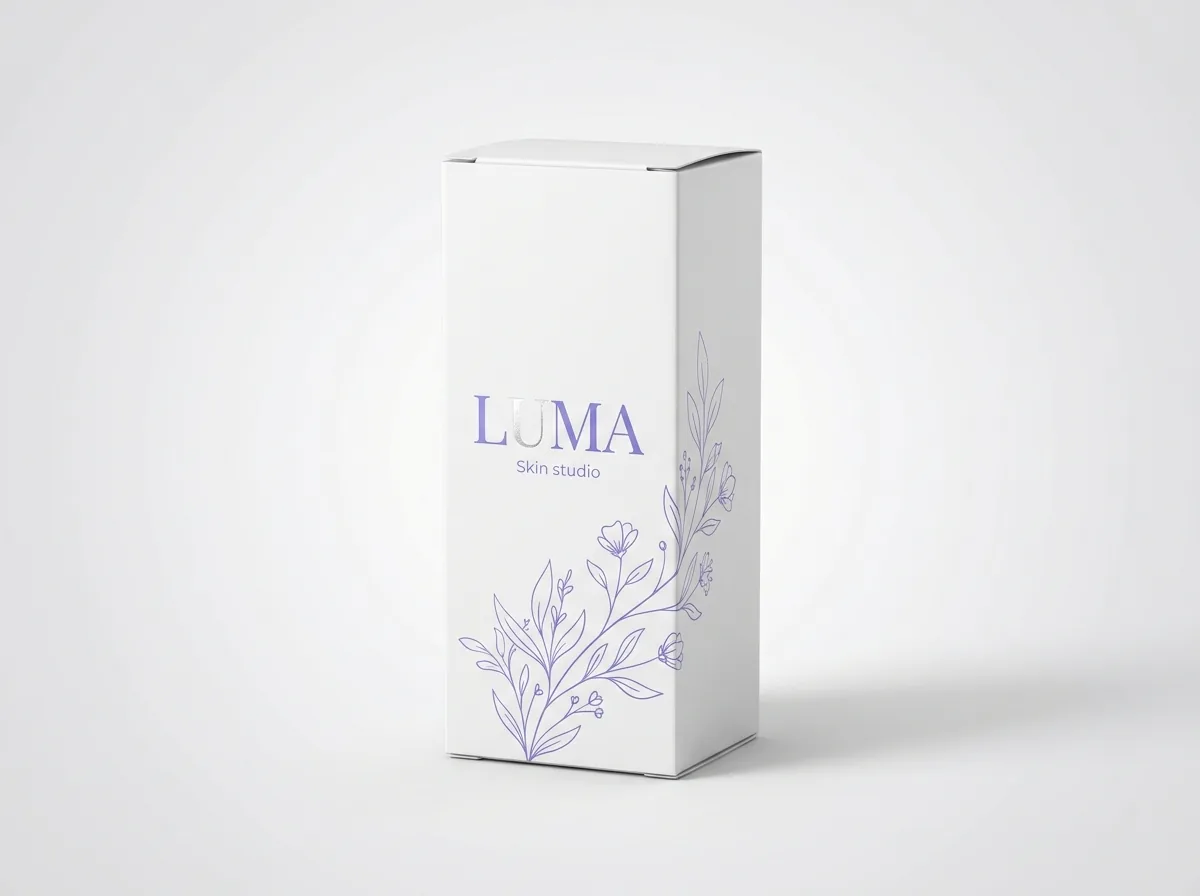
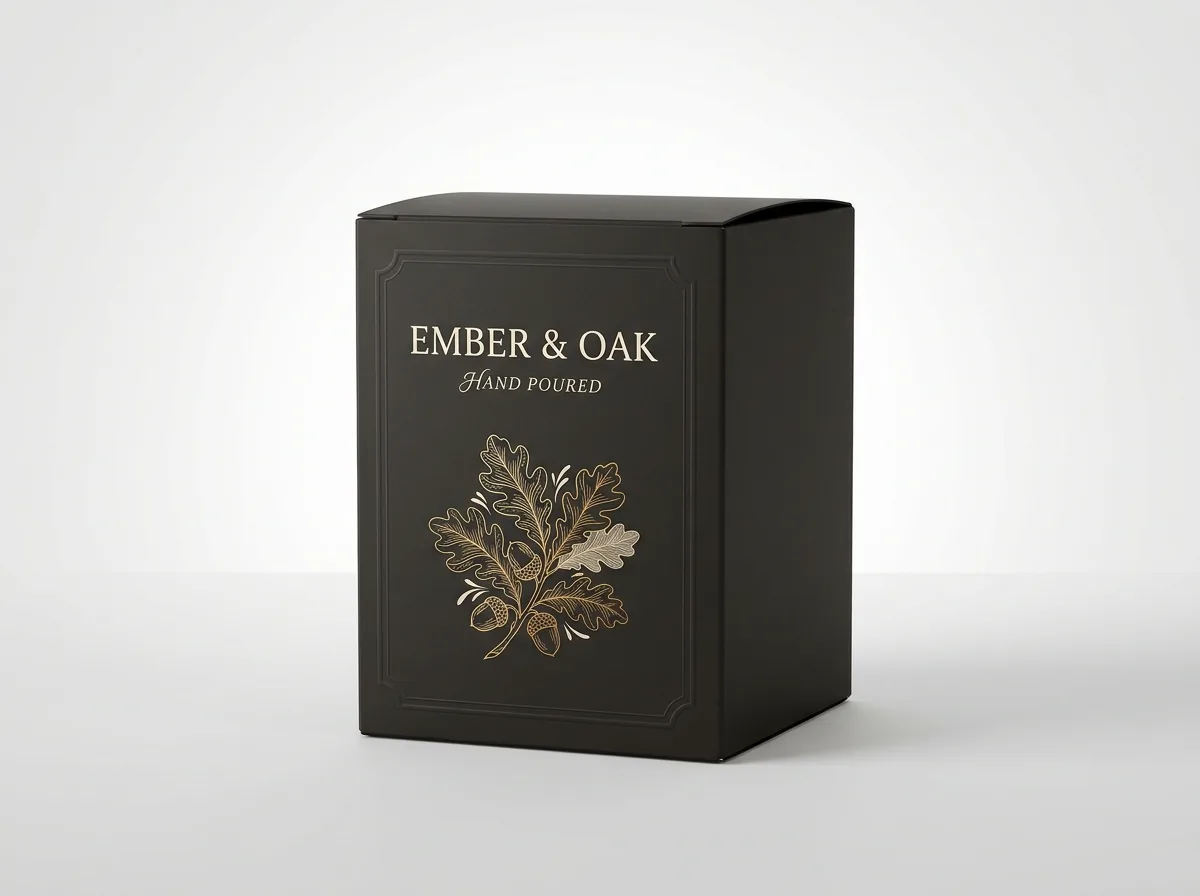
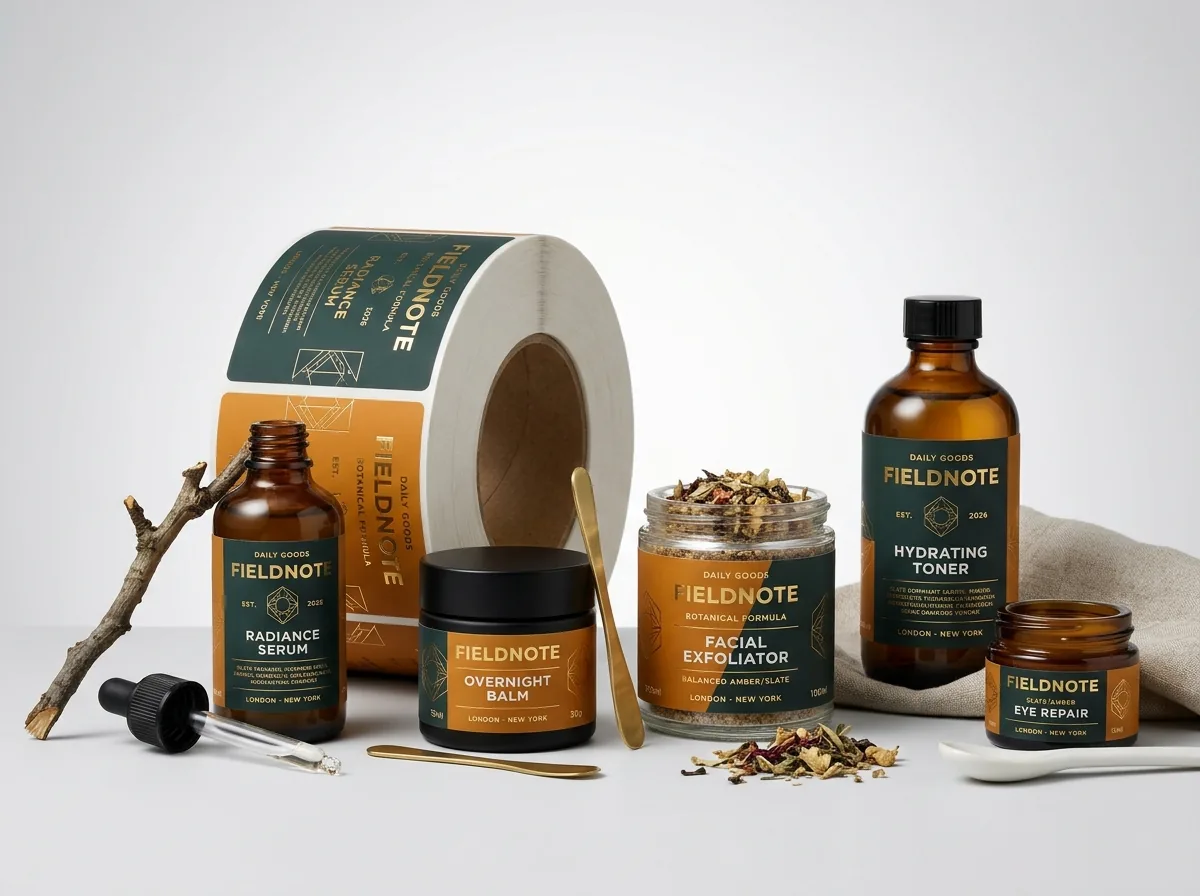
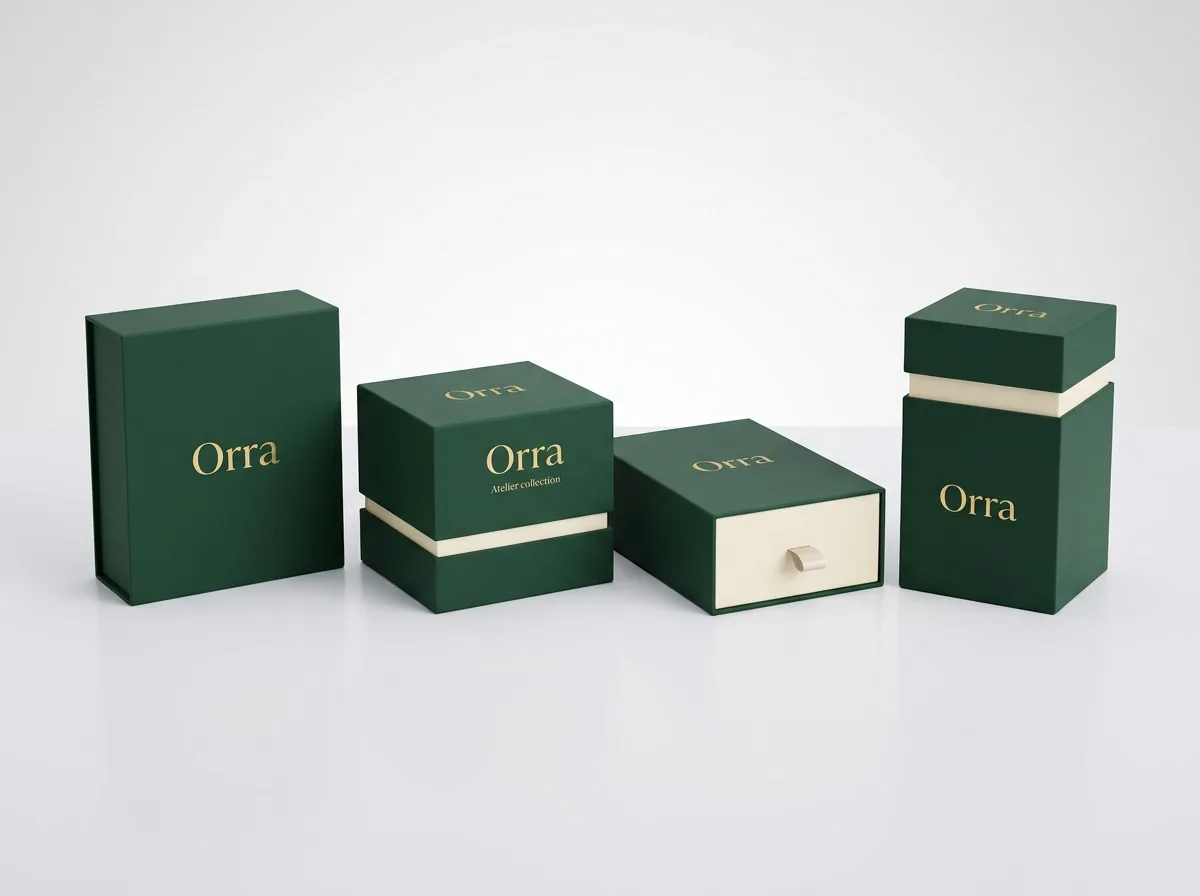
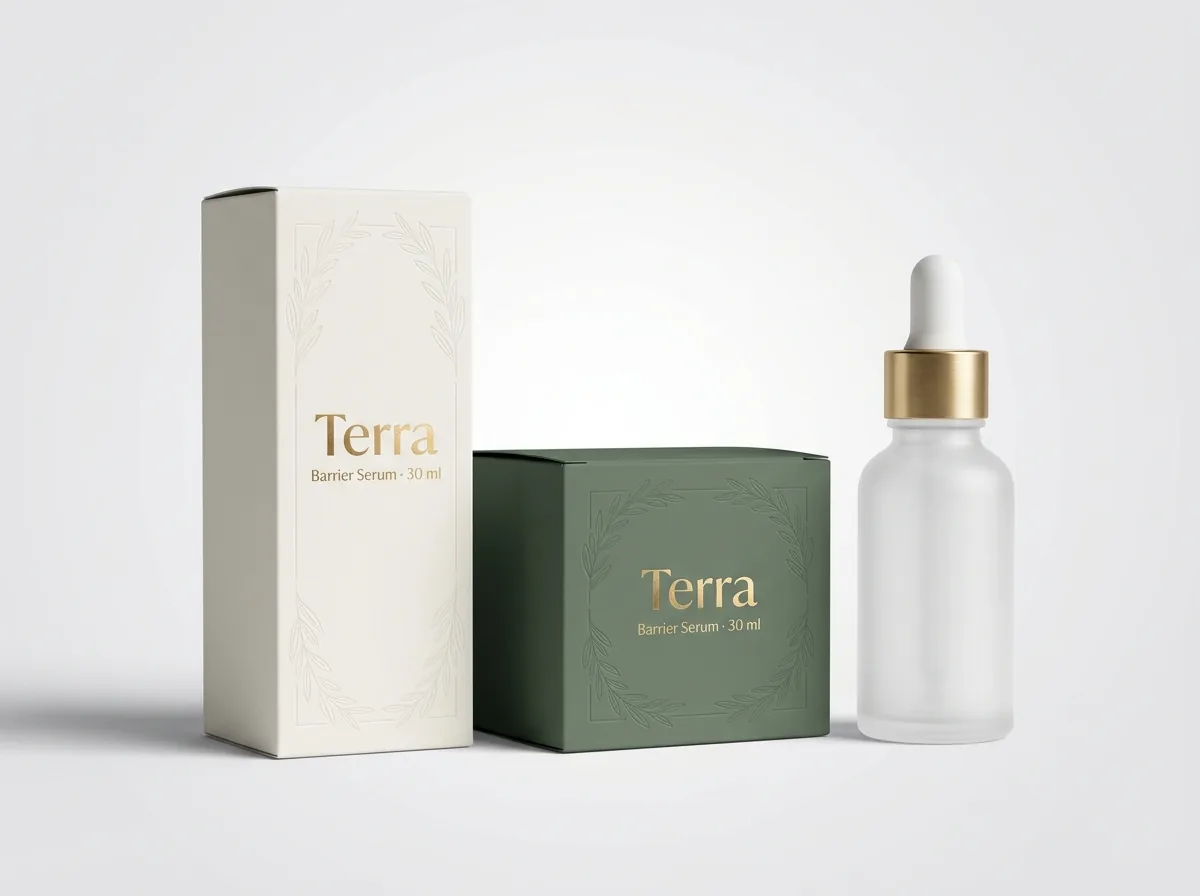
Ready to order cosmetic boxes? Compare up to 3 quantities with a free 3D mockup.
Request a Quote →Questions about cosmetic boxes
Where do the shade band, INCI ingredients and barcode go on a custom cosmetic box?
Place the shade number, shade name and Pantone color swatch on the top tuck flap so shoppers and retail staff can spot shades from above. Place the INCI ingredient list and warnings on the back or side panel, the brand and net weight on the front panel, and the UPC barcode on the bottom flap.
Should I put foil stamping or spot UV over soft-touch lamination?
Yes. Soft-touch film lamination is applied across the printed press sheet first, creating a velvety, glare-free base. Metallic hot foil stamping and glossy spot UV are applied on top of the soft-touch film afterward, producing high visual and tactile contrast.
How do you keep foundation and lipstick shade bands consistent across reorders?
We print cosmetic shade bands using solid Pantone (PMS) spot inks or locked spectral profiles rather than standard 4-color CMYK conversions, and Pantone color matching is guaranteed. We also archive your approved master proof so every future reorder matches your launch run.
What if I only have a logo and ingredient text and no finished dieline file?
CubitPack includes free design help, free custom dielines and a free digital proof and 3D mockup before payment on every order. Send us your logo, shade names and ingredient text, and our prepress team will build the panel layout and finish layers for you.
Can I print inside my custom cosmetic boxes as well as on the outside?
Yes. Full inside printing (CMYK or Pantone) is available on all custom cosmetic folding cartons, mailers and rigid boxes. Many beauty brands print a brand pattern, shade story or application ritual on the inside lid panels revealed during unboxing.
How do I leave a spot for batch lot and expiration date coding on the box?
Tell our prepress team the size and location of your ink-jet, laser or deboss lot-coding stamp (usually a small rectangle on the bottom flap). We create a varnish-free and lamination-free knockout window in that spot so coding ink dries cleanly.
Still have a question? Ask a packaging specialist.
Request a Quote →Request your cosmetic boxes quote
Tell us your size and quantities, and one dedicated account manager prepares pricing for each tier.
- Free design & AI-to-print studio + 3D mockup
- No die or plate charges · 4–5 day rush available
- Free shipping to all 50 states
- 10% off your first order
The panel layout map, Pantone shade-band rules and specialty finish tolerances in this guide come from FDA cosmetic labeling placement conventions and CubitPack's prepress checklist, reviewed by a packaging specialist. Spot something wrong? Tell us and we will fix it.
Sources
What changed
- October 22, 2026:
- October 22, 2026: Updated specifications, terminology, and verified source links.
More guides
New packaging guides by email
Sizes, materials and design tips. Unsubscribe anytime.