
How do I design custom coffee pod boxes with pod nesting, dispenser chutes and FDA net weight?
Short answer: Engineer the dieline around alternating rim-up and rim-down pod rows so plastic rims never pierce foil lids, place a micro-perforated chute on the lower front panel, declare both single-pod and total net weight on the front face, and run all blends on one shared custom coffee pod boxes dieline.
On this page
- How do you arrange pods inside the carton so foil lids never puncture
- How do you engineer a micro-perforated dispenser chute or zipper tear strip
- What belongs on each of the six panels of a retail coffee pod box
- How do you format FDA multi-unit net weight and Nutrition Facts on pod boxes
- How do you color-code multiple roast blends on one shared dieline
- Common mistakes
- FAQs
Request a custom quoteFree dieline & 3D mockup
Designing a high-performing coffee pod carton requires coordinating structural engineering with grocery shelf graphics. Structurally, the carton has two jobs: lock tapered nitrogen-flushed pods into rows during shipping so sharp plastic edges cannot puncture a neighbor's delicate foil seal, and open cleanly on the customer's kitchen counter via a micro-perforated bottom dispenser chute or top zipper tear strip. Graphically, a shopper standing four feet away in the coffee aisle needs to read three pieces of information in under two seconds: brewer compatibility (such as single-serve cup vs OriginalLine espresso), roast intensity (1 to 10 scale plus Pantone color band), and the FDA-required multi-unit count and net weight statement. At CubitPack, our structural and prepress engineers set up your perforation lines and six-panel artwork for free on orders starting at 1,000 boxes, with a 2D digital proof and 3D mockup before payment.
How do you arrange pods inside the carton so foil lids never puncture?
When a nitrogen-flushed coffee pod loses its hermetic foil seal in transit, oxygen enters the cup and stales the ground coffee within days, while loose coffee grounds spill across every pod in the box. Foil punctures happen when tapered cups are dumped randomly into an oversized carton: as the box vibrates on a delivery truck, the hard bottom ring or stiff heat-seal flange of one pod hammers directly into the center of a neighbor's foil lid. To eliminate foil punctures in custom printed coffee pod boxes, we size the inside Length × Width × Height to hold pods in a zero-slop grid. In a 12-count or 24-count carton of 51 mm filter cups, packing pods in an alternating rim-up and rim-down matrix keeps every foil lid parallel to its neighbor's foil lid or flush against the smooth flat carton wall. If your co-packer loads pods all rim-up in two stacked tiers, we add a flat paperboard layer pad between the bottom and top layers so metal foil never touches hard plastic bases.
- Alternating rim-up / rim-down nesting: interlocks tapered walls and keeps sharp rims away from foil centers.
- Zero-slop inside dimensions: limit total horizontal and vertical play to 1/8 inch (3 mm) across the row.
- Paperboard layer pad: separates stacked upright tiers in 12-, 18- and 24-count cartons loaded from the top.
- Die-cut socket tray: suspends pods individually by their top rim inside flat gift sets and tasting flights.
How do you engineer a micro-perforated dispenser chute or zipper tear strip?
Nothing frustrates a morning coffee drinker more than pulling a perforated tab on a pod box and having the cardboard rip diagonally across the front panel, spilling twelve pods across the counter. Clean dispensing depends on choosing the right perforation cut-to-tie ratio and adding side gusset wings on pull-out chutes. On custom dispenser boxes for 12- and 24-count pods, we die-cut a U-shaped opening across the lower third of the front panel (typically 2.25 inches tall by 4.50 inches wide on a 6.0-inch wide box) with folded side catch wings scored into the left and right edges. When the customer pulls the thumb tab forward, the flap hinges down along a bottom score line and the side wings catch against the front wall to form a small tray that holds the next pod ready. For top-opening boxes, we use a parallel dual-line zipper tear strip across the front and top panels that unzips like an express courier envelope.
What belongs on each of the six panels of a retail coffee pod box?
Because supermarkets shelve coffee pod boxes both vertically (portrait) and horizontally (landscape) depending on shelf height, leading roasters design a vertical front Principal Display Panel and a horizontal back or side display panel. Use the six-panel blueprint below to organize your brewer badges, roast meters, FDA statements and UPC barcode. Notice how the narrow top and end flaps work as quick-reference index tabs when a customer stores three or four boxes side by side inside a kitchen cabinet or deep pantry drawer.
| Carton panel | Primary job on shelf or counter | Essential artwork & compliance elements |
|---|---|---|
| Front panel (vertical PDP) | Stop shoppers in the coffee aisle | Brand logo, roast name, intensity meter (1-10), brewer icon, pod count + net weight, perforations |
| Back panel (horizontal PDP) | Landscape shelf facing or brand story | Horizontal brand layout, tasting notes (acidity, body, roast), origin map, brewing instructions |
| Right side panel | Regulatory & ingredient panel | FDA Nutrition Facts / calorie note, ingredient list, distributor name & address, lot/best-by zone |
| Left side panel | Pod anatomy & recycling guide | Cross-section diagram of pod / capsule, peel-lid recycling steps, brewer compatibility notes |
| Top flap / lid | Pantry drawer identification | Large roast name, Pantone color band, intensity number, zipper tear strip arrow |
| Bottom panel | Checkout scanning & structural lock | High-contrast UPC-A barcode (black on white), recycle symbol, glue flaps or auto-lock floor |
Know your size? Compare pricing across up to 3 quantities.
Request a Quote →How do you format FDA multi-unit net weight and Nutrition Facts on pod boxes?
Under FDA food labeling regulations (21 CFR 101), a retail carton containing multiple individual single-serve pods is a multi-unit package. That means the bottom 30% of your front Principal Display Panel must state the number of pods, the net weight of each individual pod, and the total combined net weight in both US customary (ounces) and metric (grams) units - for example: '12 Coffee Pods · 0.38 oz (11 g) Each · Net Wt 4.56 oz (132 g)'. For plain roasted and ground coffee or espresso with no added flavors, sweeteners or creamers, FDA regulations (21 CFR 101.9(j)(4)) exempt the product from carrying a full Nutrition Facts table because plain coffee contains insignificant amounts of all required nutrients (though many grocery chains still prefer a compact simplified calorie box). If your pods contain sweetened cappuccino, flavored syrup powders, collagen, MCT oil or functional mushroom extracts with nutritional value, include a standard vertical or tabular Nutrition Facts panel and allergen declaration on the side panel.
How do you color-code multiple roast blends on one shared dieline?
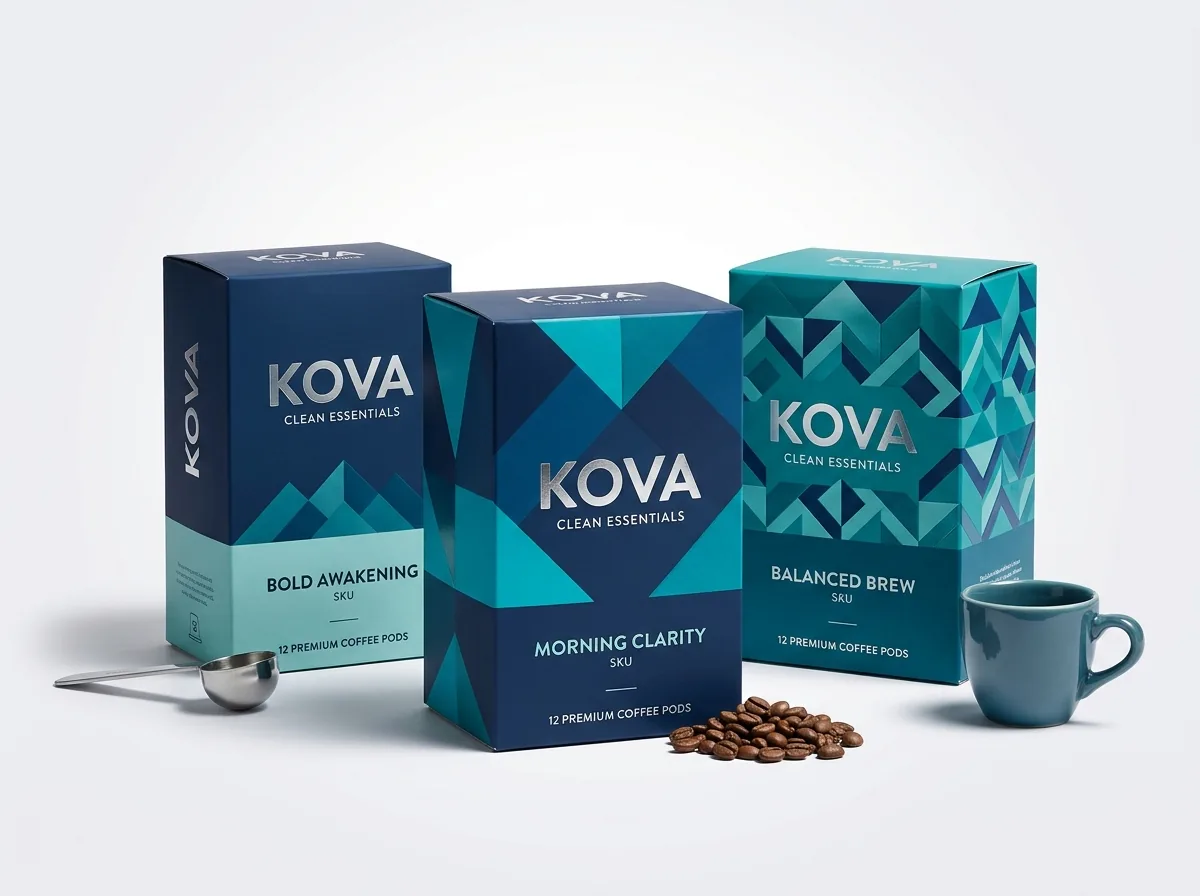
Most coffee brands launch with at least four SKUs: a bright Breakfast Blend, a balanced House Medium Roast, a bold French or Italian Dark Roast, and a Swiss Water Decaf (or single-origin espresso). If you keep the capsule count and inside Length × Width × Height identical across every blend, all of your SKUs share the exact same cutting die and perforated chute setup. Design a master structural template where your logo, brewer compatibility badge, perforation lines and back-panel layout stay in the same spot, and assign each roast its own Pantone (PMS) color band across the top flap and lower dispenser door (for example, warm gold for Blonde, terracotta for Medium, deep espresso brown for Dark, and forest green or cobalt blue for Decaf). You can combine multiple roast designs in one order starting at 1,000 boxes, with zero die or plate charges and our Pantone color match guarantee.
- Keep all 12-count or 10-count blends on one exact dieline to gang-run multiple roasts in a single order.
- Use a 1-to-10 intensity scale bar and a 3-dot Acidity / Body / Sweetness meter so shoppers compare blends fast.
- Wrap your Pantone roast color band onto the top and side flaps so blends are recognizable from every angle.
- Leave a 1.5 × 0.75 in unvarnished white or matte box on the side or bottom panel for inkjet 'Best By' and roast-date stamping.
What are the most common coffee pod box design and prepress mistakes?
A great-looking coffee box can still fail at the co-packer or grocery checkout if perforation rules and compliance text are misplaced. Avoid these five mistakes
- Printing only total net weight ('Net Wt 4.56 oz') on the front panel and forgetting to list the pod count and individual pod weight ('12 Pods · 0.38 oz Each').
- Running a micro-perforated dispenser chute right through the middle of your front brand logo or required net weight statement.
- Designing a bottom gravity-feed door with no side catch wings, allowing the entire lower column of pods to tumble out onto the counter.
- Using low-contrast metallic gold ink for the bottom UPC barcode, which infrared grocery checkout scanners cannot read.
- Applying slick UV varnish over the side date-code rectangle so your co-packer's inkjet 'Roasted On / Best By' stamp smears off.
Find your size
Suggested inside size: 1.5 × 1.5 × 11.0 in
A starting point. Your account manager confirms the size with you before the proof.
Quote this size →Packaging for this

Ready to order coffee pod boxes? Compare up to 3 quantities with a free 3D mockup.
Request a Quote →Questions about coffee pod boxes
Will CubitPack set up the perforated dispenser door on our dieline for free?
Yes. Every order includes free structural dieline engineering and free design help. Tell us whether you want a lower-front gravity dispenser chute, a top zipper tear strip or an end-flap capsule tab, and we build it into your vector template.
How do you keep a perforated dispenser door from popping open during shipping?
We calibrate the perforation rule's cut-to-tie ratio to your board caliper and keep the thumb-punch starter tab recessed away from the corner scores, so the carton resists vertical pallet compression while still tearing cleanly when pulled by hand.
How should we write the net weight on a 12-count single-serve coffee pod box?
Place the declaration in the bottom 30% of the front Principal Display Panel listing the count, individual pod weight and total weight in ounces and grams - for example: '12 Coffee Pods · 0.38 oz (11 g) Each · Net Wt 4.56 oz (132 g)'.
Do plain black coffee pods require a Nutrition Facts panel on the box?
Under FDA 21 CFR 101.9(j)(4), plain unflavored roasted coffee and espresso containing insignificant amounts of nutrients are exempt from mandatory Nutrition Facts labeling, though functional or sweetened pods require a full panel.
Can we split a 1,000-box order across Light, Medium, Dark and Decaf roasts?
Yes. Select 2 designs or 3+ designs in the quote form and keep all roast blends on the exact same inside Length × Width × Height dieline so we can run them together with zero die or plate charges.
Can we add a clear or open window to show the colored capsule inside?
Yes. Many espresso and specialty roasters add a small die-cut capsule-shaped window on the front or side panel so shoppers can see the anodized aluminum dome color or printed foil lid before buying.
Still have a question? Ask a packaging specialist.
Request a Quote →Request your coffee pod boxes quote
Tell us your size and quantities, and one dedicated account manager prepares pricing for each tier.
- Free design & AI-to-print studio + 3D mockup
- No die or plate charges · 4–5 day rush available
- Free shipping to all 50 states
- 10% off your first order
The nesting mechanics, perforation guidelines and 6-panel labeling checklist in this guide were compiled from FDA 21 CFR 101 food labeling rules, standard carton die-cutting specifications and CubitPack's decided project facts in our published product specifications. A packaging specialist verified every section. Spot an error? Tell us and we will fix it.
Sources
What changed
- October 22, 2026: First published.
- October 22, 2026: Updated specifications, terminology, and verified source links.
More guides
New packaging guides by email
Sizes, materials and design tips. Unsubscribe anytime.