
How do you design custom coffee boxes for single-origin roasts and subscriptions?
Short answer: Design custom coffee boxes by placing origin, roast level, and three tasting notes on the upper front panel, reserving an unvarnished 1.5 × 0.75 inch knockout for roast-date stamping, and using modular belly bands or die-cut card slots so one master carton serves dozens of seasonal micro-lots.
On this page
- What information belongs on the front and side panels of a specialty coffee box
- How do roasters use one master coffee box across multiple single-origin lots
- Where should the roast date stamp area be placed on a coated coffee box
- How do you design coffee subscription mailers for unboxing and scuff resistance
- How do you prepare coffee box artwork files for print
- Common mistakes
- FAQs
Request a custom quoteFree dieline & 3D mockup
Great specialty coffee box design balances two competing demands: strong, recognizable brand blocking from five feet away on a crowded café shelf, and rapid SKU flexibility for rotating single-origin micro-lots and monthly coffee clubs. Instead of printing a separate full-bleed box for every small-batch harvest, smart roasters build a modular system around an 18 pt to 20 pt master carton paired with color-coded belly bands, wrap-around labels, or a front die-cut slot that holds interchangeable origin tasting cards. On the technical side, your dieline artwork must leave an uncoated, unvarnished knockout box for ink or thermal ”Roasted On” date stamps, specify scuff-resistant matte lamination on dark ink coverage, and use the inside lid of subscription mailers for pour-over and espresso brewing recipes. Every order at CubitPack includes a free digital dieline and 3D mockup before payment, with zero die or plate charges.
What information belongs on the front and side panels of a specialty coffee box?
Shoppers browsing a café retail shelf or specialty grocery aisle make their pick in seconds. Unlike commodity supermarket cans that shout ”100% Arabica,” third-wave coffee buyers scan printed coffee cartons for specific flavor cues and brew compatibility. If those details are buried in tiny 6 pt type on the back panel, the customer puts the box back down. Organize your front panel into three clean visual zones from top to bottom: your roastery wordmark in the top third, the coffee's country or region of origin and three concise flavor notes (for example, ”Bergamot, White Peach, Cocoa”) in the eye-level center zone, and a roast-level bar plus net weight (such as ”NET WT 12 OZ (340 g)”) along the bottom edge. Reserve the left and right side gusset panels for deeper farm traceability - producer name, washing station, varietal (Bourbon, Gesha, Caturra), processing method (Washed, Natural, Honey), and elevation in meters above sea level (MASL) - along with a ”Whole Bean” callout and your UPC barcode.
- Top third (Brand header): Roastery logo or monogram with high contrast against the board color.
- Center zone (Origin & flavor cues): Country/region name in bold type plus 3 scannable tasting notes.
- Lower zone (Roast meter & net weight): Visual 5-dot or sliding bar from Light to Dark roast, plus FDA net weight in oz and grams.
- Side panels (Traceability & logistics): Producer, varietal, processing method, elevation (MASL), grind state, and 1.5 × 1.0 inch barcode.
How do roasters use one master coffee box across multiple single-origin lots?
Specialty roasters often release 10 to 25 different single-origin micro-lots over the course of a year, sometimes roasting only 150 to 400 bags of a rare farm lot. Ordering custom packaging for each tiny release individually can tie up budget and storage space. Instead, build a modular two-part graphic system around one master 4.0 × 2.75 × 7.25 inch custom auto-lock bottom boxes dieline. You have three field-tested ways to customize a master coffee carton for rotating harvests without re-plating the main box: First, die-cut a front card slot or window with top and bottom retaining tabs into the front panel of your master carton, and slide a heavy 16 pt printed origin card inside before inserting the inner valve bag. Second, wrap a printed paper belly band horizontally around the belly of an embossed or foil-stamped master box. Third, apply an L-shaped wrap label across the top tuck flap and upper front face of the carton, which simultaneously identifies the single-origin roast and acts as a tamper-evident retail seal.
| Modular design method | How it works on the packing line | Best roast program fit |
|---|---|---|
| Die-cut front card slot | Slide a 3.25 × 4.5 in printed tasting card into die-cut slits on the front face | Roasters with 10+ seasonal micro-lots and collectors who keep origin cards |
| Horizontal paper belly band | Wrap a pre-glued or taped paper sleeve around the center of the master carton | Giftable reserve roasts and minimalist kraft or matte black master boxes |
| Over-the-top L-seal label | Apply a pressure-sensitive label from the top flap down onto the front panel | High-speed packing lines wanting origin ID + tamper seal in one step |
| Split-run digital/offset print | Print 3 to 5 full-bleed artworks sharing the exact same carton dieline | Core year-round blends (House, Espresso, Decaf, Breakfast) at 1,000+ total units |
Where should the roast date stamp area be placed on a coated coffee box?
Nothing matters more to a specialty coffee buyer than the ”Roasted On” date. Unlike grocery staples that print a ”Best By” date a year out, specialty roasters stamp or inkjet the exact roast date and batch number on packing day. However, standard rubber ink stamps, thermal transfer ribbons, and continuous inkjet (CIJ) coders smear or rub right off if you stamp directly onto soft-touch lamination, gloss UV coating, or heavy dark ink coverage. When preparing your dieline artwork in Adobe Illustrator, always reserve a 1.5 × 0.75 inch rectangular knockout box on the back panel, side gusset, or bottom auto-lock panel. On your print file, set this rectangle to bare paperboard (0% CMYK ink on white SBS, or unprinted raw board on kraft) and place a matching cutout shape on your ”Coating / Varnish” spot layer so no lamination or aqueous coating covers that zone. The exposed paper fibers absorb stamp ink in two seconds so cartons can be cased immediately without smudging.
Know your size? Compare pricing across up to 3 quantities.
Request a Quote →How do you design coffee subscription mailers for unboxing and scuff resistance?
Direct-to-consumer coffee subscriptions ship through USPS, UPS, and FedEx sorting hubs where boxes slide down steel chutes and rub against conveyor belts. If your monthly coffee club ships in an E-flute corrugated custom mailer boxes format without an outer shipping carton, exterior ink durability and interior storytelling make or break subscriber retention. On the outside of a subscription mailer, protect dark espresso browns, charcoal blacks, and saturated brand colors with a scuff-resistant matte film lamination or satin aqueous coating so boxes arrive on the customer's porch looking crisp rather than chalky at the corners. Alternatively, print bold one-color black or white graphics onto natural brown kraft E-flute board, which hides postal belt marks naturally. Inside the mailer lid is your highest-engagement print surface. Because subscribers open the top flap every morning while brewing, use two-sided (4/4) printing to turn the inside lid into a step-by-step pour-over, AeroPress, French press, and espresso dial-in guide, complete with water temperature (198°F to 205°F), coffee-to-water ratios (1:16), and a QR code linking to your head roaster's video tasting notes. Add die-cut custom cardboard inserts to frame two or three bags cleanly without loose paper crinkle fill.
How do you prepare coffee box artwork files for print?
Before uploading your artwork for a free digital dieline check and 3D mockup, verify that your carton dimensions match your filled inner valve bags using our coffee box size chart for 12 oz bags, pods and drip packs, and review our comparison of bag-in-box coffee cartons vs custom coffee pouches if you are still selecting your inner barrier pouch. Set all artwork files to CMYK color mode (plus Pantone spot swatches if needed), outline all fonts, embed high-resolution 300 DPI illustrations, extend background colors 0.125 inch past the outer cut lines for bleed, and keep logos and text at least 0.125 inch inside all fold and score lines. Put die-cut windows, embossing, metallic foil stamping, spot UV, and your unvarnished roast-date knockout on separate named vector layers so our prepress team can verify every finish before production.
What are the five coffee box design mistakes that frustrate roasters?
Check your coffee box artwork against these five prepress and usability mistakes before going to press
- Placing the ”Roasted On” date stamp box over soft-touch lamination or gloss UV coating, which causes stamp ink to smear on the packing table.
- Burying the ”Whole Bean” vs ”Ground” indicator in tiny text on the back panel, leading retail shoppers to buy whole beans when they do not own a grinder.
- Printing dark full-bleed ink on DTC subscription mailers without a protective matte film lamination or aqueous topcoat to prevent postal scuffing.
- Putting important tasting notes or farm stories across the bottom tuck flap where retail shelf channel strips cover the bottom 0.5 inch of the box.
- Designing a front die-cut window to show the inner bag when the inner bag is unprinted crinkled foil rather than a clean matte pouch or tasting card.
Find your size
Suggested inside size: 2.75 × 1.75 × 5.25 in
A starting point. Your account manager confirms the size with you before the proof.
Quote this size →Packaging for this
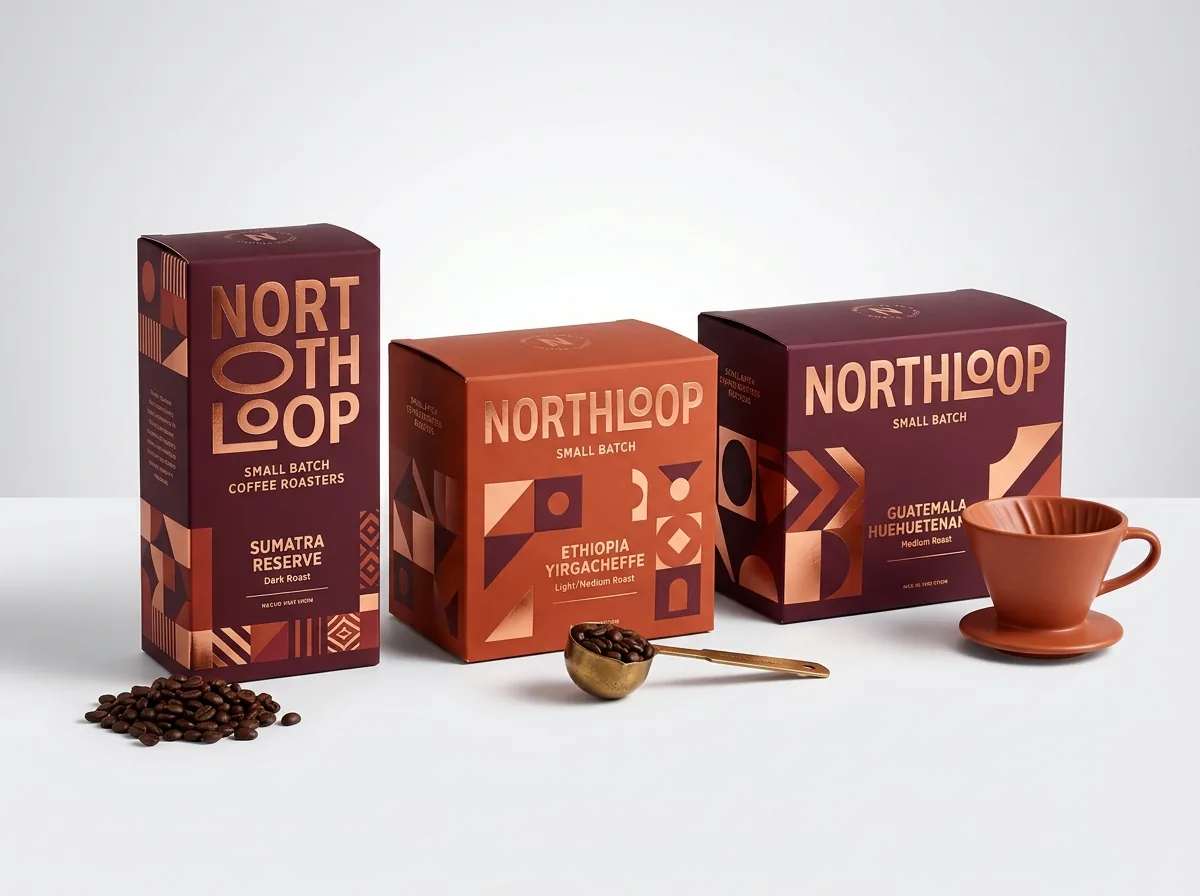
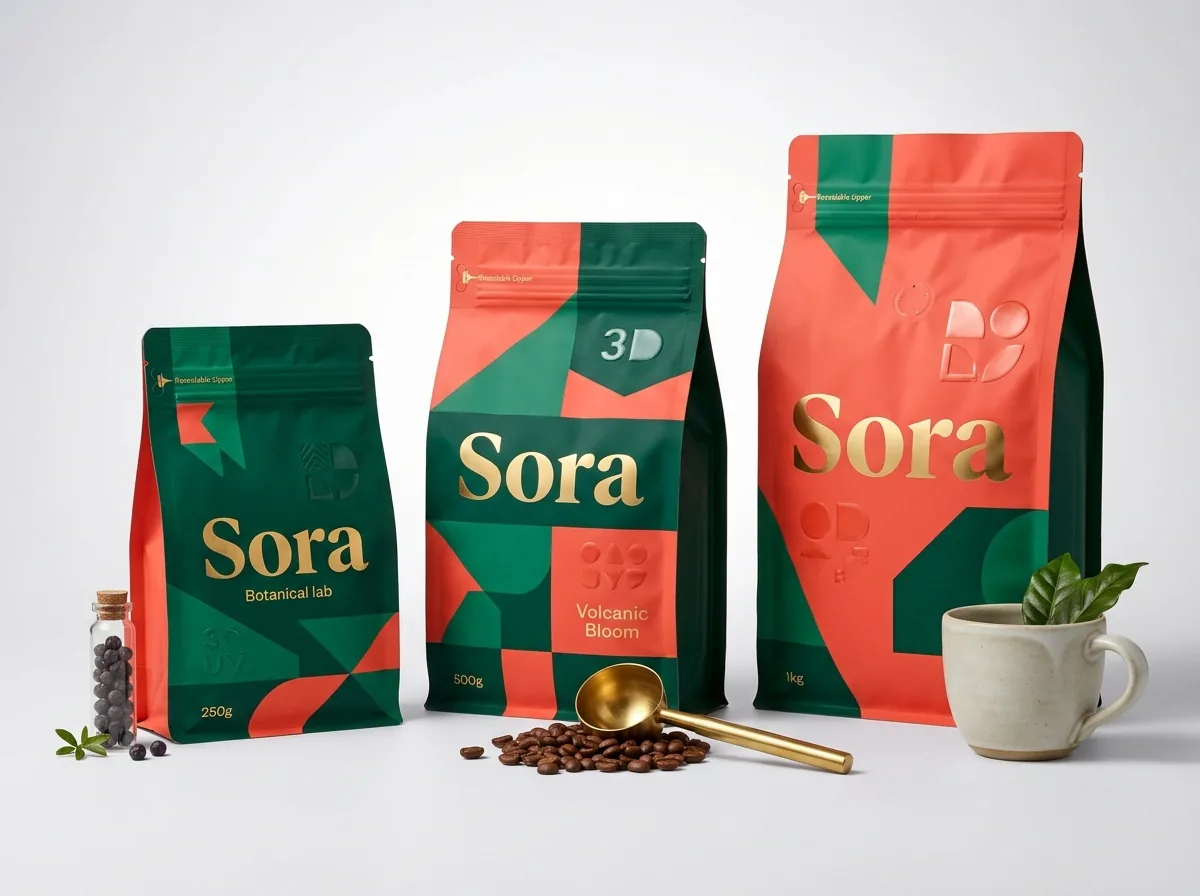
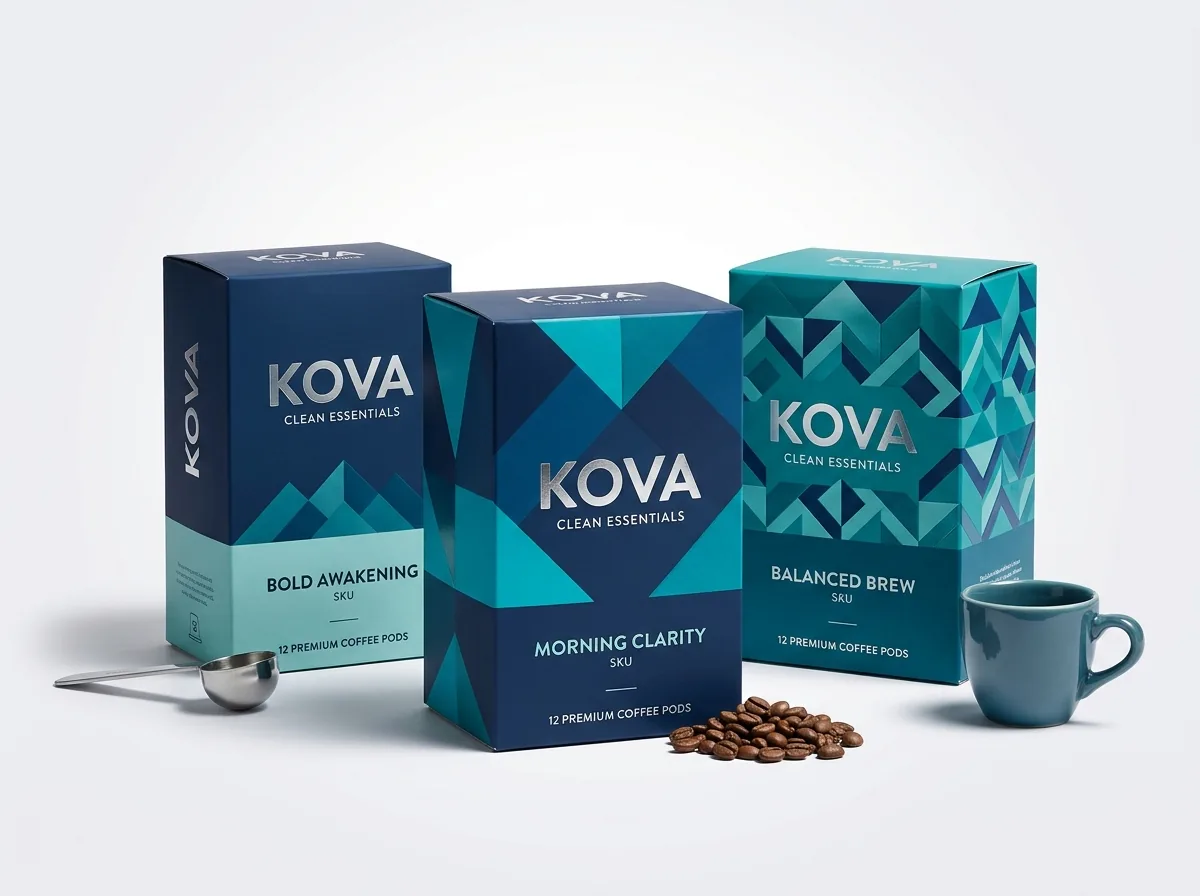
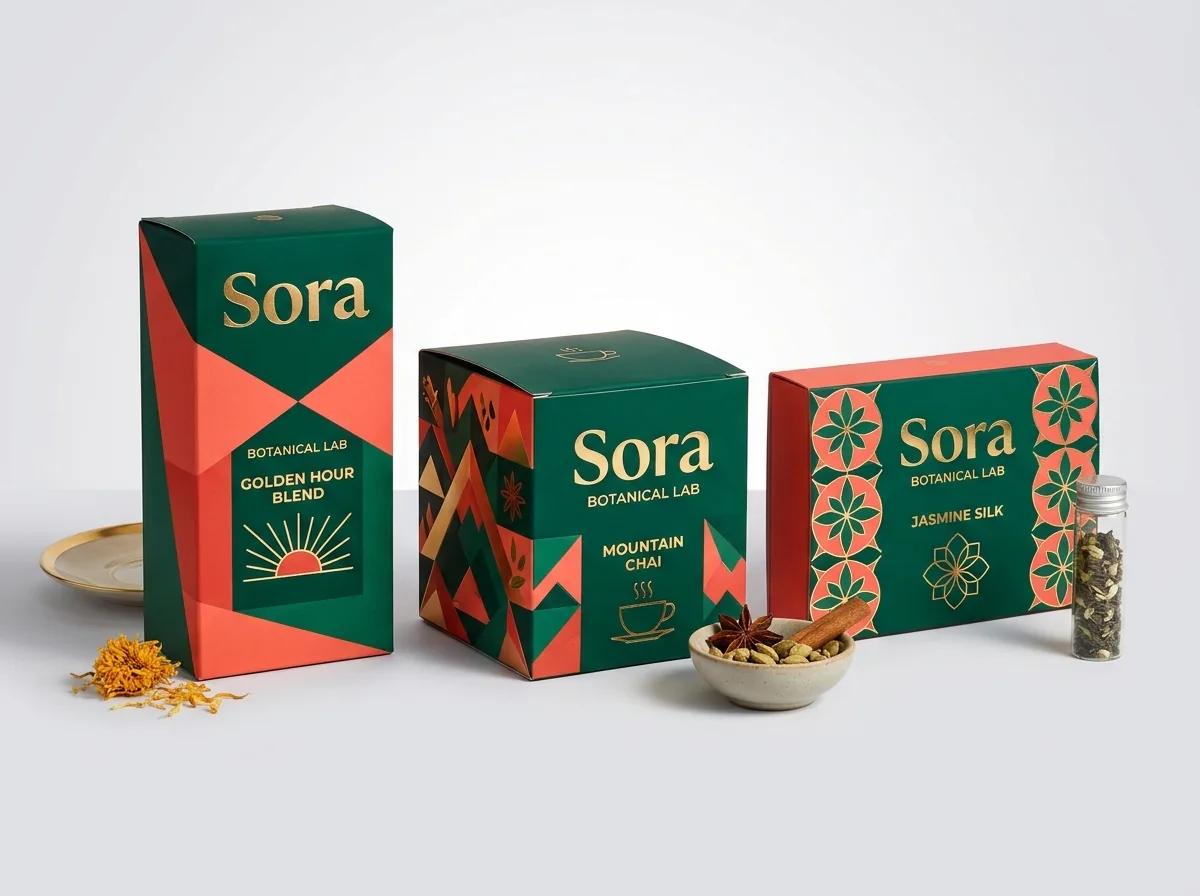
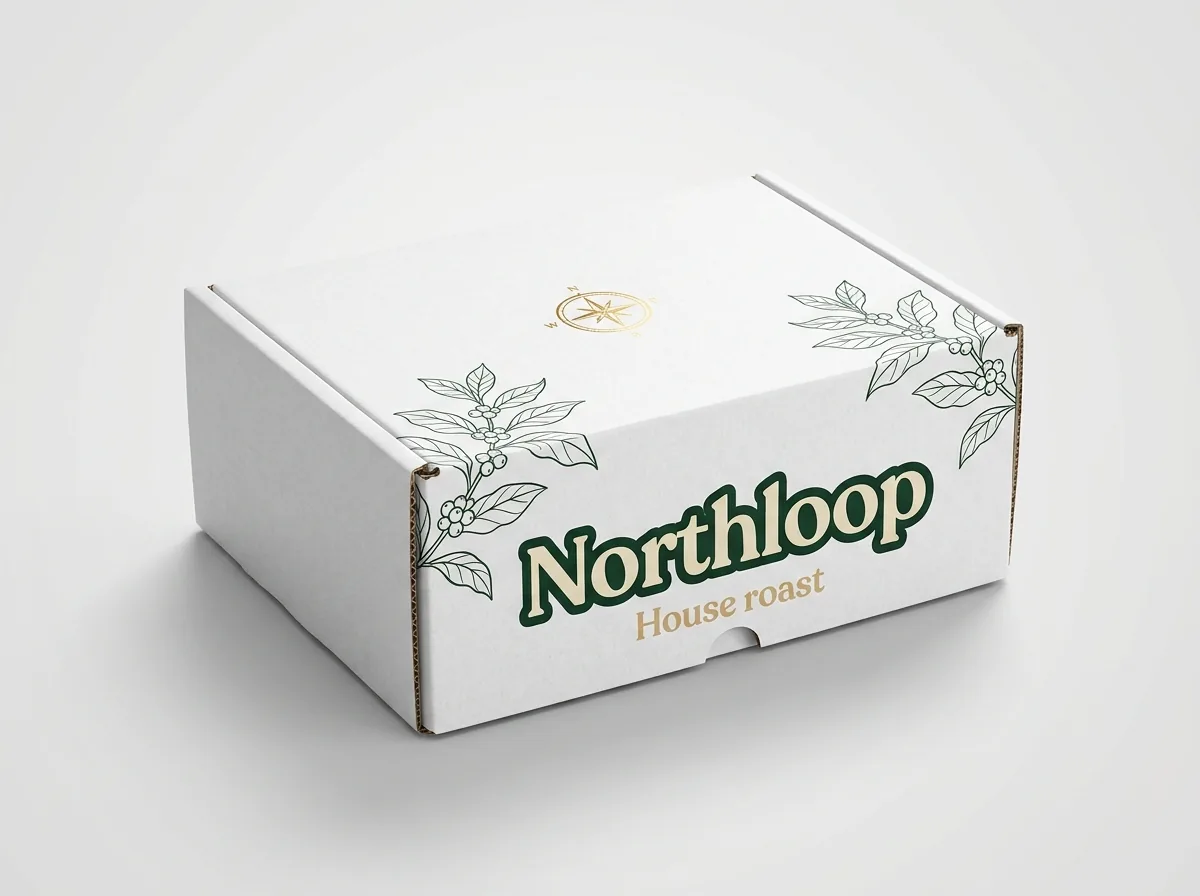
Ready to order coffee boxes? Compare up to 3 quantities with a free 3D mockup.
Request a Quote →Questions about coffee boxes
How do roasters use one master coffee box across multiple single-origin lots?
Roasters print one master 18 pt or 20 pt carton with their brand logo and structural finishes, then customize each single-origin harvest using a front die-cut slot for printed tasting cards, a color-coded paper belly band, or an over-the-top L-seal label.
Where should the roast date stamp area be placed on a coated coffee box?
Place a 1.5 × 0.75 inch unvarnished, unlaminated knockout rectangle on the lower back panel, side gusset, or bottom flap. Leaving raw paperboard fibers exposed lets rubber stamp ink or thermal date coders dry in seconds without smearing.
What finishes work best on specialty coffee boxes?
Soft-touch matte lamination paired with spot gloss UV or metallic gold and copper foil stamping is the most popular combination on 18 pt SBS cartons, while soy-based black and white ink on unbleached kraft board suits organic and farm-direct roasts.
How do you keep coffee subscription mailer boxes from getting scuffed in transit?
Specify a scuff-resistant matte film lamination or satin aqueous topcoat over dark outer ink coverage on E-flute corrugated mailers, or print bold typography on natural kraft corrugated board, which hides parcel chute marks naturally.
Can I print brewing guides inside the lid of my coffee box?
Yes. We offer two-sided (4/4) CMYK printing on both folding cartons and E-flute corrugated subscription mailers so you can print pour-over ratios, grind size charts, and QR codes across the inside top lid and dust flaps.
What if I do not have a coffee box design or dieline yet?
Every order includes a free custom dieline and 3D mockup before payment. If you need full branding from scratch, our optional Brand Identity package is $250 for your first SKU (logo, colors, fonts, box design) and $50 per extra SKU.
Still have a question? Ask a packaging specialist.
Request a Quote →Request your coffee boxes quote
Tell us your size and quantities, and one dedicated account manager prepares pricing for each tier.
- Free design & AI-to-print studio + 3D mockup
- No die or plate charges · 4–5 day rush available
- Free shipping to all 50 states
- 10% off your first order
This design guide is based on prepress standards for 18 pt to 20 pt SBS and kraft coffee cartons, E-flute corrugated subscription mailers, and modular origin-card systems. Reviewed by a CubitPack packaging specialist. Spot an error? Let us know and we will fix it.
Sources
What changed
- October 22, 2026: First published.
- October 22, 2026: Updated specifications, terminology, and verified source links.
More guides
New packaging guides by email
Sizes, materials and design tips. Unsubscribe anytime.