
How do you design custom cereal boxes, back games, and nutrition panels?
Short answer: Map your artwork across all six panels of a flat dieline: place your logo, bowl photography, and net weight in the bottom 30% of the front face, put FDA Nutrition Facts on the right gusset, and use the back panel for games or stories on custom cereal boxes.
On this page
- What belongs on each of the six panels of a custom cereal box dieline
- How do you allocate space and typography across a standard cereal carton
- What makes a front hero bowl and back-panel game stand out on the table
- Where do the FDA Nutrition Facts, net weight, and barcode go on a cereal box
- How do you gang multiple cereal flavors on one dieline to lower unit cost
- Common mistakes
- FAQs
Request a custom quoteFree dieline & 3D mockup
Unlike a small cosmetic carton that shoppers only view from the front, a breakfast cereal box sits on the kitchen table for 5-7 minutes every morning, making every single panel a high-attention surface. A complete cereal box dieline has six main zones: the front Principal Display Panel (PDP) that grabs attention from 10 feet away in the grocery aisle, the right-hand side gusset reserved for the FDA Nutrition Facts table and ingredient list, the left-hand side gusset for macro callouts or preparation icons, the wide back panel for crossword puzzles, mazes, or founder storytelling, the top flap with its reclosable tab-lock instructions, and the bottom flap carrying the UPC barcode and lot-date window. At CubitPack, our designers build your custom dieline, flat proof, and 3D mockup for free before you pay, with zero die or plate charges.
What belongs on each of the six panels of a custom cereal box dieline?
When you open a flat folding carton template in Adobe Illustrator, the four vertical walls sit side by side from left to right: Back Panel, Left Side Gusset, Front Panel, and Right Side Gusset (plus the narrow side glue lap). Above and below those four panels sit the top and bottom major flaps and dust flaps. Assigning a clear job to each panel before you start illustrating keeps your printed cereal cartons uncluttered on the shelf. The front face sells the flavor and key dietary benefit in under two seconds; the right side gusset satisfies retail compliance; the left side gusset reinforces shelf blocking when boxes are turned sideways; and the back panel entertains the customer while they eat.
- Front panel (Principal Display Panel): brand wordmark in the upper third, enlarged bowl photography in the center, and net weight in the bottom 30%.
- Right side gusset (Information Panel): vertical FDA Nutrition Facts table, ingredient list, allergen statement, and distributor address.
- Left side gusset: vertical brand logo for pantry storage, macro badges (such as protein or fiber), or a storage freshness guide.
- Back panel: interactive mazes, trivia, word searches, collectible cutout cards, recipes, or origin storytelling.
- Top major flap: brand logo for top-down drawer drawers plus clear 'Pull to open / Tuck tab to close' instructions.
- Bottom major flap: scannable GS1 UPC barcode (black bars on white box) and an unvarnished inkjet rectangle for the expiration date.
How do you allocate space and typography across a standard cereal carton?
Use the layout blueprint below to size your artwork zones on a standard 7.75 × 2.5 × 11.25 inch retail cereal carton or a 6.5 × 2.25 × 9.5 inch DTC protein cereal carton. Every zone can be customized on your free CubitPack dieline. Pay special attention to the bottom 30% of the front Principal Display Panel and the width of the right side gusset: those two areas are governed by federal food labeling rules and supermarket checkout scanner requirements.
| Carton panel | Typical dimensions (12 oz box) | Required & recommended elements |
|---|---|---|
| Front panel (PDP) | 7.75 × 11.25 in | Brand logo, flavor name, ”Enlarged to show texture” note, net weight (oz & g) |
| Right side gusset | 2.50 × 11.25 in | FDA Nutrition Facts, ingredients, ”Contains:” allergen line, manufacturer info |
| Left side gusset | 2.50 × 11.25 in | Vertical brand title, 3–4 icon badges, QR code to reorder or join loyalty club |
| Back panel | 7.75 × 11.25 in | Games, puzzles, creator collaboration art, bowl recipes, or brand comic strip |
| Top closure flaps | 7.75 × 2.50 in | Flavor color coding, tear strip path, and reclosable tab-and-slot diagram |
| Bottom closure flaps | 7.75 × 2.50 in | UPC-A barcode (minimum 80% magnification) and unlaminated lot/date stamp box |
What makes a front hero bowl and back-panel game stand out on the table?
On the front Principal Display Panel, eye-tracking studies in the cereal aisle show that shoppers look first at the top-center brand banner, second at the flavor callout and macro badges (for example, '14g Protein · 0g Added Sugar'), and third at the spoon or bowl photograph. If your bowl photo or illustration shows cereal pieces larger than life size, include the small caption 'Enlarged to show texture' near the bowl rim. Adding spot UV gloss over the cereal pieces and milk splash while keeping the background in matte lamination creates high visual contrast without glare. On the back panel, resist the urge to paste a wall of corporate paragraphs. Whether your audience is seven-year-old kids, nostalgic gamers, or busy professionals, interactive back panels win repeat attention. Popular back-panel layouts include spot-the-difference illustrations, breakfast trivia, word searches, collectible trading cards printed with dashed scissor-cut lines, or a three-step overnight-oats recipe. For promotional and influencer cereal drops, brands often add inside box printing so opening the top flaps reveals a hidden prize code or pattern.
Know your size? Compare pricing across up to 3 quantities.
Request a Quote →Where do the FDA Nutrition Facts, net weight, and barcode go on a cereal box?
Under FDA food labeling regulations (21 CFR 101), the front face of your cereal box is the Principal Display Panel (PDP), and the panel immediately to the right of the front face is the Information Panel. Your net weight statement must appear in the lower 30% of the front PDP in bold, high-contrast type parallel to the base, written in both US customary ounces and metric grams - for example, 'NET WT 11 OZ (312g)'. On the right-hand side gusset (2.25 to 3.0 inches wide), place the standard vertical FDA Nutrition Facts box at the top, followed directly below by the ingredient list in descending order of weight, the 'Contains:' major food allergen declaration, and the name and street address of the manufacturer, packer, or distributor. If you need a deep dive into font sizes and dual-column rules for multi-serving containers, see our dedicated guide on how to lay out FDA Nutrition Facts and allergens on food boxes. Finally, place your GS1 UPC barcode on the bottom panel in dark ink over a solid white rectangle so flatbed grocery scanners read it on the first swipe.
How do you gang multiple cereal flavors on one dieline to lower unit cost?
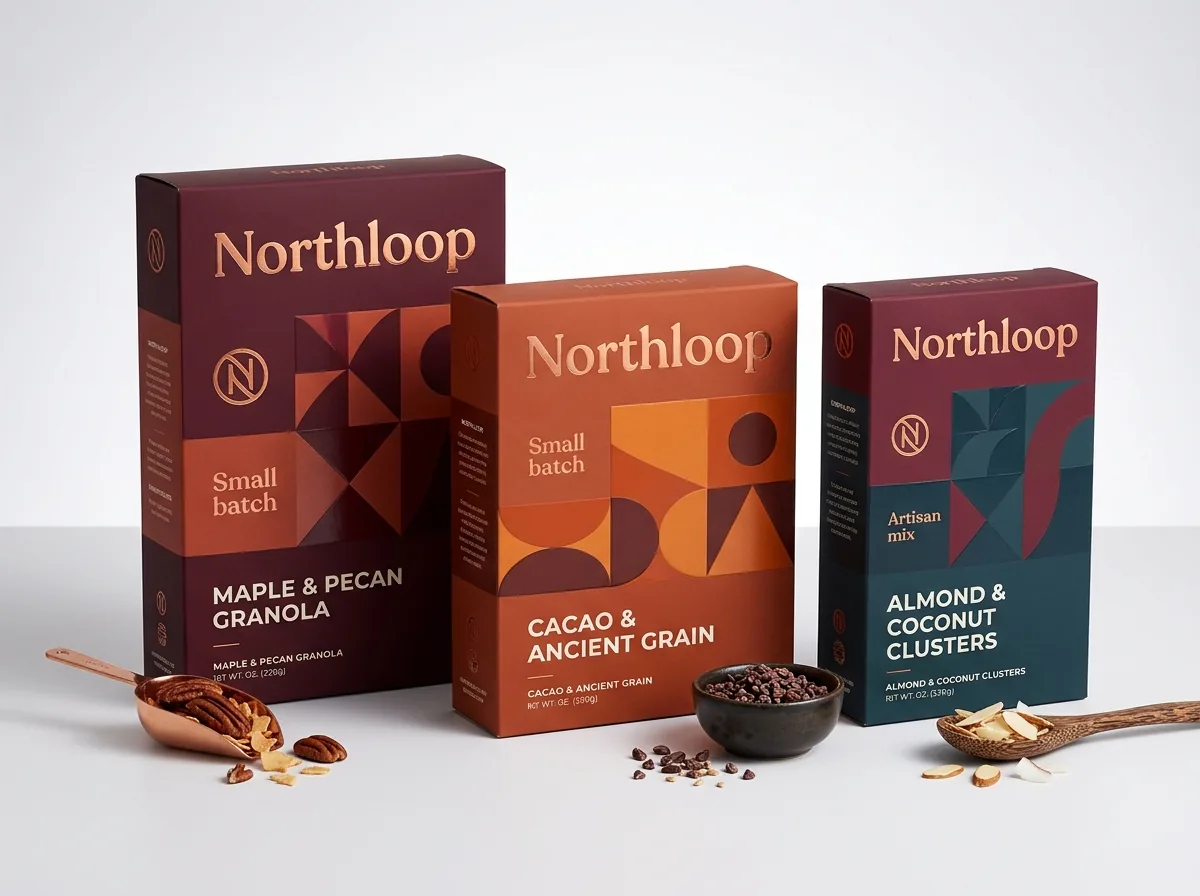
Most breakfast brands launch with three or four core flavors - such as Fruity Loops, Cocoa Crunch, Cinnamon Toast, and Honey Peanut. Ordering four completely different box sizes would require four separate structural setups and four different shipping master cases. Instead, standardize all four flavors onto one identical inside Length × Width × Height dieline (even if one flavor weighs 8 oz and a denser flavor weighs 9.5 oz, as long as the inner pillow bags fill the same volume). When all SKUs share the exact same dieline, closure, and paperboard stock, CubitPack can combine your flavors in a single order with zero die or plate charges. You can also unify your brand architecture by keeping the side Nutrition Facts grid, top lock tab, and back layout structure in the same spot across every SKU while swapping the background Pantone color and hero bowl photo.
- Lock one shared dieline: use the exact same Length × Width × Height across all 3 to 6 cereal flavors.
- Color-code the top flap: print each flavor's signature color on the top major flap so warehouse pickers and shoppers spot flavors from above.
- Keep glue zones clear: leave all seal-end glue flaps and the bottom date-code window free of ink and lamination across every SKU.
- Request a 3D mockup per SKU: verify how all flavors look standing side by side in a 4-pack variety bundle before approving production.
What are the most common cereal box design and artwork mistakes?
Avoid these five frequent prepress and compliance pitfalls before you approve your cereal box proof
- Placing the net weight statement at the top of the front panel instead of inside the bottom 30% of the Principal Display Panel.
- Designing the right-hand side gusset narrower than 2.25 inches without checking that the vertical FDA Nutrition Facts table fits inside the 1/8 inch safe margins.
- Printing a low-contrast barcode (such as red bars, metallic gold ink, or white bars on dark kraft) that grocery laser scanners cannot read.
- Extending artwork and lamination across the top and bottom glue flaps or over the lot-date inkjet stamp rectangle.
- Designing the back panel upside down on the flat dieline by confusing the top tuck flap orientation with the main body panels.
Find your size
Suggested inside size: 3.5 × 1.5 × 4.75 in
A starting point. Your account manager confirms the size with you before the proof.
Quote this size →Packaging for this
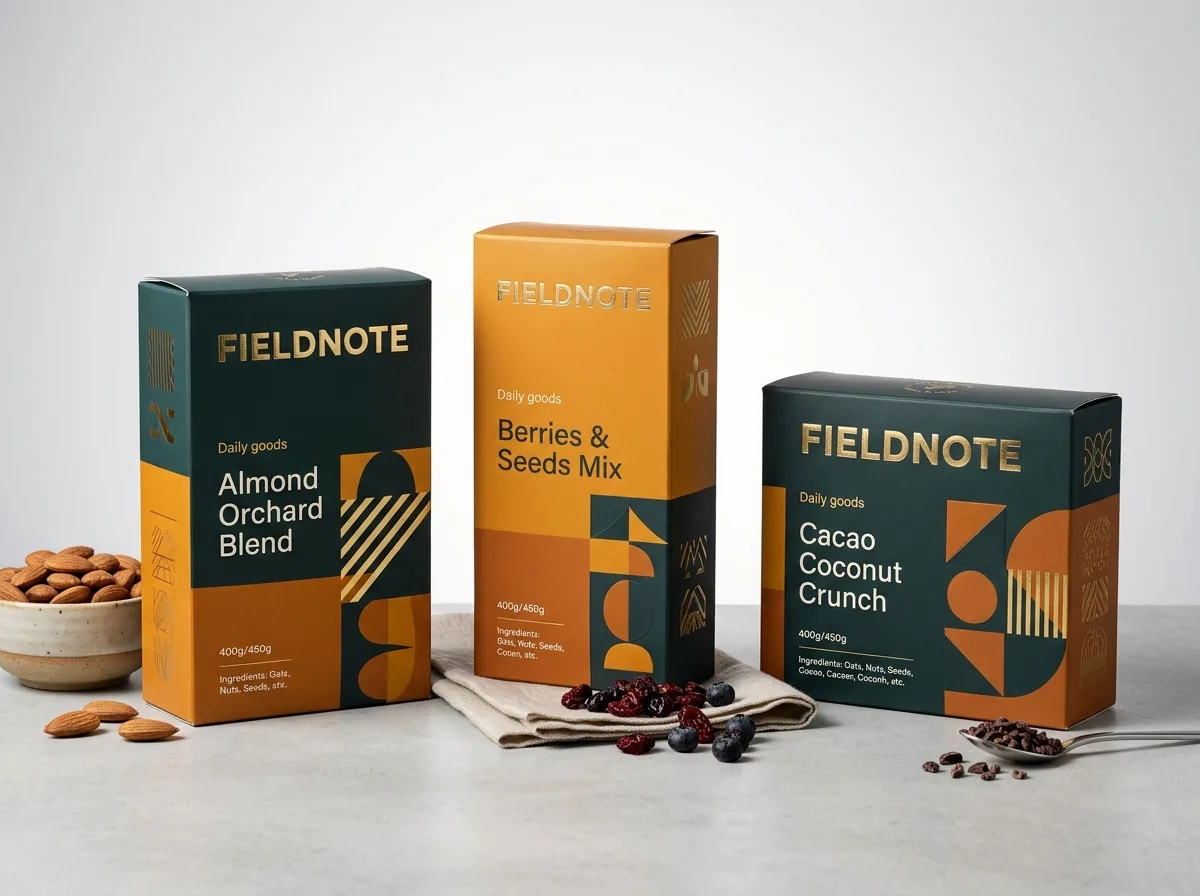
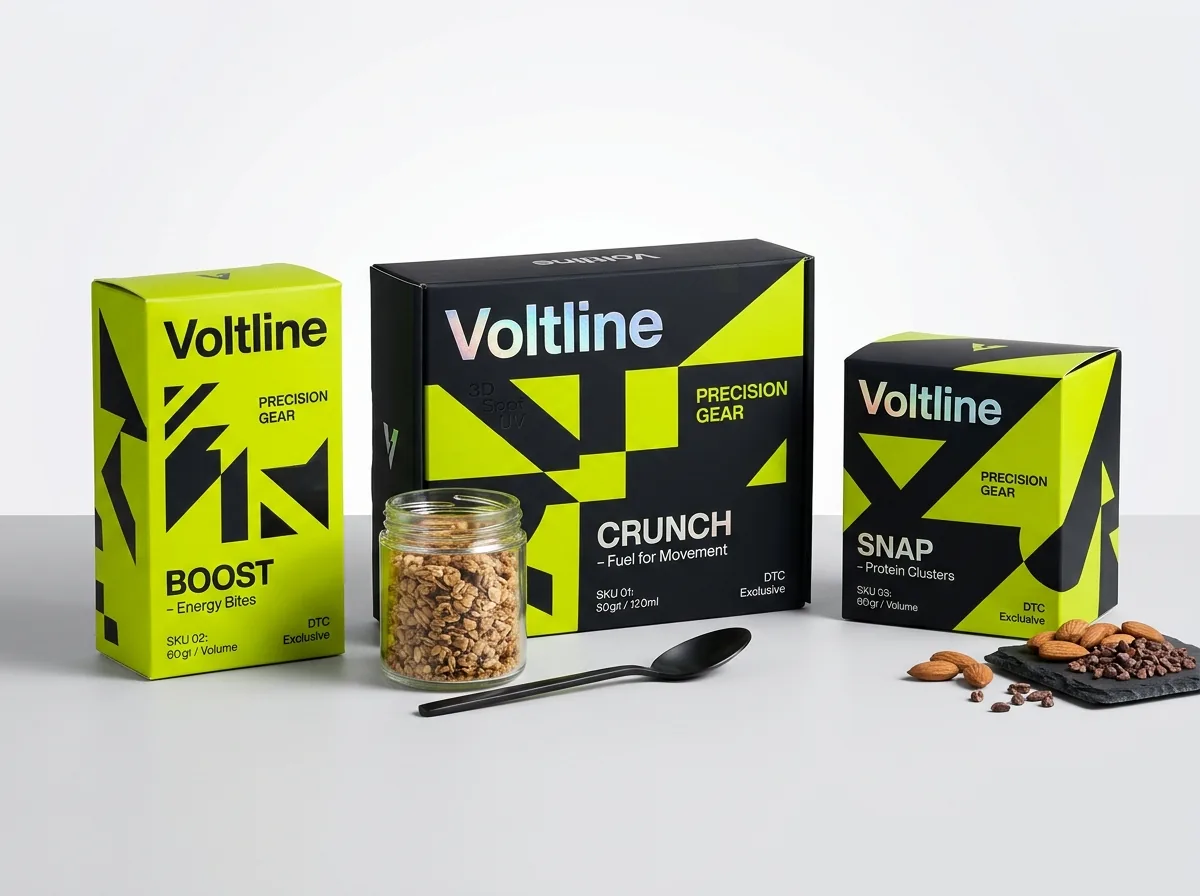
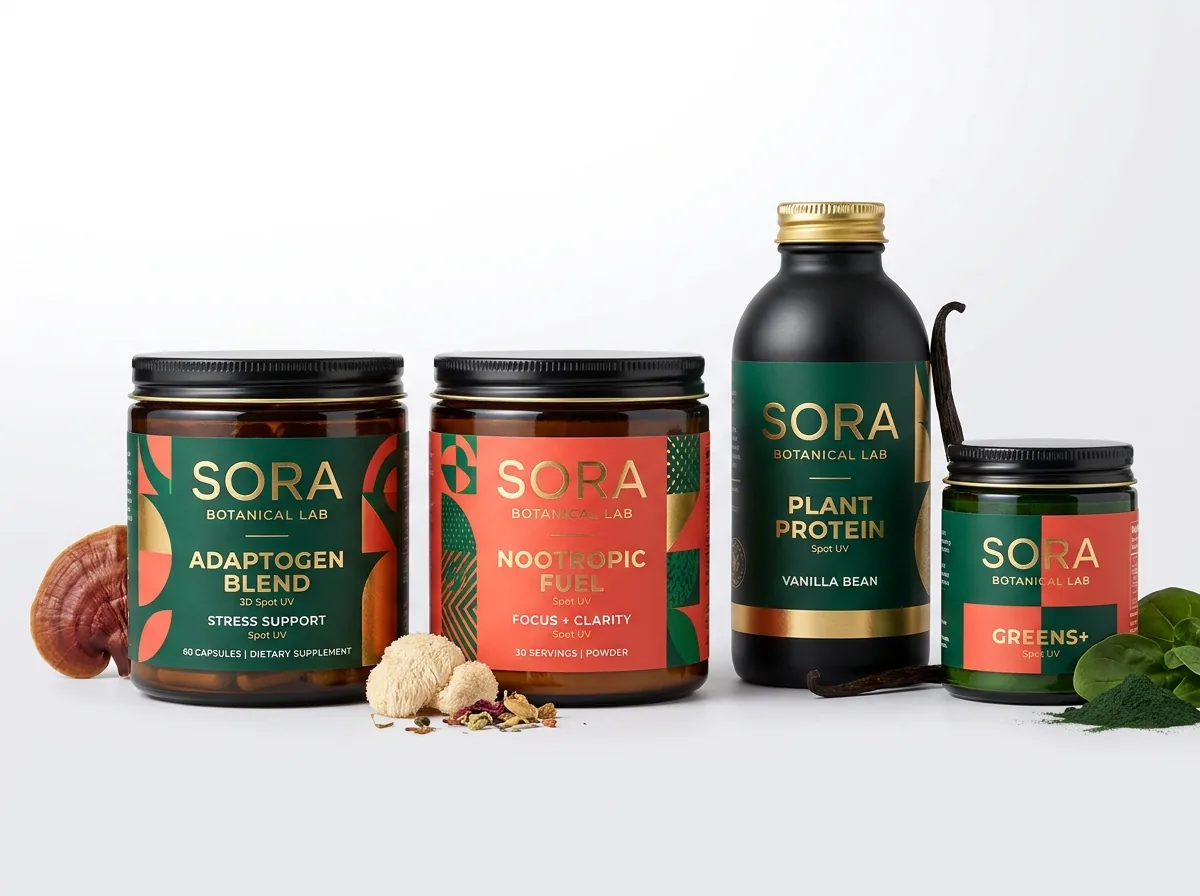
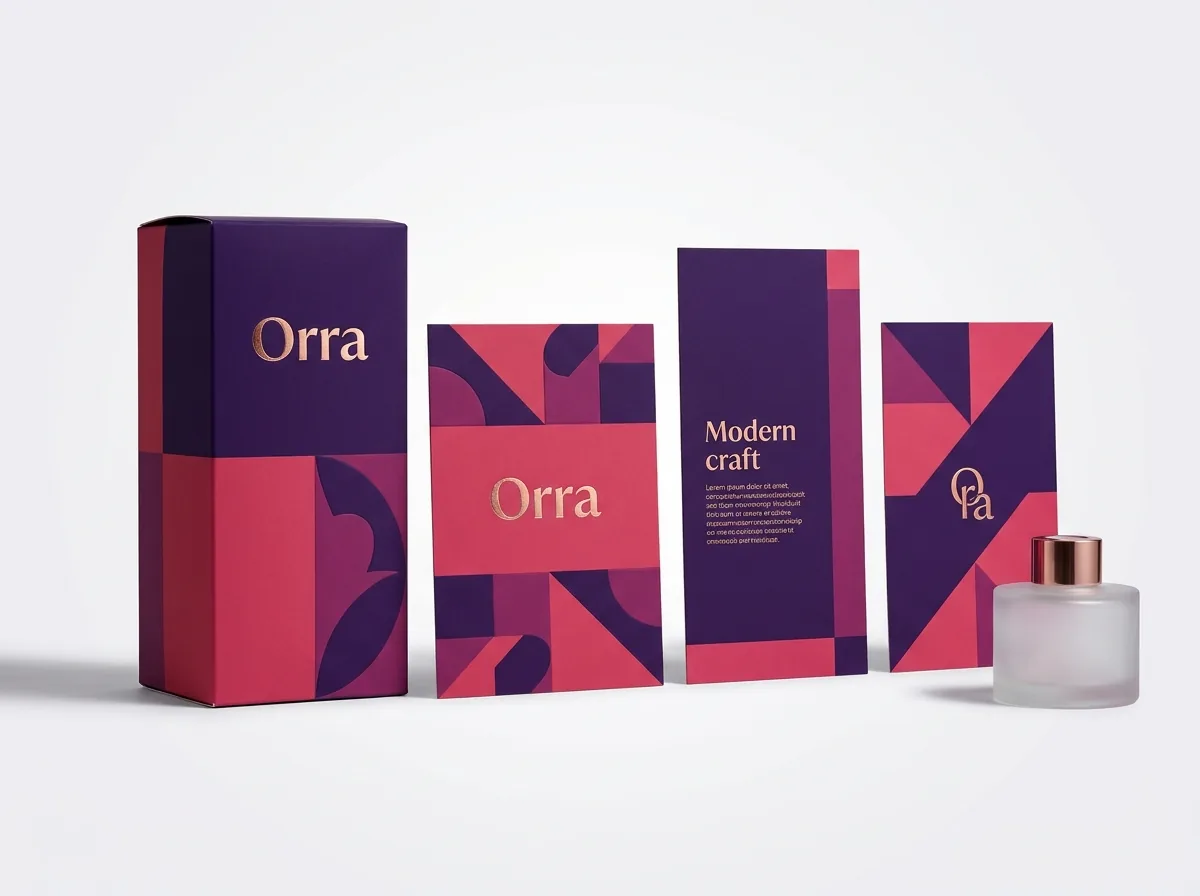
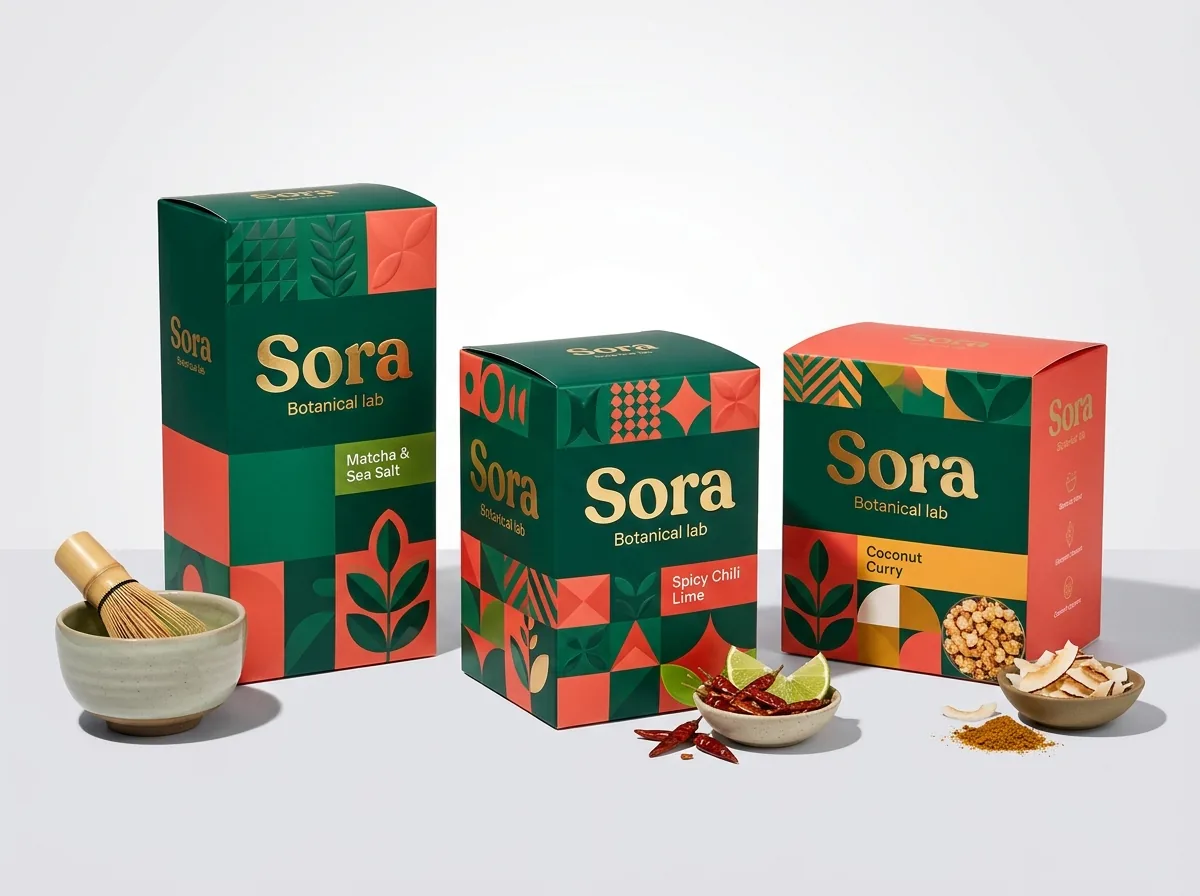
Ready to order cereal boxes? Compare up to 3 quantities with a free 3D mockup.
Request a Quote →Questions about cereal boxes
Can I get a blank custom cereal box dieline template before my designer starts?
Yes. Tell us your desired inside Length × Width × Height and closure style (such as seal-end with a reclosable top tab or reverse tuck end), and our structural team will send you a free vector PDF/AI dieline with cut, fold, bleed, and glue-zone layers.
What if I only have a logo or an AI-generated concept for my cereal box?
CubitPack includes free design help on every order. Whether you have a rough sketch, an AI-generated mascot image, or just a logo and nutrition text, our designers will lay out all six panels and send you a flat proof and 3D mockup before payment.
Should I use CMYK or Pantone (PMS) colors on custom cereal boxes?
Most cereal brands combine both: 4-color CMYK process printing reproduces full-color bowl photography and character shading, while 1 or 2 Pantone (PMS) spot inks lock in your exact brand background color across every flavor and reorder.
Where does the lot number and expiration date get stamped on a cereal carton?
Co-packers usually inkjet-print or laser-etch the lot code and 'Best By' date into a small unvarnished white rectangle on the top major flap or bottom panel during filling. We mask lamination out of that date window on your dieline.
Can I print games or patterns on the inside of a custom cereal box?
Yes. Inside carton printing lets you put a surprise message, board game board, collector poster, or brand pattern on the interior walls of the box. Select 'Outside + inside' printing in the quote form to compare pricing.
How many cereal box designs can I combine in one 1,000-box minimum order?
You can split a single order across multiple flavors or artwork versions as long as they share the same box dimensions. Pick '2 designs' or '3+ designs' in the quote form and list your flavor breakdown in the notes.
Still have a question? Ask a packaging specialist.
Request a Quote →Request your cereal boxes quote
Tell us your size and quantities, and one dedicated account manager prepares pricing for each tier.
- Free design & AI-to-print studio + 3D mockup
- No die or plate charges · 4–5 day rush available
- Free shipping to all 50 states
- 10% off your first order
The six-panel layout rules, bleed margins, and FDA Principal Display Panel / Information Panel guidelines in this article follow 21 CFR Part 101 food labeling standards and GS1 barcode specifications. A CubitPack packaging specialist checked every section. Spot an issue? Let us know and we will fix it.
Sources
What changed
- October 22, 2026: First published.
- October 22, 2026: Updated specifications, terminology, and verified source links.
More guides
New packaging guides by email
Sizes, materials and design tips. Unsubscribe anytime.