
How do you engineer CAD dieline tolerances and micro-inserts for custom small mailer boxes?
Short answer: Always specify small mailer boxes by usable Inside Dimensions (L × W × H), add 0.25 in of outer length for E-flute double-rolled side walls, size die-cut micro-insert pockets with +0.5 to +1.0 mm clearance, and include two 0.5 in semicircular finger notches so customers can lift small items out effortlessly.
On this page
- How do you calculate Inside Dimensions (ID) vs Outside Dimensions (OD) on a small mailer
- How do you design micro-inserts for dropper bottles, jewelry cards, and lip balms
- Where are the safe print zones for QR codes and copy inside a compact mailer lid
- How do you get a custom small mailer and micro-insert CAD dieline from CubitPack
- Common mistakes
- FAQs
Request a custom quoteFree dieline & 3D mockup
In a large 12 × 10 × 4 inch shipping carton, a 2 mm measurement error barely registers; in custom small mailer boxes measuring 5 × 4 × 1.5 in or 6 × 4 × 2 in, 2 millimeters is the difference between a dropper bottle clicking smoothly into its cradle or bowing the top lid open. Because FEFCO 0427 roll-end tuck-front mailers fold their left and right side walls 180 degrees over the corner dust flaps and tuck two top dust wings inside the cavity, engineering a compact mailer requires coordinating three tight tolerances: the Inside-to-Outside Dimension (ID-to-OD) wall take-up, the +0.5 to +1.0 mm micro-insert pocket clearance, and 0.5 in (12.7 mm) semicircular thumb notches so fingers can grip recessed vials, rings, or compacts. Every order from 250 units includes custom CAD dieline engineering and a 3D proof before payment.
How do you calculate Inside Dimensions (ID) vs Outside Dimensions (OD) on a small mailer?
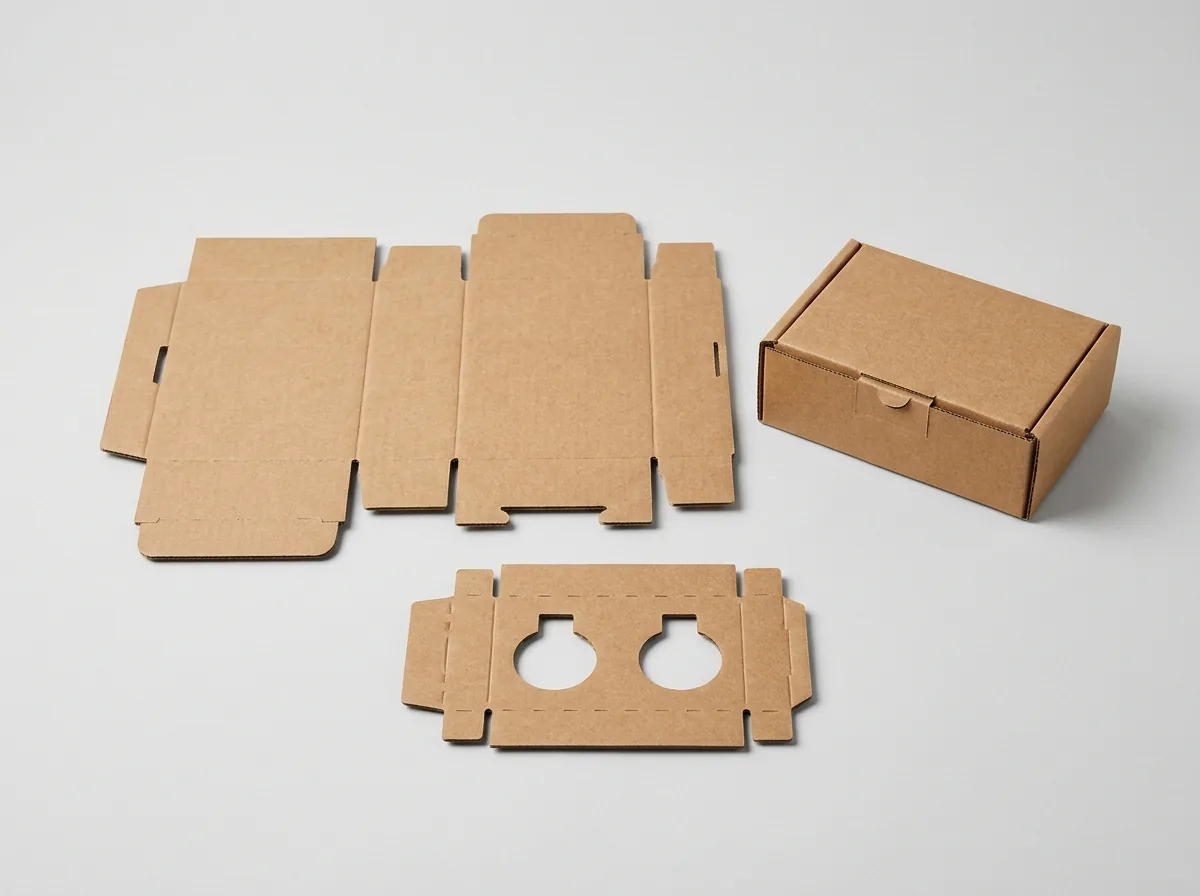
Packaging standards always list FEFCO 0427 mailer sizes as usable Inside Dimensions: Length (left-to-right) × Width (front-to-back) × Height/Depth (bottom-to-top). On a compact mailer built from 32 ECT E-flute (~1.6 mm / 0.0625 in caliper), the folded walls add predictable thickness to the outer footprint: Use this ID-to-OD conversion and tolerance table when sizing compact small mailer boxes and custom mailer boxes with inserts: Notice that Length (L) has the largest difference between inside and outside (+0.31 to +0.38 in) because each left and right wall consists of two layers of corrugated board rolled 180 degrees over an inner corner flap (six total board plies across the left and right sides combined). Always give CubitPack your required Inside Dimensions, and our CAD system automatically expands the outer dieline panels to compensate for board caliper. When testing your first pre-production sample or reviewing your interactive 3D digital proof, always verify how the top side dust wings interact with your interior insert tray. On a FEFCO 0427 roll-end tuck-front mailer, the two side dust wings attached to the hinged lid swing 90 degrees downward into the left and right margins of the cavity as the lid closes. If your die-cut paperboard or foam insert sits elevated near the top rim of the box, our CAD specialists notch 0.125 in clearance slots along the left and right edges of the insert deck so the dust wings slide past smoothly without binding.
- Measure your product (or group of products) with digital calipers at its widest cap, shoulder, or base flange before specifying cavity dimensions.
- Leave at least 0.0625 in (1.5 mm) of vertical head-space between the tallest point of your product and the closed lid so the top dust wings never press down on dropper bulbs.
- Size the outer perimeter of a removable paperboard or EVA foam insert tray 1.5 mm smaller than the box's Inside Length and Width so it drops in smoothly on the fulfillment line.
| Dimension axis | How it is measured inside | Corrugated plies crossed | E-flute (1.6 mm) ID-to-OD delta | Design clearance rule |
|---|---|---|---|---|
| Length (L), Left to Right | Between inner faces of rolled side walls | 6 plies total (3 per side wall) | OD = ID + 0.31 to 0.38 in (~8–9.5 mm) | Add +0.125 in over snug product width |
| Width (W), Front to Back | From inner rear wall to inner front wall | 3 plies total (1 rear + 2 front) | OD = ID + 0.19 to 0.25 in (~5–6.4 mm) | Add +0.125 in front-to-back clearance |
| Height (H), Bottom to Top | From tray floor to underside of closed lid | 2 plies + top dust wing thickness | OD = ID + 0.13 to 0.19 in (~3.5–5 mm) | Leave 0.0625–0.125 in head-space under lid |
| Insert Outer Footprint | Flat deck sitting on tray floor | Fits inside rolled walls & rear wall | Insert = Box ID minus 0.0625 in (1.5 mm) | Prevents insert from buckling side walls |
How do you design micro-inserts for dropper bottles, jewelry cards, and lip balms?
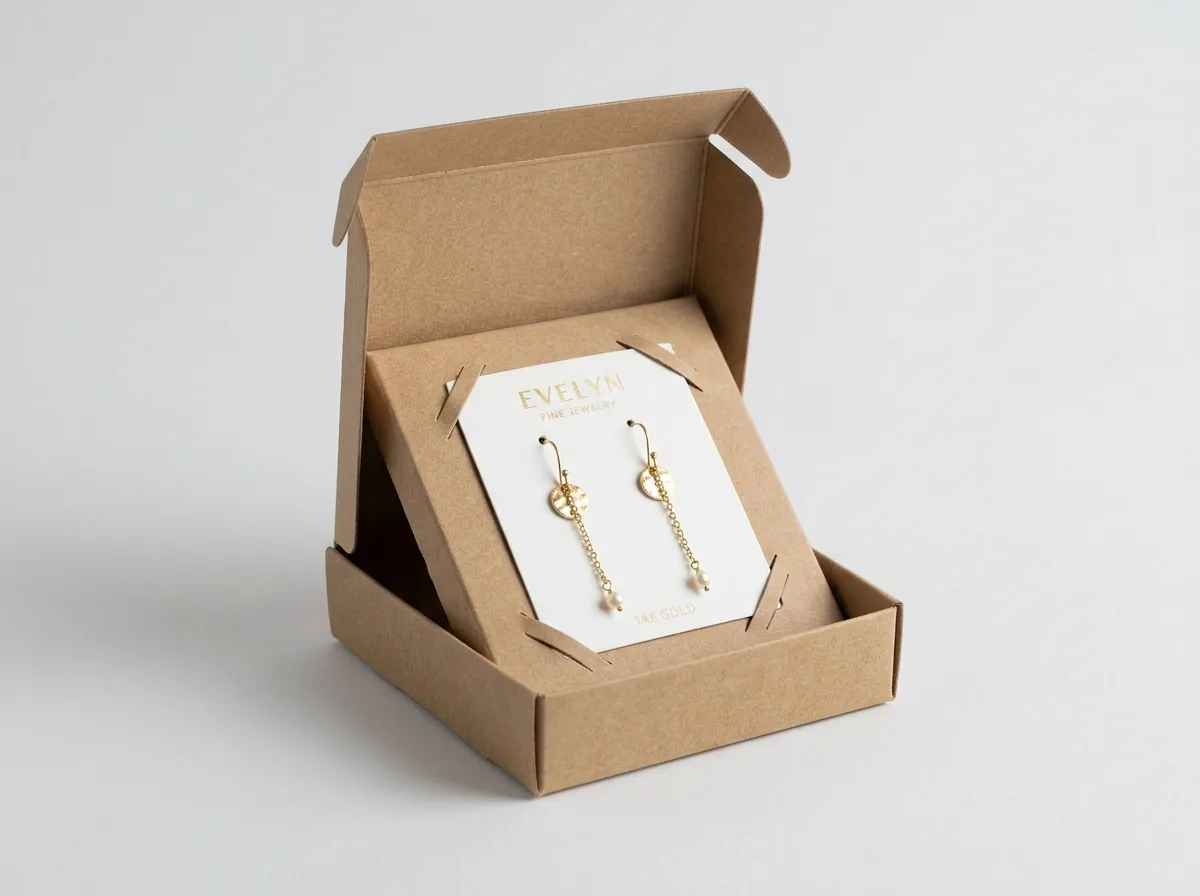
In a shallow 1.5 to 2.0 inch deep small mailer used for custom jewelry boxes, custom lip balm boxes, or custom earring boxes, products sit flush with the top deck of the insert. Without ergonomic finger clearance, customers have to turn the box upside down and shake it to get their purchase out
- The 0.50 in (12.7 mm) Semicircular Finger Notch Rule: Die-cut two opposing 0.50 in radius half-moon thumb notches on the left and right edges of every bottle, compact, or card cavity so an index finger and thumb can pinch the item cleanly.
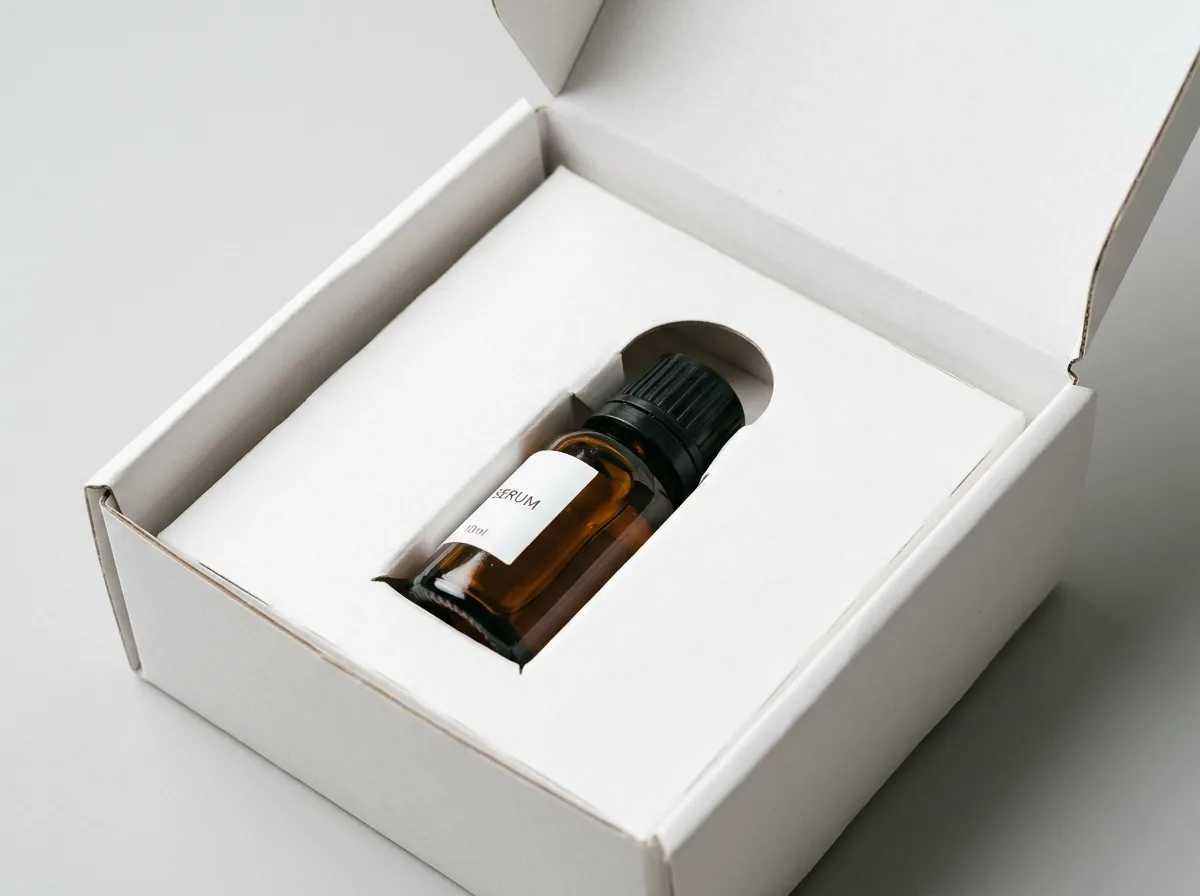
- Paperboard & E-Flute Pocket Tolerance (+0.5 to +1.0 mm): For rigid cylindrical glass bottles (15 mL or 30 mL serums) or tins sitting in an 18–24 pt card cradle, add +0.5 to +1.0 mm to the bottle diameter so it slips in without tearing the card edge.
- EVA & EPE Foam Interference Fit (-0.5 to -1.0 mm): For dense EVA foam pads holding rings, watches, or perfume vials, undersize the cutout by 0.5 to 1.0 mm so the compressible foam grips the item by friction even if the box is inverted.
- Neck-Retention Tab for Dropper Bottles: Add a die-cut collar tab around the narrow neck below a rubber dropper bulb so the glass pipette cannot slide upward and strike the end wall during a parcel drop.
Where are the safe print zones for QR codes and copy inside a compact mailer lid?
Printing your brand story, 3-step usage ritual, and reorder QR code directly on the inside lid of a small mailer replaces miniature folded paper inserts that get lost in packing material across custom sample boxes and custom PR boxes. Because a 5 × 4 in or 6 × 4 in lid has a smaller surface area than a 10 × 8 in box, respect these three prepress safe zones: Remember also to rotate all inside-lid artwork 180 degrees relative to the outside lid on the flat Side B dieline so the text reads right-side up when the customer flips the hinged lid open toward themselves.
- Keep your inside-lid headline, 3-step icons, and QR code inside the central 65% of the lid panel so the folded side dust wings frame the message cleanly.
- Flood-color the Side A outer side-wall roll-over flaps to match your interior cavity color so the rolled left and right walls match the floor.
- Inspect your open and closed box in our interactive 3D digital viewer before approving press production.
| Small mailer dieline zone | Safe margin / dimension rule | Why it matters on compact 4–6 in lids |
|---|---|---|
| Dust Wing Side Clearance | Keep text/QR at least 0.75–1.0 in from left/right lid edges | Folded top dust wings rest against outer lid margins |
| Score & Crease Clearance | Keep logos/type at least 0.1875–0.25 in from score lines | Prevents small letters from bending into the hinge |
| Inside-Lid QR Code Size | 0.75 × 0.75 in to 0.85 × 0.85 in + 4-module white quiet zone | Scans instantly on phone cameras at 6-inch hand distance |
| Minimum Reversed Type Size | 6 pt bold (spot flood) or 7.5 pt bold (CMYK flood) | Keeps miniature ingredient or ritual text crisp |
Know your size? Compare pricing across up to 3 quantities.
Request a Quote →How do you get a custom small mailer and micro-insert CAD dieline from CubitPack?
Combine this dieline and micro-insert guide with our walkthrough on USPS Ground Advantage and DIM weight sizing for small mailer boxes and our comparison of E-flute vs F-flute vs paperboard for small mailer boxes. Follow these four steps to order from 250 units: Whether you need a standalone 6 × 4 × 2 in E-flute mailer or a complete small mailer + die-cut micro-insert set, our structural team engineers both dielines together at zero tooling cost.
- Step 1: Enter your usable Inside Dimensions (or your product's L × W × H measurements) and quantity (from 250 boxes) in our quote form.
- Step 2: Receive your matched 2D vector CAD dieline for the small mailer box (and optional micro-insert) within hours.
- Step 3: Place your artwork and inspect the interactive 3D digital proof before payment.
- Step 4: Approve for 10–14 business day production (4–5 day rush) with zero die fees and free US ground shipping.
What 5 sizing and dieline mistakes happen most often on small mailer boxes?
Our prepress and structural specialists check every compact mailer order before die-cutting, preventing these five common small-box errors
- Specifying a small mailer box by Outside Dimensions (OD) instead of usable Inside Dimensions (ID), resulting in a cavity that is 0.35 in too narrow after the double side walls roll in.
- Die-cutting a snug bottle or compact pocket in a shallow small mailer insert without 0.5 in semicircular finger notches.
- Sizing a paperboard insert pocket to the exact 0.0 mm net width of a bottle without a +0.5 to +1.0 mm slip-fit tolerance.
- Placing an inside-lid QR code within 0.5 in of the left or right edge where the folded dust wing covers it.
- Orienting inside-lid welcome text in the same direction as the outside lid on the flat dieline so it reads upside down when opened.
Packaging for this

Ready to order small mailer boxes? Compare up to 3 quantities with a free 3D mockup.
Request a Quote →Questions about small mailer boxes
How do Inside Dimensions (ID) differ from Outside Dimensions (OD) on a small FEFCO 0427 mailer box?
On a 32 ECT E-flute (~1.6 mm) small mailer box, the double-rolled left and right side walls add roughly 0.31 to 0.38 in to the outside length, the front and rear walls add ~0.19 to 0.25 in to the outside width, and the top/bottom panels add ~0.13 to 0.19 in to the outside height. Every order includes a free 2D vector CAD dieline and interactive 3D digital proof before payment.
How much clearance should I leave around a small bottle or jewelry card inside a micro-insert?
For rigid glass bottles, jars, or tins in an 18–24 pt paperboard or E-flute cradle, add +0.5 to +1.0 mm of slip-fit clearance. For compressible EVA foam inserts, undersize the pocket by -0.5 to -1.0 mm for a snug friction grip. Every order includes a free 2D vector CAD dieline and interactive 3D digital proof before payment.
Why are 0.5 inch semicircular finger notches essential on small mailer box inserts?
In a shallow 1.5 to 2.0 inch deep small mailer, products sit flush inside the insert tray. Two 0.5 in (12.7 mm) half-moon thumb notches let customers pinch and lift the bottle or jewelry case out effortlessly. Every order includes a free 2D vector CAD dieline and interactive 3D digital proof before payment.
Where should I place inside-lid QR codes and text on a compact 5x4 or 6x4 mailer dieline?
Keep all critical inside-lid text and QR codes (minimum 0.75 × 0.75 in with a white quiet zone) inside the central 65% of the lid panel, at least 0.75 to 1.0 in clear of the left and right edges where the side dust wings fold inward. Every order includes a free 2D vector CAD dieline and interactive 3D digital proof before payment.
Can CubitPack engineer both my small mailer box and micro-insert dieline for free?
Yes. Every order from 250 units includes free custom 2D vector CAD dielines for both the small mailer and fitted insert, plus an interactive 3D proof before payment and zero die charges.
Still have a question? Ask a packaging specialist.
Request a Quote →Request your small mailer boxes quote
Tell us your size and quantities, and one dedicated account manager prepares pricing for each tier.
- Free design & AI-to-print studio + 3D mockup
- No die or plate charges · 4–5 day rush available
- Free shipping to all 50 states
- 10% off your first order
We verified FEFCO 0427 micro-corrugated side-wall take-up formulas, E-flute and F-flute calipers, and USPS DMM 201.7.5 machinable parcel and 4 x 6 thermal label dimensions against FEFCO Case Code standards, Fibre Box Association (FBA) handbooks, and USPS Postal Explorer guidelines. Spot something wrong? Tell us and we fix it.
Sources
What changed
- November 11, 2026: First published with comparative sizing tables, SVG tolerance diagrams, and USPS label checklist.
More guides
New packaging guides by email
Sizes, materials and design tips. Unsubscribe anytime.