
How do 3-part shoulder-neck box dielines, flush collars, and stepped reveals work?
Short answer: A custom three-part shoulder-neck box dieline coordinates six vector CAD templates: three solid grayboard cores (flush lid, narrower raised inner neck collar, and flush base) paired with three oversized decorative paper wraps extending 15–18 mm past every rim for clean turned-edge folding.
On this page
- Why does a three-part shoulder-neck CAD proof contain six separate structural and wrap paths
- Why do 90-degree V-grooved corners make flush shoulder-neck seams look so crisp
- How does dieline math control a closed hairline seam versus an exposed neck reveal
- Which custom inserts turn a raised inner neck into an elevated luxury podium
- How do you prepare print-ready artwork across all three shoulder-neck parts
- Common mistakes
- FAQs
Request a custom quoteFree dieline & 3D mockup
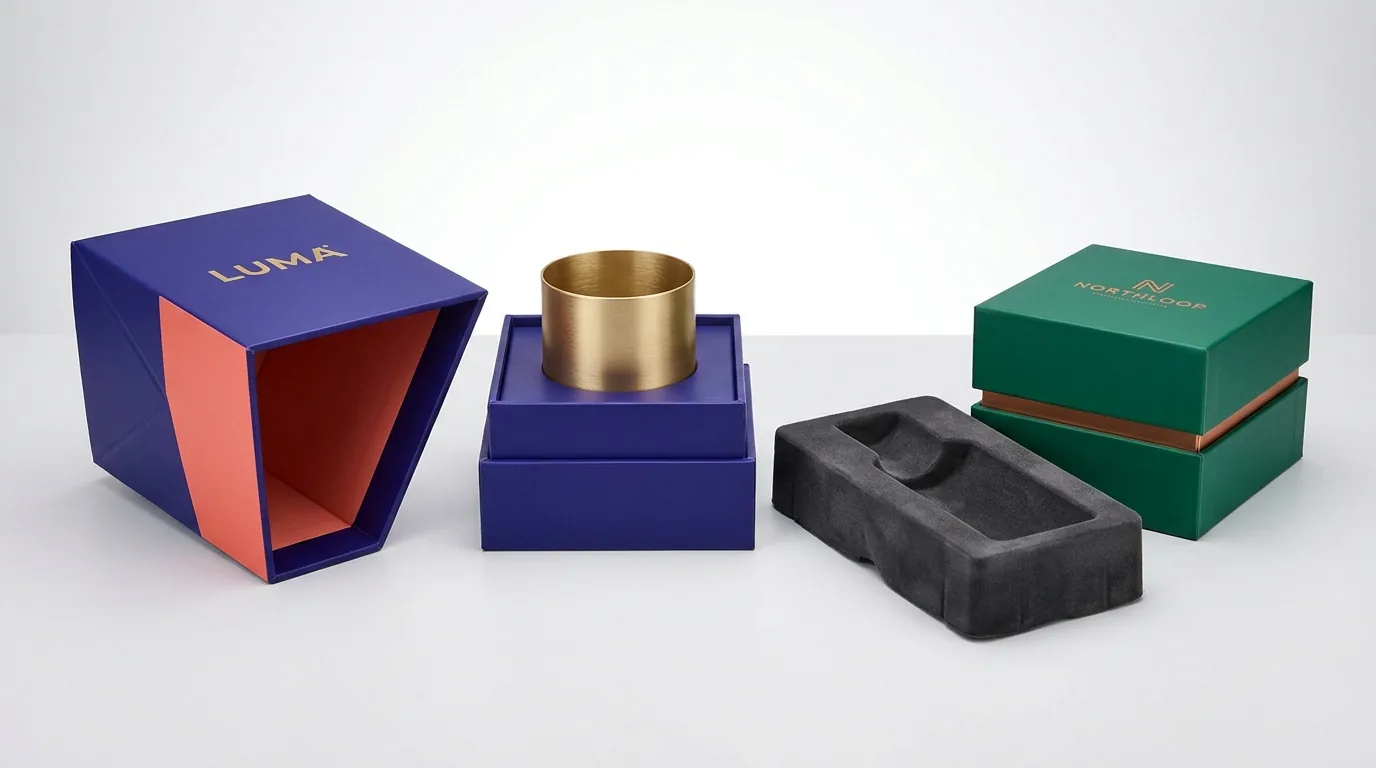
Graphic designers opening their first vector proof for custom shoulder-neck boxes see three distinct cross-shaped structural outlines instead of the single flat sheet used on folding cartons. Because a turned-edge shoulder-neck setup box achieves 100% flush exterior walls through a three-piece nested assembly, prepress engineers separate templates for Part A (the flush rigid lid), Part B (the narrower raised inner neck collar glued permanently inside the base), and Part C (the flush lower rigid base), each paired with its own printed 128–157 gsm wrap sheet carrying 15 to 18 mm of interior turn-in bleed. Combining 90-degree rotary V-grooving on the outer grayboard with a metallic foil or contrasting Pantone inner collar wrap and a die-cut velvet EVA podium delivers sculpted boutique packaging starting at 50 boxes with zero die charges and free US shipping.
Why does a three-part shoulder-neck CAD proof contain six separate structural and wrap paths?
When CubitPack prepress sends your free custom 2D vector dieline, your Illustrator file organizes three structural chipboard outlines alongside three outer paper wrap outlines. Separating structural board from decorative wrap allows you to print brushed metallic foil paper on the inner neck while keeping velvety soft-touch matte art paper on the flush lid and base, all without exposing a single millimeter of raw gray chipboard along any rim or corner joint
- Board-caliper step allowance: Whenever a 157 gsm wrap climbs across the 2.0 mm top rim of the flush base shoulder before folding down inside, prepress inserts an exact 2.0 mm rim band between fold scores so exterior color-blocking never pulls short.
- Independent collar substrate freedom: Because Part B is wrapped on its own automated setup line before bonding into Part C, choosing brushed 24k gold foil paper, copper metallic stock, or woven linen for the neck requires zero complex multi-pass registration on the outer lid sheet.
| CAD template zone | Mechanical function | Artwork & bleed rule | Why it matters in assembly |
|---|---|---|---|
| Part A · Flush Lid Core & Wrap | Upper rigid cap matching Base OD | Extend wrap bleed 16–18 mm past all 4 skirts | Eliminates white unprinted halos under rim |
| Part B · Raised Inner Neck & Wrap | Narrower collar glued inside Part C | Wrap full projecting wall + 16 mm inner turn-in | Creates smooth friction surface & waist color |
| Part C · Flush Base & Shoulder | Lower tray whose top rim forms ledge | Align vertical stripes with Part A lid skirts | Forms continuous monolith plane when closed |
| 45° Corner Ear Miters | Notched wrap tabs tucked around vertical corners | Keep 6 pt micro-type 6 mm off corner scores | Prevents paper bunching along flush edges |
| Interior Ceiling & Floor Liners | Inner paper sheets covering lid top & neck floor | Specify white, dyed black, or custom CMYK print | Completes clean interior unboxing finish |
Why do 90-degree V-grooved corners make flush shoulder-neck seams look so crisp?
On a standard overlapping two-piece lid, a slightly rounded 1.5 mm corner radius looks completely natural. On a flush shoulder-neck box where the bottom rim of the lid meets the top shoulder of the base edge-to-edge, however, corner sharpness determines whether the closed box reads like machined stone or folded board
- Consistent inner-neck glide geometry: V-grooved inner collars maintain true 90-degree perpendicular walls from bottom to top, preventing tight corner pinch points as the lid slides home.
- Heavy bottle base support: Pairing V-grooved 2.5 mm outer walls with a reinforced bottom board supports heavy 750 ml glass decanters without bottom sag.
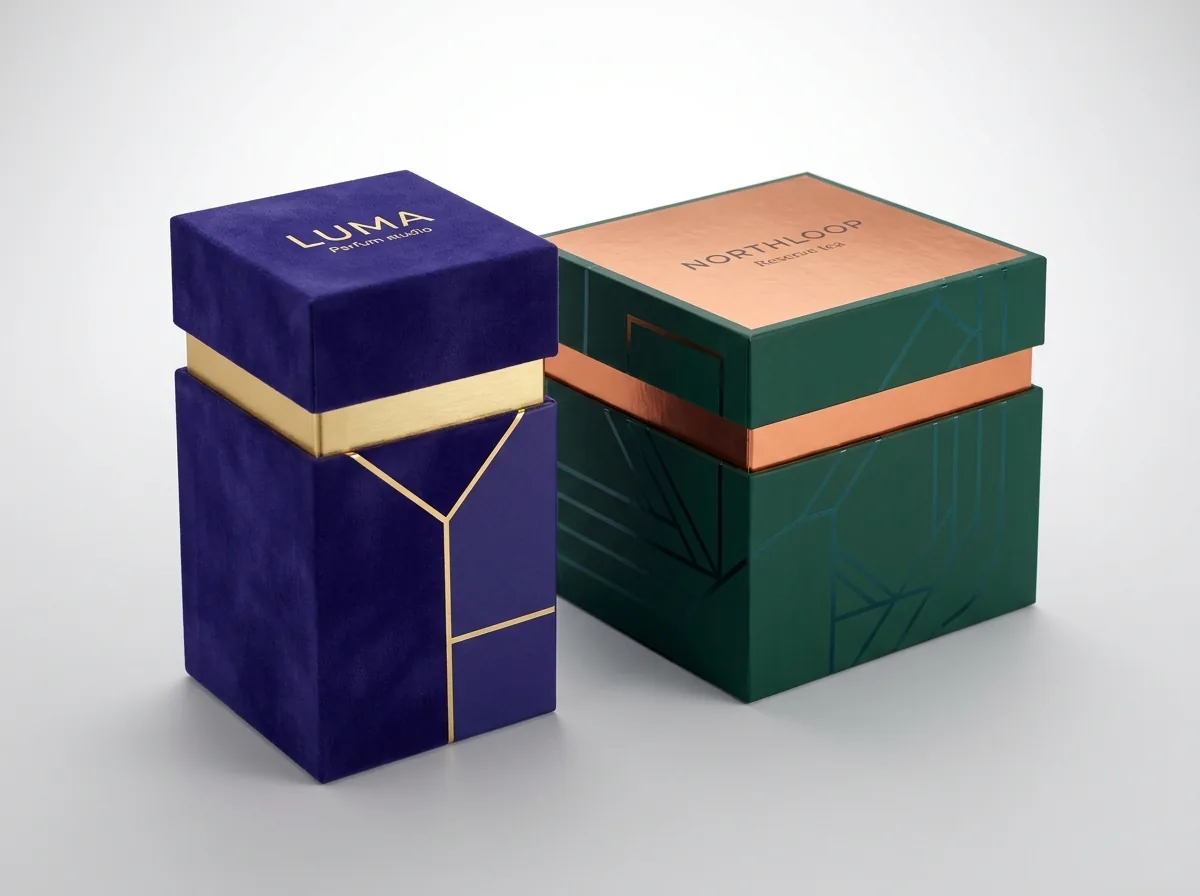
- Continuous foil stripe alignment across rims: Because 90-degree V-grooved edges meet at sharp architectural right angles without flared paper curves, vertical hot-foil pinstripes and debossed geometric borders stay aligned across the center waist.
| Grayboard forming method | How corners & rims are machined | Seam & corner crispness | Recommended shoulder-neck use |
|---|---|---|---|
| 90-Degree Rotary V-Grooving | Precision blades carve a 90° V-channel ~75% through 2.0–2.5 mm solid grayboard along every fold | Zero-radius architectural right angles; razor-flat lid-to-base waist joint | Niche parfum flacons, 750 ml spirits decanters, automatic watches, fine rings |
| Notched Corner Staying | Four corner squares are die-cut out and walls bond at 90° with heat-activated stay tape | Classic ~1.5 mm wrapped corner radius with sturdy corner burst resistance | Cosmetic duos, loose-leaf tea caddies, candles, corporate welcome gift sets |
How does dieline math control a closed hairline seam versus an exposed neck reveal?
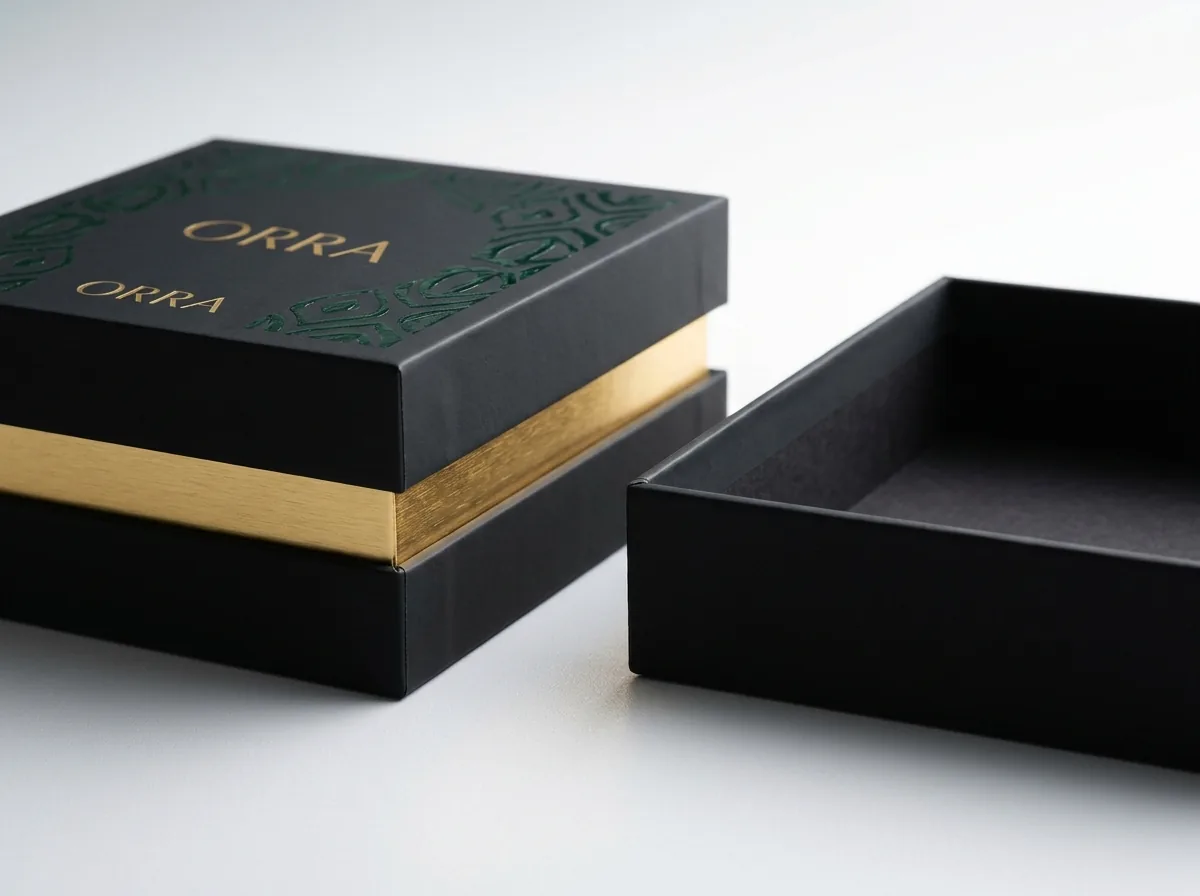
Designers often ask what physically stops the flush lid at a clean 12 mm exposed gap instead of sliding all the way down against the base rim. Prepress controls that reveal with surgical accuracy through the relationship between Neck Projection Height (H_proj) above the base shoulder and Lid Interior Skirt Depth (H_lid)
- Closed hairline seam (H_proj <= H_lid): Prepress sets the projecting height of the inner neck equal to (or 1 mm shorter than) the lid's interior skirt depth so the bottom wrapped rim of the lid stops directly on the top shoulder ledge of the base, concealing the inner collar until the customer lifts the cover.
- Exposed contrasting waist band (H_proj = H_lid + Reveal Gap): To leave a 14 mm gold collar band visible when closed on a 40 mm deep lid, prepress builds the inner neck to project exactly 54 mm above the base shoulder. As the lid slides down, its interior ceiling comes to a positive flat stop on top of the inner neck rim, framing an exact 14 mm band around all four sides.
- Collar monogram stamping zone: When your exposed neck band is 14 to 20 mm tall, you can center a delicate hot-foil brand wordmark, edition number, or geometric emblem right inside that recessed waist band so it stays framed between the closed lid and base.
- Full-depth neck wrap coverage: Even when only 14 mm of the collar shows while closed, prepress wraps the entire projecting height of Part B plus 16 mm inside the neck cavity so lifting the lid reveals one unbroken field of gold, copper, or accent color.
Know your size? Compare pricing across up to 3 quantities.
Request a Quote →Which custom inserts turn a raised inner neck into an elevated luxury podium?
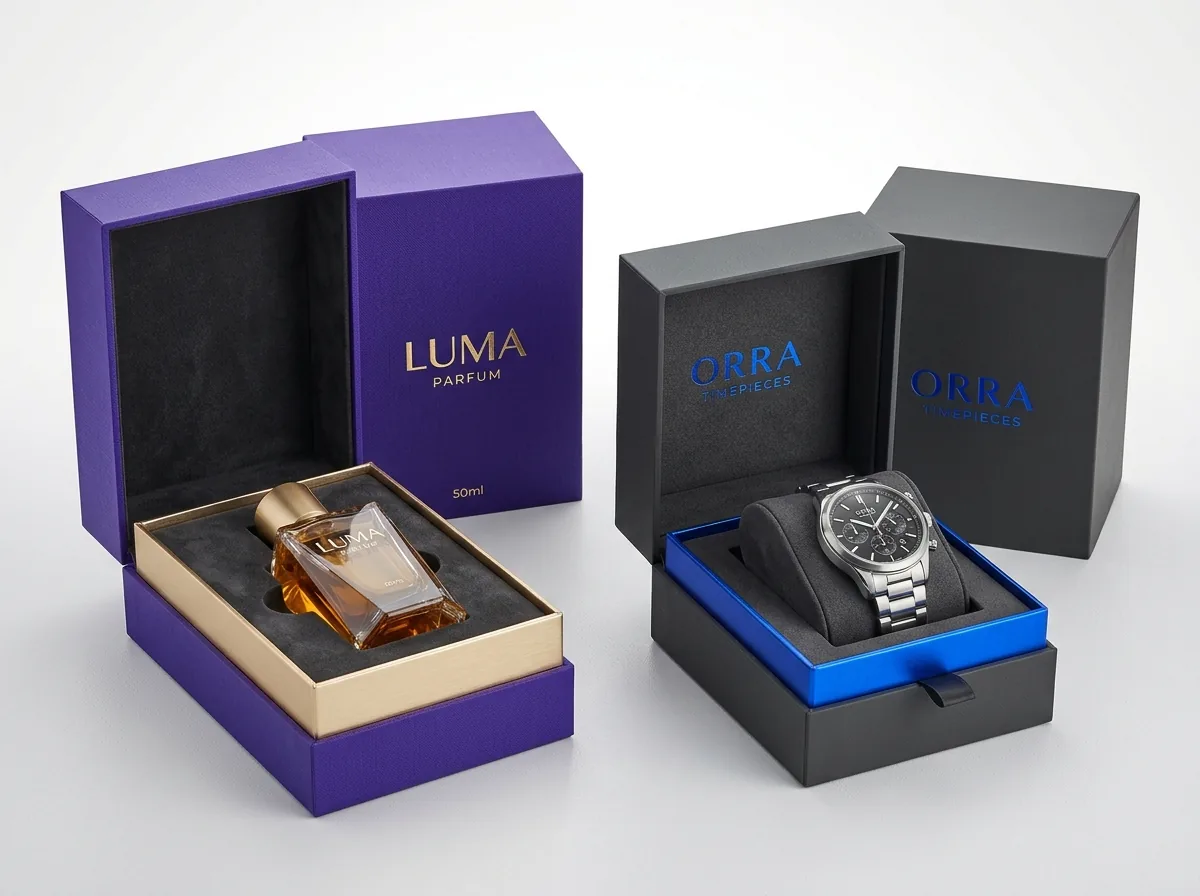
Because the raised inner neck already forms a sturdy four-wall collar rising above the base rim, dropping a precision-cut insert inside Neck ID elevates your product like a boutique museum pedestal while locking fragile glass securely in transit. Prepress sizes every insert -0.5 mm under usable Neck Inside L × W so trays seat flat without bowing the collar walls. Explore our custom box inserts, custom eva foam inserts, custom perfume boxes, custom spirits boxes, and custom jewelry boxes alongside custom printed shoulder-neck boxes starting at 50 units
| Podium insert type | Construction inside Neck ID | Ideal luxury product | Prepress engineering detail |
|---|---|---|---|
| Velvet-Flocked EVA Bottle Pedestal | Multi-layer closed-cell EVA cut to Neck ID - 0.5 mm with bottle well | 50–100 ml parfum flacons, glass candle jars, serum droppers | Add dual 16 mm semicircular finger scoops + satin lift ribbon |
| Two-Point Neck & Base Decanter Lock | Lower base heel recess + upper lid ceiling EVA collar ring | 750 ml whiskey, bourbon, cognac, or tequila glass bottles | Captures heavy bottle neck inside tall lid to prevent transit rattle |
| Suede Watch C-Pillow & Velvet Well | Compressible suede cuff seated inside a square inner-neck pocket | Automatic chronographs, dress watches, rigid cuff bracelets | 100% magnet-free cavity with 4 mm watch-crown top clearance |
| Paper-Topped Multi-Cavity EVA Tray | Dyed black or Pantone-matched card laminated atop dense EVA foam | Skincare duos, ceremonial tea tins, corporate pen & glass sets | Leave >= 10 mm foam bridge between adjacent glass cavities |
How do you prepare print-ready artwork across all three shoulder-neck parts?
Before submitting your files, review our companion guides on how to measure and choose grayboard for shoulder-neck boxes and shoulder-neck boxes vs two-piece rigid and drawer boxes. Every CubitPack quote includes a free prepress file check, zero die or plate setup charges, and an interactive 3D mockup before payment so you can inspect flush wall alignment, metallic collar contrast, and interior insert spacing from every angle
- Step 1: Extend CMYK colors, Pantone solids, and geometric patterns across the full 15 to 18 mm wrap turn-in bleed zone on Part A (lid), Part B (inner neck), and Part C (base) so interior turned edges never expose white paper.
- Step 2: Place metallic foil stamping, raised 3D Spot UV, and blind debossing on separate named 100% K vector spot layers set to overprint above your print art.
- Step 3: Avoid running hairline horizontal borders or 6 pt text right along a closed lid-to-base flush seam; let bold vertical color-blocks or an exposed 12 to 16 mm neck band frame the waist cleanly instead.
- Step 4: Keep logos, monograms, and edition crests centered inside the visible reveal strip with at least 3 mm of vertical breathing room top and bottom when stamping directly onto an exposed inner neck collar.
- Step 5: Convert all live typography to vector outlines, supply PMS numbers for brand-critical inks, and embed 300 DPI CMYK linked imagery.
What dieline and prepress mistakes cause issues on three-part shoulder-neck boxes?
Audit your Illustrator template against these five three-part prepress pitfalls before press sign-off
- Cropping artwork at the grayboard rim instead of bleeding 15 to 18 mm across the interior turn-in flap on the lid, neck, and base wraps.
- Leaving the lower portion of an exposed inner neck unprinted, risking a white sliver if a shopper peeks slightly into the collar gap.
- Designing the EVA insert to outer Base OD instead of usable Neck ID minus 0.5 mm, making the foam pad 8 to 10 mm too wide to fit.
- Forgetting a hidden lid-ceiling EVA stabilizer ring on tall 750 ml spirits bottles shipped through parcel couriers.
- Placing tiny text across 45-degree corner ear miters where wrapped paper folds over vertical edges.
Packaging for this
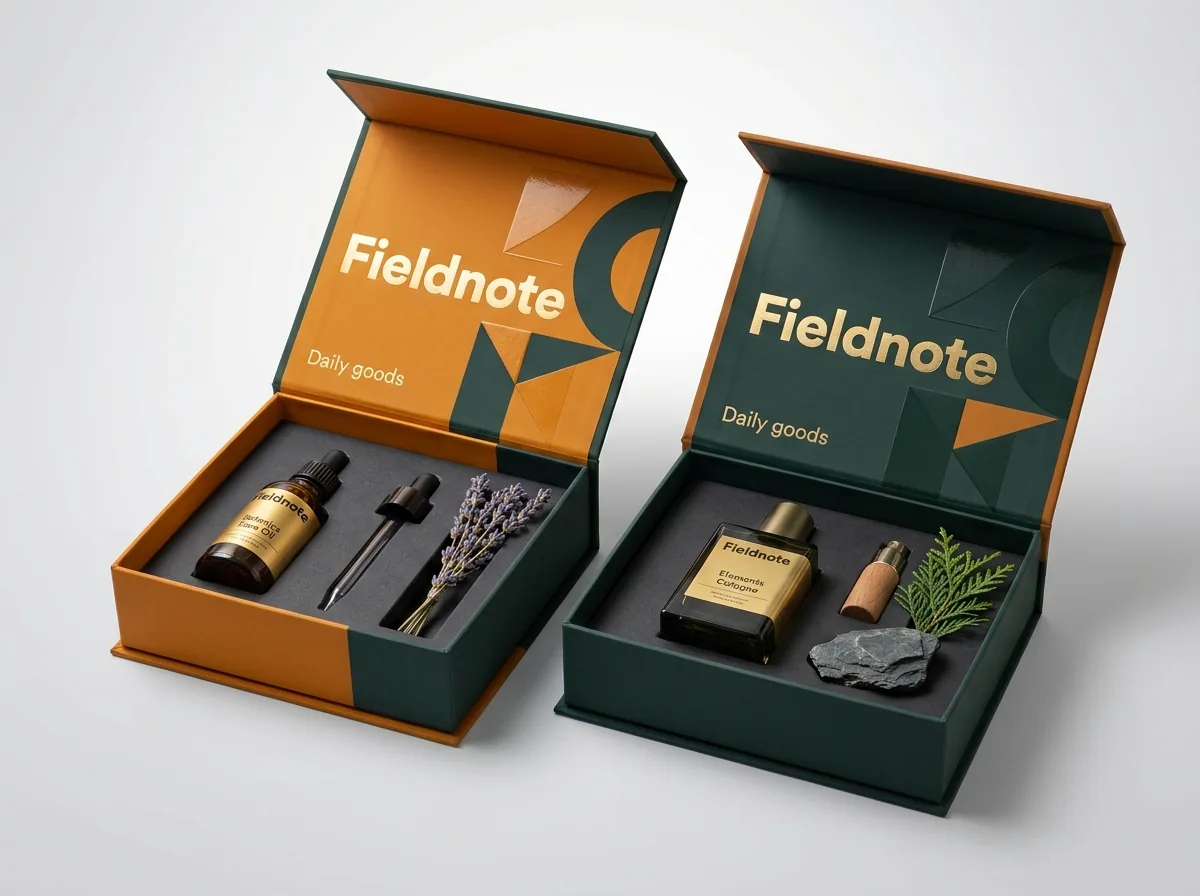
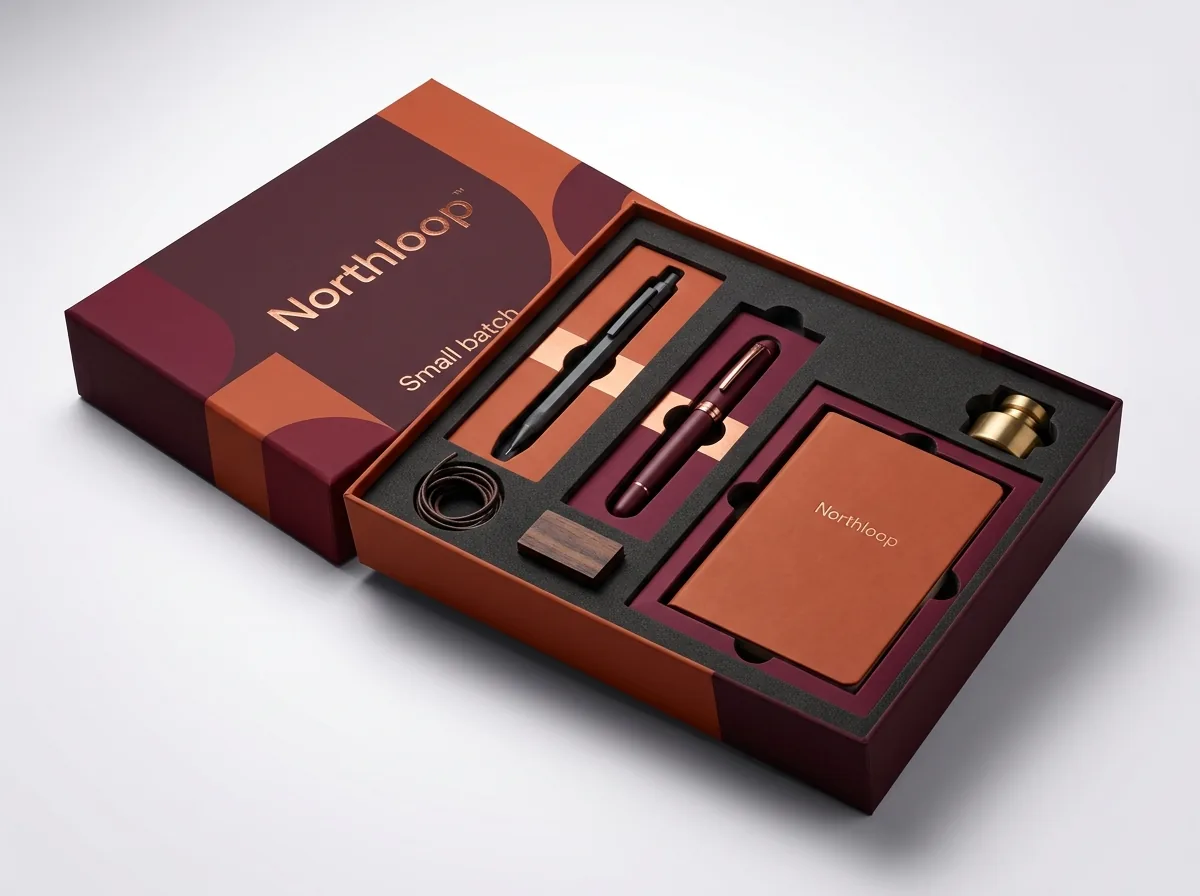
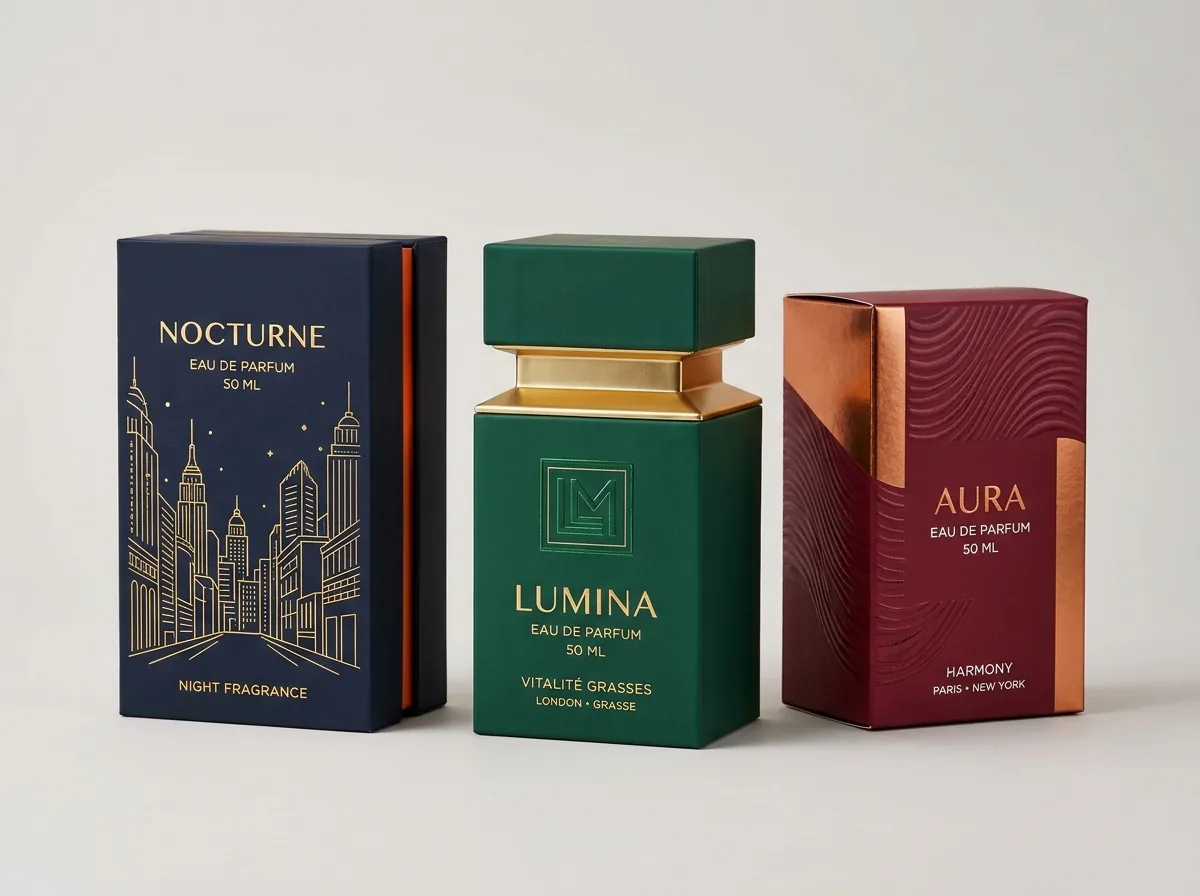

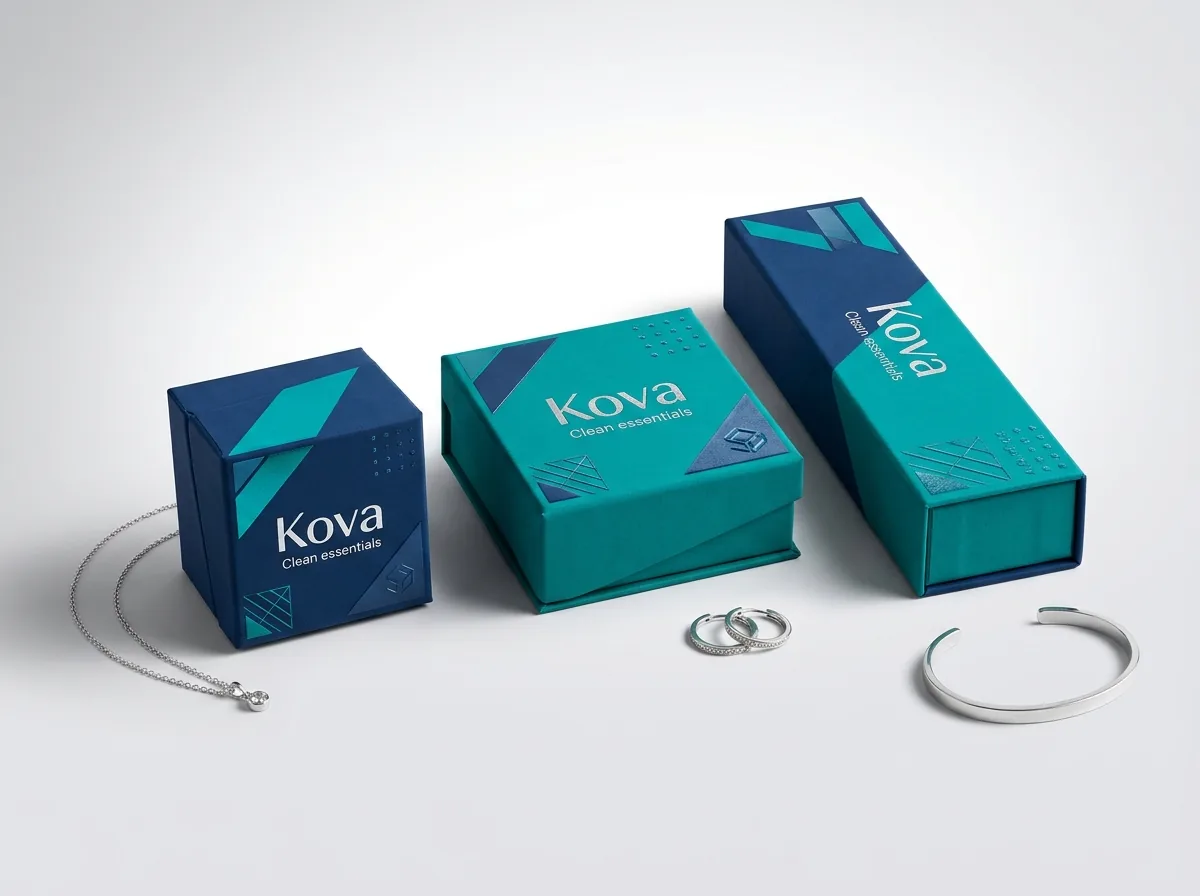
Ready to order shoulder neck boxes? Compare up to 3 quantities with a free 3D mockup.
Request a Quote →Questions about shoulder neck boxes
Does CubitPack charge extra to build all three CAD dielines plus the custom insert template?
No. CubitPack engineers custom 2D vector dielines for your flush lid, raised inner neck collar, flush base, and fitted EVA or paperboard insert free of charge, with zero die or plate fees and a 3D digital mockup before payment.
Why do all three wraps need 15–18 mm of bleed instead of standard 3 mm carton bleed?
On turned-edge rigid boxes, the printed wrap sheet folds completely over the 1.5 to 2.5 mm solid grayboard edge and glues 15 to 18 mm down inside the interior wall so zero raw gray chipboard ever shows.
Can I foil-stamp my logo directly onto the exposed inner neck collar?
Yes. When your exposed neck band is at least 12 to 20 mm tall, we can hot-stamp a crisp metallic logo or monogram onto the Part B neck wrap before bonding the collar into the base.
Can vertical stripes align from the flush lid straight down onto the flush base?
Yes. Because Lid OD matches Base OD and V-grooved corners keep all four walls flat, vertical color-blocking and geometric bands align cleanly across the waist within ±0.5 mm setup wrapping tolerance.
How do you keep a heavy glass bottle from rattling inside a tall 30/70 shoulder-neck box?
Prepress pairs a deep recessed EVA pedestal inside the lower neck cavity with a matching concealed EVA neck-ring glued inside the top ceiling of the tall lid so both ends of the bottle lock gently in place when closed.
Still have a question? Ask a packaging specialist.
Request a Quote →Request your shoulder neck boxes quote
Tell us your size and quantities, and one dedicated account manager prepares pricing for each tier.
- Free design & AI-to-print studio + 3D mockup
- No die or plate charges · 4–5 day rush available
- Free shipping to all 50 states
- 10% off your first order
We verified six-layer turned-edge shoulder-neck CAD layouts, 15–18 mm wrap turn-in bleeds, 90-degree rotary V-grooving, exposed collar projection formulas, and two-point EVA bottle locks against National Paperbox Association (NPA), Paperboard Packaging Council (PPC), and TAPPI T 411 standards. A packaging specialist reviewed every rule. Spot something wrong? Tell us and we fix it.
Sources
What changed
- November 5, 2026: First published with 6-layer CAD breakdown, 90° V-groove vs corner-stay table, exposed collar projection formula, and 4-podium insert selector.
More guides
New packaging guides by email
Sizes, materials and design tips. Unsubscribe anytime.