
How do custom pillow box dielines, curved scores, windows, and hang tabs work?
Short answer: A custom pillow box CAD dieline pairs two straight side creases and a 12–15 mm longitudinal glue lap with four crescent end flaps defined by outer convex cut arcs and inner concave score arcs. Keep die-cut windows and foil logos at least 10 mm inside all curved and straight creases so spring tension stays crisp.
On this page
- What are the 6 structural zones on an unfolded custom pillow box dieline
- How do you engineer clear PET windows, pegboard hang tabs, and ribbons on pillow boxes
- How do barcodes, metallic foils, and laminations behave on curved pillow surfaces
- What is the 5-step prepress checklist before approving your 3D pillow box proof
- Common mistakes
- FAQs
Request a custom quoteFree dieline & 3D mockup
Unlike standard rectangular cartons built entirely from 90-degree straight rules, custom pillow boxes rely on mirrored circular or elliptical arcs bent into precision steel-rule cutting and creasing dies. When those four concave score lines fold inward across a pre-glued paperboard tube, geometric coupling forces the front and back faces to bow outward into a smooth three-dimensional arch while locking the crescent flaps shut by spring tension. Designing print-ready artwork, especially when adding clear PET soap windows, integrated pegboard hang tabs, satin ribbon slots, or hot foil stamping, requires respecting curved crease safe zones, ladder barcode alignment, and 3.5 mm outer bleed. CubitPack supplies your exact vector CAD dieline and interactive 3D digital proof free of charge starting at 1,000 boxes, with zero die or plate setup fees and free shipping across all 50 US states.
What are the 6 structural zones on an unfolded custom pillow box dieline?
When you open a pillow box vector template in Adobe Illustrator, you will see two main display panels separated by a central straight fold crease, flanked by four lens-shaped end flaps and one tapered glue strip. Every line style performs a specific mechanical job on the flatbed die-cutter and high-speed folder-gluer. Because curved creases bend paperboard simultaneously in two planes as the flaps snap inward, exact symmetry between left, right, front, and back panels determines whether the finished carton closes cleanly or twists slightly. Review all six dieline zones and their prepress tolerances below
- Match inner and outer arc radii accurately: On a properly engineered pillow dieline, the radius of the outer convex cut knife mirrors the radius of the inner concave creasing rule so the folded crescent tip kisses the opposite score line cleanly without buckling or leaving a gap.
- Check panel head-to-head reading flip: Because the front and back panels wrap around a horizontal or vertical cylinder along the straight side creases, rotating the box over in your hand flips one face upside down unless your designer checks 3D orientation intentionally.
- Keep the glue lap completely raw paperboard: Folder-gluer cold PVA adhesive bonds fiber-to-fiber; extending UV varnish or film lamination onto the 15 mm glue tab causes seams to pop open.
| Dieline zone | CAD rule type | Mechanical role | Artwork & prepress rule |
|---|---|---|---|
| Front & back convex arches | Uncreased main faces | Bow outward into smooth elliptical belly | Keep logos & windows 10 mm inside all score lines |
| Concave end score arcs (×4) | Curved creasing rule | Create inward leaf-spring snap tension | Run background flood color continuously across scores |
| Convex outer flap arcs (×4) | Curved steel cut knife | Form overlapping crescent end closures | Extend bleed 3.5 mm (0.125 in) past every curved cut |
| Central & outer side folds | Straight creasing rules | Allow 2-ply flat storage & pinch opening | Avoid tiny 6 pt text right on straight fold edges |
| Longitudinal glue lap | Tapered 12–15 mm strip | Factory-glued inside seam | Leave glue-free knockout mask (zero ink or laminate) |
| Semicircular thumb notch | 12–16 mm radius cut | Lets fingers lift outer flap without denting | Cut on outer overlapping flap only, never inner flap |
How do you engineer clear PET windows, pegboard hang tabs, and ribbons on pillow boxes?
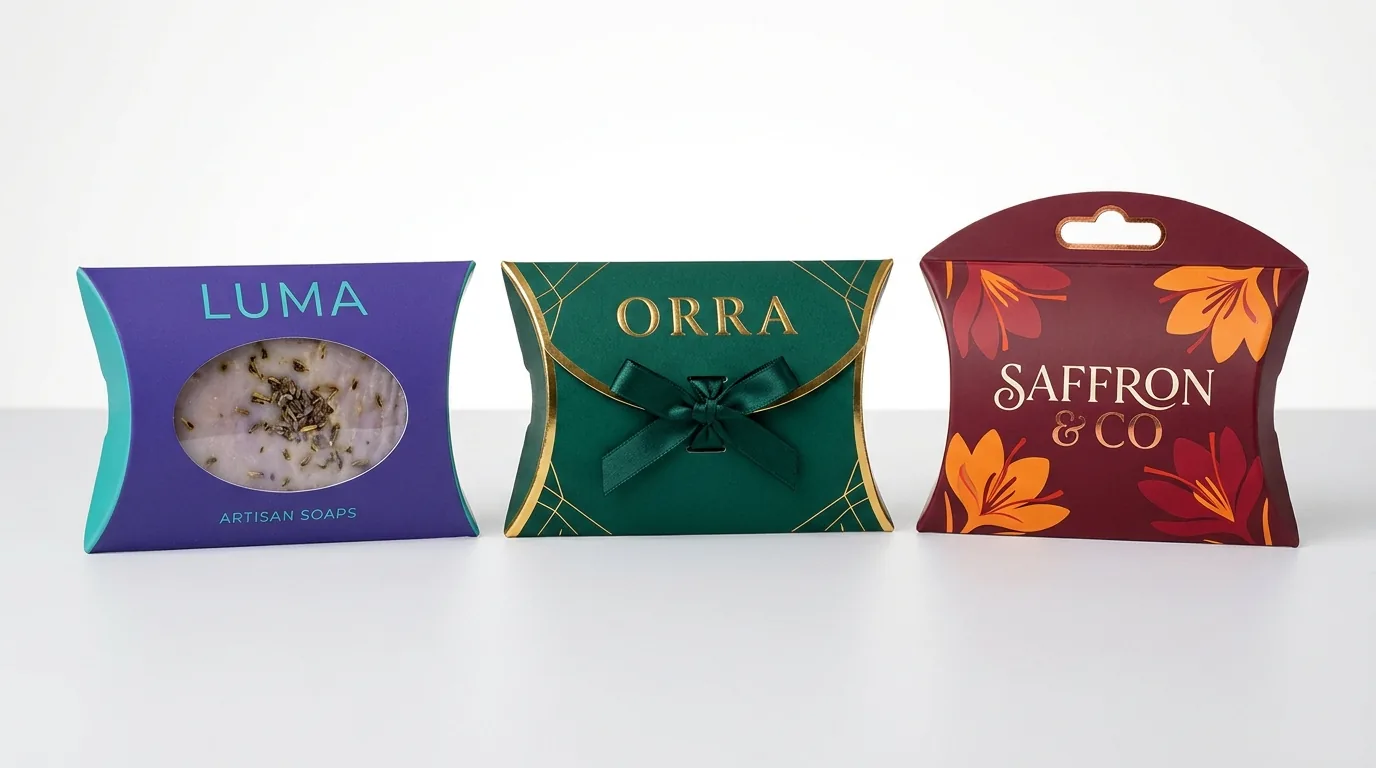
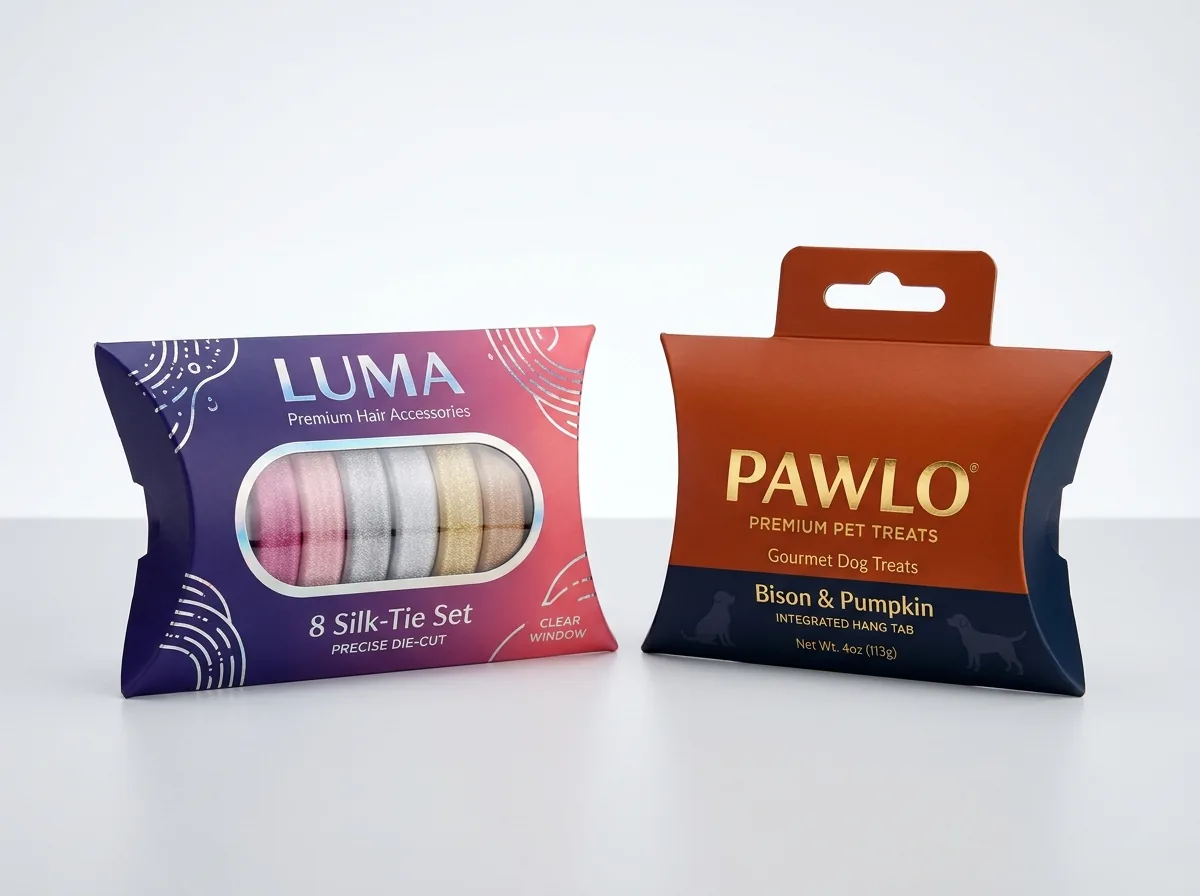
Adding retail merchandising upgrades to printed custom pillow boxes turns a simple favor sleeve into a high-converting store fixture for custom soap boxes, custom candy boxes, custom hair extension boxes, and custom window boxes. Unlike flat rectangular cartons where windows sit on a rigid planar wall, a pillow-box aperture flexes gently with the convex arch every time the sides are pinched open. Keeping sufficient solid paperboard around the opening prevents the window patch from lifting at the corners or weakening the end closure. Follow these structural margin rules so cutouts and headers never compromise the curved spring lock
| Merchandising upgrade | Safe-zone clearance | Structural engineering spec | Top retail use cases |
|---|---|---|---|
| Clear PET film window | ≥ 10 mm (0.375 in) from all scores | 125–150 micron clear PET patched inside front arch | Hair bundles, chocolates, cosmetics, jewelry |
| Open scent / touch aperture | ≥ 12 mm (0.50 in) from all scores | Unpatched oval, circle, or leaf die-cut hole | Cold-process bar soaps, sachets, textiles |
| Extended one-piece hang tab | ≥ 8 mm board above sombrero slot | Back panel extends past top arc; front arc folds behind | Pegboard hair wefts, socks, candy packs, accessories |
| Center belly ribbon wrap | Centered at widest arch equator | Optional twin side nicks hold satin bow from sliding | Wedding favors, holiday gift cards, boutique sets |
How do barcodes, metallic foils, and laminations behave on curved pillow surfaces?
Printing on a surface that bows into a three-dimensional arch introduces optical and mechanical behaviors you never encounter on flat custom hang tab boxes or square cartons. On a standard rectangular carton, light hits the front face at one uniform angle and checkout laser beams read across a dead-flat back panel. On an arched pillow sleeve, panel curvature creates natural specular highlights across metallic foil while curving horizontal lines away from optical barcode readers near the side creases. Planning typography hierarchy, foil masks, film lamination, and UPC symbol orientation around that gentle curve prevents scanning delays at retail registers and keeps dark ink folds crisp. Whether you are finishing custom jewelry boxes or boutique holiday favors, apply these four prepress practices
- Orient retail UPC barcodes in 'ladder' direction: On a curved pillow back panel, run barcode bars parallel to the longitudinal side creases (like rungs on a ladder) rather than wrapping perpendicular around the curve, so checkout laser beams never lose the outer guard bars to curvature.
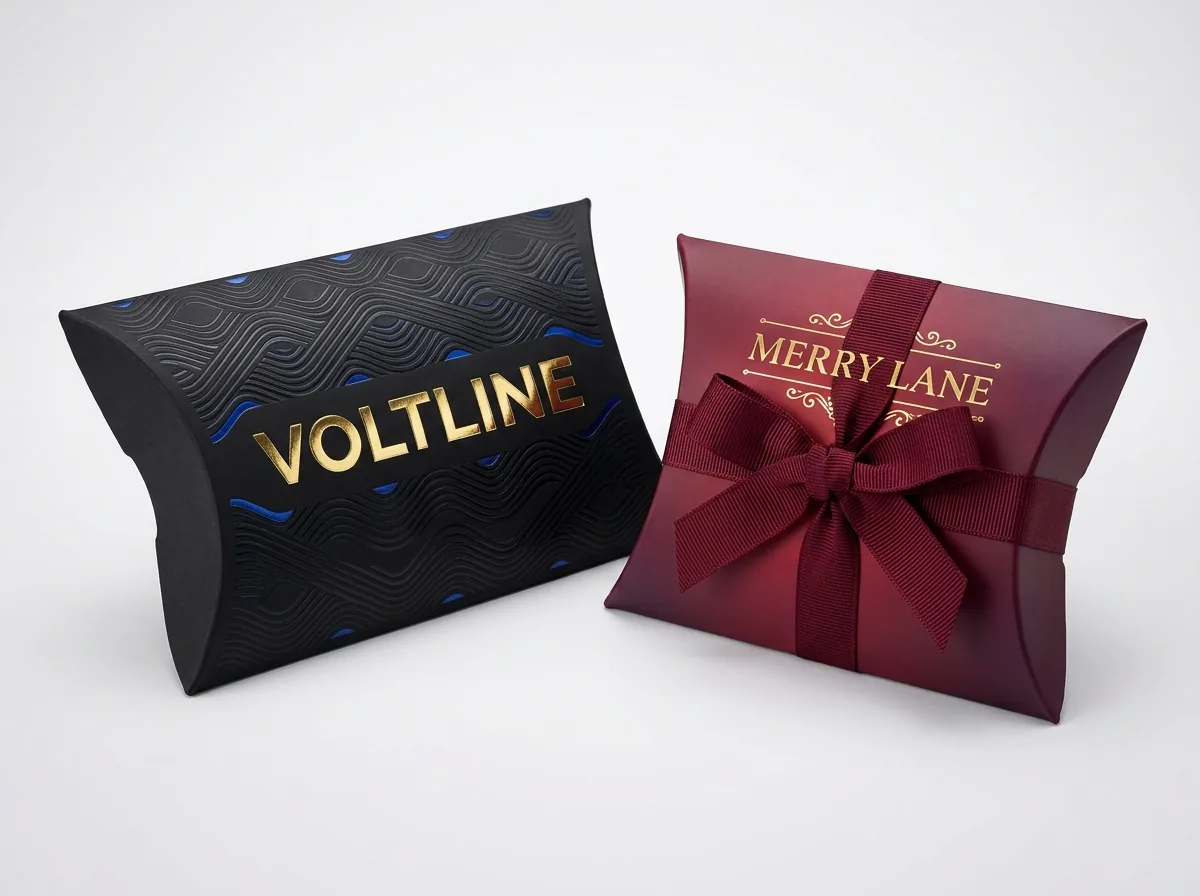
- Leverage the convex arch for metallic foil catchlights: Because a popped pillow face curves gently across studio and store lighting, hot-stamped gold, rose-gold, copper, silver, or holographic foil reflects a continuous highlight band across the wordmark.
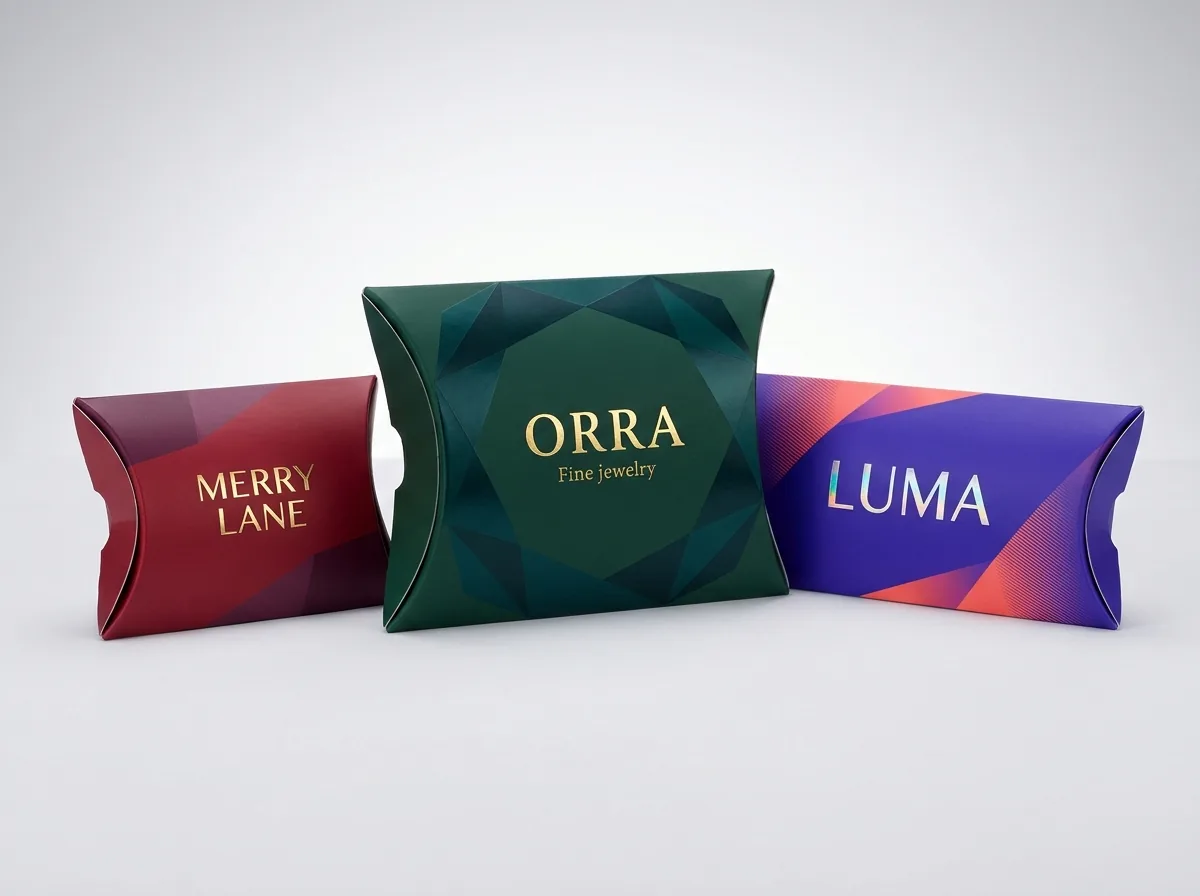
- Pair deep saturated colors with soft-touch or matte film: Where each concave end score meets the straight outer fold crease, four rule lines converge at a sharp vertex. Laminating rich emerald, burgundy, plum, navy, or black card keeps that high-stress corner supple.
- Keep blind embossing inside the center 60% of the arch: Deep multi-level embossing or debossing looks sharpest on the flatter central crown of the front face, well clear of the curved score stress zone.
- Rotate seasonal foil and color editions freely: With zero die or plate setup charges at CubitPack from 1,000 boxes, brands reuse one approved CAD dieline across Valentine's, bridal, and holiday campaigns.
Know your size? Compare pricing across up to 3 quantities.
Request a Quote →What is the 5-step prepress checklist before approving your 3D pillow box proof?
Complete this five-step prepress check alongside our companion guides on measuring and choosing paperboard for pillow boxes and comparing pillow boxes vs gable boxes and tuck-end cartons, plus our jewelry guide on long flat bracelet boxes vs square bangle pillow boxes. Verifying bleed, glue knockouts, window bridges, and 3D text rotation before plate and press setup guarantees crisp registration across your entire 1,000+ unit run, giving press operators clean separation between cutting knives, curved creasing rules, and print plates
- Step 1: Request your custom vector CAD dieline from CubitPack (free with your quote) engineered around your exact Usable Center Length, Flat Width, Belly Depth, and 14–20 pt paperboard caliper rather than downloading generic stock templates.
- Step 2: Place cut lines, curved/straight crease lines, CMYK/Pantone artwork, window cutouts, metallic foil masks, and raised Spot UV masks on separate locked vector layers with outlined fonts and 300 DPI linked imagery.
- Step 3: Extend background bleed 3.5 mm (0.125 in) past all curved flap knives, leave the 15 mm longitudinal glue lap completely unprinted and unlaminated, and hold windows at least 10 mm clear of every crease.
- Step 4: Inspect your free interactive 3D digital mockup from front, back, and both curved ends to verify front/back reading orientation, ladder UPC barcode placement, hang-tab balance, and thumb-notch side.
- Step 5: Order CubitPack's $50 material & finish sample kit (credited toward your first order) or approve your 3D proof for 10–14 business day standard production (4–5 business day rush available) with free delivery across all 50 US states.
What dieline and artwork mistakes happen on custom pillow boxes?
Catch these five prepress mistakes on your 2D dieline and 3D proof before production
- Drawing unequal outer cut and inner score arcs in DIY templates so the folded crescent end flaps gap open or buckle at the corners.
- Cutting a clear PET window closer than 10 mm to the concave end score, robbing the paperboard arch of the spring tension that keeps the flaps closed.
- Wrapping a retail UPC barcode perpendicular across a narrow curved pillow belly where curvature hides the outer bars from checkout scanners.
- Extending full-bleed ink and soft-touch film lamination onto the longitudinal glue lap so side seams fail to bond.
- Die-cutting thumb notches on both overlapping flaps at the same end instead of only the outer flap, leaving an unintended hole into the cavity.
Packaging for this
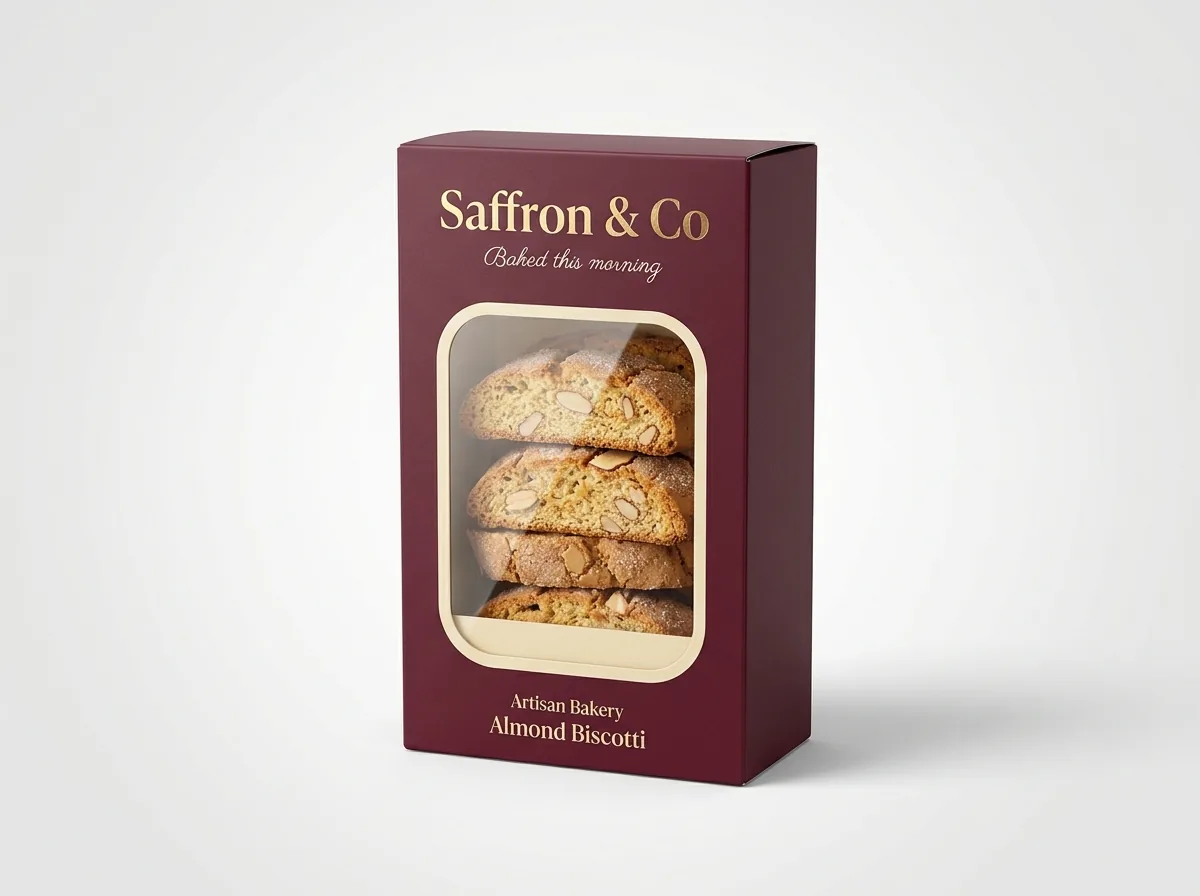
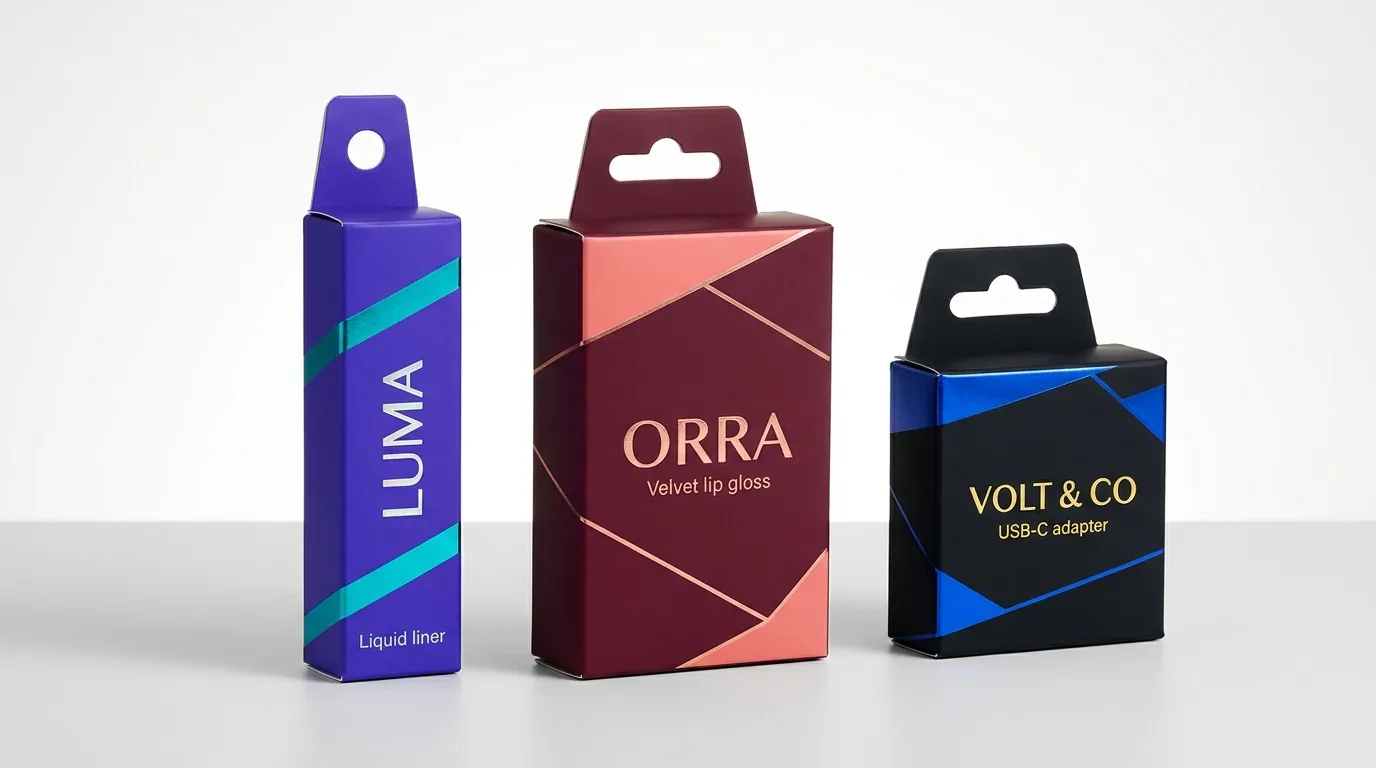
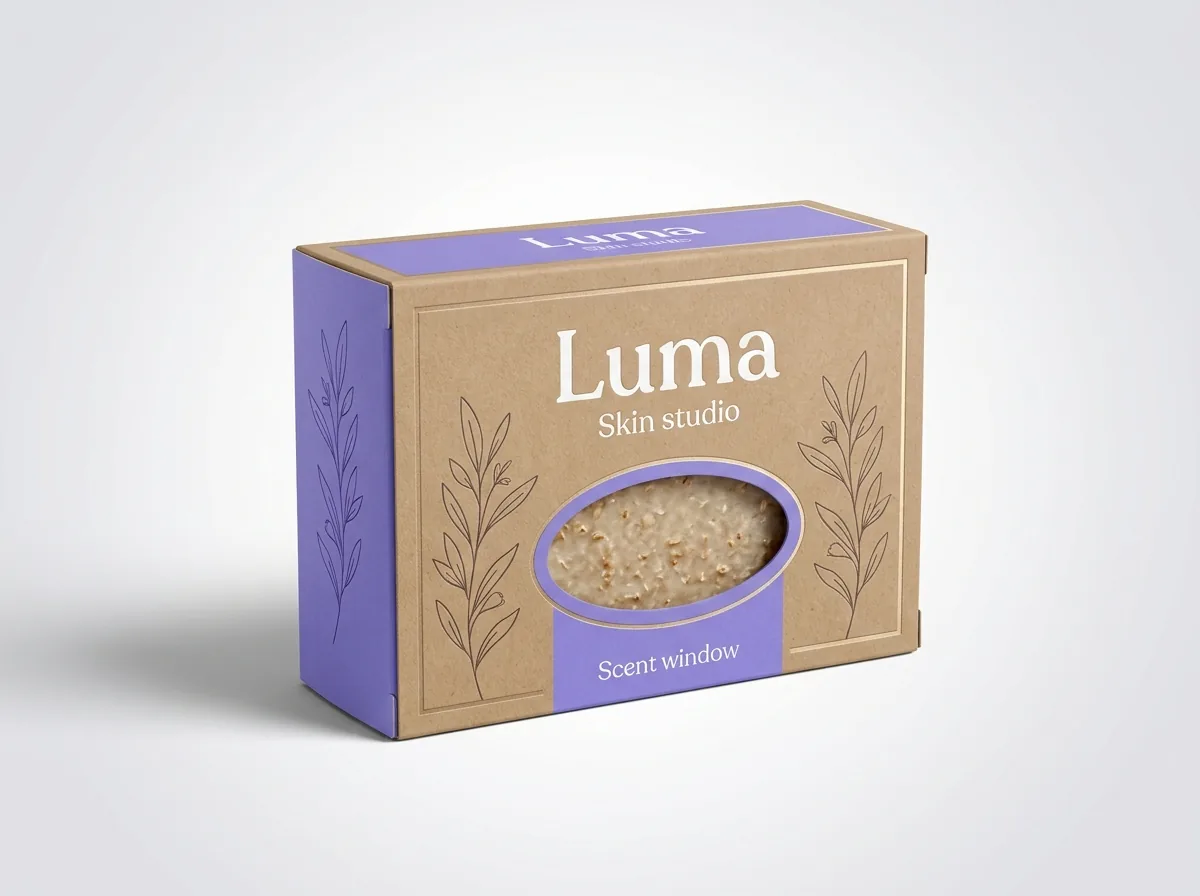
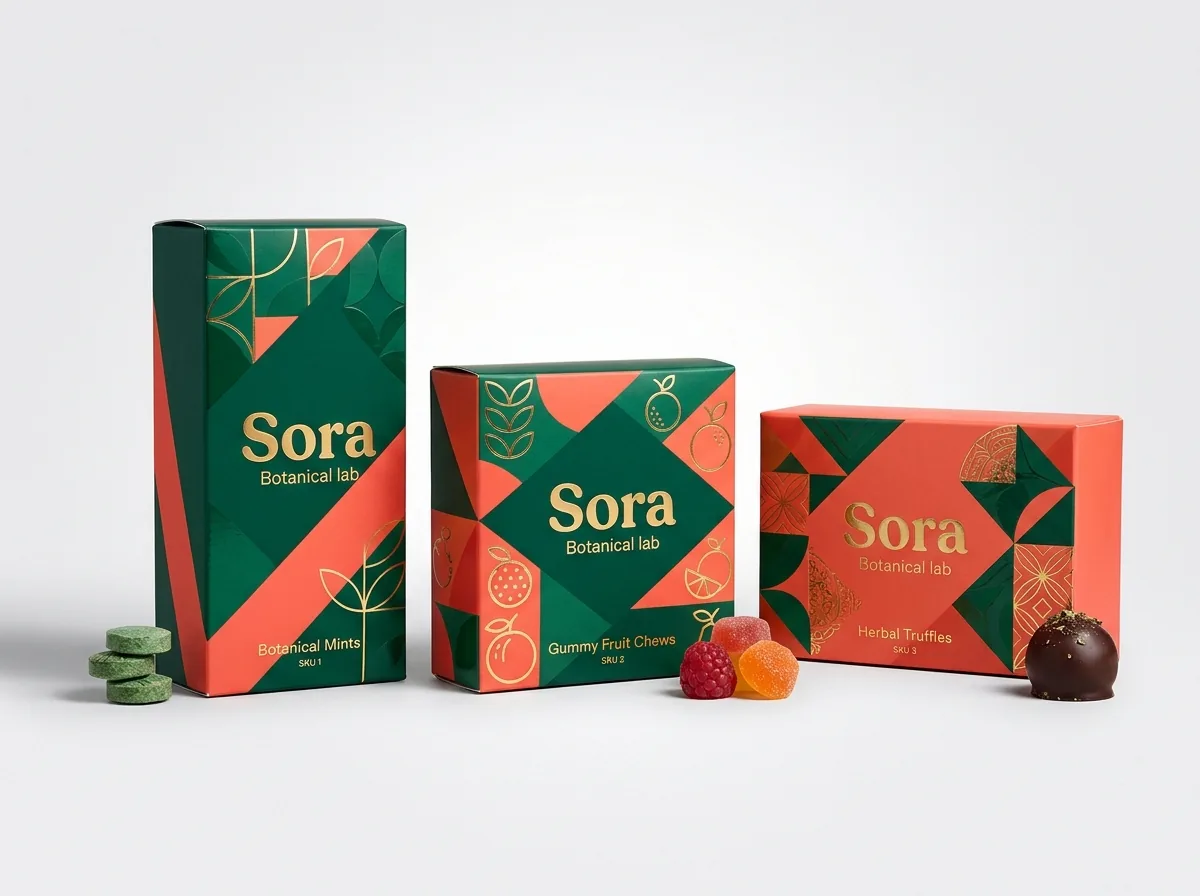
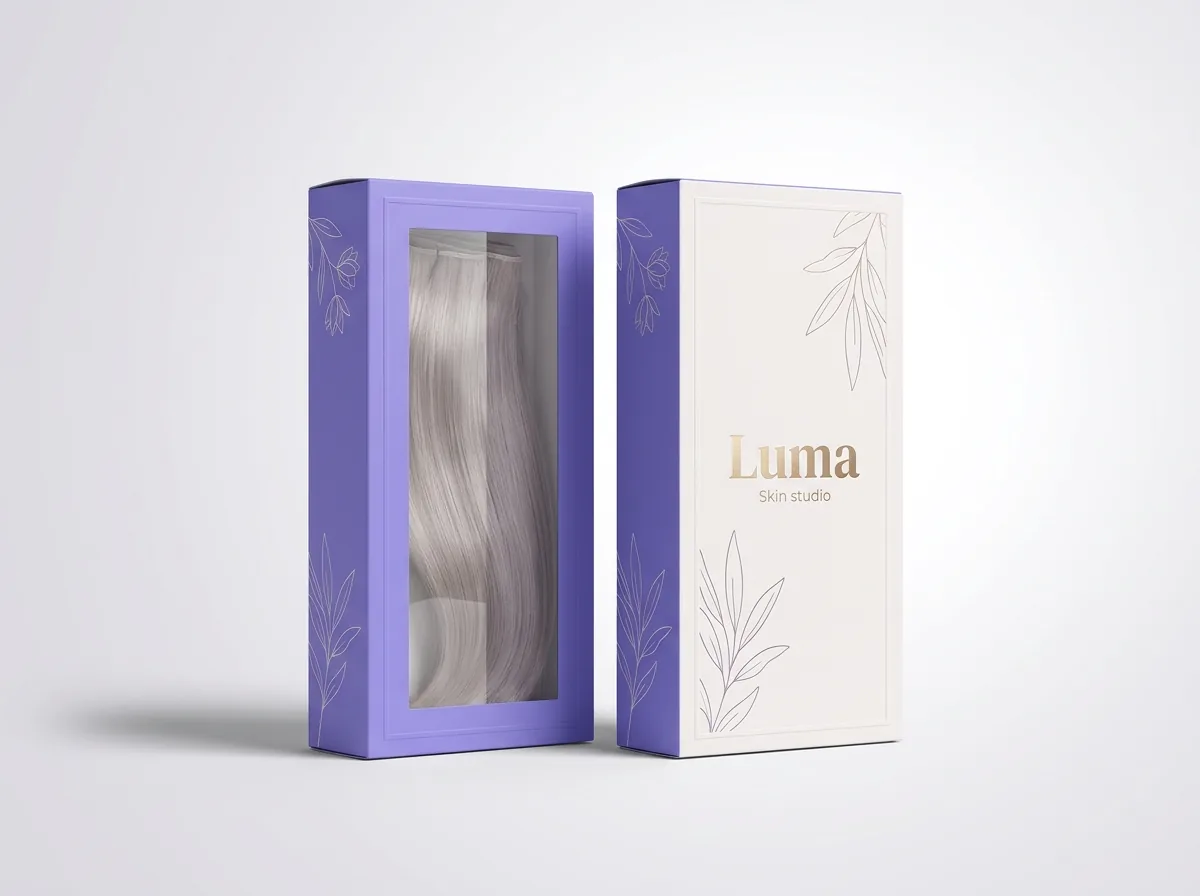
Ready to order pillow boxes? Compare up to 3 quantities with a free 3D mockup.
Request a Quote →Questions about pillow boxes
Can CubitPack create a custom pillow box dieline with a window and hang tab for free?
Yes. Every custom pillow box quote includes a free precision 2D vector CAD dieline (including any custom PET window, open soap scent hole, thumb notch, or extended pegboard hang tab) plus a free interactive 3D digital proof before payment.
How far must a window stay away from the curved end creases on a pillow box?
Keep any clear PET window or open die-cut cutout at least 10 mm (0.375 inches), and 12 mm on longer salon or soap boxes, inside both the concave end scores and the straight side creases so the paperboard arch retains full spring-lock strength.
Are there extra steel-rule die charges for custom window shapes or hang tabs?
No. CubitPack charges zero die or printing plate setup fees on custom pillow boxes starting at our 1,000-unit minimum, even when incorporating custom-shaped windows or integrated one-piece hang tabs.
Which way should a retail barcode face on a curved pillow box?
Place the UPC barcode near the flatter center of the back panel in 'ladder' orientation (where the dark bars run parallel to the straight lengthwise side folds) so curvature never distorts bar spacing for optical scanners.
What if we need help designing our pillow box artwork from scratch?
In addition to free dielines and prepress checks on every order, CubitPack offers a complete $250 brand identity design service (+$50 per additional revision round) and a $50 material & finish sample kit credited toward your first box order.
Still have a question? Ask a packaging specialist.
Request a Quote →Request your pillow boxes quote
Tell us your size and quantities, and one dedicated account manager prepares pricing for each tier.
- Free design & AI-to-print studio + 3D mockup
- No die or plate charges · 4–5 day rush available
- Free shipping to all 50 states
- 10% off your first order
We verified mirrored convex-cut and concave-score arc geometry, 10 mm window safe zones, glue-lap knockout tolerances, one-piece sombrero hang-tab extensions, and GS1 ladder barcode orientation on curved cartons against ECMA Folding Carton Design Codes and Paperboard Packaging Council (PPC) prepress standards. Spot something wrong? Tell us and we fix it.
Sources
What changed
- November 6, 2026: First published with 6-zone pillow CAD dieline map, PET window & hang-tab clearance specs, and curved-surface barcode/foil rules.
More guides
New packaging guides by email
Sizes, materials and design tips. Unsubscribe anytime.