
How do I seal and brand plain boxes and pouches with packaging stickers?
Short answer: Turn plain boxes and pouches into cohesive retail packaging by pairing a 3 × 4 inch front badge or a 1.5 × 3.5 inch fold-over corner seal with a 1.5 inch inner tissue sticker. Order custom packaging stickers in shared dielines to brand every SKU cleanly.
On this page
- Which sticker placements look most intentional on plain boxes and bags
- How do I lay out artwork on a two-panel fold-over box sticker
- How do I build a color-coded sticker system for multiple scents, flavors or shades
- How do I make sure stickers stay flat on kraft cardboard, bags and pouches
- How do I coordinate outer box stickers with inner tissue seals and thank-you cards
- Common mistakes
- FAQs
Request a custom quoteFree dieline & 3D mockup
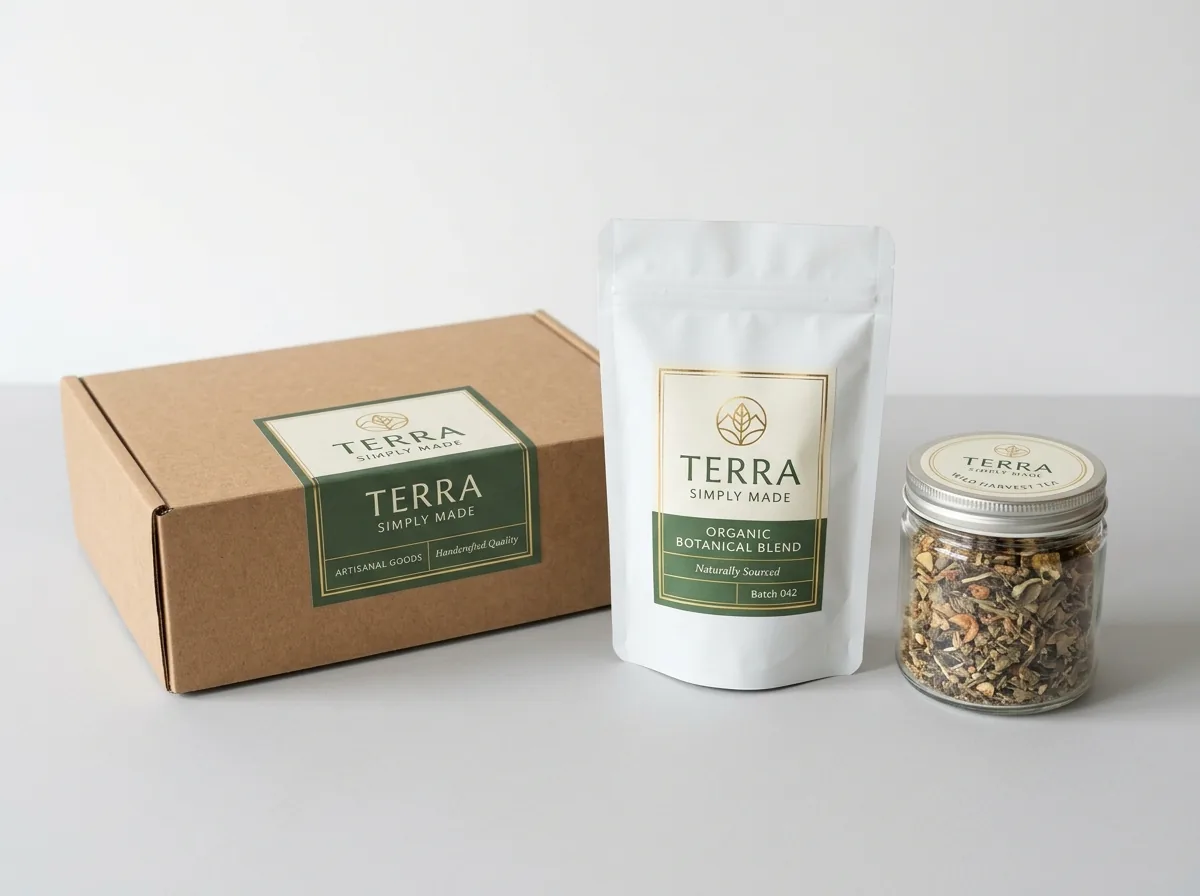
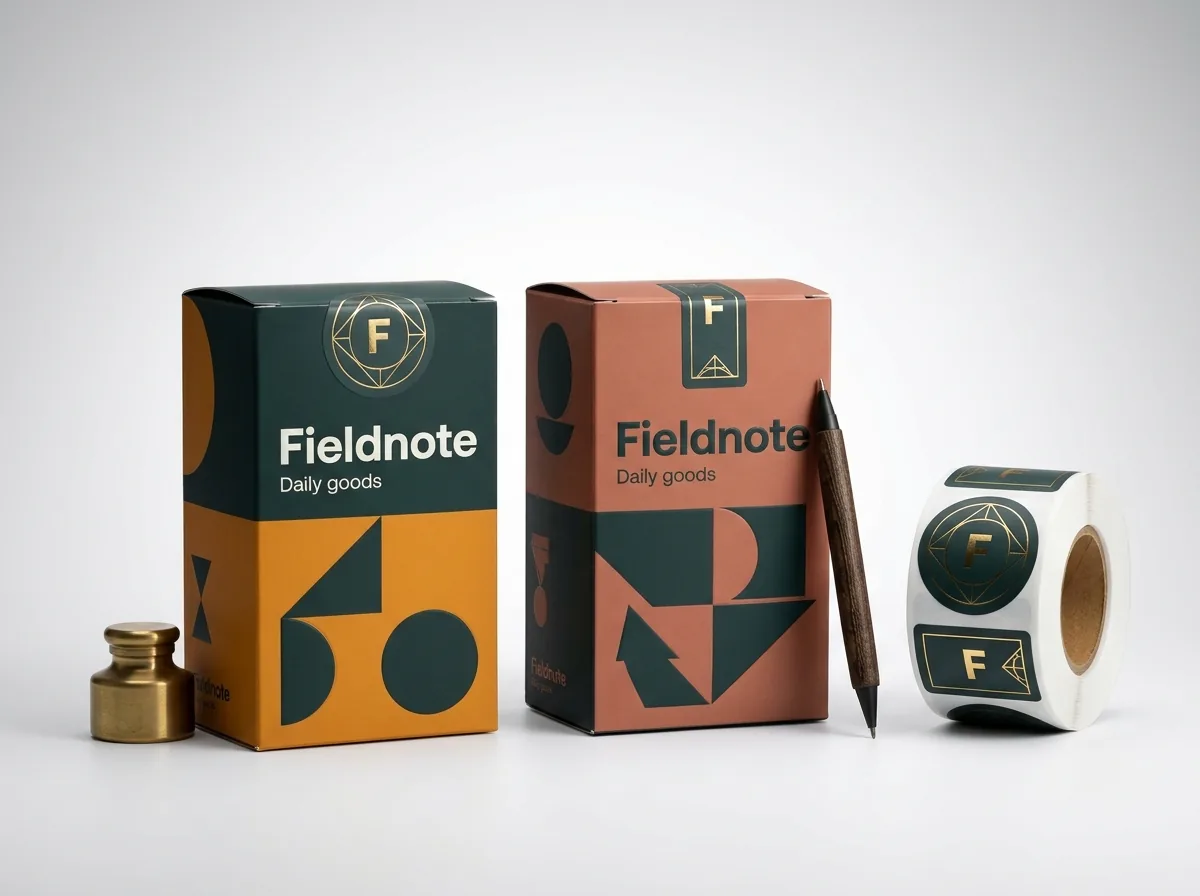
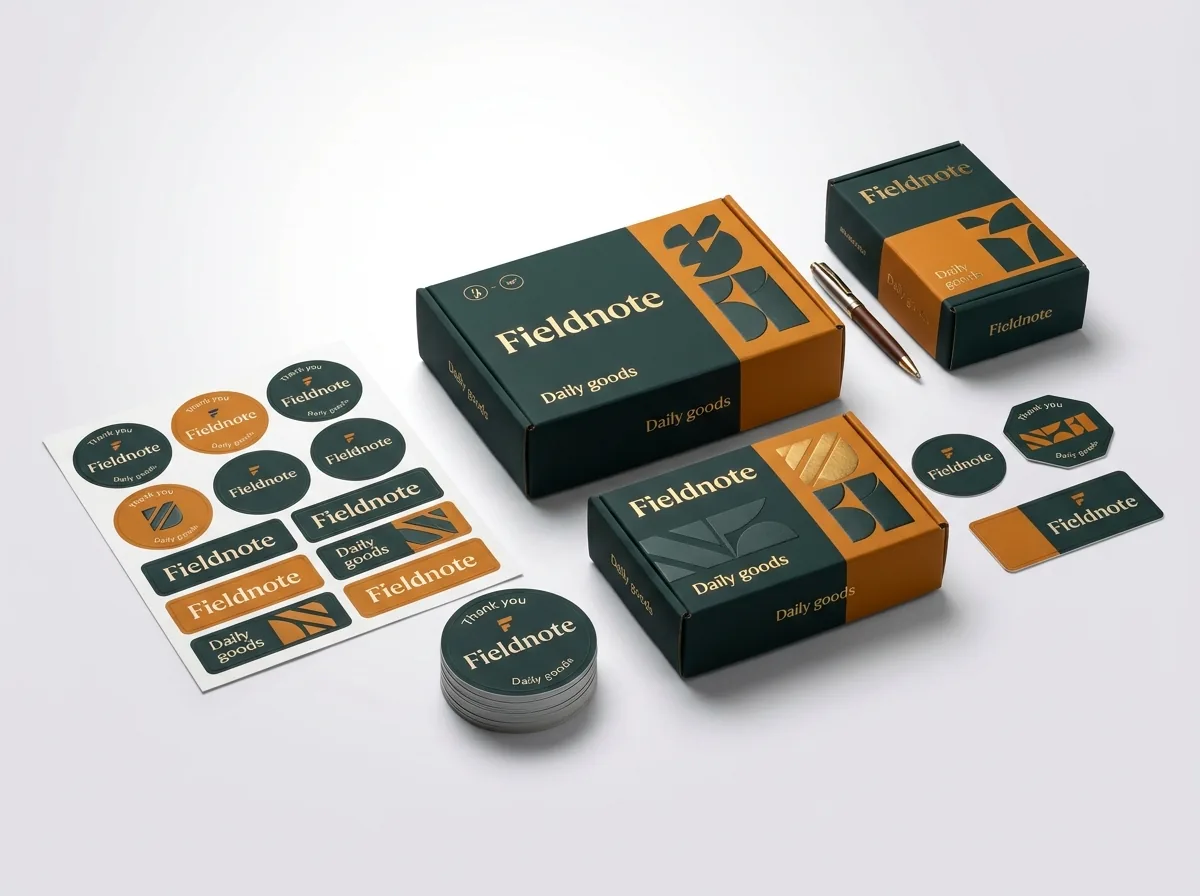
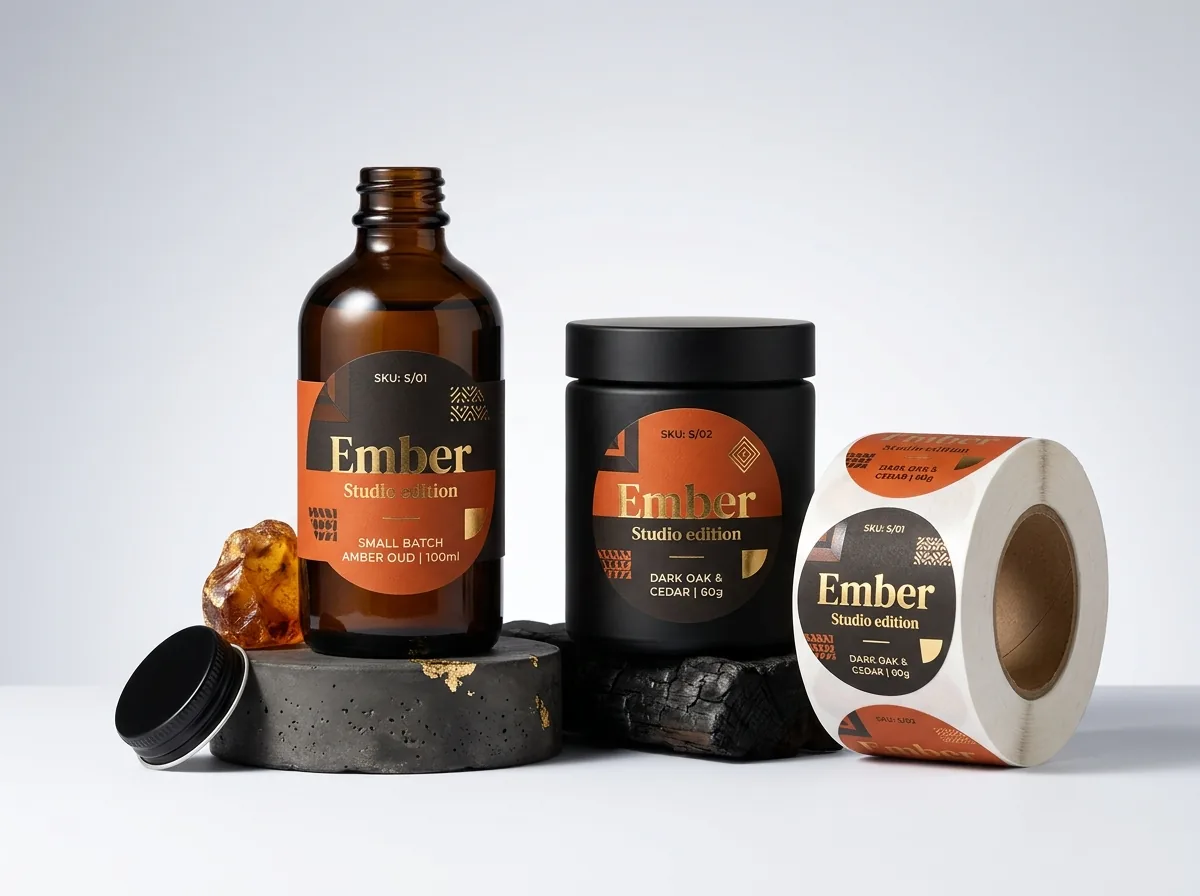
The difference between a plain box that looks hastily labeled and one that looks purposefully designed comes down to placement, proportion and color coordination. Instead of slapping a small white rectangle in the middle of a brown carton, treat your sticker as an architectural feature of the box: wrap a vertical strip over the front opening seam so it acts as both logo badge and tamper closure, or wrap a horizontal band around the corner of a folding carton. Inside the box, echo the exact same Pantone color on a round monogram sticker that holds the tissue paper closed. When you sell multiple flavors, scents or shades, lock one shared sticker dieline across the whole line and swap only the accent color bar and product title. At CubitPack, we print custom packaging stickers from 500 pieces with free design help and no die fees.
Which sticker placements look most intentional on plain boxes and bags?
When you work with unprinted kraft, matte white or black stock boxes, where you place the sticker matters just as much as what is printed on it. A sticker centered on the top lid works well when its proportions match the panel (covering about 40% of the lid width), but off-center and edge-wrapping placements often look even more custom because they mimic boutique apothecary and luxury food packaging. Use the table below to compare five proven placement layouts you can build with packaging stickers with logo without changing your underlying box or bag.
| Placement layout | Where the sticker sits | Best container & effect |
|---|---|---|
| Front lip fold-over tab | Starts on top lid, bends 90° down front wall | Mailer boxes and bakery boxes; seals flap and shows logo on top |
| Lollipop security seal | Round logo badge on lid + rectangular strip over edge | Subscription boxes, cosmetics cartons and gourmet food gifts |
| Side-corner wrap band | Wraps horizontally around the left or right vertical corner | Candle boxes, tea cartons and rigid two-piece lids |
| Top-fold bag closure | Bridges the rolled top fold of a flat paper or gusset bag | Coffee bags, pastry bags, spice pouches and retail takeaway bags |
| Inner tissue medallion | Centered over the final fold of interior tissue paper | E-commerce unboxing inside mailers, shoe boxes and gift sets |
How do I lay out artwork on a two-panel fold-over box sticker?
A fold-over sticker covers two perpendicular surfaces at once: the horizontal top lid and the vertical front flap. If you place a single block of text right across the middle of the sticker, the 90-degree box corner will cut straight through your words. Instead, divide your artwork canvas into two distinct zones separated by a ¼ inch crease buffer zone across the center. Put your primary brand logo or emblem in the upper zone (which sits flat on the top lid facing the customer before they open the box), and put your product name, scent note, barcode or a short thank-you line in the lower zone (which faces forward on the front wall). When you upload your artwork to CubitPack, our prepress team marks the exact fold line on your free digital proof and 3D mockup.
- Top lid zone (upper 1.5 in to 2 in): holds your main logo or monogram facing upward on the box top.
- Crease buffer (center ¼ in): leave free of small text or rigid foil stamping so the bend looks smooth.
- Front wall zone (lower 1.25 in to 1.75 in): holds the flavor/scent name, net weight, barcode or welcome note.
- Continuous background color: run your background Pantone shade straight across all three zones with ⅛ in bleed.
How do I build a color-coded sticker system for multiple scents, flavors or shades?
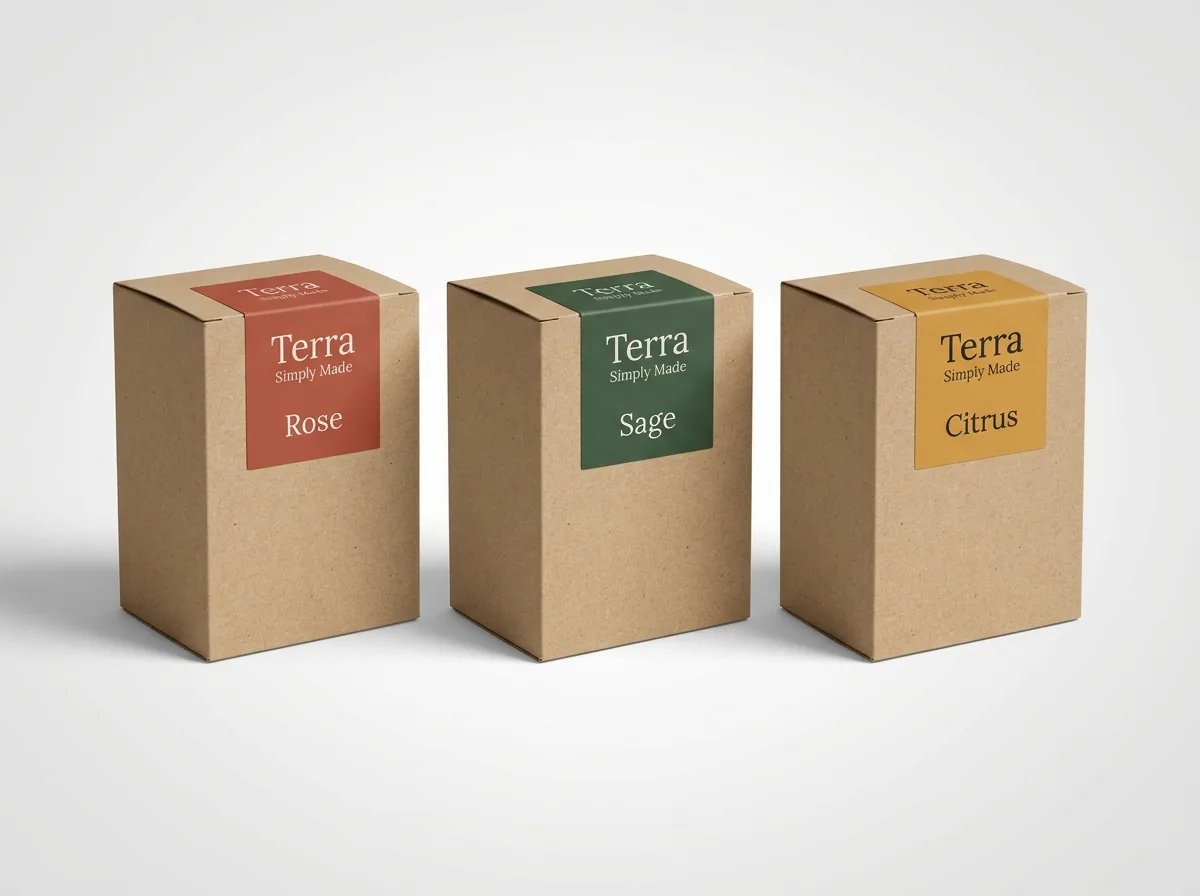
If your brand sells eight candle scents, six coffee roasts or twelve skincare items, ordering separate custom-printed boxes or pouches for every SKU ties up warehouse space and budget. Instead, build a modular sticker system: keep the exact same outer sticker width, height and cut path across every single product, and lock your brand logo and typography in the same position. To tell SKUs apart at a glance on retail shelves and packing shelves, assign each scent or flavor its own bold color band along the bottom third of the sticker. In Step 2 of our quote form, select 2 designs or 3+ designs and list your SKU breakdown in the notes so our team quotes the whole family together. Pair this system with blank custom stand-up pouches or custom mailer boxes for instant multi-SKU agility. Keeping a unified outer dieline across all your SKUs also simplifies reorders and storage: every roll fits the same tabletop dispenser, and your packers place every label at the exact same height on the box or pouch.
- Lock one master dimension: use a single size (such as 3 × 4 in or 2 × 4 in) across all scents, roasts or shades.
- Keep brand elements fixed: hold your logo, net weight position and border margin in the exact same spot on every SKU.
- Swap the color bar and title: give each flavor or scent a distinct Pantone or CMYK color band for instant shelf sorting.
- Group SKUs on one quote: select 2 designs or 3+ designs in the quote form to price all variations together.
Know your size? Compare pricing across up to 3 quantities.
Request a Quote →How do I make sure stickers stay flat on kraft cardboard, bags and pouches?
Even the best sticker design fails if the corners curl up in transit. Uncoated brown kraft corrugated boxes and recycled paper bags have coarse surface fibers and tiny air pockets, plus a thin layer of paper dust from cutting. Before your packing crew applies stickers to kraft boxes, wipe away any loose carton dust, and press the sticker down firmly from the center outward with the palm of the hand or a soft rubber roller. Never apply stickers in a freezing garage or humid shed: pressure-sensitive adhesives flow into cardboard fibers best at room temperature (around 65°F to 75°F) on dry surfaces. Also avoid bridging a flat sticker across a pre-creased box score line or a pouch zipper track where the package flexes during shipping.
How do I coordinate outer box stickers with inner tissue seals and thank-you cards?
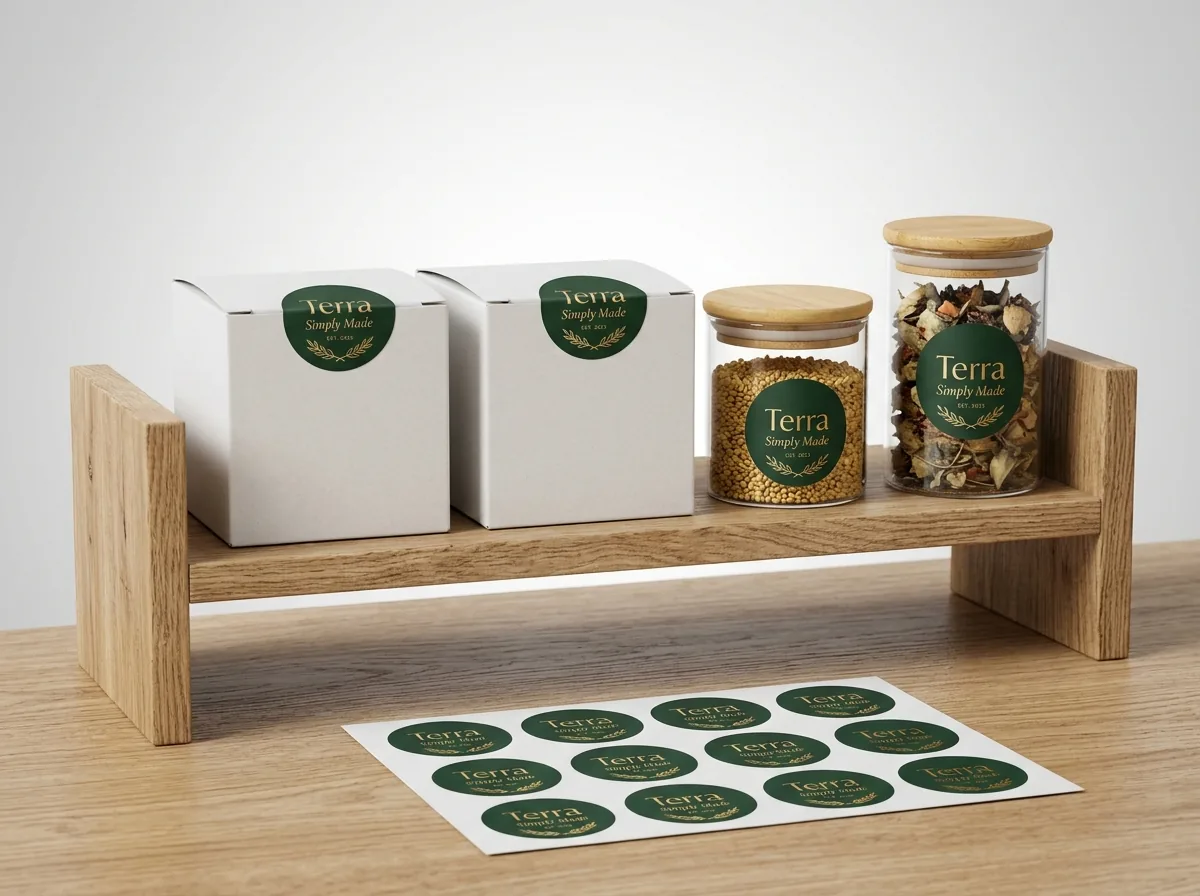
A memorable unboxing happens in layers. Start on the outside of the box with a durable matte or gloss fold-over tab that keeps the lid closed cleanly without ugly strips of clear plastic packing tape. When the customer breaks that outer seal and lifts the lid, greet them with folded custom tissue paper fastened by a 1.5 inch or 2 inch round custom thank-you sticker or gold foil emblem. Finally, tuck a loose die-cut logo sticker on top of the tissue so the customer gets a keepsake decal for their laptop or water bottle alongside your product. Because CubitPack prints your boxes, tissue paper, cards and stickers with guaranteed Pantone color matching, every layer of the unboxing shares the exact same signature brand hue. When you are ready to test your layout, upload your logo or AI artwork on the quote form. Our prepress team sets up the cut line, adds the ⅛ inch bleed, and sends a free digital proof and 3D mockup before you pay.
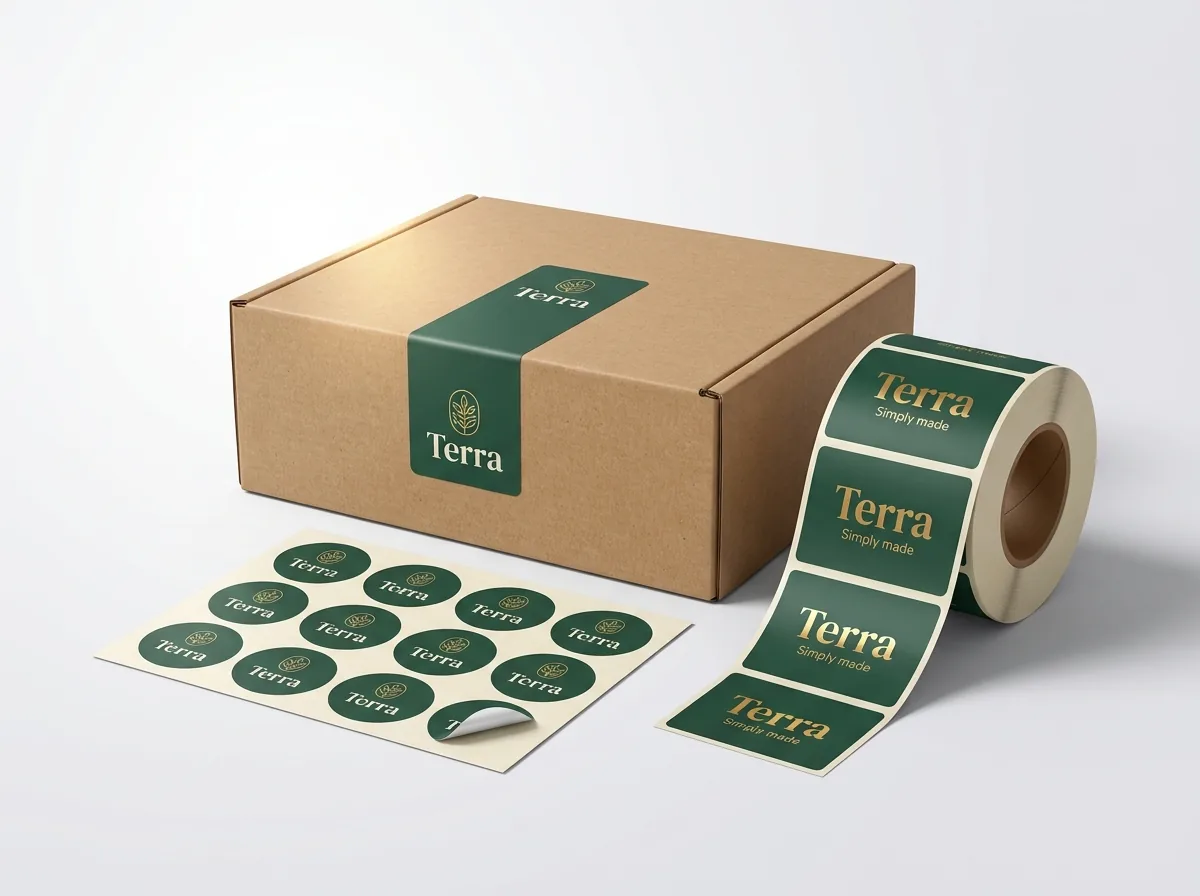
- Outer closure: seal the tuck flap or mailer lip with a 1.5 × 3.5 in or 2 × 4 in fold-over strip.
- Inner tissue reveal: fasten 17 lb tissue paper with a 1.5 in or 2 in round monogram or foil seal.
- Bonus merch gift: drop an individual 3 × 3 in die-cut logo sticker atop the tissue for the customer to keep.
What are the most common mistakes when branding plain boxes with stickers?
Avoid these five packing bench errors so your stickered boxes look like high-end retail packaging
- Placing small text or a stiff hot-stamped foil logo directly over a 90-degree box corner where the crease distorts it.
- Lightly tapping a sticker onto fibrous kraft corrugated board with one finger instead of pressing firmly across the edges.
- Using a different sticker size for every flavor or scent instead of sharing one master dieline across all SKUs.
- Covering a custom fold-over logo seal with strips of clear plastic shipping tape that ruin the matte or foil finish.
- Applying pouch stickers onto empty flat bags before filling, which causes the lower edge to buckle when the bottom gusset expands.
Find your label size
Suggested label size: 9⅛ × 2¾ in (width × height)
A typical starting point. Your account manager confirms the size on the proof.
Quote this size →Packaging for this
Ready to order packaging stickers? Compare up to 3 quantities with a free 3D mockup.
Request a Quote →Questions about packaging stickers
Can a packaging sticker replace clear packing tape on a mailer box?
On lightweight retail tuck boxes, bakery boxes and inner gift mailers that travel inside an outer shipping bag, a 2 × 4 inch fold-over sticker holds the lid shut cleanly. For heavy corrugated boxes shipped directly via UPS or USPS, use reinforced tape on the load-bearing seam alongside your branded sticker.
How do I keep fold-over box stickers from cracking along the crease?
Choose a matte or gloss finish that adds a flexible protective top layer over the ink, and leave a ¼ inch buffer across the fold line without heavy metallic foil stamping. Pressing the sticker smoothly around the corner prevents air bubbles along the edge.
What is the fastest way to peel and apply hundreds of packaging stickers?
Order your packaging stickers wound on continuous rolls rather than individual singles. Bending the roll liner over a manual tabletop dispenser edge pops each sticker forward automatically so your packer can grab and place it in one motion.
Can you print a perforation line across the middle of a box seal sticker?
Tell your account manager in the quote notes if you want a tamper-evident slit or perforation along the box seam so the customer can zip the lid open cleanly without peeling the sticker.
Should I choose matte or gloss packaging stickers for brown kraft boxes?
Matte finish is the most popular choice for natural brown kraft boxes and paper bags because its low-glare satin texture blends naturally with uncoated paperboard. Gloss finish works well when you want high contrast on white boxes or poly mailers.
Can CubitPack help me lay out a fold-over lollipop or corner-wrap sticker?
Yes. Design help and custom dielines are always free. Upload your logo and tell us your box dimensions, and our designers will build the two-panel layout, mark the fold zone and send a 3D mockup before you pay.
Still have a question? Ask a packaging specialist.
Request a Quote →Request your packaging stickers quote
Tell us your size and quantities, and one dedicated account manager prepares pricing for each tier.
- Free design & AI-to-print studio + 3D mockup
- No die or plate charges · 4–5 day rush available
- Free shipping to all 50 states
- 10% off your first order
This guide combines standard fold-over dieline geometry, multi-SKU layout practices and CubitPack's decided offers from our published product specifications, reviewed by a packaging specialist. Spot something wrong? Tell us and we will fix it.
Sources
What changed
- October 22, 2026: First published.
- October 22, 2026: Updated specifications, terminology, and verified source links.
More guides
New packaging guides by email
Sizes, materials and design tips. Unsubscribe anytime.