
How do you design tamper-evident and foil seal stickers that stay stuck?
Short answer: Keep logos, small text and QR codes off the 90-degree fold crease, extend background ink ⅛ inch past the cut line, use paper stocks or kiss-cut security slits for tamper tears, and share one universal dieline across SKUs when ordering custom seal stickers on rolls or sheets.
On this page
- Where should logos, text and QR codes sit on a corner-fold seal
- How do security slits, perforations and stock choices prevent resealing
- How do I design a foil-stamped or wax-style seal sticker for gift packaging
- Why do seal stickers lift on box corners and jar necks, and what fixes it
- What drives the price of custom seal stickers and how do I lower unit cost
- Common mistakes
- FAQs
Request a custom quoteFree dieline & 3D mockup
Designing a package seal takes more than shrinking your front label into a small circle or strip. Because a seal folds across a sharp box edge, steps down over a jar cap rim, or bridges a thick takeout bag fold, the middle of the sticker experiences mechanical tension and bending distortion. A well-engineered layout treats the sticker as two separate visual zones (for example, the top lid zone and the front wall zone) separated by a ¼ inch fold-clearance band. Keeping small typography, barcodes and rigid metallic foil stamping out of that fold band ensures the sticker bends cleanly without cracking or popping open. Adding kiss-cut security slits or choosing a tearable paper stock turns the seal into a clear visual tamper indicator. At CubitPack, our designers set up your cut line, bleed and 3D mockup for free before payment.
Where should logos, text and QR codes sit on a corner-fold seal?
When a sticker wraps 90 degrees around the top edge of a tuck box or folds down from a flat jar lid onto a vertical neck, any artwork sitting directly on the crease gets split across two planes. Small 6 pt text printed across a sharp crease becomes hard to read, and a barcode or QR code bent around a corner cannot be read by a smartphone camera or retail scanner. Divide your custom box and jar seal stickers into two distinct face zones with a ¼ inch neutral fold band right along the seam. On a lollipop jar seal, place your brand monogram, roast date or flavor badge inside the round top disc, leave the neck-step transition clean or marked with a simple alignment rule, and place your 'Sealed for Freshness' text, lot code or scannable QR square vertically on the lower tail where the glass wall is straight.
- Top panel / lid zone: center your primary logo, flavor icon or monogram at least ⅛ inch inside the cut line.
- Fold-crease band (¼ in wide): keep background color solid here, avoiding tiny text, QR squares or heavy foil blocks.
- Front wall / neck zone: place your tamper warning, batch date box, @handle or scannable QR code on the flat vertical face.
- Bleed & safe margin: extend background colors ⅛ inch outside the cut path and keep all type ⅛ inch inside.
How do security slits, perforations and stock choices prevent resealing?
A closure seal only reassures buyers if it cannot be peeled back and smoothed down again without leaving obvious evidence. You can build visual tamper indication into your seal design through the face stock, the cut pattern, or both. Paper face stocks naturally tear when pulled against a strong adhesive, especially on cardboard boxes and paper takeout bags. On glass or plastic jars where condensation is present, adding small kiss-cut security slits (such as X-cuts, chevron notches or edge slits) along the neck tail or box bridge causes the sticker to tear into segments the moment someone tries to lift an edge or twist the cap. If you only want the box flap to open cleanly with a thumbnail, ask for a center micro-perforation right along the box seam.
| Tamper or closure feature | How it works on the package | Best container & use case |
|---|---|---|
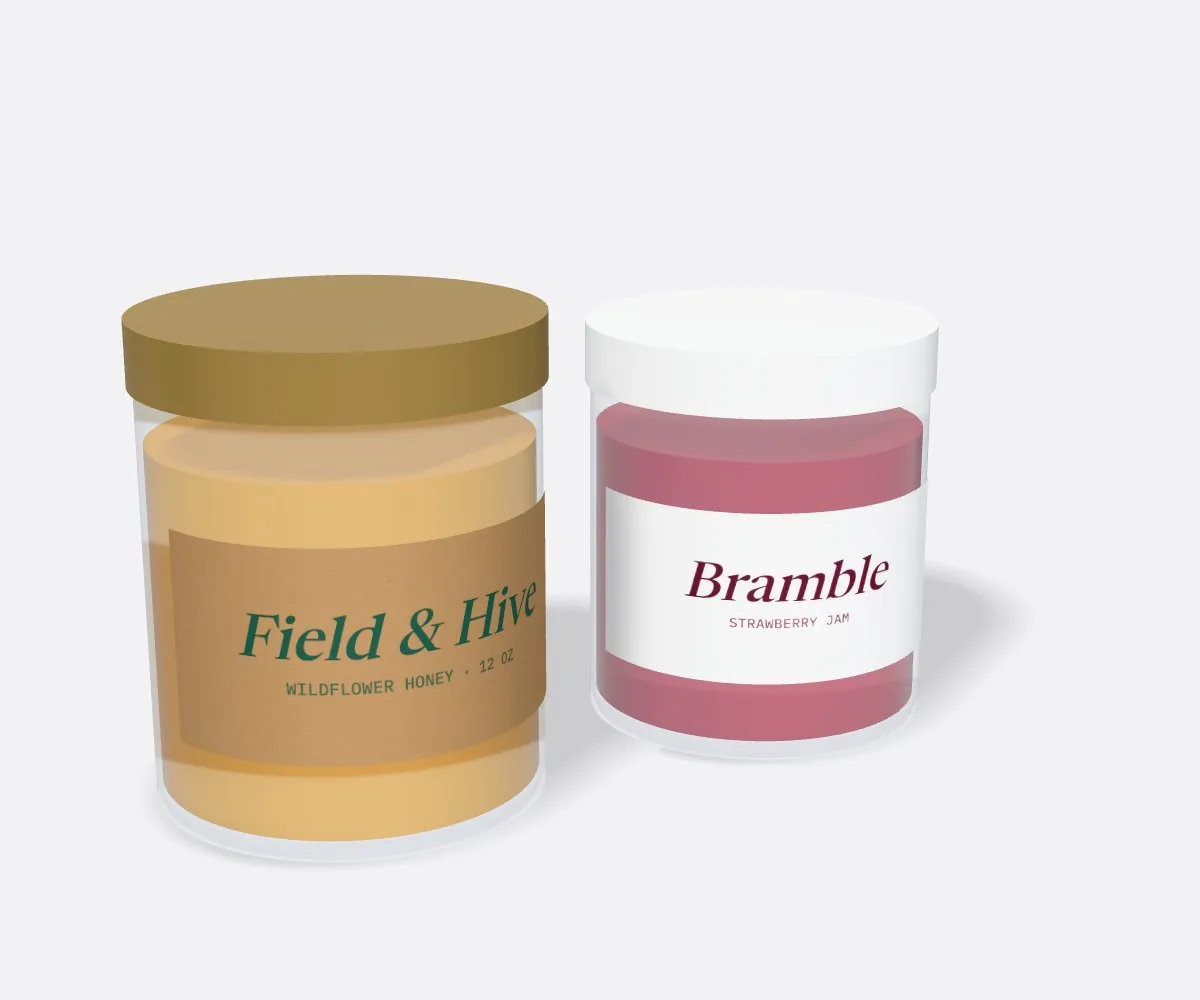
| Kiss-cut edge security slits | Diagonal or U-shaped cuts tear the strip into pieces if peeled by hand | Glass honey, sauce and salsa jars; cosmetic tubs; takeout bags |
| Center seam perforation | Row of micro-cuts along the 90-degree crease breaks cleanly when twisted or lifted | Retail tuck-end cartons, supplement boxes, dropper bottles |
| Narrow dumbbell waist (⅜ in) | Slim paper or film bridge stretches and snaps under slight cap rotation | Spice jars, tincture bottles, metal balm tins |
| Writable matte batch box | High-contrast white panel accepts marker or pen date and packer initials | Small-batch food prep, cafe delivery bags, apothecary jars |
| Clear intact wafer seal | Holds tuck flaps shut without hiding box graphics; shows whitening or lift if peeled | Printed cosmetic boxes, candle cartons, retail display packaging |
How do I design a foil-stamped or wax-style seal sticker for gift packaging?
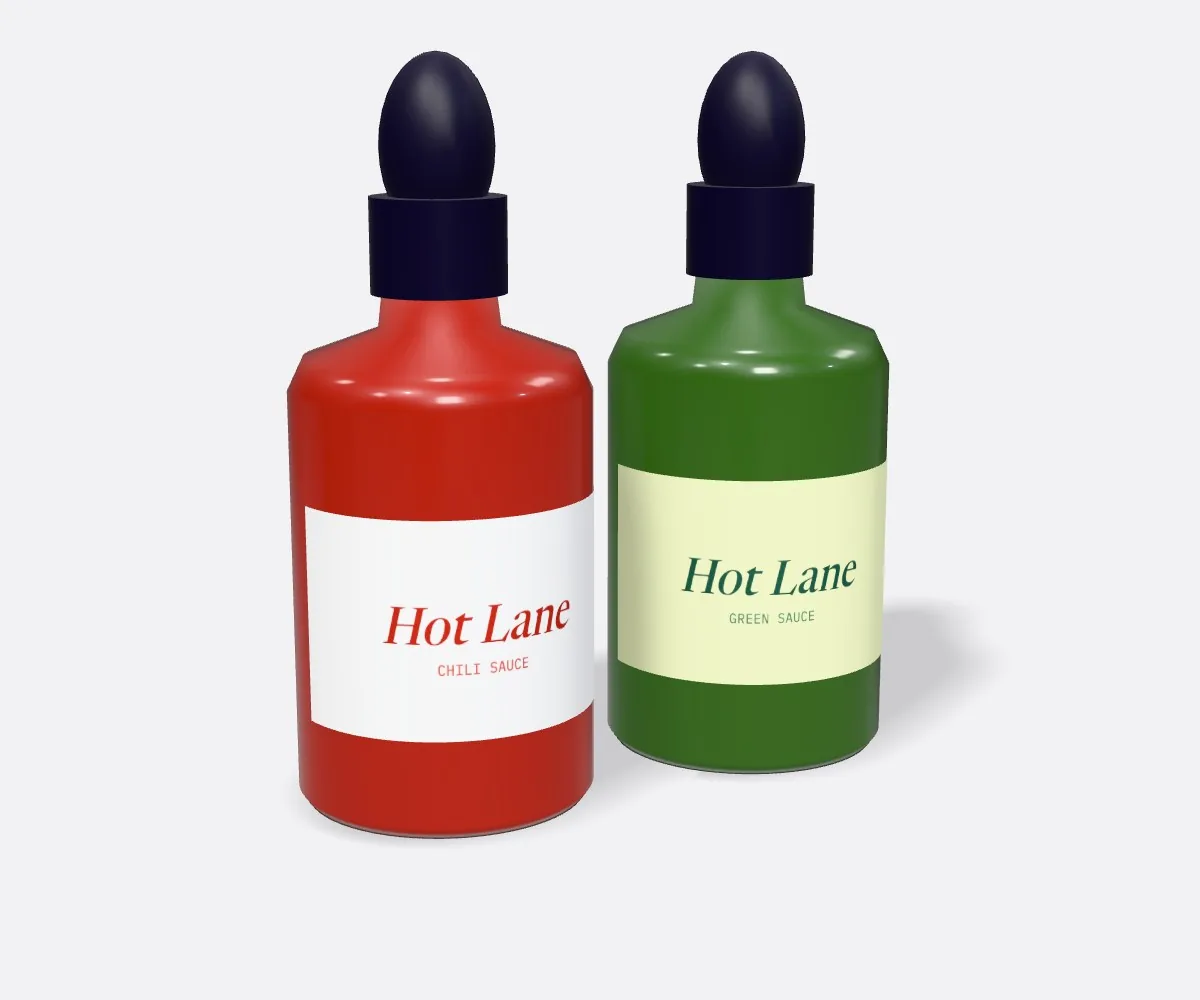
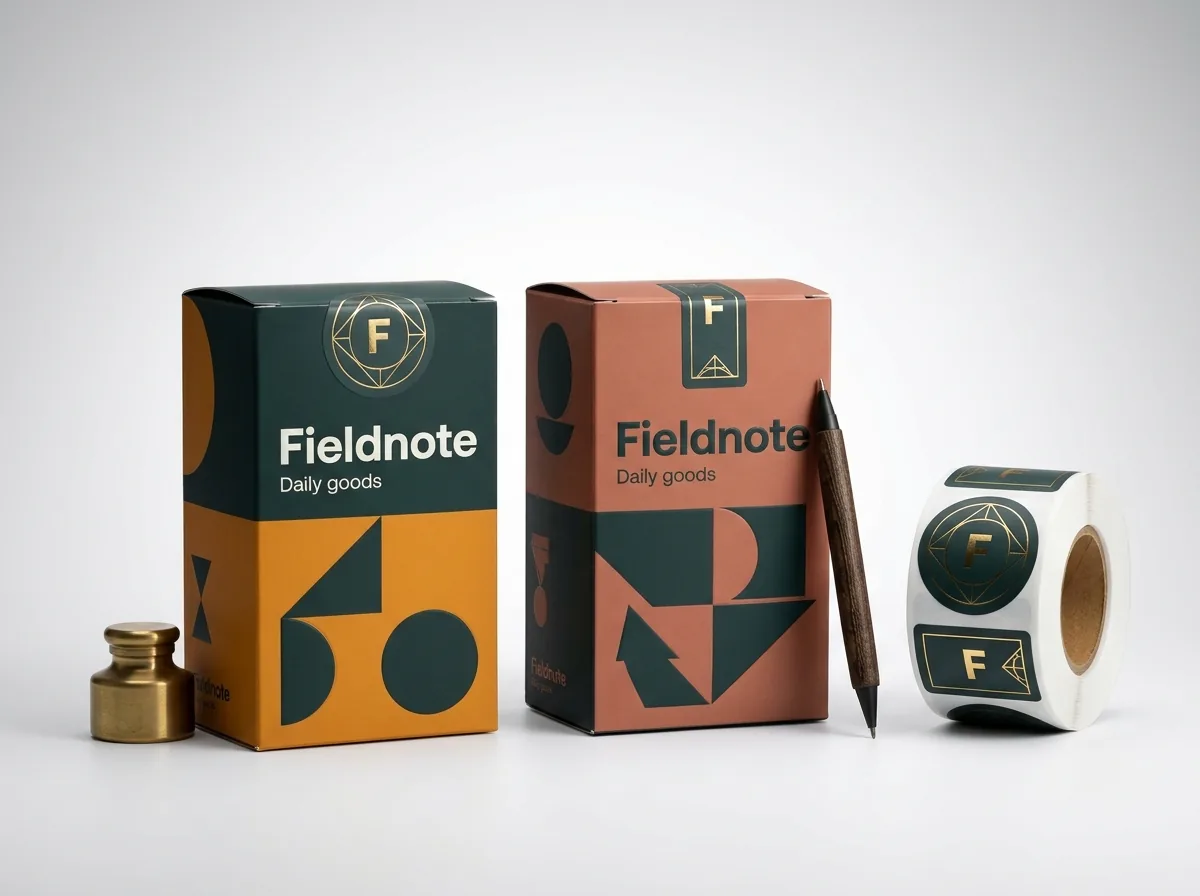
When sealing inner tissue wraps, bridal boxes, chocolate assortments or envelopes, your goal is presentation rather than industrial security. You can create a classic embossed notary seal or poured-wax crest look by pairing our custom foil labels stock or hot foil stamping with a custom scalloped or organic wave cut line. To keep metallic foil crisp and legible on a 1.5 inch or 1.75 inch medallion, avoid ultra-thin hairline scripts under 1 pt and leave at least 1 pt of breathing room between stamped gold letters so the metallic foil never bridges together. Adding spot UV over a matte burgundy, forest green or navy seal adds a tactile raised rim that catches the light and feels like real wax under the thumb without cracking or flaking inside mailing envelopes.
Know your size? Compare pricing across up to 3 quantities.
Request a Quote →Why do seal stickers lift on box corners and jar necks, and what fixes it?
When a corner seal pops open a few hours after packing, the culprit is almost always surface contamination, insufficient bridge length, or heavy ink/foil stiffness right on the crease. Uncoated brown kraft cartons and corrugated mailers carry microscopic paper dust along the cut flap edge; wiping the carton blank flat and extending the sticker at least 0.625 to 0.75 inches onto each panel stops dust from defeating the adhesive. On glass jars filled with hot sauces, jams or oils, steam condensation or a microscopic film of oil on the neck ring will block any adhesive from bonding. Always apply lollipop and dumbbell seals after jars are capped, washed and completely dry at room temperature. If your jars go into a refrigerator or cooler after sealing, mention it in your quote notes so we match the stock and adhesive.
What drives the price of custom seal stickers and how do I lower unit cost?
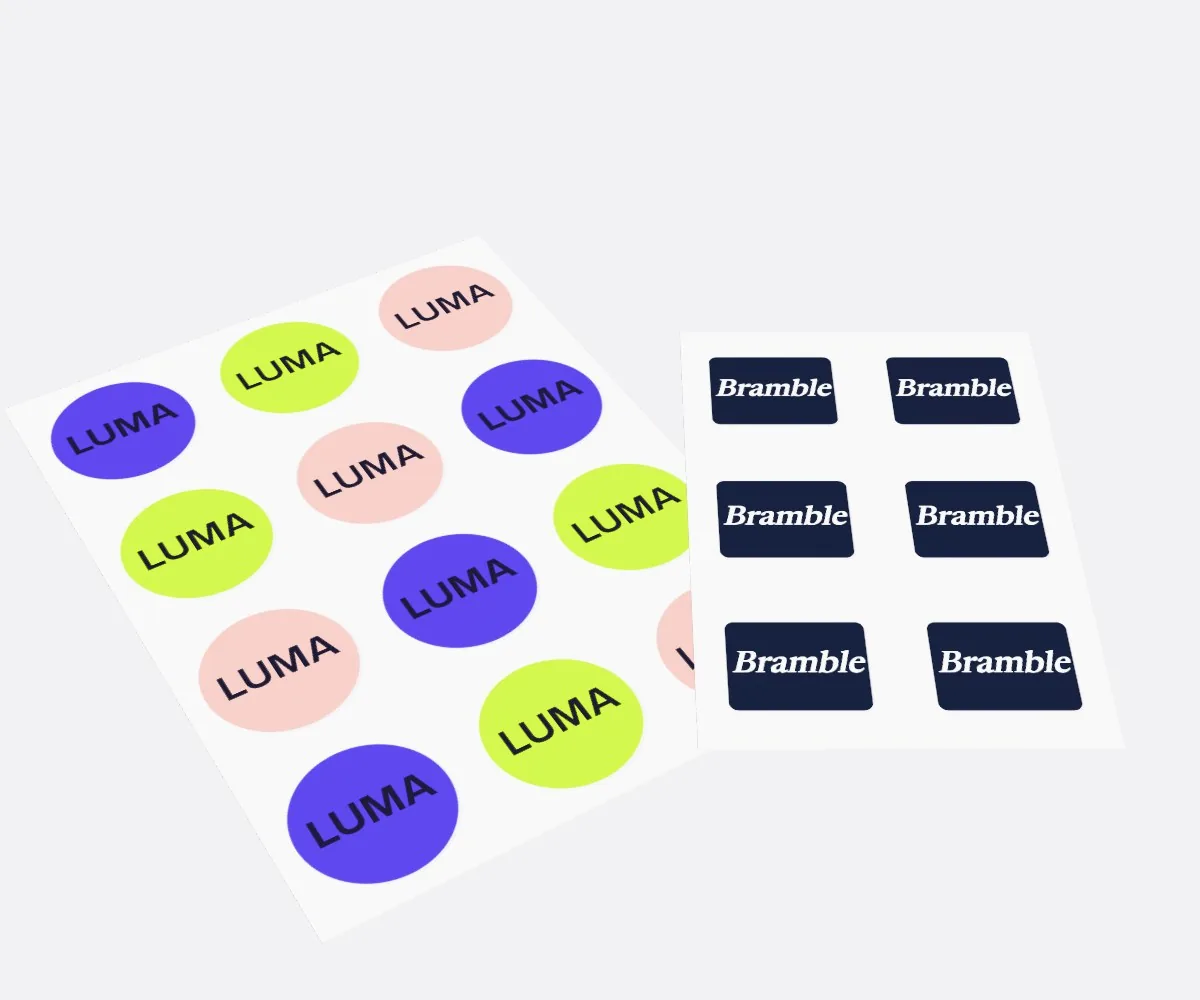
Because CubitPack never charges cutting die or printing plate fees, a custom lollipop, dumbbell or scalloped seal costs no more in tooling than a plain circle. Your unit price comes down to four factors: total square inches (W × H), order volume, material stock (such as clear or metallic foil), and special finishes like hot foil stamping or spot UV. The smartest way to reduce your cost per seal across multiple product flavors or scents is to lock in one universal dieline size and shape. For example, if you sell six flavors of salsa or four candle scents, size all six lollipop seals to the exact same 1.5 × 3.25 inch outline on custom roll labels and change only the Pantone color band and flavor name. That lets the press team gang your SKU variations efficiently on the same production setup while keeping every jar lid consistent on retail shelves.
- Share one dieline across all SKUs: select 2 designs or 3+ designs in the quote form to group your flavors into one continuous production run.
- Right-size the neck tail: a 1.5 in tail holds just as securely as a 3 in tail on most straight-walled jars while using less stock.
- Compare three volume tiers: enter 500, 1,000 and 2,500+ in Step 1 of the quote form to see where unit cost drops across each quantity tier.
- First-order savings: take 10% off your first CubitPack order, plus free US shipping and our price-beat guarantee.
What are the most common custom seal sticker artwork mistakes?
A few simple prepress adjustments prevent unreadable barcodes, cracked foil and lifted corners on your finished rolls. Check these five items before approving your digital proof
- Placing a QR code, barcode or tiny 5 pt text directly across the 90-degree fold line where the bend distorts the image.
- Stopping background colors right at the lollipop or scalloped cut path without a ⅛ inch bleed, leaving white slivers on the edge.
- Designing sharp 90-degree corners on rectangular tamper strips instead of rounding the ends to prevent edge catching.
- Putting a solid block of rigid hot foil stamping right across a tight box crease instead of keeping foil on the flat panels.
- Skipping a writable white box on takeout or prep seals when kitchen staff need to jot down order numbers or dates.
Find your label size
Suggested label size: 9⅛ × 2¾ in (width × height)
A typical starting point. Your account manager confirms the size on the proof.
Quote this size →Packaging for this
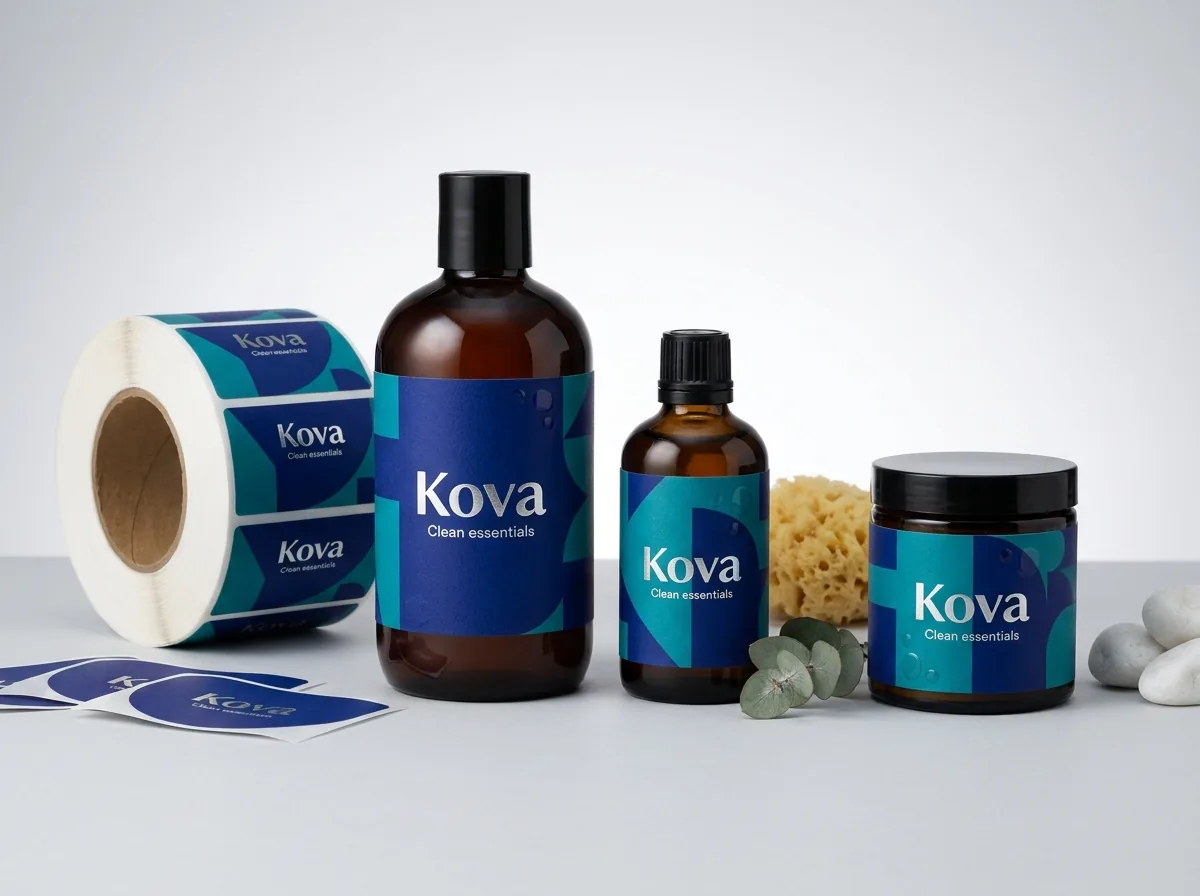
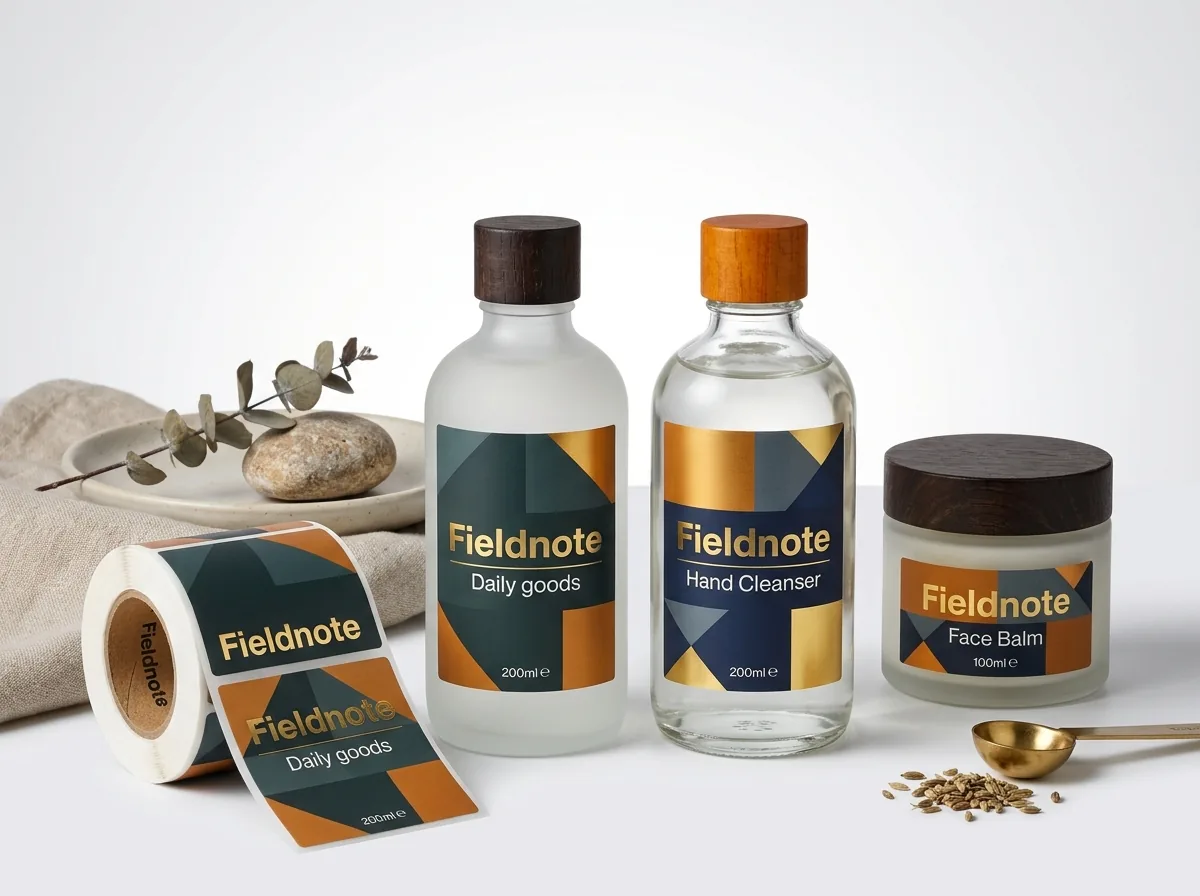
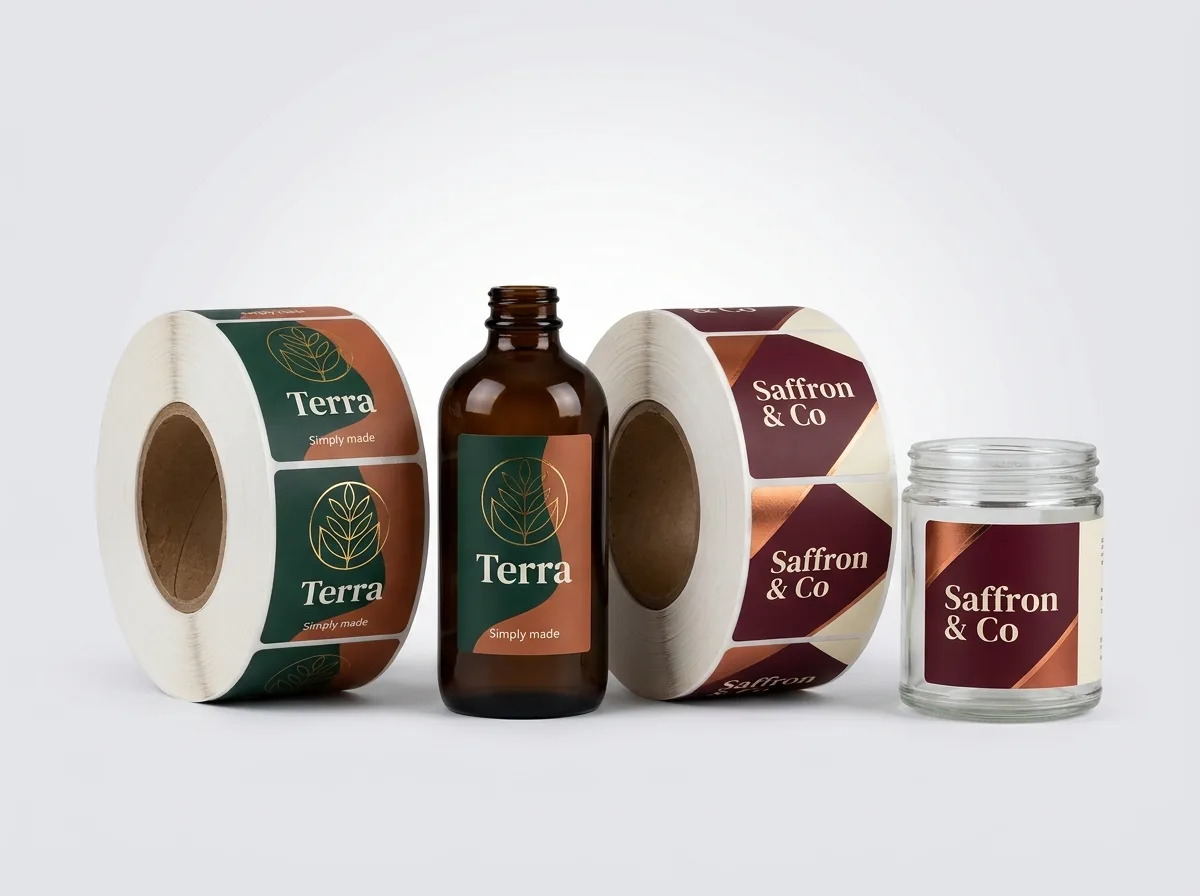
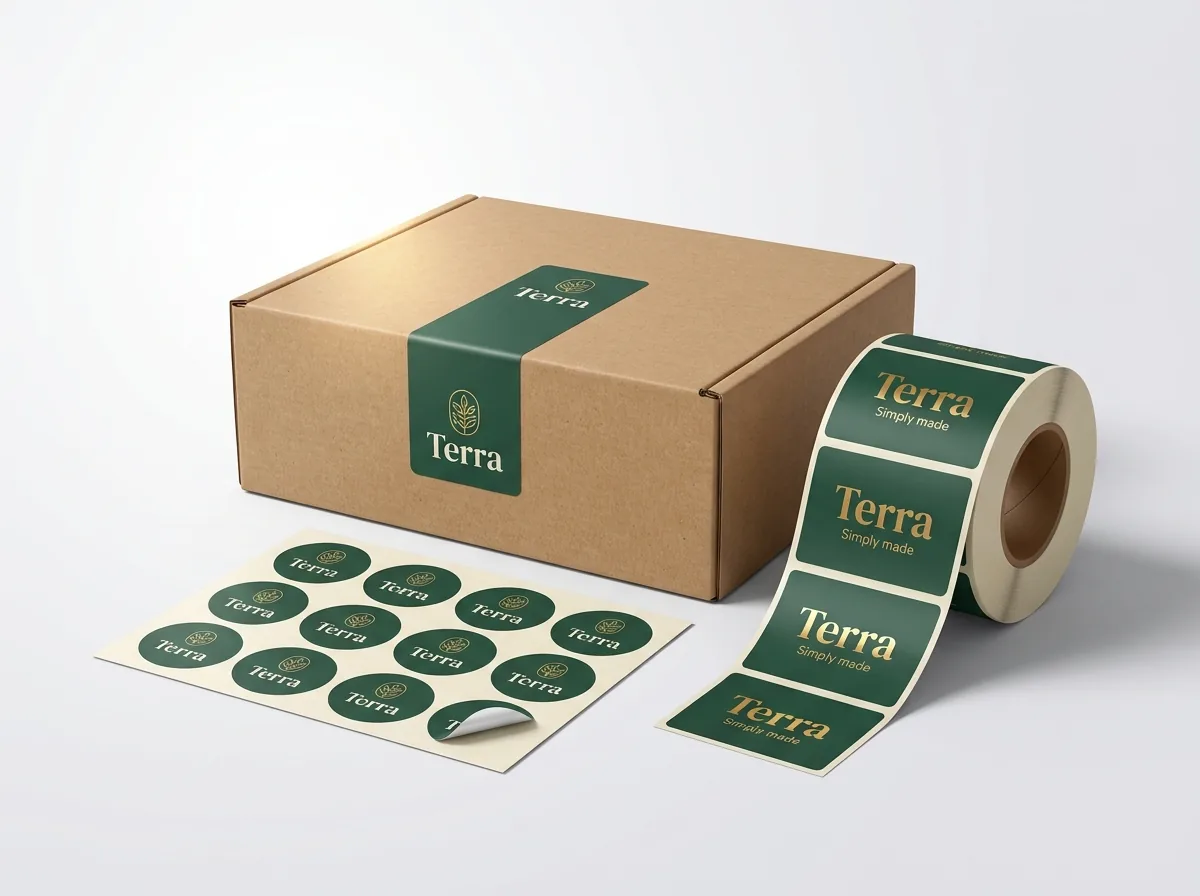
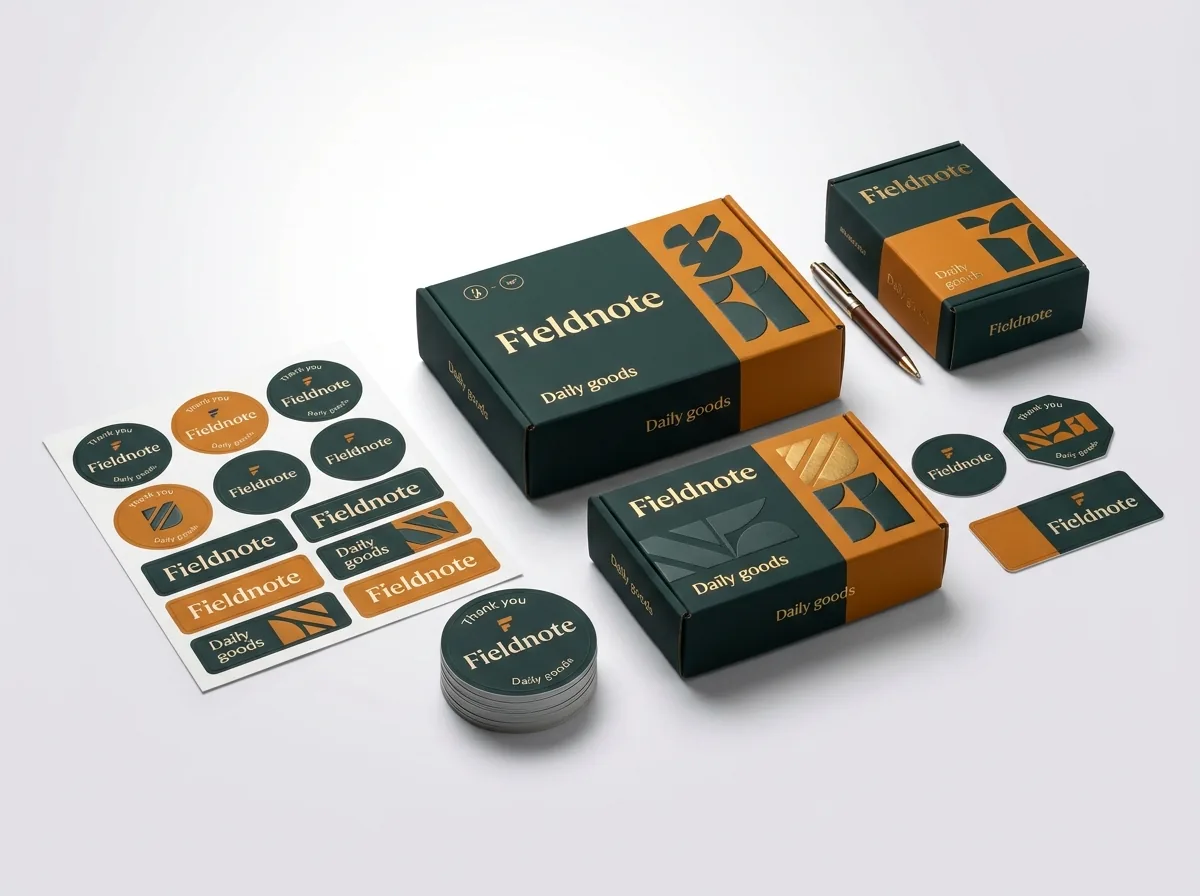
Ready to order seal stickers? Compare up to 3 quantities with a free 3D mockup.
Request a Quote →Questions about seal stickers
How much bleed and safe margin do I need on a custom lollipop or scalloped seal?
Extend all background colors and patterns ⅛ inch (0.125 in) outside the cut line for bleed, and keep all logos, text and borders at least ⅛ inch inside the cut line. On a narrow 0.625 inch lollipop tail, keep text centered at least 0.1 inches from the side edges.
Can CubitPack draw the lollipop, dumbbell or scalloped cut line for me?
Yes. Design help and custom dielines are free on every order. Just upload your logo or sketch and tell us your jar lid diameter, neck drop or box flap size, and our prepress team sends a digital proof and 3D mockup before payment.
Will a QR code scan if it is printed on a round lid seal or takeout bag band?
Yes, as long as the QR code sits completely on a flat surface (such as the flat top of a jar cap or the flat front of a bag band), measures at least 0.75 × 0.75 inches, and has dark ink on a light background with a white quiet border.
How do I keep clear wafer seals from showing air bubbles on dark boxes?
Apply firm, even thumb or roller pressure from the top panel over the edge to the front wall, and make sure the box board is free of dust. Our team can also recommend matte vs gloss finishes on clear stock to match your box lamination.
Can I print multiple flavor colors or batch codes in a single seal sticker order?
Yes. Pick 2 designs or 3+ designs in Step 2 of the quote form and list how many of each flavor or color you need. Keeping the exact same cut line and material across all designs lets us quote the whole set together.
Can I get a printed sample of my custom seal stickers before a big run?
Every order includes a free digital proof and 3D mockup before you pay. You can also order our $50 sample kit to feel our materials and finishes, or request a paid printed sample of your exact seal design that is credited back when you place your production order.
Still have a question? Ask a packaging specialist.
Request a Quote →Request your seal stickers quote
Tell us your size and quantities, and one dedicated account manager prepares pricing for each tier.
- Free design & AI-to-print studio + 3D mockup
- No die or plate charges · 4–5 day rush available
- Free shipping to all 50 states
- 10% off your first order
The fold-band clearance rules, ⅛ inch bleed specs, corner-memory troubleshooting and multi-SKU cost tips in this guide were compiled and checked by a CubitPack packaging specialist. Spot something wrong? Tell us and we will fix it.
Sources
What changed
- October 22, 2026: First published.
- October 22, 2026: Updated specifications, terminology, and verified source links.
More guides
New packaging guides by email
Sizes, materials and design tips. Unsubscribe anytime.