
How do you prepare your company logo for custom sticker printing, cut lines and Pantone match?
Short answer: Export your logo as a vector file (AI, PDF, EPS or SVG) with all fonts converted to outlines, or use a 300+ DPI transparent PNG at 100% print scale. Add a ⅛ inch bleed outside the cut line and specify your Pantone codes when ordering custom logo stickers.
On this page
- Why do vector logo files (AI, PDF, EPS, SVG) print sharper than website PNGs
- What are the exact prepress specs for bleed, safe margin, Pantone and white ink
- How do the three boundary lines (bleed, cut line and safe zone) work
- How do you guarantee exact Pantone brand color matching across stickers and boxes
- How do you set up white ink for clear transparent or metallic foil logo stickers
- Common mistakes
- FAQs
Request a custom quoteFree dieline & 3D mockup
A logo file exported at 72 DPI for a website navigation bar or Instagram avatar only contains a few hundred pixels across; when scaled up to a 3 × 3 inch sticker, those pixels blur into jagged stair-stepped edges and RGB screen colors shift on press. Preparing a clean print file for custom logo stickers takes four straightforward prepress steps: start with infinitely scalable vector paths (or high-resolution 300 DPI raster art), convert live typography to outlined shapes so fonts never substitute, separate the cut line from the ⅛ inch outer bleed and ⅛ inch inner safe zone, and assign CMYK builds or Pantone spot codes (plus an opaque white ink plate if printing on clear or metallic foil stock). At CubitPack, if you only have a PNG or AI-generated image, our design team handles the vector cut line and prepress setup for free.
Why do vector logo files (AI, PDF, EPS, SVG) print sharper than website PNGs?
Digital graphics come in two formats: raster images (PNG, JPEG, PSD, TIFF) made of a fixed grid of colored square pixels, and vector graphics (AI, EPS, print PDF, SVG) made of mathematical curves and anchor points. When you pull a 250-pixel-wide PNG logo from your website header and enlarge it to 3 inches wide for custom printed logo stickers, its effective resolution drops to about 83 dots per inch (DPI), producing fuzzy diagonal lines and soft small text. Vector logo files have no pixel grid at all: a 1-inch circle seal and a 6-inch shipping carton decal render from the exact same vector curve at the maximum resolution of our printing plates. In addition, cutting blades and laser kiss-cutters require a continuous mathematical vector path to trace your contour outline. Before saving your vector file, select all text layers and click 'Create Outlines' (or 'Convert to Curves') so your brand typography is locked in as vector shapes even if our prepress station does not have your licensed font installed.
- Preferred vector formats: Adobe Illustrator (.AI), press-ready vector.PDF.EPS or.SVG with all fonts converted to outlines.
- High-resolution raster option: if your logo is a painted mascot or complex illustration, export a.PNG.TIFF or.PSD at 300 to 600 DPI at 100% print dimensions with a transparent background.
- Embed linked images: if your Illustrator file contains a placed raster texture inside a vector crest, embed the image at 300+ DPI.
- What if you only have a small PNG or AI prompt image? Upload it with your quote and our designers will vectorize the cut line and clean up the artwork for free.
What are the exact prepress specs for bleed, safe margin, Pantone and white ink?
Whether your designer sets up the dieline in Illustrator or you review the free 2D digital proof prepared by our prepress team, every sticker file uses the same five technical specifications. Keep the reference table below handy when exporting your brand mark for roll stickers, kiss-cut sheets or individual die-cut singles.
| Prepress element | Required specification | Why it matters on press |
|---|---|---|
| File format & resolution | Vector (AI, PDF, EPS, SVG) or 300+ DPI PNG/TIFF at 100% size | Keeps fine serifs, small taglines and diagonal strokes crisp |
| Outer bleed zone | +⅛ in (0.125 in) past the cut line on full-bleed backgrounds | Prevents a thin white sliver from showing if the blade shifts 1/32 in |
| Inner safe margin | −⅛ in (0.125 in) inside the cut line for all logos and text | Guarantees no letters or border rings get clipped by the knife |
| Color mode & matching | CMYK process + Pantone Solid Coated codes | Avoids RGB neon shifts and locks in guaranteed Pantone brand colors |
| White underbase plate | 100% vector spot layer named 'White_Ink' on clear & foil stocks | Makes colors opaque on clear film and controls metallic foil shine |
| Minimum stroke & font | 0.5 pt min line weight · 6 pt min dark text (7 pt reversed) | Ensures thin hairlines and ® symbols hold ink cleanly |
How do the three boundary lines (bleed, cut line and safe zone) work?
Every custom sticker dieline contains three concentric paths spaced ⅛ inch (0.125 in) apart. Understanding the difference between a white-border contour sticker and a full-bleed colored sticker makes setting up those three lines simple. If you want a clean ⅛ inch white border around a custom contour logo, your logo artwork sits inside the Safe Margin, and the Cut Line is drawn ⅛ inch outside your logo's outer edge; because the background is already white stock, no extra bleed is needed outside the cut line. Conversely, if your sticker has a solid colored, black, kraft or photographic background that runs all the way to the edge of the sticker, you must extend that background color a full ⅛ inch past the Cut Line to the Bleed Line. During high-speed die cutting, mechanical tolerances can shift by up to 1/32 of an inch; that extra ⅛ inch of background bleed guarantees the blade slices through solid brand color rather than exposing raw unprinted stock along one edge.
Know your size? Compare pricing across up to 3 quantities.
Request a Quote →How do you guarantee exact Pantone brand color matching across stickers and boxes?
Nothing cheapens a brand faster than placing a forest-green logo sticker onto a forest-green mailer box and discovering that one looks olive-yellow while the other looks teal-blue. That color mismatch almost always happens when a logo is submitted in RGB screen colors (which use light on a monitor) and converted automatically by two different print shops. At CubitPack, we make custom boxes, pouches and stickers under one roof with your dedicated account manager, and our Pantone color match is guaranteed. When you convert your logo from RGB to CMYK or specify your exact Pantone Solid Coated swatch number (such as Pantone 3435 C) on your quote, we calibrate the press to that physical swatch. If a printed Pantone color ever arrives clearly off from your approved specification, we reprint it. That way, your custom roll labels, custom mailer boxes and custom packaging stickers look like one cohesive family.
- Convert RGB to CMYK before exportar: bright RGB screen blues and neon greens shift darker when printed with physical cyan, magenta, yellow and black inks.
- List your Pantone codes in the quote notes: include the Pantone number for your primary brand colors so our prepress team locks them onto your proof.
- Rich black vs 100% K for small text: use rich black (e.g., C:40 M:30 Y:30 K:100) for large solid black backgrounds, but use pure 100% Black (K:100) for small 6 pt to 8 pt text and barcodes so edges stay razor-sharp.
How do you set up white ink for clear transparent or metallic foil logo stickers?
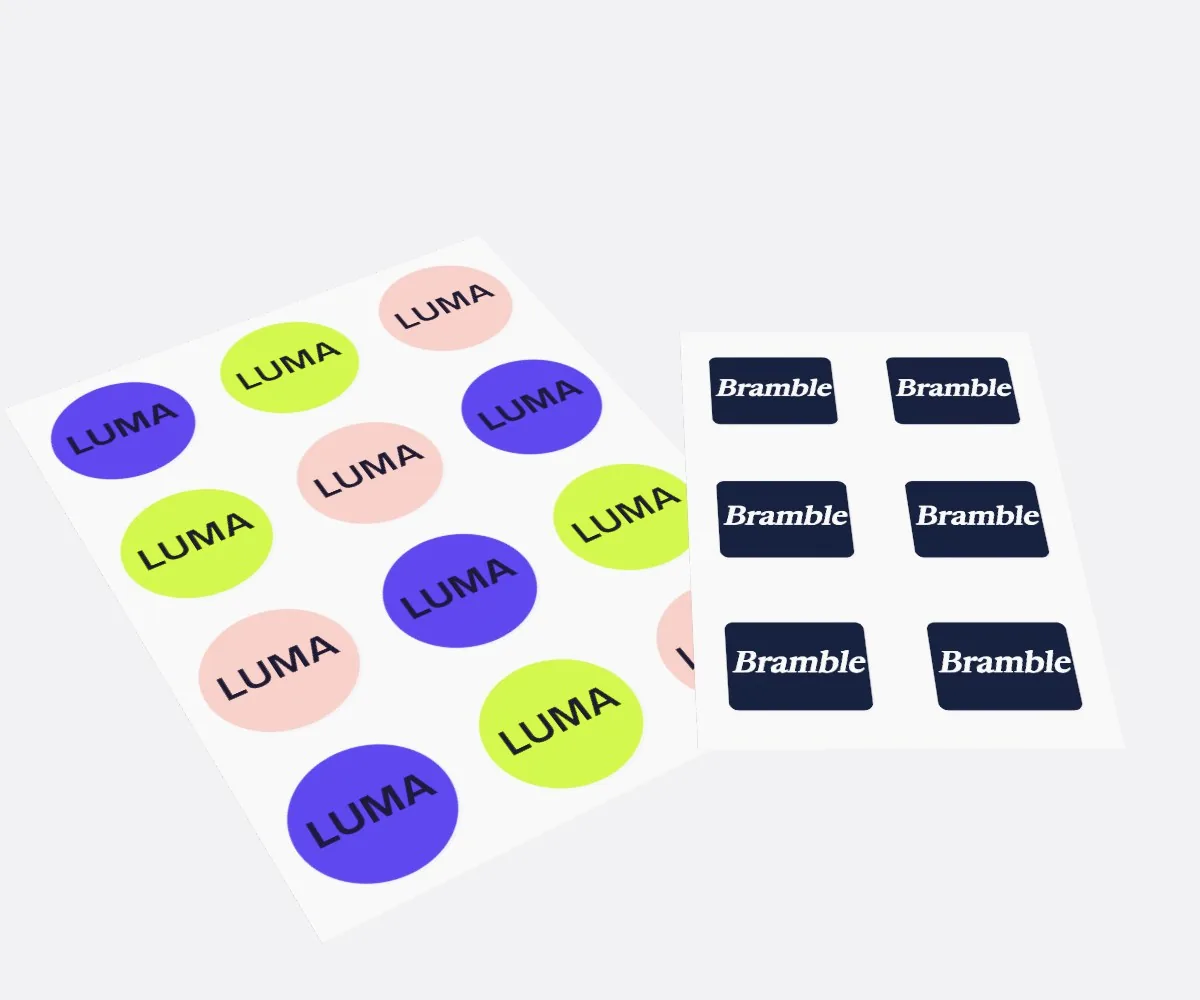
Standard CMYK printing inks are semi-transparent: on white label stock, light bounces off the white paper beneath the ink to make colors look bright and solid. When you print those same transparent CMYK inks directly onto custom clear labels or silver custom foil labels without a white base layer, clear stickers look like stained glass and foil stickers turn every color metallic. To make your logo solid and vibrant on clear or foil stock, the press prints a layer of opaque white ink directly underneath your artwork in a single pass. In your vector file, we create a spot-color layer named White_Ink positioned right behind the vector shapes you want opaque, choked inward by 0.25 pt so a tiny white halo never peeks out from behind your colored ink. On metallic foil stock, you can combine both effects on one sticker: put White_Ink behind your background and small text so they read as solid matte colors, and knock out White_Ink behind your crest or monogram so the mirror-like gold or silver foil shines through.
- Clear logo stickers: back all colored and white logo elements with an opaque white ink underbase so they pop on dark glass, amber bottles and dark laptops.
- Metallic foil logo stickers: use selective white ink under solid areas, and leave white ink out where you want metallic gold, silver or colored foil reflection.
- Free prepress setup: you never have to build the White_Ink or CutContour layers yourself - just tell us which areas should be clear, solid or metallic, and we show it on your free 2D proof and 3D mockup.
What are the most common file setup mistakes on custom logo stickers?
Our prepress team catches and fixes these five file issues before your order goes to press, but knowing them up front saves proof revisions
- Taking a 72 DPI screenshot or tiny website header PNG and scaling it up to 3 inches without vectorizing the edges.
- Forgetting to convert live font layers to vector outlines, which causes missing-font substitutions when the file opens on another computer.
- Stopping a colored or black background right at the cut line instead of extending a ⅛ inch bleed outward.
- Submitting neon RGB hex colors without checking their CMYK conversion or specifying a Pantone code.
- Printing a colored logo on clear transparent stock without an opaque white ink underbase, making the logo nearly invisible on dark surfaces.
Find your label size
Suggested label size: 9⅛ × 2¾ in (width × height)
A typical starting point. Your account manager confirms the size on the proof.
Quote this size →Packaging for this
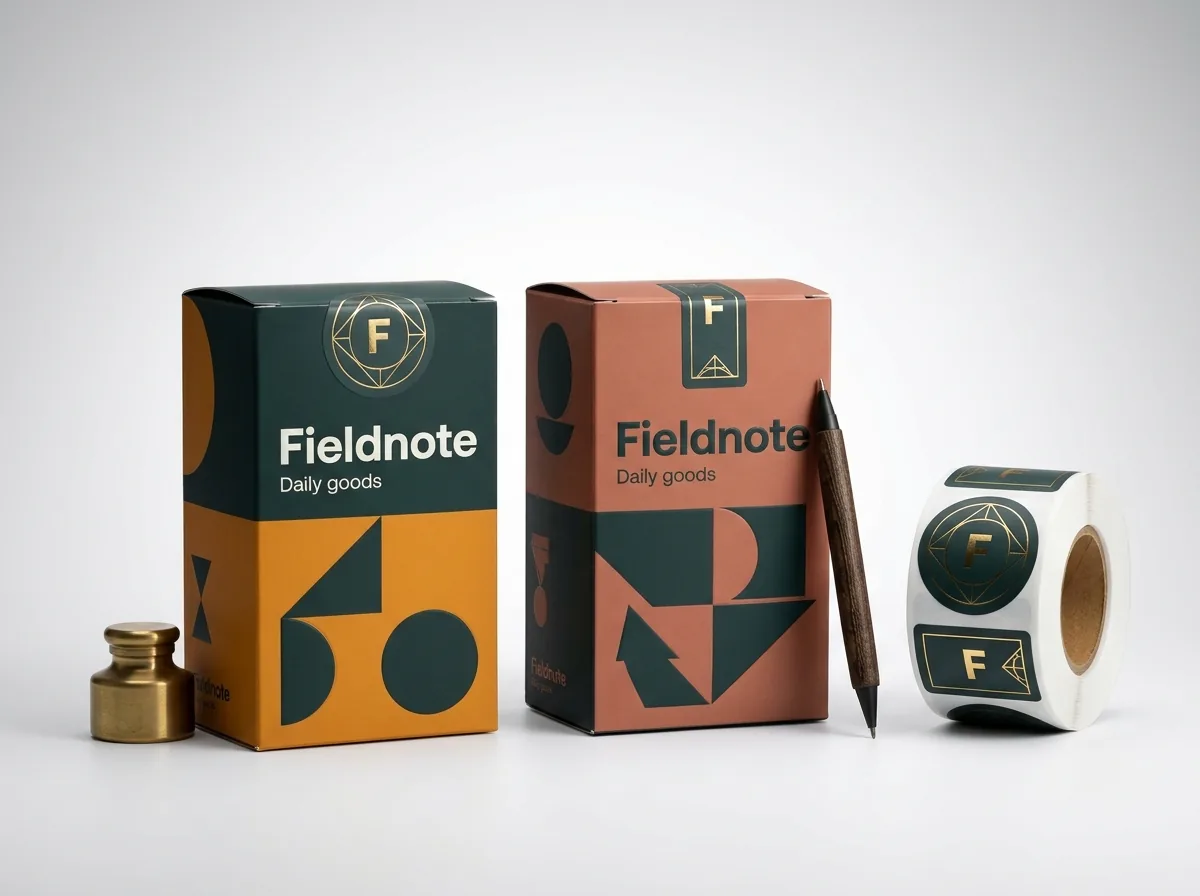
Ready to order logo stickers? Compare up to 3 quantities with a free 3D mockup.
Request a Quote →Questions about logo stickers
What is the best file format to send for custom logo stickers?
A vector file (.AI.EPS, print-ready.PDF or.SVG) with all fonts converted to outlines is ideal because it stays razor-sharp at any sticker size and lets our prepress team generate an exact contour cut path. High-resolution 300+ DPI PNG or TIFF files with transparent backgrounds also print cleanly.
What if I only have a JPEG, PNG or AI-generated image of my logo?
Upload whatever file you have when requesting your quote, or use our free design help and Print Your AI Design service. Our prepress designers will clean up the edges, trace a smooth vector cut path, add bleed and send you a 2D digital proof and 3D mockup for free.
How do I convert fonts to outlines in Adobe Illustrator?
Select all text objects in your Illustrator document (Cmd+A on Mac or Ctrl+A on Windows), then go to Type > Create Outlines (Shift+Cmd+O or Shift+Ctrl+O). Save a copy of your file so every letter is a fixed vector shape that never requires a font file.
Do I need to add bleed if my logo sticker has a white border?
No. If your logo sits inside a white background or has a ⅛ inch white offset border around a contour cut, no outer ink bleed is required because the cut line slices through unprinted white stock. You only need a ⅛ inch outer bleed when ink extends all the way to the cut edge.
How do you guarantee my Pantone brand color on custom logo stickers?
Include your Pantone Solid Coated codes in the quote notes when submitting your artwork. We match your physical Pantone specification on press, and our Pantone match is guaranteed: if a printed Pantone shade is clearly off from the approved spec, we reprint it.
Can I see how my logo cut line and white ink layer look before paying?
Yes. Every CubitPack order includes a free 2D digital proof clearly marking the cut line, safe zone, bleed and white ink or foil layers, plus an interactive 3D mockup. You review and approve both before you pay.
Still have a question? Ask a packaging specialist.
Request a Quote →Request your logo stickers quote
Tell us your size and quantities, and one dedicated account manager prepares pricing for each tier.
- Free design & AI-to-print studio + 3D mockup
- No die or plate charges · 4–5 day rush available
- Free shipping to all 50 states
- 10% off your first order
The vector resolution standards (300+ DPI raster benchmark), ⅛ inch bleed and safe-zone tolerances, and white ink underbase rules in this guide follow commercial label and sticker prepress specifications and were checked by a CubitPack packaging specialist. Spot something wrong? Tell us and we will fix it.
Sources
What changed
- October 22, 2026: First published.
- October 22, 2026: Updated specifications, terminology, and verified source links.
More guides
New packaging guides by email
Sizes, materials and design tips. Unsubscribe anytime.