
How do I prepare artwork and dielines for custom printed poly mailers?
Short answer: To prepare artwork for custom printed poly mailers, supply vector files (AI, PDF or EPS) in CMYK or Pantone spot colors with ⅛ inch bleed past all cut edges, invert any graphics on the 2-inch top adhesive flap so they read upright when folded shut, and reserve a 4 × 6 inch back zone for postage.
On this page
- How does a two-sided custom printed poly mailer dieline fold together
- What file formats, line weights and color modes print cleanly on poly film
- Should you choose a matte or gloss finish for custom printed poly mailers
- How do you design the 4 x 6 shipping label zone and dual return strip
- How do I review my 2D dieline proof and 3D mockup before printing
- Common mistakes
- FAQs
Request a custom quoteFree dieline & 3D mockup
Setting up a production dieline for a two-sided custom printed poly mailer is simple once you understand how the flat polyethylene sheet folds into a sealed envelope. On press, the front panel, bottom fold (or bottom gusset), back panel and top 1.5 to 2 inch adhesive lip are printed on a continuous web of co-extruded film. When your warehouse packer peels the release liner and folds the top adhesive lip down over the back of the bag, that 2-inch flap flips 180 degrees and covers the upper 2 inches of the back panel. Designing with that flap flip in mind (plus extending full-bleed backgrounds ⅛ inch past the outer cut lines, keeping fine lines at 0.75 pt or thicker, and framing a high-contrast 4 × 6 inch thermal shipping label zone) ensures your finished mailers look sharp right off the delivery truck.
How does a two-sided custom printed poly mailer dieline fold together?
When you download or request a flat dieline for edge-to-edge custom printed poly mailers, the template shows three connected zones stacked vertically: the Front Panel, the Back Panel, and the Top Self-Sealing Lip (1.5 to 2 inches tall for single-strip mailers, or 2.25 to 2.5 inches tall for dual return-strip mailers). Because the top adhesive lip is an extension of the front panel that folds backward over the top crease to stick onto the upper back panel, any text, return instructions or continuous pattern printed on the outer face of that lip flips upside down when the bag is sealed shut. In addition, the sealed lip covers the top 1.5 to 2.5 inches of the back panel. Always keep your back-panel return address, social icons and 4 × 6 inch shipping label frame at least 2.5 inches below the top fold line so the flap never hides them.
- Front Panel: 100% visible from bottom edge to top fold line; center your hero logo in the middle 65%–70% of width.
- Top Self-Sealing Lip (1.5 to 2.5 in): folds over onto the back panel when sealed; orient flap text upside down on the flat dieline so it reads right-side up once sealed.
- Upper Back Overlap Zone (top 2.5 in of back panel): covered by the folded flap once sealed; keep text and barcodes out of this strip.
- Back Label Window (4.25 × 6.25 in): high-contrast zone on the lower or middle back panel for 4 × 6 thermal carrier labels.
- Outer Bleed (+0.125 in / ⅛ in): extend all edge-to-edge flood colors and patterns ⅛ inch outside the cut and side-weld lines.
What file formats, line weights and color modes print cleanly on poly film?
Low-density and linear low-density polyethylene (LDPE/LLDPE) film is flexible and slightly elastic as it travels through high-speed flexographic or rotogravure printing presses. While corona surface treatment bonds the ink permanently to the plastic skin, microscopic web tension means super-fine hairline strokes and tiny reverse-knockout text need slightly more breathing room than on rigid paperboard. Use the prepress specification table below when building your artwork in Adobe Illustrator, or upload your rough files through our free design help or print your AI design service and let our prepress engineers set the traps and layers for you at no cost.
| Prepress parameter | Recommended spec for poly film | Why it matters on flexible mailers |
|---|---|---|
| File format & fonts | Vector.AI.PDF or.EPS (fonts outlined) | Scales to any bag size with razor-sharp edges |
| Raster image resolution | 300 DPI at 100% print size (CMYK mode) | Prevents pixelated halftone dots on large mailers |
| Minimum positive line weight | 0.75 pt (1.25 pt for reverse knockouts) | Prevents thin lines from breaking or filling in |
| Minimum font size | 7 pt positive / 8 pt bold reversed out | Keeps recycling and return text legible on film |
| Color specification | Pantone Coated (C) spot codes or CMYK | Guarantees exact brand color matching on film |
| White underbase (dark film) | Separate vector layer named 'White_Ink' | Keeps bright inks opaque over black or dark poly |
Should you choose a matte or gloss finish for custom printed poly mailers?
Once the ink stations print your design onto the polyethylene web, a protective overprint varnish or film finish seals the pigment so it cannot scuff on automated USPS, UPS and FedEx conveyor belts. You can specify either a satin-matte finish or a high-luster gloss finish. A matte lamination or matte varnish finish diffuses overhead ring lights and sunlight, eliminating harsh white glare when customers film unboxing videos on their phones. It also gives the plastic film a soft, dry, paper-like hand feel that elevates solid pastel, earth-tone and jet-black flood coats. A gloss lamination or gloss varnish finish maximizes color saturation and contrast on multi-color CMYK photographs, neon accents and wet-weather parcels.
Know your size? Compare pricing across up to 3 quantities.
Request a Quote →How do you design the 4 x 6 shipping label zone and dual return strip?
Nothing ruins a custom printed mailer faster than a warehouse packer slapping a white 4 × 6 inch thermal shipping label right across the middle of your front logo. You can prevent that mistake on press by building a dedicated 4.25 × 6.25 inch postage frame onto the back panel of your artwork (below the 2.5-inch top flap overlap zone) with a small 'Place 4 × 6 shipping label here' callout. Similarly, if you order return-ready custom poly mailers with dual adhesive strips and a perforated tear line for clothing exchanges, print a simple 1-2-3 diagram right along the top lip: (1) Pull perforated strip to open, (2) Place exchange item inside, (3) Peel second adhesive strip and press shut. Clear on-bag instructions stop customers from cutting the bag down the middle with scissors.
How do I review my 2D dieline proof and 3D mockup before printing?
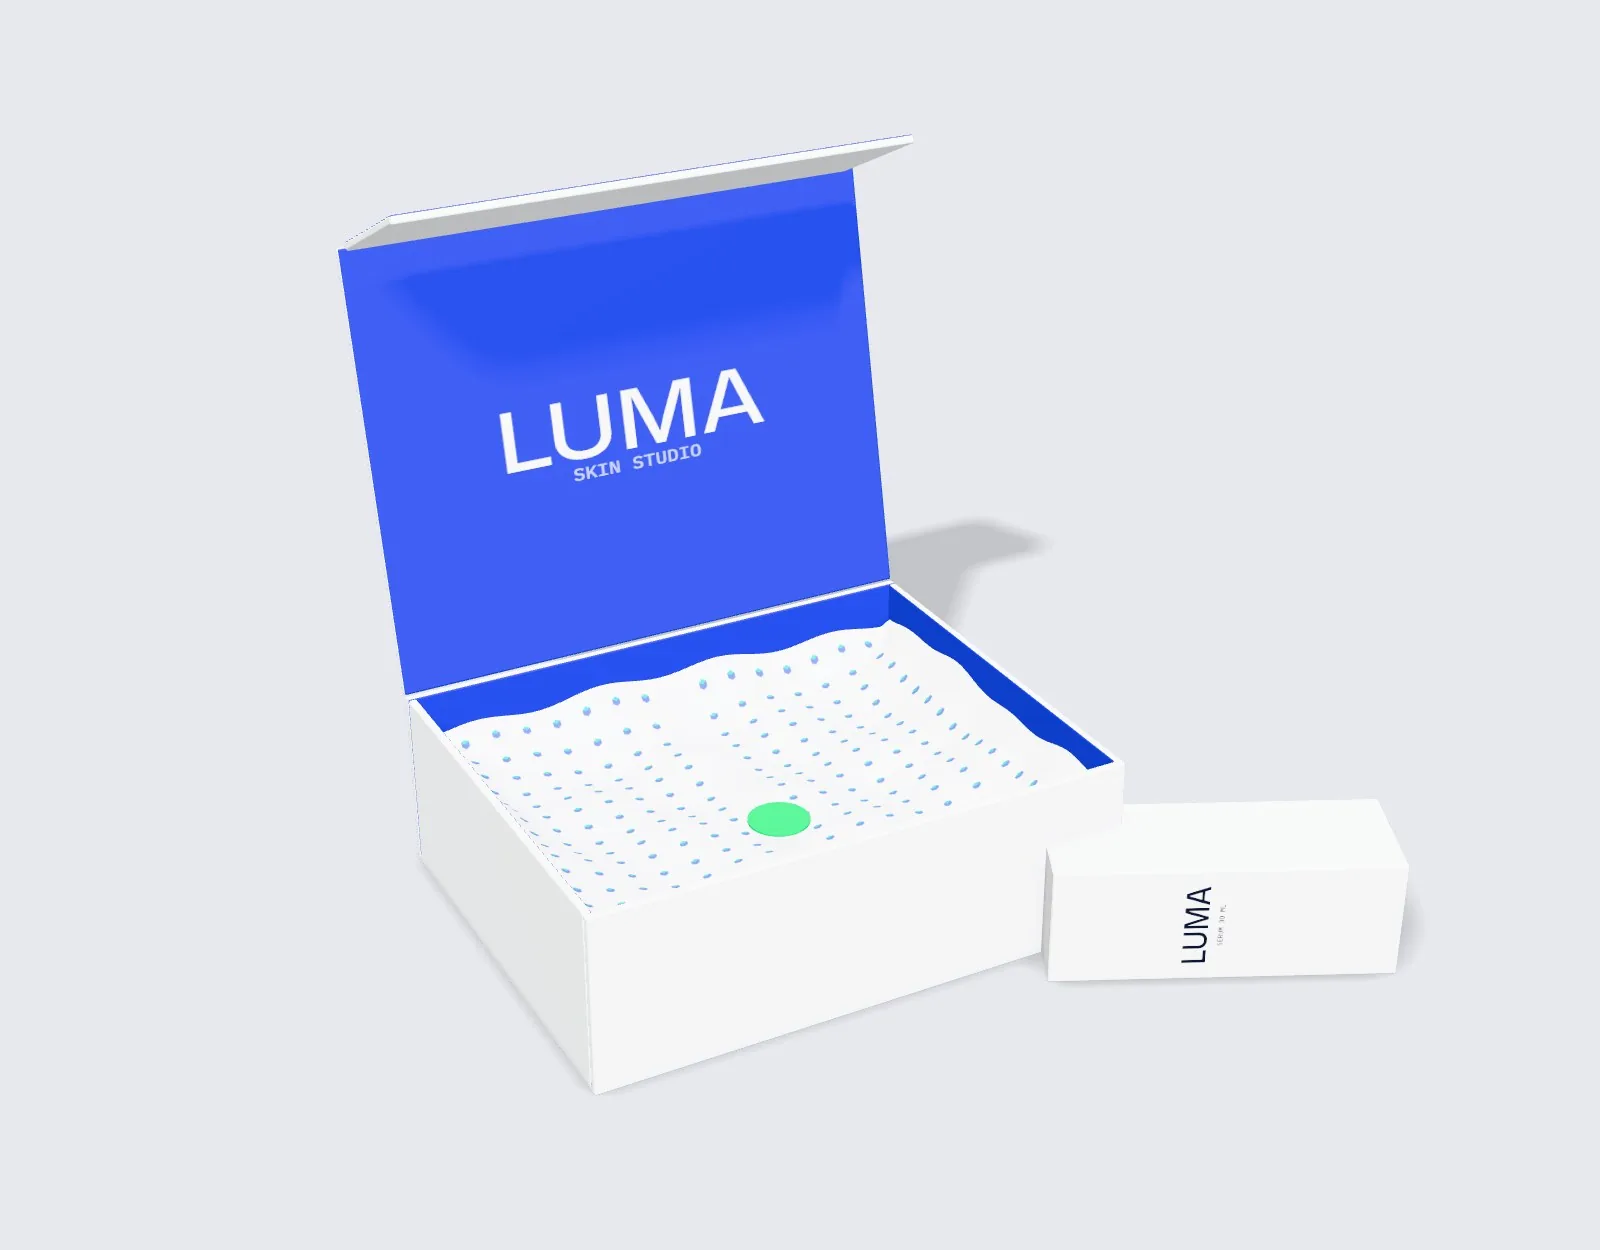
At CubitPack, you never pay cutting die or printing plate fees, and no order goes to press until you review and approve both a flat 2D dieline proof and an interactive 3D mockup before payment. We reply to quote requests within 5-7 minutes, 24/7, and standard production takes 10-14 business days (with 4-5 business day rush available) plus free shipping across all 50 US states. When reviewing your 3D mockup, toggle between the open flat view and the sealed folded view to verify that your top flap graphics read right-side up when folded onto the back panel and that your centered front logo sits comfortably inside the 65% to 70% flat safe zone. If you want to test ink opacity, film thickness and adhesive strength in person before running 5,000 or 10,000 bags, order our $50 sample kit or request a paid custom printed sample of your mailer, both credited 100% toward your full order.
- Verify top flap orientation in the sealed 3D view.
- Confirm ⅛ inch bleed extends past all four outer edges.
- Check Pantone Coated (C) swatch numbers and white underbase layers on dark film.
- Confirm the 4 × 6 inch back shipping label zone sits below the folded flap line.
What are the most common custom printed poly mailer artwork mistakes?
Check your artwork file against these five prepress pitfalls before approving your production proof
- Orienting text on the top self-sealing flap the same way as the front panel, which makes the flap text upside down once folded over onto the back.
- Placing a return address, barcode or social handle in the top 2.5 inches of the back panel where the sealed adhesive flap covers it completely.
- Submitting low-resolution 72 DPI web PNGs enlarged to 14.5 × 19 inches instead of vector paths or 300 DPI artwork at 100% print scale.
- Using hairline rules under 0.75 pt or tiny 5 pt reverse-knockout text inside a heavy Pantone flood coat, where natural ink spread closes up fine strokes.
- Forgetting to designate a clear 4 × 6 inch label spot on the back panel, leading fulfillment staff to stick postage labels over the front hero art.
Packaging for this
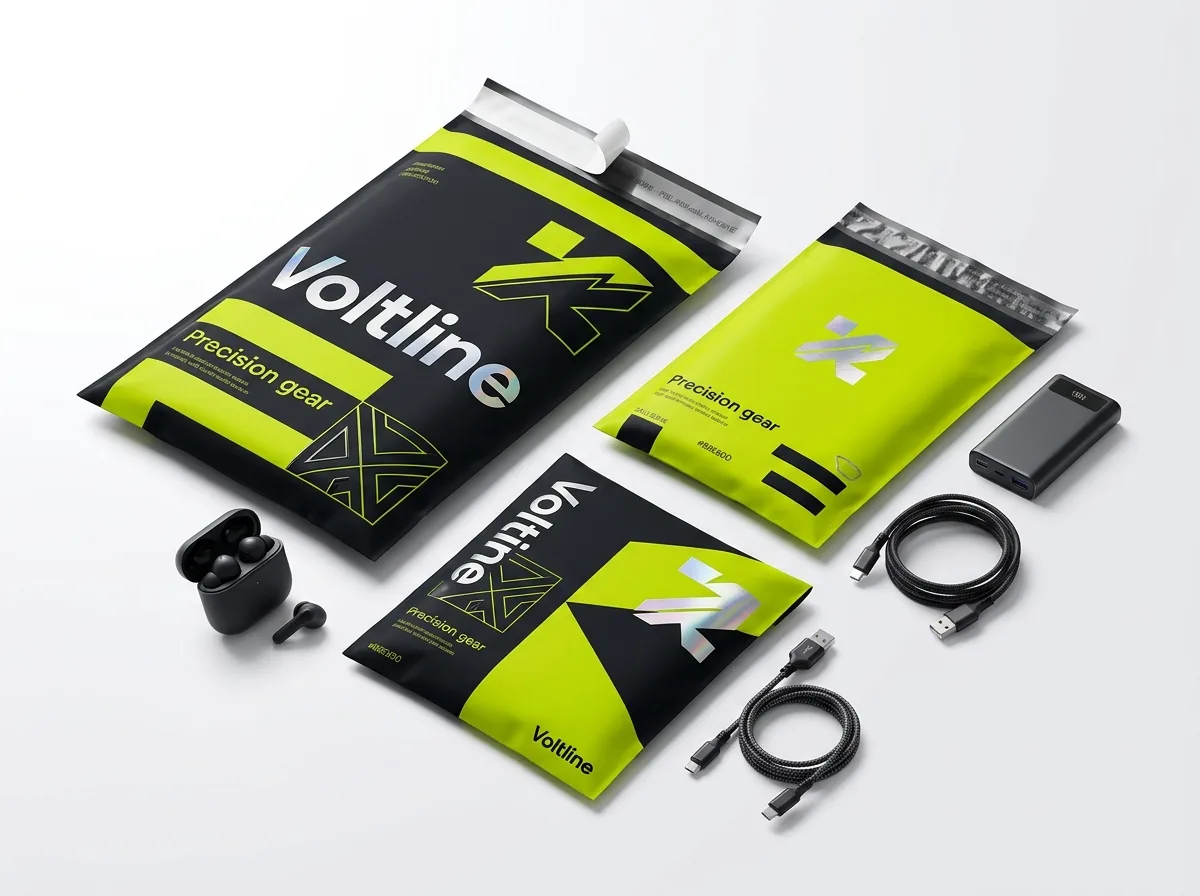
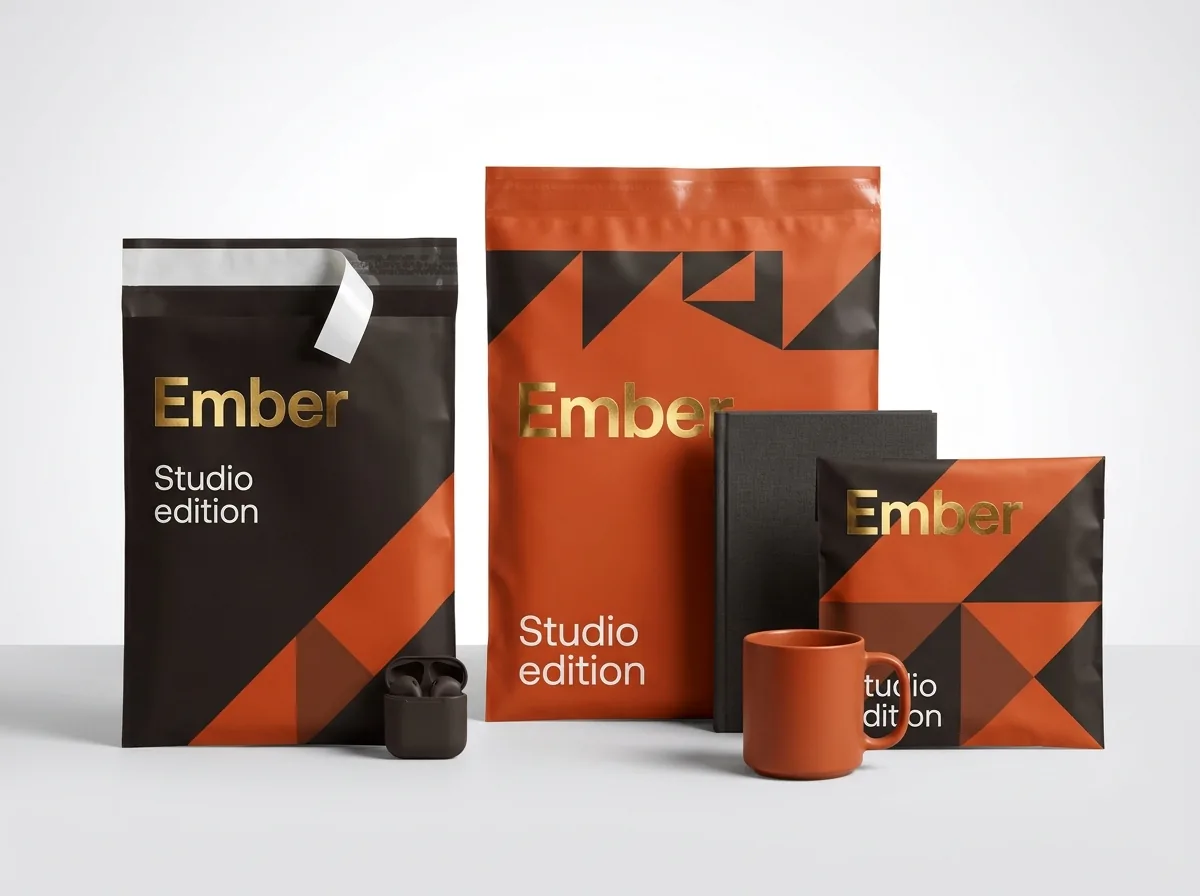
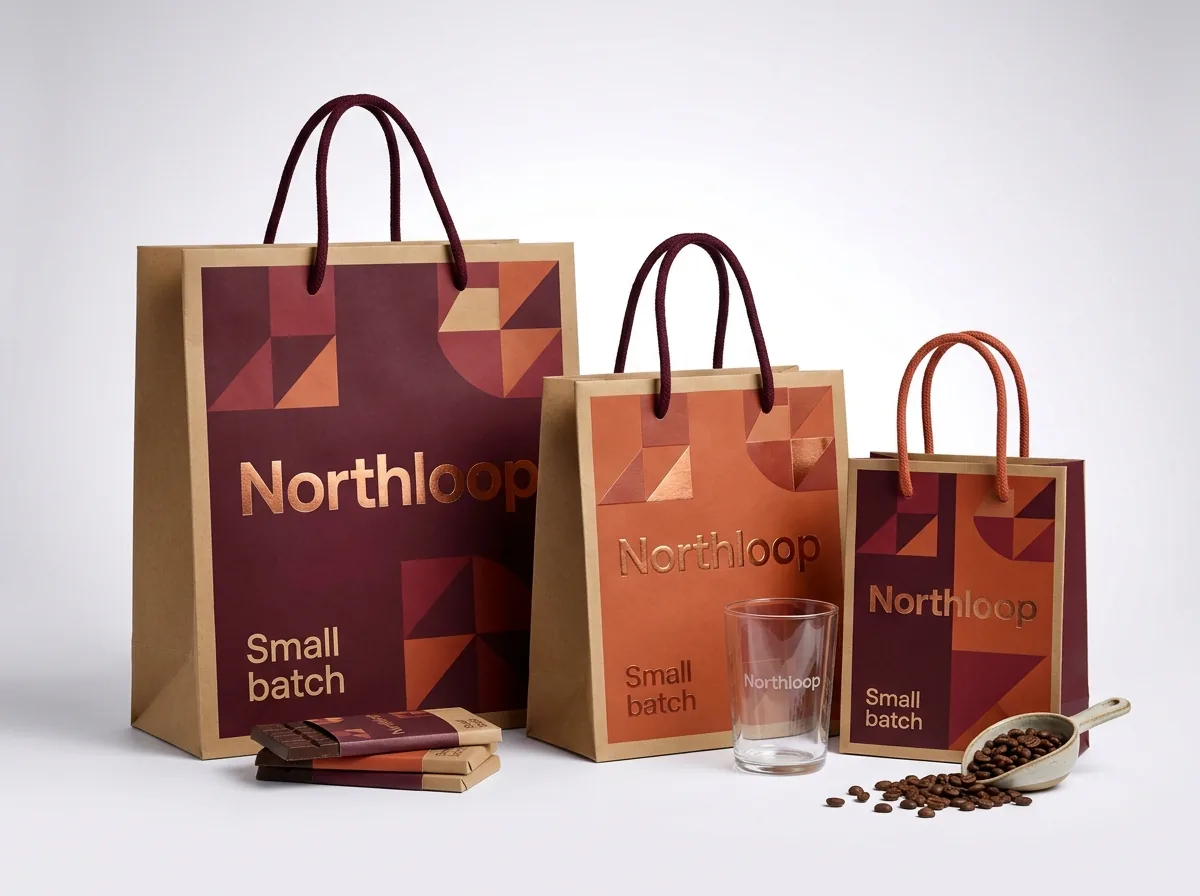
Ready to order printed poly mailers? Compare up to 3 quantities with a free 3D mockup.
Request a Quote →Questions about printed poly mailers
Do I need a dieline template before designing my custom printed poly mailer?
You can either request a free custom dieline template for your exact Width × Height on your quote, or simply upload your logo, pattern or artwork in Step 2 and let our prepress team lay out the dieline and 3D mockup for free.
Should I use Pantone Coated (C) or Uncoated (U) color codes for poly mailers?
Use Pantone Solid Coated (C) swatch numbers when specifying spot colors for polyethylene mailers. Because poly film is non-porous and smooth like coated paper, Coated (C) formulas give the closest match on both matte and gloss films.
How do you print bright colors on a black or dark-colored poly mailer?
When printing bright or pastel colors over a black or dark-dyed polyethylene film, we lay down a high-opacity white ink underbase layer right beneath the colored ink so the dark film does not mute your brand colors.
Can my repeating pattern continue across the side seams of the mailer?
Yes, your pattern will print edge to edge right up to both side heat-seal seams. Because the front and back panels meet at a hot-knife weld along the left and right edges, organic or diagonal patterns transition most cleanly across the seam.
Can I include a recycling symbol or suffocation warning on my poly mailer?
Yes. Our prepress team can add standard resin identification codes (such as LDPE 4), curbside or store drop-off instructions, and child-safety suffocation warning text along the lower back panel or gusset at no cost.
Are there any plate charges if my artwork uses 4-color CMYK on both sides?
No. CubitPack never charges cutting die or printing plate fees, even on two-sided edge-to-edge CMYK or multi-color Pantone designs. Standard turnaround is 10-14 business days with free shipping across all 50 US states.
Still have a question? Ask a packaging specialist.
Request a Quote →Request your printed poly mailers quote
Tell us your size and quantities, and one dedicated account manager prepares pricing for each tier.
- Free design & AI-to-print studio + 3D mockup
- No die or plate charges · 4–5 day rush available
- Free shipping to all 50 states
- 10% off your first order
The flap-inversion geometry, ⅛ inch bleed rules, minimum stroke weights and Pantone Coated (C) standards in this guide follow flexographic and rotogravure prepress specifications for LDPE/LLDPE mailer film. A CubitPack packaging specialist reviewed every section. Spot something wrong? Tell us and we will fix it.
Sources
What changed
- October 22, 2026: First published.
- October 22, 2026: Updated specifications, terminology, and verified source links.
More guides
New packaging guides by email
Sizes, materials and design tips. Unsubscribe anytime.