
How do I design custom kraft paper bags for clean printing and strong handles?
Short answer: To design custom kraft paper bags that print sharply, center your main logo between the upper inner handle-patch zone and the lower bottom-fold crease, use vector artwork with Pantone spot colors or an opaque white ink layer, and match handle style and ink coverage to your target budget.
On this page
- Where are the keep-out zones on a custom kraft paper bag dieline
- How do you set up vector artwork, Pantone inks and white ink on kraft
- How do handle style, ink coverage and finishes change bag cost
- How do you design side gussets and prevent dark ink rub-off
- How do I check my kraft bag dieline and 3D mockup before printing
- Common mistakes
- FAQs
Request a custom quoteFree dieline & 3D mockup
Designing a custom kraft paper bag requires accounting for three structural zones that do not exist on a flat carton: the glued inner handle patch at the top center, the vertical center pleat down both side gussets, and the horizontal V-fold crease across the lower front panel where the square bottom folds flat for shipping. If you place fine typography right over the inner handle patch, the glue ridges under the paper can make thin strokes look uneven; if you drop your logo too low on the front face, the factory bottom-fold crease will run straight through your lettering. Keep primary logos in the middle optical zone of the front and back faces, put repeating patterns or bold vertical web URLs on the side gussets, and specify an opaque white ink layer under any light color printed on natural brown kraft.
Where are the keep-out zones on a custom kraft paper bag dieline?
When you open a flat dieline template for custom printed kraft paper bags, you see four wide vertical panels (Front, Right Gusset, Back, Left Gusset) plus the overlapping bottom flaps below. While the entire exterior sheet can be printed prior to bag forming, two mechanical zones on the front and back faces affect how finished artwork looks in a customer's hand. First, on twisted-handle and flat-handle bags, a heavy rectangular kraft reinforcement patch is glued to the inside of the upper wall roughly 2.5 to 3 inches down from the top rim. That glued inner patch slightly stiffens and textures the paper right above your logo. Second, when the finished square bottom is folded flat against the bag body to pack into master shipping cartons, a horizontal fold crease forms across the lower front panel at a height equal to roughly half of the bottom Depth. Placing your hero logo slightly above dead center keeps it clear of both the upper handle patch and the lower flat-pack fold line.
- Upper handle-patch zone (top 2.5 to 3 inches): avoid tiny serif text or delicate halftones directly over the glued inner handle patch.
- Optical hero zone (center-upper panel): center your main logo slightly above the vertical midpoint so it sits between the handle patch and the bottom fold crease.
- Lower bottom-fold crease (approx ½ × Depth up from the bottom edge): never place scannable barcodes or small contact text across this horizontal crease.
- Side gusset center score: remember that a vertical inward fold crease runs right down the middle of both left and right side gussets.
- Bleed and safe margin: extend full-bleed background colors ⅛ inch past outer cut lines and keep critical text ½ inch inside fold scores.
How do you set up vector artwork, Pantone inks and white ink on kraft?
Uncoated brown and white kraft papers have a slightly porous wood-fiber texture that absorbs more liquid ink than laminated paperboard. That natural absorption called dot gain causes super-thin hairline rules and tiny negative-space lettering (white text knocked out of a dark background) to fill in slightly on press. For the sharpest result on uncoated kraft, supply vector artwork (AI, PDF or EPS with outlined fonts) and keep positive line weights at least 0.75 pt (1 pt for reverse knockouts) and minimum text size at 7 pt (8 pt bold for reverse knockouts). If you are printing on natural brown kraft and want white ink on kraft either as a standalone white logo or as an underbase beneath bright Pantone colors, place all white-ink elements on a separate vector layer named 'White_Ink' set to overprint. Don't have print-ready vector files? You can use our free design help or send your concept through print your AI design and our prepress team will build the layers for you.
How do handle style, ink coverage and finishes change bag cost?
Because CubitPack never charges cutting die or printing plate fees, your unit price on custom kraft paper bags is driven by four practical spec choices: handle construction, paper weight, ink coverage and order quantity. Understanding how each spec affects converting speed lets you put your budget where customers notice it most. Use the table below to compare how different handle and print combinations affect relative unit cost, counter speed and brand presentation.
| Design & structure choice | Low-cost everyday setup | Elevated boutique / gift setup | Main impact on unit cost |
|---|---|---|---|
| Top & handle style | Handle-free SOS or flat pinch bottom | Twisted paper cord or threaded ribbon handle | Handle forming and inner patch gluing |
| Color & ink setup | 1 or 2 Pantone spot colors on front/back | Full-bleed 4-color CMYK + white ink + gussets | Number of ink stations and total ink coverage |
| Paper stock & weight | Standard GSM unbleached brown kraft | Heavy GSM bleached white or turn-top kraft | Pulp weight per thousand bags |
| Surface finish | Natural uncoated kraft paper | Matte protective varnish + hot foil stamping | Secondary foil stamping or embossing pass |
| Bottom support | Standard self-supporting block bottom | Inserted rigid cardboard bottom stiffener | Added board insert and hand/semi-auto assembly |
Know your size? Compare pricing across up to 3 quantities.
Request a Quote →How do you design side gussets and prevent dark ink rub-off?
The left and right side gussets of a shopping bag make up roughly 30% to 40% of the bag's total surface area, and they are the faces pedestrians see first as a customer walks down the sidewalk carrying the bag at their side. Because each side gusset folds inward along a vertical center score when the bag is flat, wide horizontal logos across the gusset get creased in half. Instead of placing a wide horizontal wordmark across the side gusset, print a bold vertical website URL, a stacked tagline on one half of the gusset, or an all-over repeating monogram pattern that looks natural whether the gusset is pleated or expanded. Also, if your design floods the exterior of an uncoated kraft bag with heavy black, navy or dark green ink, ask us to include a water-based matte protective overprint varnish so the dark pigment cannot rub off onto a customer's white shirt on a rainy day.
How do I check my kraft bag dieline and 3D mockup before printing?
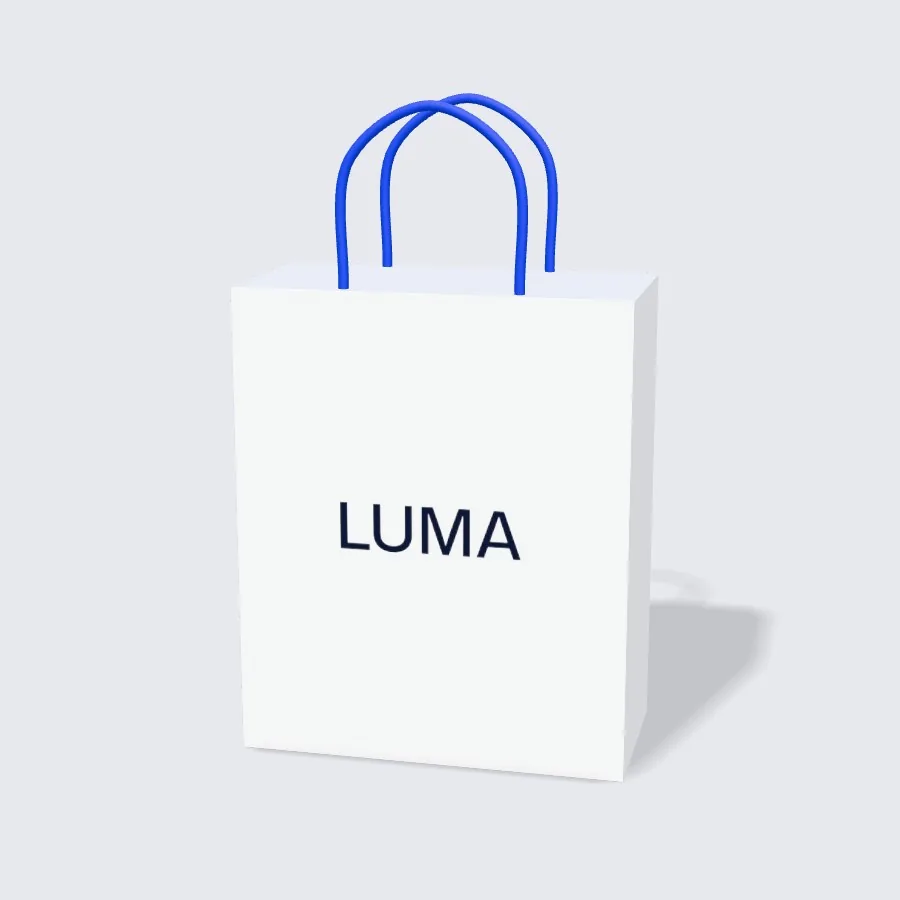
Every CubitPack order includes a free 2D digital dieline proof and an interactive 3D mockup before you pay. When your account manager sends your proof, rotate the 3D bag to inspect three things: how the front logo sits below the handle loop, how the side gusset pattern meets the bottom corner triangles, and where the lower flat-pack fold crease lands. If you are launching multiple bag sizes at once (for example, a small pastry sleeve, a medium retail bag and a wide takeout carrier), upload your logo once and our prepress team will scale the artwork proportionally across all three dielines at no cost.
- Check front/back orientation: confirm both faces read right-side up when the bottom flaps are folded shut.
- Check side gusset wrap: verify whether horizontal stripes or patterns need to align across the front-to-gusset fold.
- Check white ink knockout: verify that the white underbase layer is choked 0.25 pt inside colored edges so no white halo peeking occurs.
- Approve or revise for free: request unlimited layout adjustments on your digital proof before payment.
What are the most common custom kraft paper bag design mistakes?
Check your artwork file against these five prepress pitfalls before approving your production proof
- Centering the main logo too low on the front panel so the factory flat-pack bottom crease folds right through the middle of your brand name.
- Placing delicate 5 pt serif text or fine halftone gradients directly over the upper inner handle patch where glue ridges texture the sheet.
- Designing a wide horizontal logo across the side gusset without realizing the vertical center gusset score folds the graphic inward.
- Using hairline rules thinner than 0.75 pt or tiny reverse knockouts on uncoated kraft paper, which close up slightly from natural ink absorption.
- Flooding 100% of an uncoated bag with heavy black or navy ink without adding a protective matte varnish to prevent rub-off.
Packaging for this
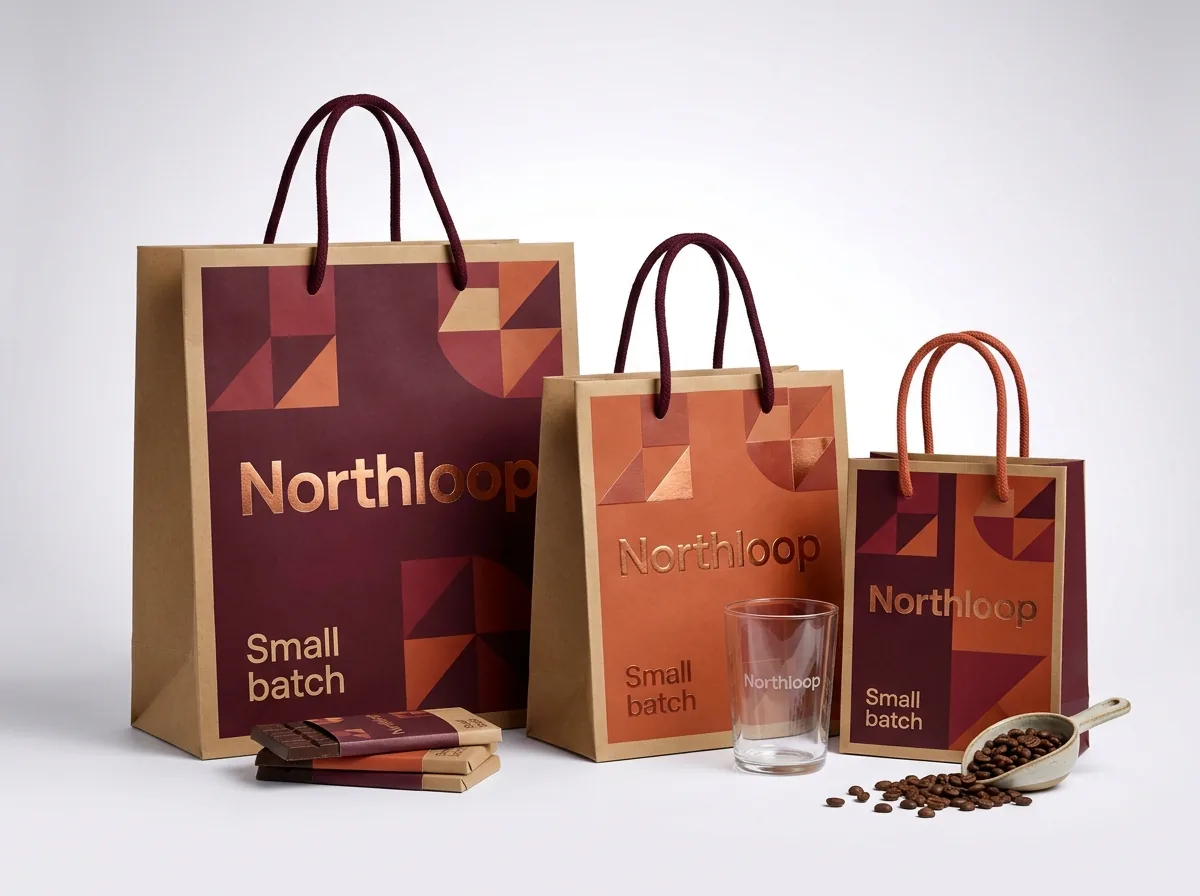
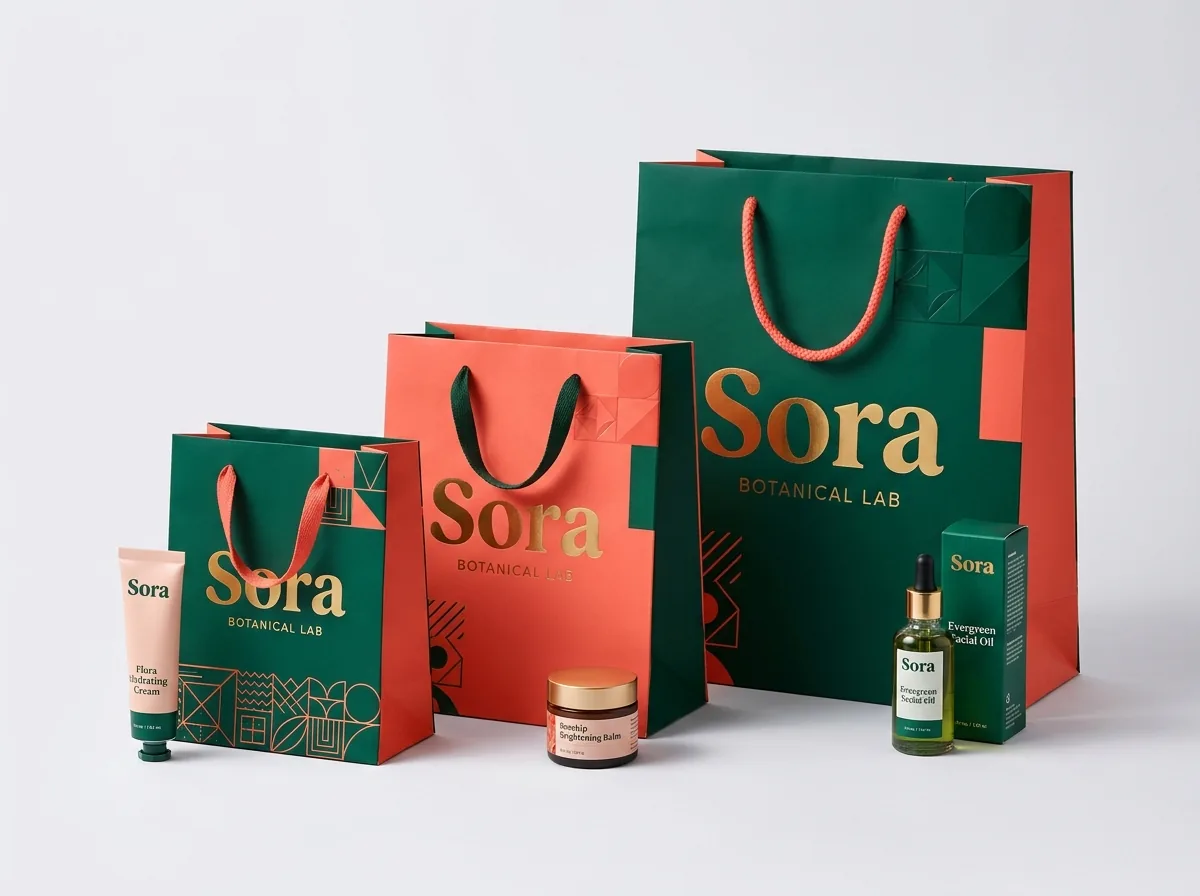
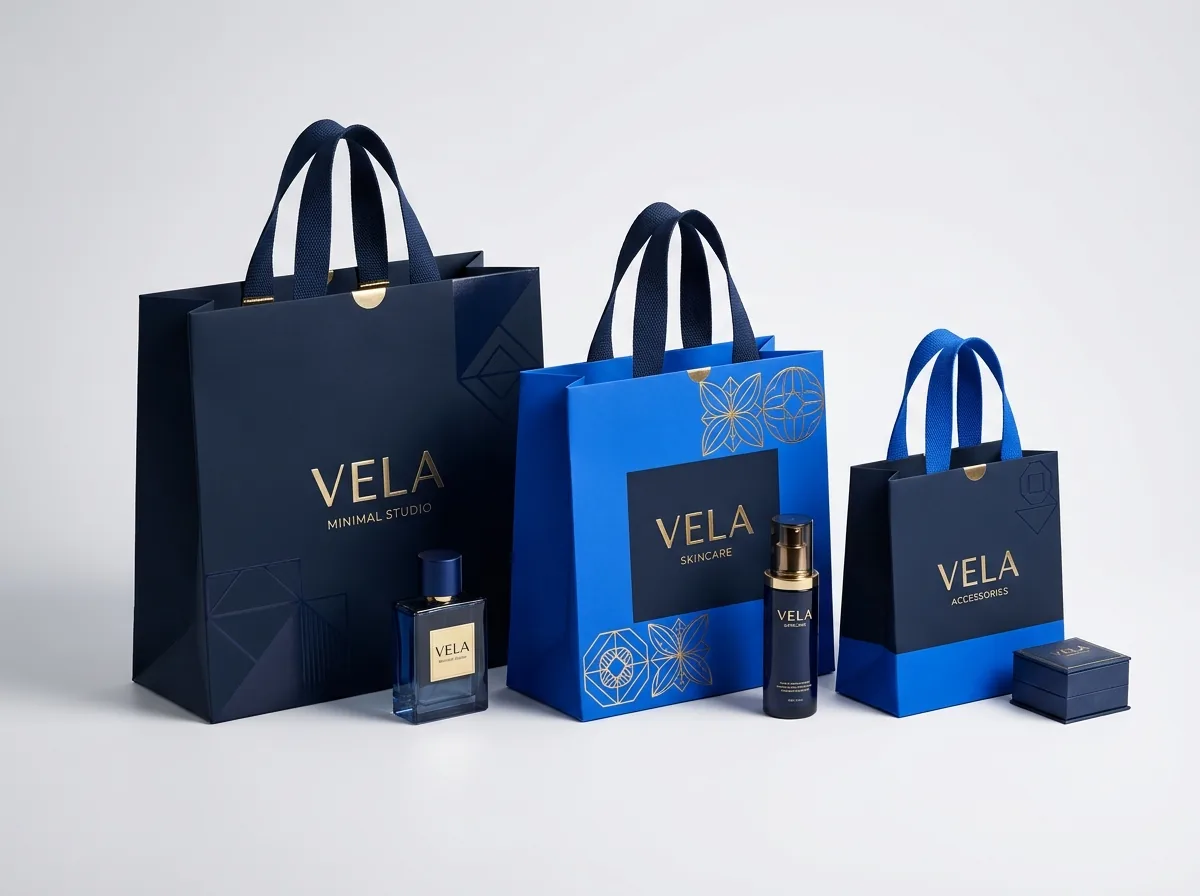
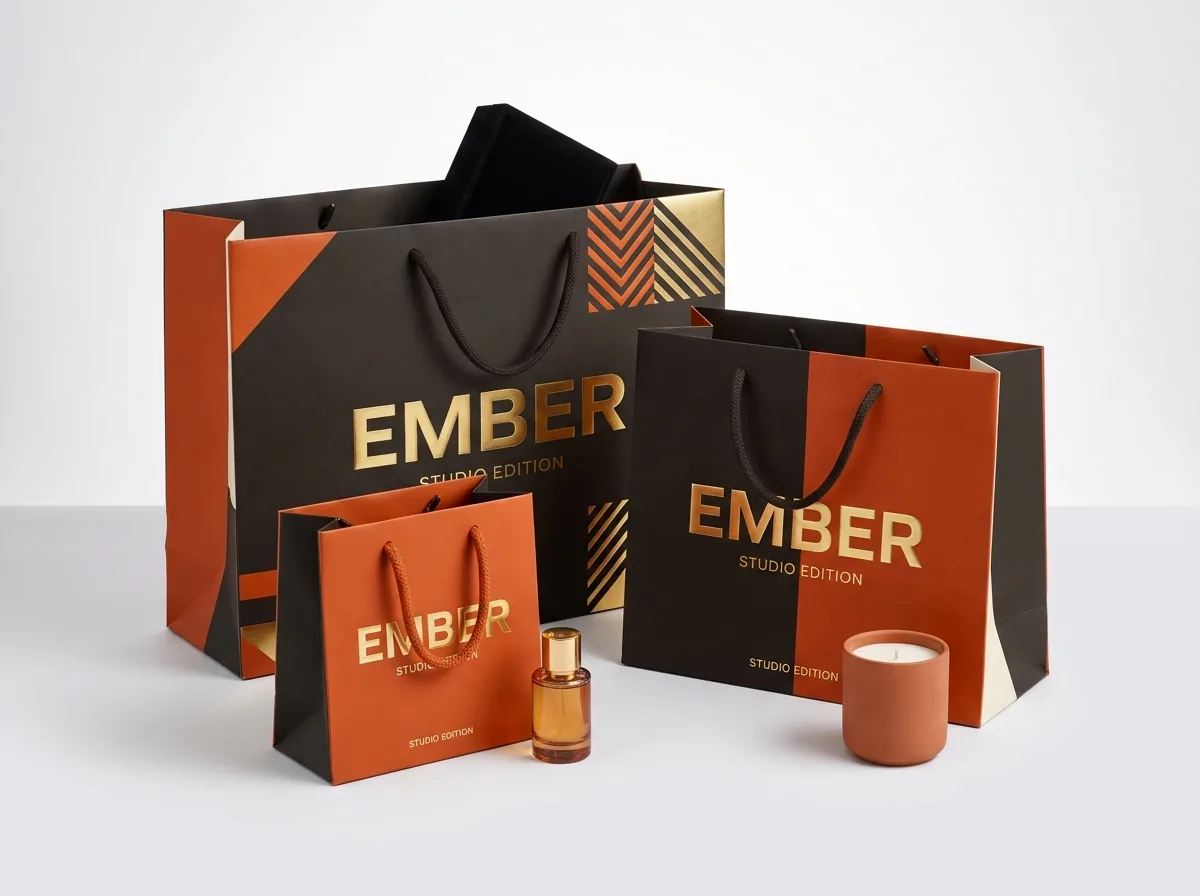
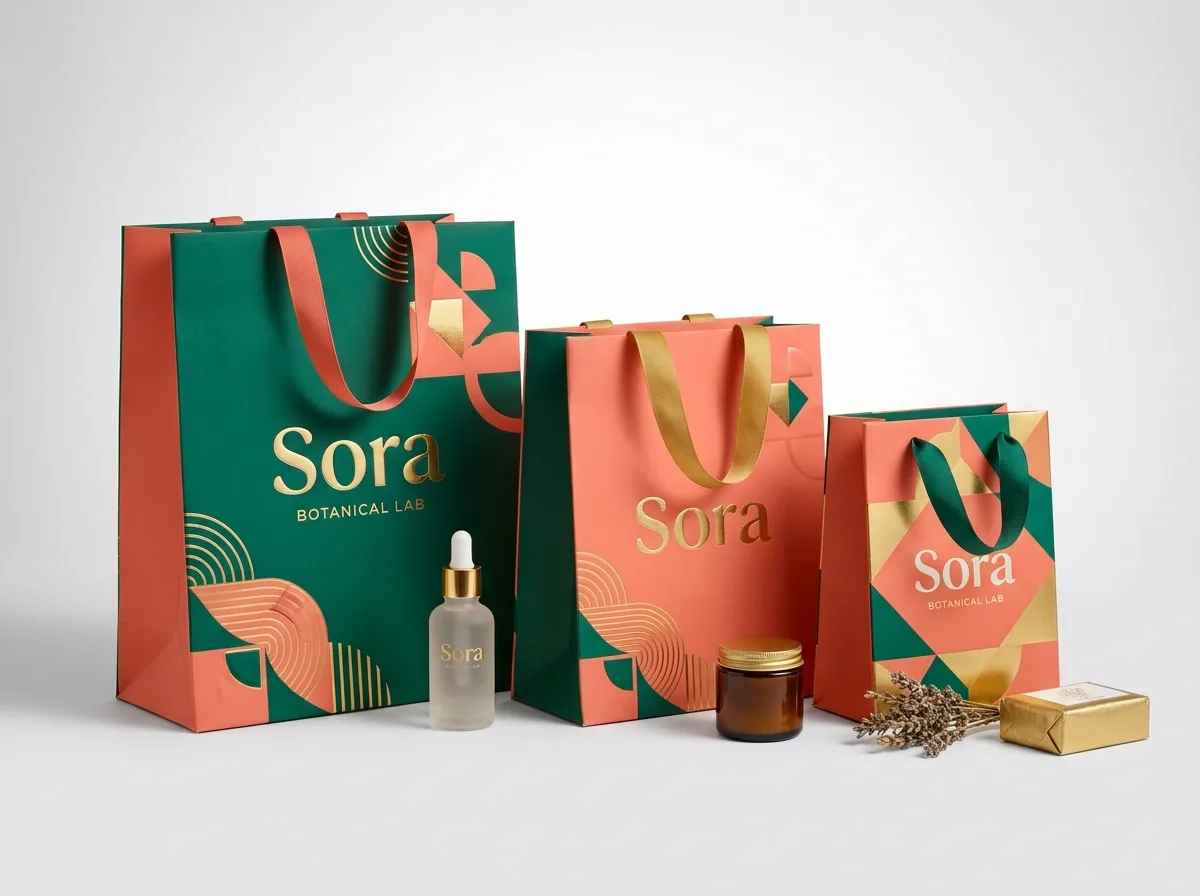
Ready to order kraft paper bags? Compare up to 3 quantities with a free 3D mockup.
Request a Quote →Questions about kraft paper bags
Do I have to pay extra for printing plates or custom cutting dies on kraft bags?
No. CubitPack never charges cutting die or printing plate fees on custom kraft paper bags. Whether you print a 1-color logo on the front or a multi-color wrap across all four panels, your quote covers the complete setup.
What file format should I upload for custom kraft paper bag printing?
Vector files in Adobe Illustrator (.AI), vector PDF or.EPS with fonts converted to outlines give the cleanest results. If you only have a PNG, JPEG or AI-generated concept, our design team will prepare the print-ready dieline for free.
Can I print inside a custom kraft paper bag?
Yes. Because paper bags are printed flat before they are folded and glued into tubes, we can print a welcome message, pattern or Flood color on the inside upper cuff or across the full interior wall.
How close to the top edge or bottom crease can I place my logo?
Keep your main logo at least 3 inches below the top rim (below the inner handle reinforcement patch) and at least ½ inch above the horizontal bottom flat-pack crease, which sits roughly half of the bag's Depth up from the floor.
Can you match my exact Pantone brand color on kraft paper?
Yes, Pantone color matching is guaranteed. On bleached white kraft we match Uncoated (U) Pantone formulas directly; on natural brown kraft we can print dark Pantones directly or lay down an opaque white ink base first for bright shades.
How long does it take to get a custom kraft bag dieline and 3D mockup?
We reply to quote requests within 5-7 minutes, 24/7, and our prepress team sends your free 2D digital dieline proof and 3D mockup before you make any payment. Standard production after proof approval takes 10-14 business days.
Still have a question? Ask a packaging specialist.
Request a Quote →Request your kraft paper bags quote
Tell us your size and quantities, and one dedicated account manager prepares pricing for each tier.
- Free design & AI-to-print studio + 3D mockup
- No die or plate charges · 4–5 day rush available
- Free shipping to all 50 states
- 10% off your first order
The dieline keep-out zones, ink stroke minimums and handle-patch rules in this guide come from standard paper bag converting and flexographic prepress tolerances. A CubitPack packaging specialist reviewed every section. Spot something wrong? Tell us and we will fix it.
Sources
What changed
- October 22, 2026: First published.
- October 22, 2026: Updated specifications, terminology, and verified source links.
More guides
New packaging guides by email
Sizes, materials and design tips. Unsubscribe anytime.