
How do you design custom merchandise bags and lower your unit cost?
Short answer: Center your primary logo on the clean front face, keep fine text off the vertical back glue seam and bottom fold-up flap, use 1 to 2 Pantone spot colors or opaque white ink on kraft to control ink cost, and add protective varnish over dark ink coverage on custom merchandise bags.
On this page
- How do I design around the center back seam, bottom pinch fold and top lip
- Which paper stock and ink combination gives the sharpest look for my brand
- How can I use side gussets and fold-over cuffs to upgrade the unboxing experience
- How do I prevent dark ink from rubbing off onto white clothing or customer hands
- What affects the price of custom merchandise bags and how do I lower unit cost
- Common mistakes
- FAQs
Request a custom quoteFree dieline & 3D mockup
Designing a custom paper merchandise bag requires understanding how a flat roll of kraft or white paper is printed, folded into a continuous tube, gusseted on the sides and pinched shut at the base. Because the front panel is completely unbroken while the back panel carries a vertical center glue overlap and a folded bottom lip, smart layouts put the hero brand mark or illustration on the front, repeat a pattern inside the expandable side gussets, and place social handles or a fold-over guide line on the upper back wall. To keep unit costs low without sacrificing shelf presence, 1-color or 2-color Pantone spot printing (including opaque white ink on natural brown kraft) delivers razor-sharp lines at a lower press cost than 100% full-bleed CMYK coverage. CubitPack includes free design help, custom dielines and 3D mockups with zero plate charges.
How do I design around the center back seam, bottom pinch fold and top lip?
When you open a flat dieline for printed retail merchandise bags, you will notice that the front and back panels are not identical. On tube-formed pinch-bottom bags, the paper wraps around a forming mandrel and overlaps down the vertical center of the back panel in a 0.5 to 0.75 inch glued seam. At the bottom of the bag, the lowest 0.75 to 1.25 inches of paper folds upward onto the outside of the lower back panel to seal the V-bottom. That leaves the front panel 100% smooth and uninterrupted from top to bottom, making it the primary canvas for your store logo, crest or full-bleed illustration. On the back panel, keep small typography, store addresses and QR codes at least 0.375 inches away from the vertical center overlap seam and at least 1.5 inches above the bottom edge so the folded bottom tab never covers your text. Also leave the top 1.5 to 2 inches of the front panel free of critical text if your cashiers fold the top lip over to seal the bag.
- Front panel safe zone: keep logos at least 0.5 in inside left/right fold edges, 1.0 in above the bottom crease, and 1.75 in below the top lip.
- Back panel center seam: avoid placing tiny 8 pt text or QR codes directly across the 0.5 in vertical center glue overlap.
- Bottom fold-up tab: keep the lowest 1.5 in of the back panel clear of text, or print a contrasting color block on the bottom tab.
- Extended back thumb lip: the 0.5 in protruding back lip at the top is a great spot for a tiny 'Open here' or 'Thank you' detail.
Which paper stock and ink combination gives the sharpest look for my brand?
Paper stock color acts as the fifth color in your print design. Unbleached natural brown kraft absorbs translucent inks and warms every hue by a shade, whereas bleached white kraft reflects light back through the ink layer to keep pastel pinks, sky blues, yellows and photographic CMYK gradients accurate. Use the design and cost reference table below to compare the five most popular paper-and-ink pairings on custom merchandise bags.
| Paper & ink combination | Visual feel & contrast | Best retail vibe & relative cost |
|---|---|---|
| Natural brown kraft + 1 dark Pantone | Warm, organic wood-fiber texture with crisp black, forest green or burgundy ink | Bookstores, coffee shops, bakeries, vintage markets (lowest unit cost) |
| Natural brown kraft + opaque white ink | High-contrast chalky white logo popping against warm brown kraft | Apothecaries, ceramic studios, minimalist apparel, record stores |
| Brown kraft + white underbase + Pantone | White ink printed first so bright yellow, coral or lilac stays true on brown paper | Indie gift shops, craft food brands, specialty stationery |
| Bleached white kraft + 1-2 Pantone colors | Clean uncoated white paper with exact Pantone brand color matching | Pharmacies, cosmetics, modern museums, children's boutiques |
| White kraft + full-bleed CMYK + varnish | Edge-to-edge full-color illustration or flood-coat background with matte varnish | Art galleries, comic shops, streetwear drops, museum exhibition shops |
| Dyed or flood-coated bag + foil stamping | Metallic gold, silver or copper hot foil stamped on dark matte paper | Jewelry counters, watches, fine fragrances and holiday gift sleeves |
How can I use side gussets and fold-over cuffs to upgrade the unboxing experience?
On a side-gusseted merchandise bag, the left and right pleats stay tucked inward while the bag sits flat, then accordion open as soon as the cashier slides a book or t-shirt inside. Printing a solid contrasting Pantone color, a vertical store URL, or a small repeating icon pattern inside those side gussets creates a two-tone frame around your front panel that makes a simple paper bag look like custom boutique stationery. Another zero-cost design upgrade sits 1.5 inches below the top edge on the back panel: print a subtle dashed horizontal line labeled 'Fold here' along with a small circle target showing staff exactly where to place your branded seal sticker. When paired with custom labels and custom tissue paper, every customer leaves the register with a neatly cuffed, sticker-sealed parcel.
Know your size? Compare pricing across up to 3 quantities.
Request a Quote →How do I prevent dark ink from rubbing off onto white clothing or customer hands?
If your brand aesthetic calls for a merchandise bag printed with 80% to 100% solid black, navy blue, deep burgundy or forest green ink coverage, uncoated paper fibers hold a heavy layer of pigment on the surface. When a customer tucks a heavy-ink uncoated bag under their arm on a humid summer day - or slides a white cotton t-shirt past the printed rim - raw pigment can transfer onto fabric or fingers. Whenever your artwork covers more than 50% of the bag surface in a dark color, we recommend adding a water-based matte or gloss protective overprint varnish (), or keeping a 0.25-inch unprinted paper border around the top lip where items slide in. If you want an ultra-thick, laminated carrier with cord or ribbon handles, also compare our custom luxury shopping bags and custom gift bags.
What affects the price of custom merchandise bags and how do I lower unit cost?
Four variables control the unit price of custom printed merchandise bags: bag dimensions and paper basis weight (a 4 × 6 in jewelry sleeve uses a fraction of the paper of a 13 × 13.5 in record bag), handle style (handle-free pinch-bottom sleeves cost less than die-cut patch handles or twisted cord handles), ink and finish complexity (1-2 Pantone colors vs full-bleed CMYK or hot foil stamping), and order quantity. To get the best possible unit price, use handle-free pinch-bottom or side-gusseted bags sealed with a roll sticker, design with 1 or 2 high-impact Pantone spot colors, and group your small, medium and large counter bag sizes into one combined quote. At CubitPack, you never pay cutting die or printing plate fees, your first order is 10% off, and we beat any written US competitor quote for the same specs.
- Choose 1 or 2 Pantone spot colors: crisp one-color forest green, burgundy, black or opaque white ink on natural brown kraft looks editorial at the lowest ink cost.
- Use handle-free bags for small and medium items: books, cards, cosmetics and single shirts carry easily in a folded cuff without cord handle hardware.
- Standardize paper stock across sizes: ordering your 5 × 7.5 in, 6.25 × 9.25 in and 10 × 13 in bags on the same kraft paper roll streamlines production.
- Compare three quantity tiers: enter three quantities (such as 500, 1,000 and 2,500) in Step 1 of the quote form to see how unit pricing drops.
What are the most common custom merchandise bag design and artwork mistakes?
A few simple prepress checks prevent clipped logos, seam overlaps and ink rub-off. Watch out for these five design mistakes
- Placing your main logo too high near the top edge, where it gets folded in half as soon as the cashier cuffs the top of the bag.
- Centering small back-panel text or a QR code directly over the vertical back glue seam or the bottom fold-up pinch tab.
- Printing light pastel yellow, pink or baby blue directly on natural brown kraft without an opaque white ink underbase layer.
- Running 100% solid black or navy ink across an uncoated t-shirt bag without a protective matte varnish to prevent rub-off.
- Submitting low-resolution raster screenshots instead of vector artwork (or letting our free design team rebuild your logo in vector format).
Packaging for this
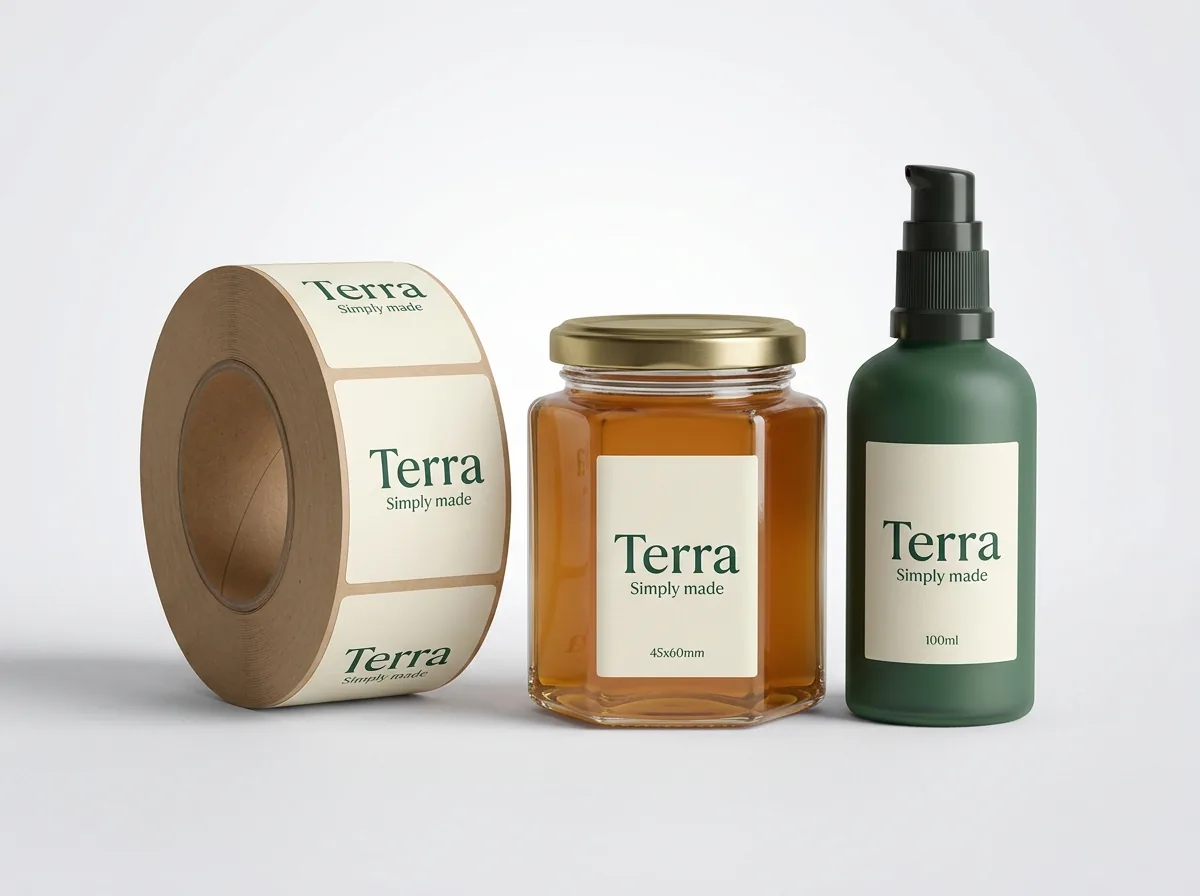
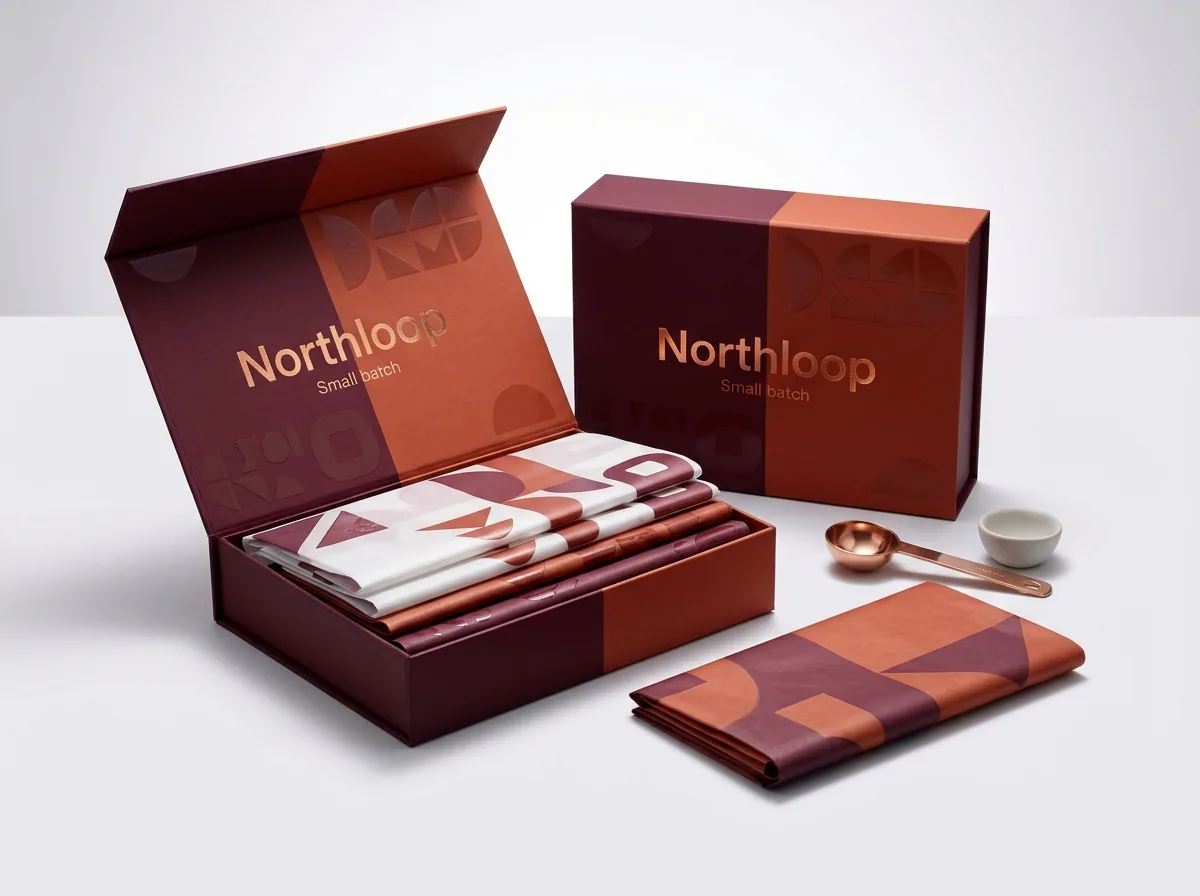
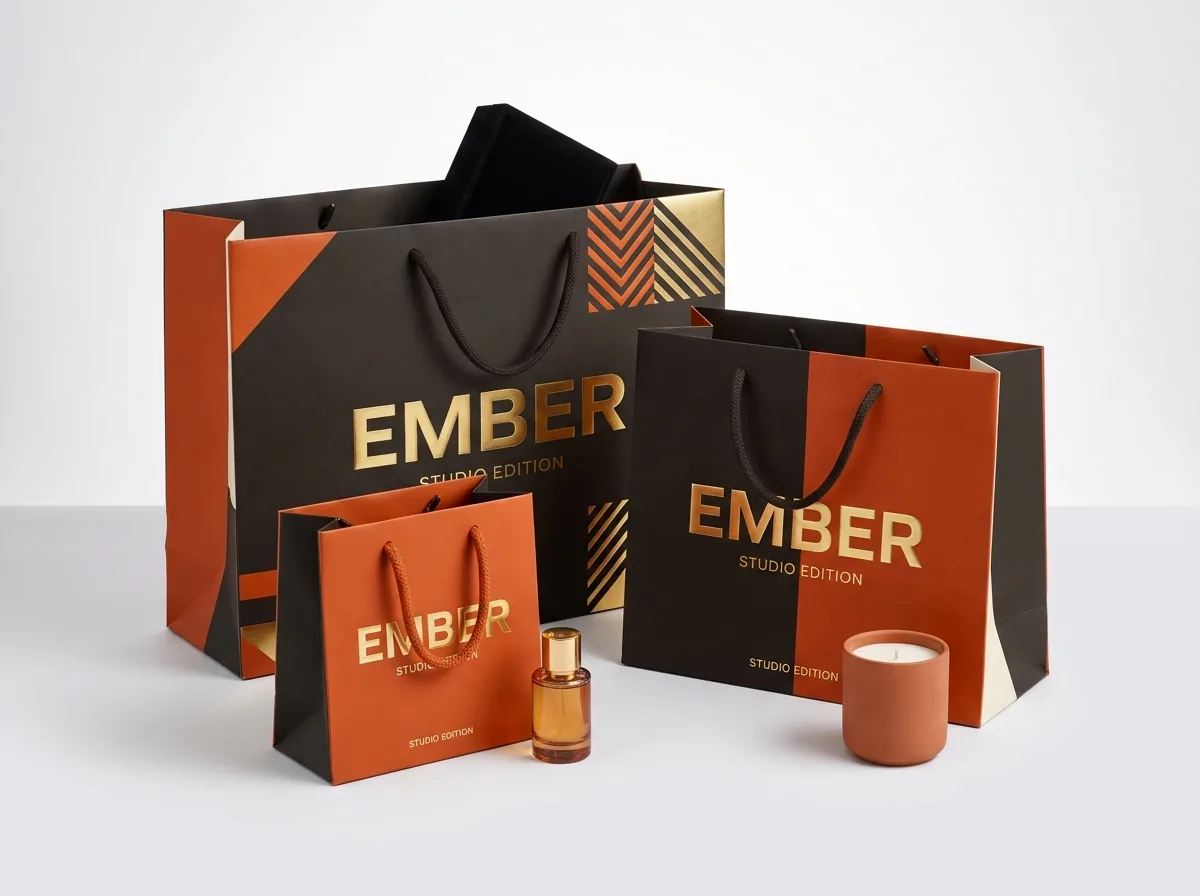
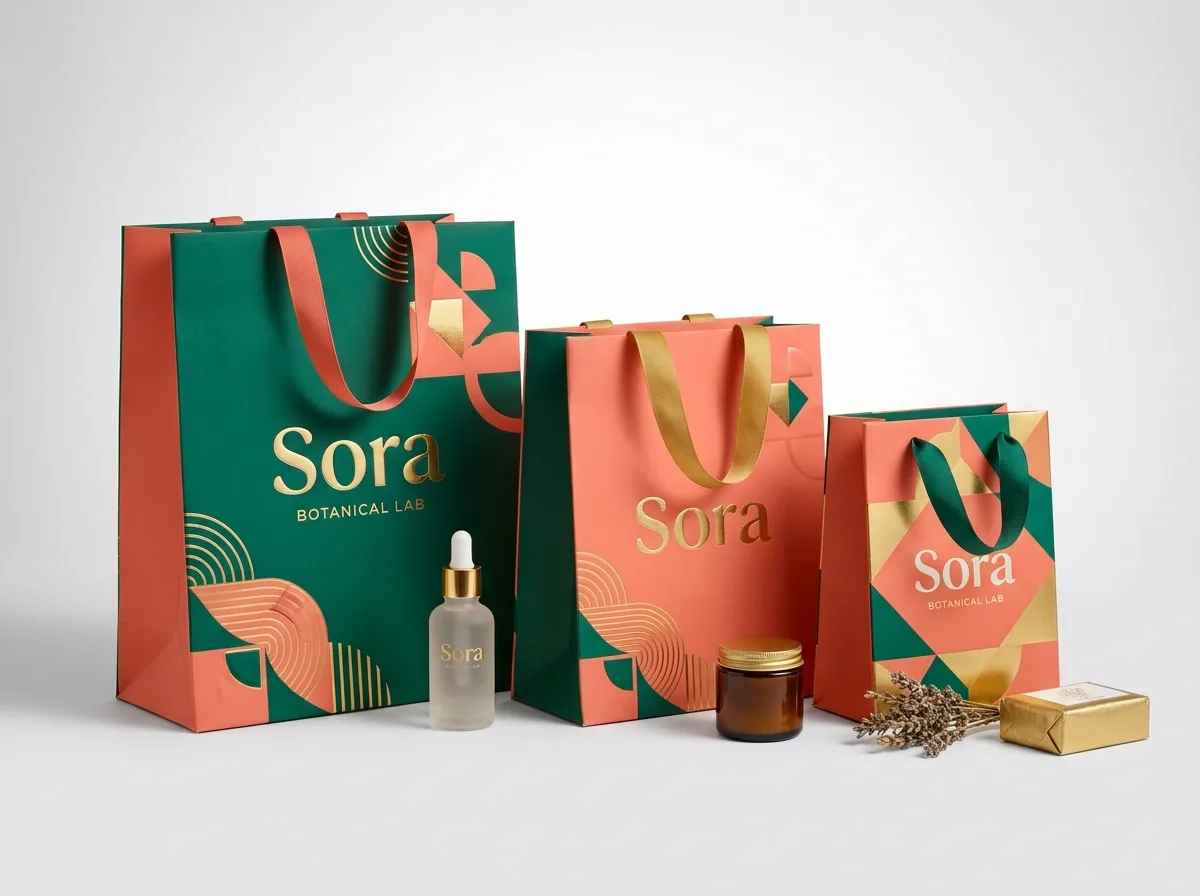
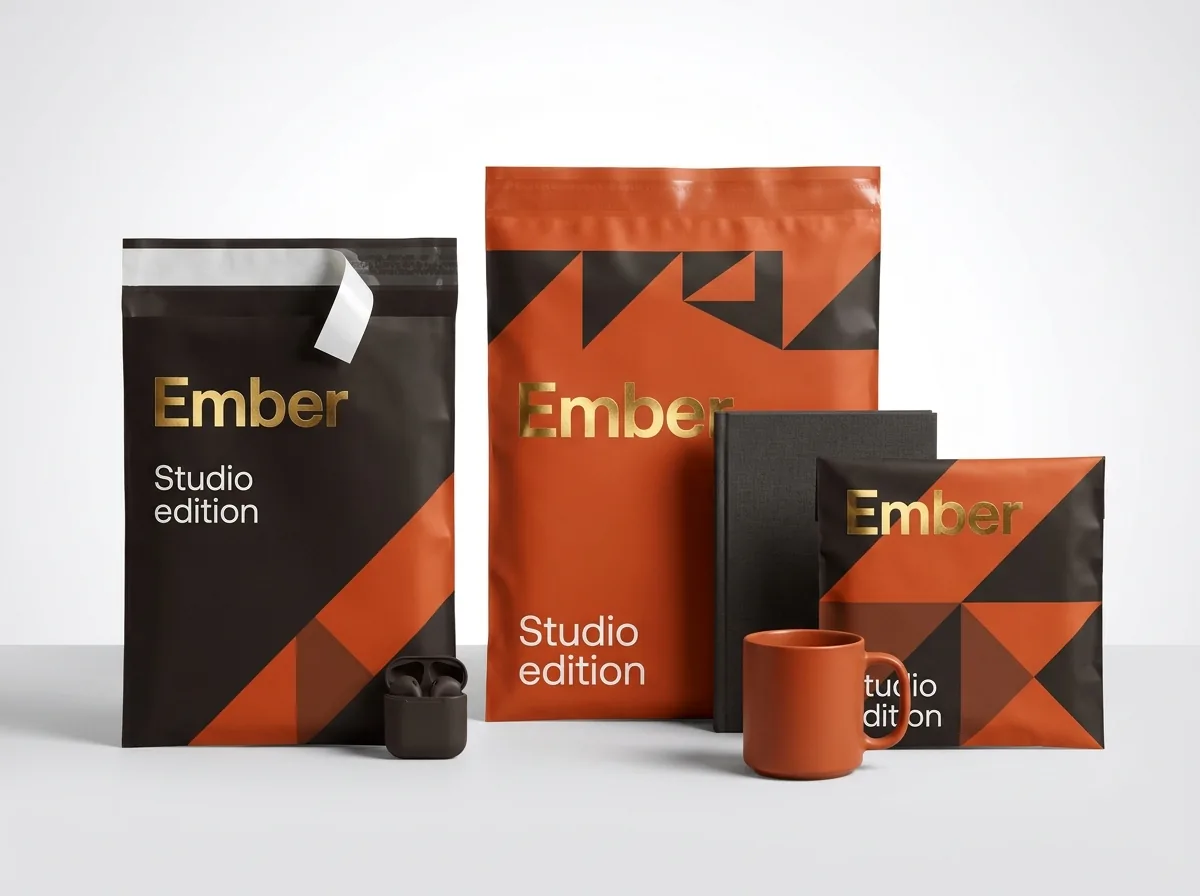
Ready to order merchandise bags? Compare up to 3 quantities with a free 3D mockup.
Request a Quote →Questions about merchandise bags
Do you charge printing plate fees for 1-color, 2-color or full-color merchandise bags?
No. CubitPack never charges printing plate or cutting die fees on any custom merchandise bag order, whether you print a single Pantone logo, opaque white ink on brown kraft, or full-color CMYK across the front, back and side gussets.
What file format should I upload for my merchandise bag artwork?
Vector files (AI, EPS, PDF or SVG) with fonts outlined and Pantone numbers noted give the sharpest print results. If you only have a PNG logo, a rough sketch or an AI-generated concept image, select Free design help in Step 2 and our designers will set up your dieline for free.
Does printing white ink on natural brown kraft cost more than black ink?
Opaque white ink is priced just like a standard 1-color spot print, with zero plate charges. To make white ink look crisp and solid against warm brown wood fibers, we lay down a high-opacity white pigment pass.
Can I print different artwork on the front and back of a merchandise bag?
Yes. You can print your primary logo on the unbroken front panel, a store map or thank-you message on the upper back panel (clear of the center seam), and a contrasting pattern or URL inside both side gussets.
How do I get a custom dieline template for my exact merchandise bag size?
Enter your desired Width × Height × Side Gusset in Step 1 of the quote form and request a dieline. Our structural team sends a custom 2D dieline template showing the exact front panel, side gussets, back seam and fold-over zones, followed by a free 3D mockup.
Can you match the exact Pantone color of our existing boxes and stickers?
Yes. Pantone color matching is guaranteed across our custom merchandise bags, boxes, tissue paper and roll labels. Just share your Pantone Coated (C) or Uncoated (U) swatch numbers in the quote notes.
Still have a question? Ask a packaging specialist.
Request a Quote →Request your merchandise bags quote
Tell us your size and quantities, and one dedicated account manager prepares pricing for each tier.
- Free design & AI-to-print studio + 3D mockup
- No die or plate charges · 4–5 day rush available
- Free shipping to all 50 states
- 10% off your first order
The tube-seam safe zones, white-ink underbase guidelines and overprint varnish recommendations in this guide follow standard flexographic and offset paper bag converting practices, checked by a CubitPack packaging specialist. Spot an error? Tell us and we will fix it.
Sources
What changed
- October 22, 2026: First published.
- October 22, 2026: Updated specifications, terminology, and verified source links.
More guides
New packaging guides by email
Sizes, materials and design tips. Unsubscribe anytime.