
How do you design custom paper bags with handles around handle patches and cuffs?
Short answer: When laying out artwork for custom paper bags with handles, keep logos and small text out of the top 2.5 to 3 inches of the center wall (where the interior handle patch or turn-top holes sit) and out of the bottom 2 inches (where the V-fold base crease crosses the front).
On this page
- Why is the top 2.5 inches a keep-out zone on patch-handle bags
- Where are all the safe zones and fold creases on a handled bag dieline
- How do you design turn-top cuffs and pleated side gussets
- How do you pair handle colors and paper stocks with your ink palette
- What affects the cost of printing custom paper bags with handles
- Common mistakes
- FAQs
Request a custom quoteFree dieline & 3D mockup
Designing a handled paper bag requires mapping your artwork around three mechanical zones on the dieline: the upper handle attachment band, the pleated left and right side gussets, and the lower bottom-fold V-crease. On twisted-handle and flat-handle bags, a heavy fiberboard handle patch is glued inside the top center wall 2.5 to 3 inches down from the rim, and the roller pressure leaves a subtle rectangular emboss line on the outside face. On turn-top rope or ribbon bags, the top 2 inches of paper fold inside the mouth of the bag and are punched with grommet or slot holes. Placing your primary logo in the optical sweet spot (slightly above the vertical midpoint of the safe zone between the handle patch and the bottom V-crease) guarantees flat, distortion-free printing on every finished retail or carryout bag.
Why is the top 2.5 inches a keep-out zone on patch-handle bags?
On automated bag-making lines that produce twisted-cord, flat-tape and die-cut printed paper bags with handles, the paper web is printed first, formed into a tube, and then fed past the handle station. At the handle station, mechanical rollers press the two legs of the handle against the inside upper wall and bond a multi-ply kraft rectangle (often called a J-patch) over them with high-tack adhesive. Because that interior patch adds an extra layer of heavy fiberboard behind the upper center wall and passes through high-pressure nip rollers, a faint 5 × 2.5 inch rectangular outline and the vertical ridges of the two handle legs show through to the outside face. Solid background floods or repeating patterns can run right over that zone, but if you place fine serif lettering, thin vector lines or a QR code directly over the handle patch, the roller pressure over the cord legs can break up fine ink details.
- Twisted & flat handle patch zone: keep logos and small text at least 2.75 inches below the top center rim.
- Die-cut patch handle zone: keep all graphics at least ½ inch clear of the punched oval hand opening and 3 inches below the top edge.
- Turn-top rope & ribbon holes: keep logos at least 1.5 inches below the punched cord holes or ribbon slots so the knot or strap never covers your brand name.
Where are all the safe zones and fold creases on a handled bag dieline?
A flat paper bag dieline looks like a wide rectangle split into four vertical panels (Front, Right Gusset, Back, Left Gusset) with top cuff flaps and bottom floor flaps. Yet once the bag is folded and stacked flat for shipping, two extra crease lines appear on the outside walls: the vertical center crease down each side gusset and the horizontal V-fold crease across the lower front or back panel. Use the table below as your pre-flight checklist before uploading artwork. When you send your file (or ask for our free design help), our specialists verify every margin on your free 2D digital proof and 3D mockup before you pay.
| Dieline region | Typical measurement | What happens mechanically | Artwork rule |
|---|---|---|---|
| Top turn-top hem (luxury bags) | Top 1.75 to 2.5 in above fold line | Folds inward inside the mouth of the bag | Extend outside background color over the fold; print upside-down for inside cuff messages |
| Upper handle patch / hole zone | Top 2.5 to 3 in of front & back center | Inner J-patch glue press or punched rope holes | Background ink OK; keep logos, faces and fine text below this band |
| Optical logo sweet spot | 3.5 in below rim down to 2.5 in above base | Remains completely flat when bag is open or folded | Center primary brand mark, tagline and focal illustration here |
| Side gusset center score | Vertical center line of left & right gussets | Folds inward like an accordion pleat | Use repeating patterns or stack short horizontal text above the lower triangle fold |
| Lower bottom V-crease | Bottom 2 to 3.5 in of front or back face | Folds upward so the square base can lie flat in cartons | Never place barcodes, URLs or small type across this horizontal crease |
| Outer bleed & glue lap | ⅛ in (0.125 in) outside cut lines | Trims and bonds the back or corner seam | Extend full-bleed color ⅛ in past cut lines; leave glue lap unvarnished |
How do you design turn-top cuffs and pleated side gussets?
On turn-top custom luxury shopping bags and custom gift bags, the upper 2 inches of the paper sheet fold inward over a reinforcing cardboard strip to form the top collar. Because that flap folds 180 degrees to the inside of the bag, any tagline, website or pattern you print on the turn-top cuff must be rotated upside-down on the flat dieline so it reads right-side-up when a shopper peers into the open bag. The left and right side gussets offer some of the highest-visibility real estate on the street: as a customer walks down the sidewalk with the bag at their side, the front panel faces sideways while the side gusset faces oncoming pedestrians head-on. Because each side gusset has a vertical accordion crease down its middle and two diagonal triangle creases near the bottom, bold vertical wordmarks, website URLs or all-over patterns work much better on gussets than tiny multi-line paragraphs.
- Turn-top cuff orientation: rotate inside-lip logos and taglines 180 degrees on the flat dieline.
- Top fold bleed: carry exterior wall color at least ½ inch past the top fold score onto the inner cuff.
- Side gusset typography: stack letters vertically or keep horizontal text inside one half of the center crease.
- Bottom triangle zone: leave the lower 3.5 inches of the side gusset free of small text where the base corner folds.
Know your size? Compare pricing across up to 3 quantities.
Request a Quote →How do you pair handle colors and paper stocks with your ink palette?
Your handle is a three-dimensional color accent that frames the top of your bag. On unbleached brown custom kraft paper bags, matching brown twisted cords keep the look monochromatic and understated, while bleached white cords paired with an opaque white ink logo create crisp high-contrast visibility from across the street. If your artwork uses full-bleed dark navy, forest green, burgundy or matte black ink on uncoated paper, always specify a protective matte varnish or film lamination so dark pigment cannot rub off onto a shopper's light clothing as the bag brushes against their hip. You can also extend your palette inside the bag mouth by pairing a simple 1-color exterior print with custom printed custom tissue paper and a fold-over seal from our custom labels line.
- Brown kraft + opaque white ink + white twisted handles: high-contrast organic look for coffee and bakeries.
- Bleached white kraft + 1 Pantone spot color + matching colored handles: crisp retail look with minimal plate cost.
- Full-bleed dark ink + matte varnish or lamination: prevents ink rub-off on coats and light trousers.
What affects the cost of printing custom paper bags with handles?
Four specifications drive your unit price on handled paper bags: handle attachment method (inline machine-patched twisted, flat tape or die-cut handles vs hand-threaded rope or ribbon on turn-top cuffs), ink coverage (1-2 Pantone spot colors on two faces vs full-bleed CMYK across all four walls and inside), special finishes (foil stamping, embossing or soft-touch lamination), and total order quantity. At CubitPack, you never pay cutting die or printing plate charges, our design team sets up your dieline and converts AI or raster art for free, and you get 10% off your first order plus our US price-beat guarantee.
- Economical everyday setup: 1- or 2-color Pantone logo centered on front and back with machine-patched twisted or flat paper handles.
- Mid-tier high-visibility setup: 2-color exterior print with solid flooded side gussets and contrasting handles.
- Flagship boutique setup: coated artboard with matte or soft-touch lamination, hot foil logo, printed inside cuff and rope or ribbon handles.
What are the most common artwork mistakes on paper bags with handles?
Check these five prepress details on your 2D dieline proof before approving production
- Centering the logo too high on the front panel so the top of the lettering crosses the 2.5-inch interior handle patch press line.
- Forgetting to rotate text 180 degrees on the upper turn-top flap, causing inside-cuff messages to print upside-down when folded.
- Placing a barcode, QR code or store address across the lower horizontal V-crease where the flat-folded base bends the paper.
- Running tiny horizontal body copy across the vertical center fold of a pleated side gusset.
- Printing unvarnished heavy black or dark navy flood ink on uncoated paper where hip friction can rub pigment onto light clothes.
Packaging for this
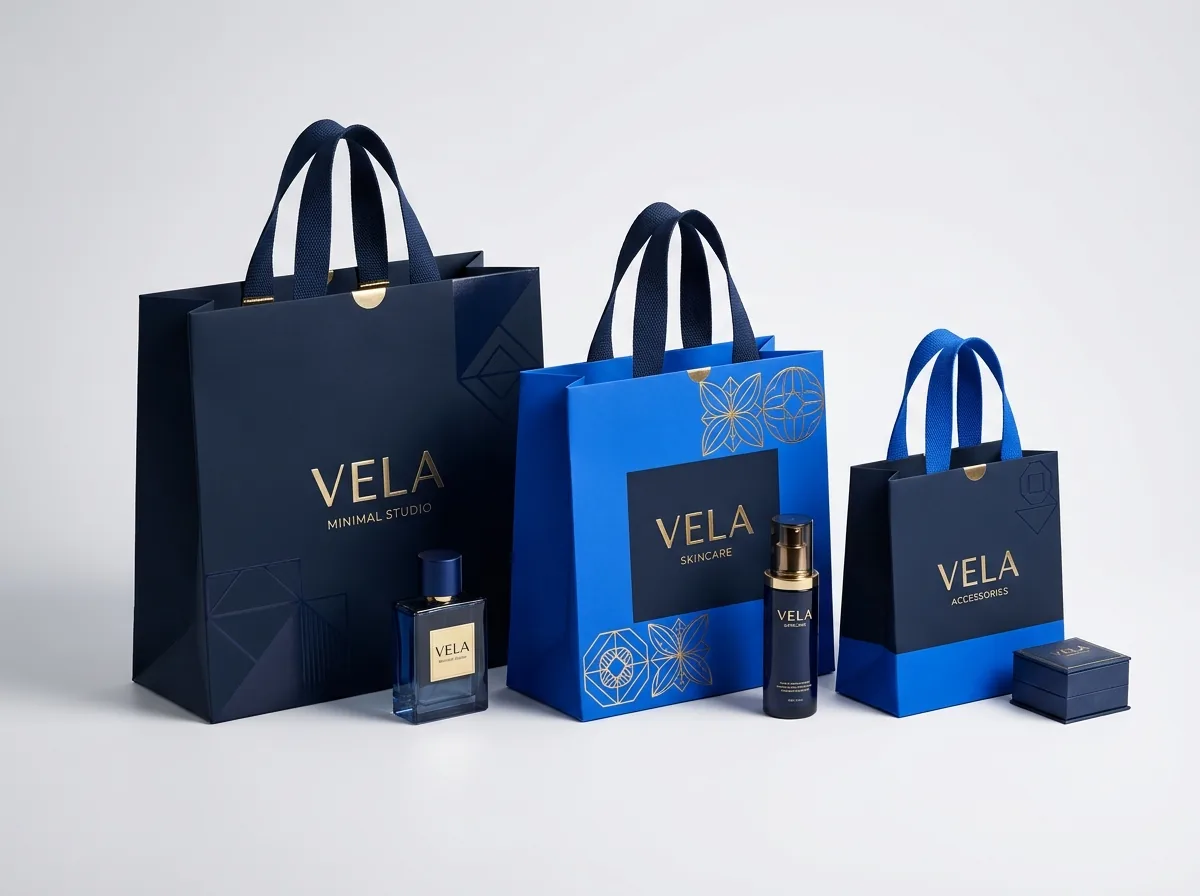
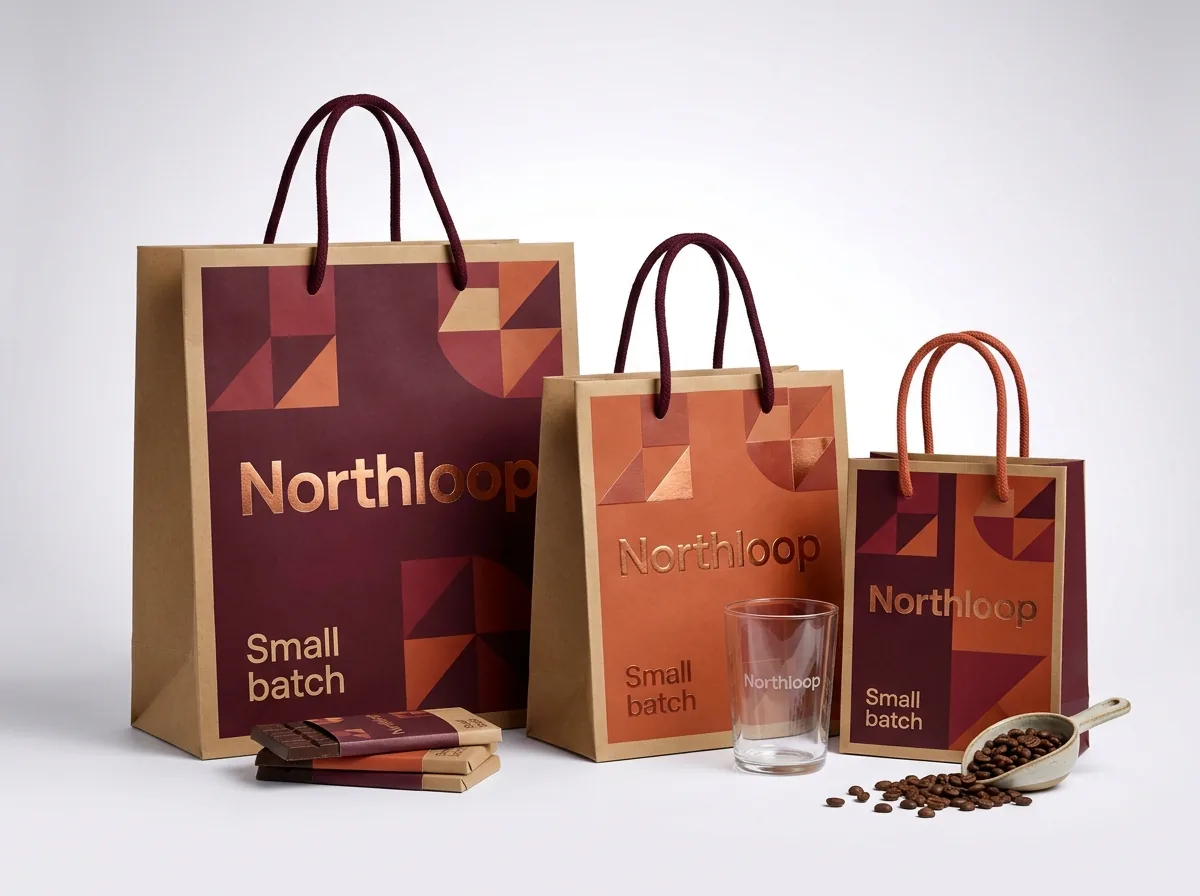
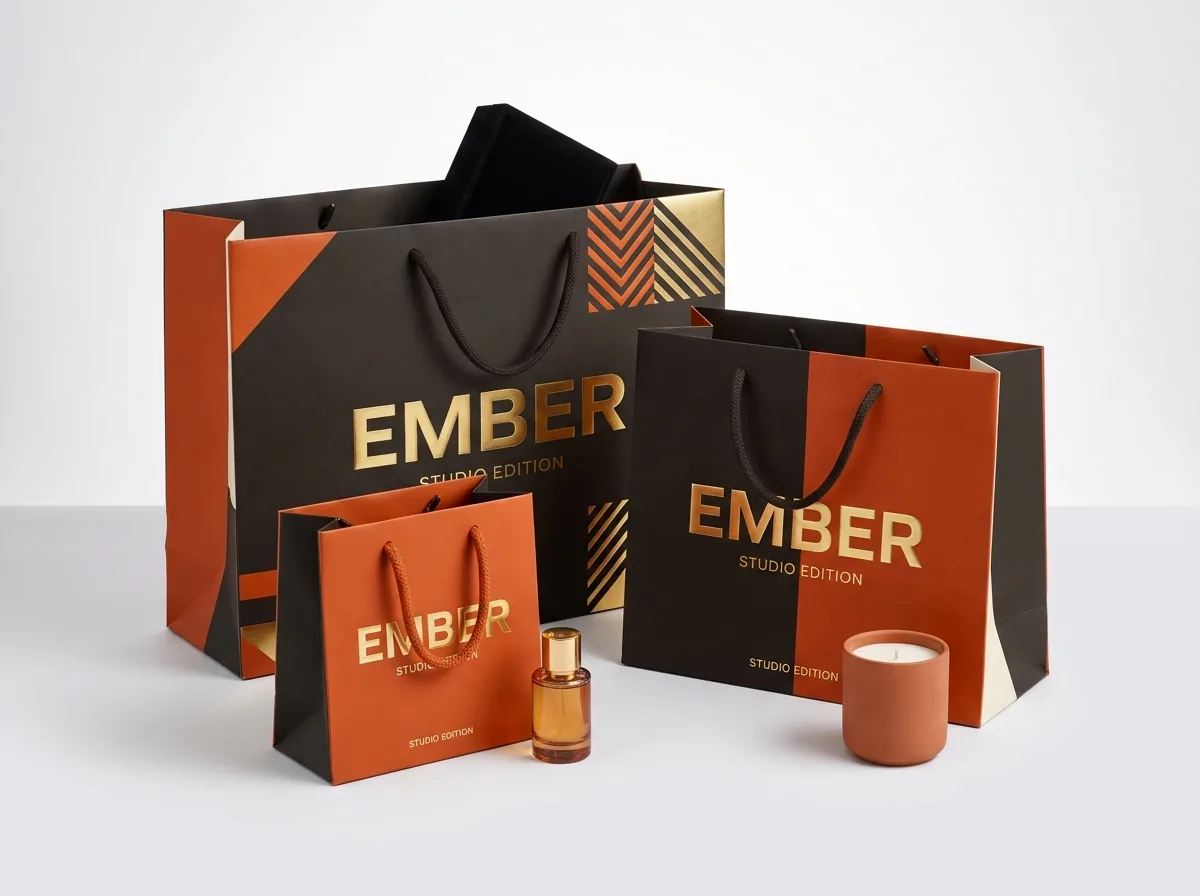
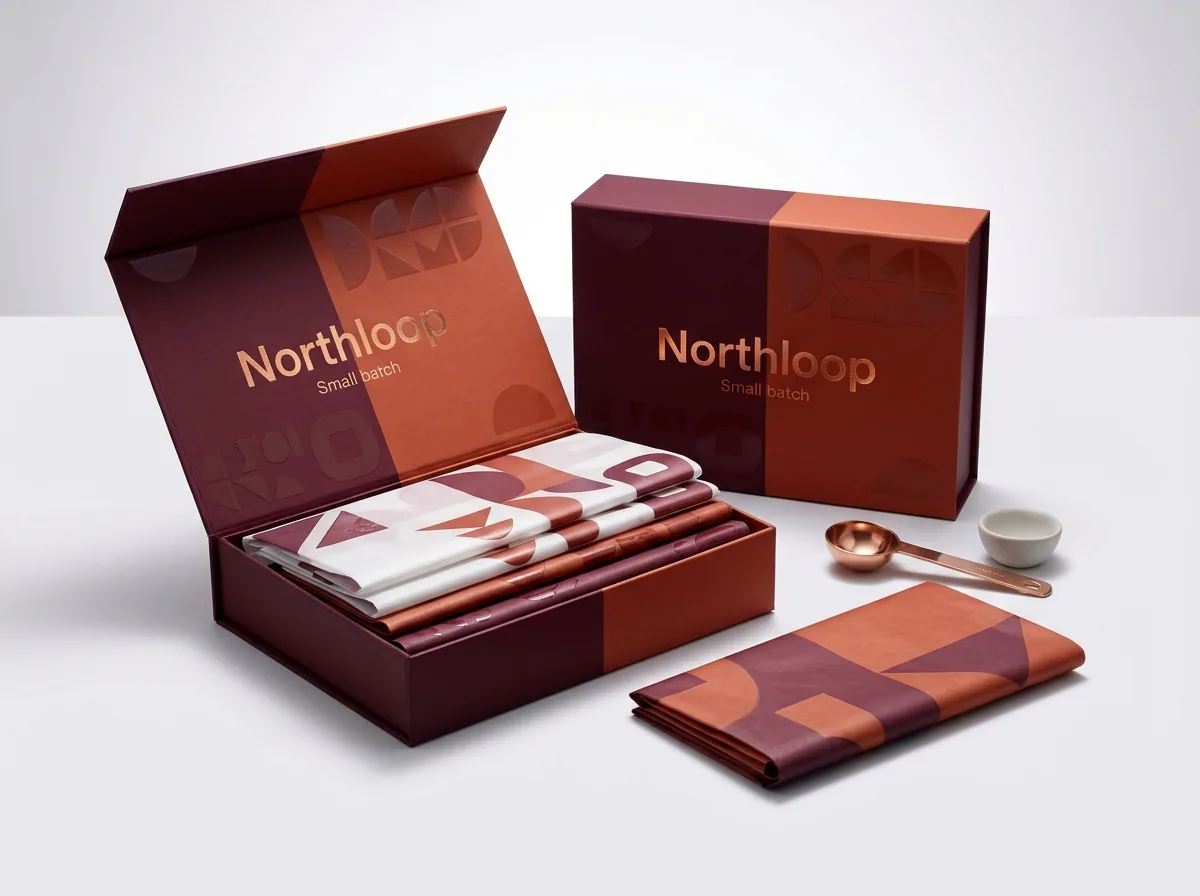
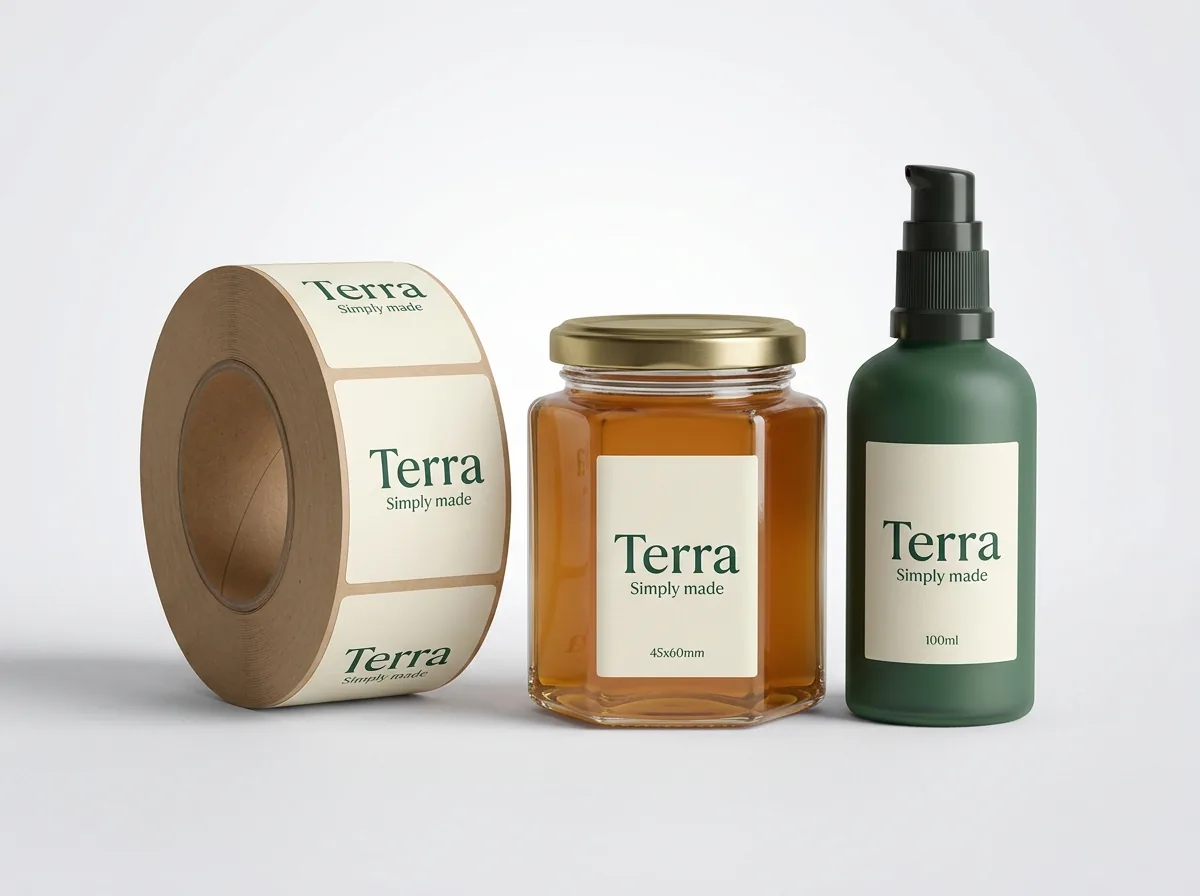
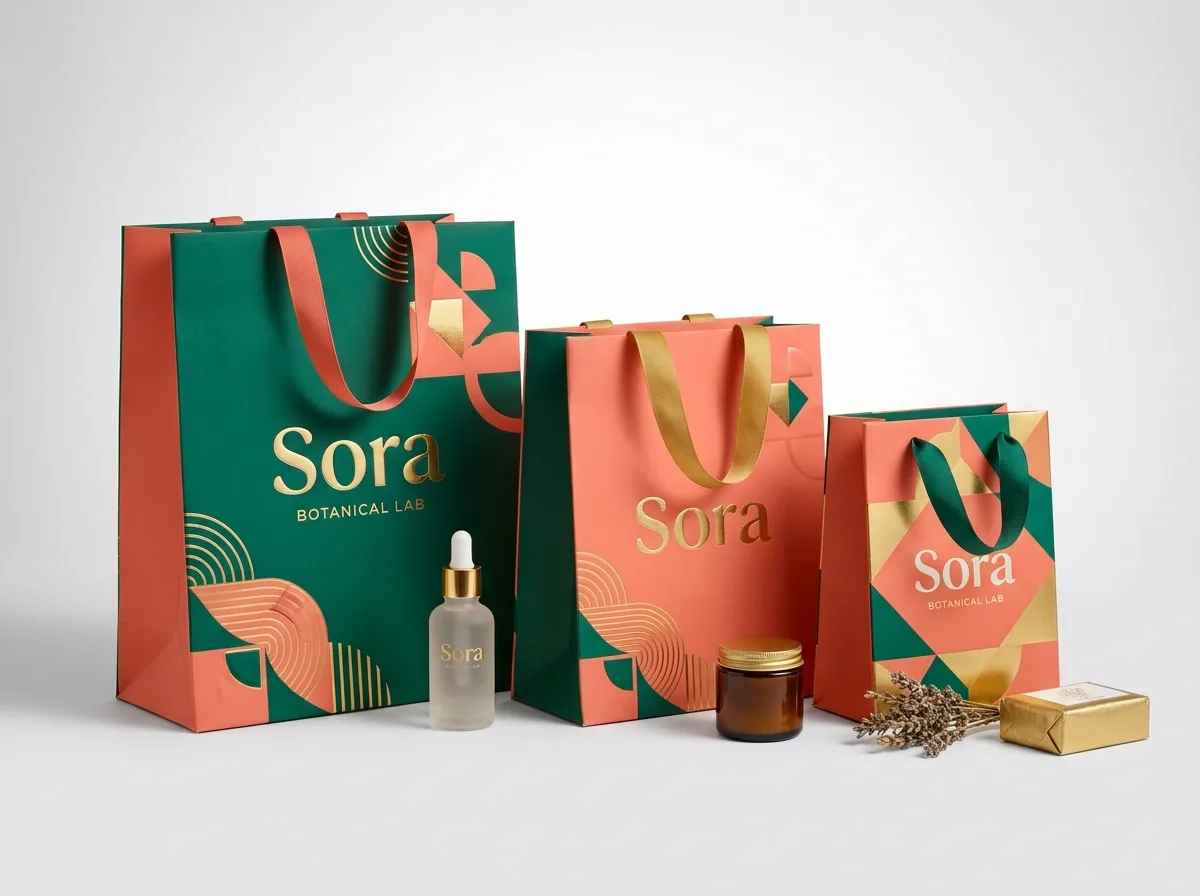
Ready to order paper bags with handles? Compare up to 3 quantities with a free 3D mockup.
Request a Quote →Questions about paper bags with handles
Where is the optical center for a logo on a custom paper bag with handles?
Position your logo in the middle of the flat safe zone between the upper 2.75-inch handle patch area and the lower 2.5-inch bottom V-crease. On a 10 × 13 × 5 inch bag, that places the center of your logo roughly 6 to 6.5 inches down from the top rim.
Can I print a full-bleed background color over the handle patch area?
Yes. Solid Pantone floods, all-over patterns and background colors print cleanly across the entire wall because the paper is printed flat before the interior handle patch is glued inside. Only fine text and intricate logos need to stay below the patch line.
Do I have to pay extra for printing plates or custom bag dielines?
No. CubitPack never charges cutting die or printing plate fees, and our prepress designers build your custom dieline, check handle keep-out zones, and send a 2D proof and 3D mockup for free before payment.
How much bleed should I add to a custom handled paper bag dieline?
Extend any background color or pattern that touches an outer edge at least ⅛ inch (0.125 in) past the outer cut lines, and keep important text at least ¼ inch inside fold scores and cut edges.
Can you print my AI-generated bag design onto a paper bag with handles?
Yes. Send us your Midjourney, DALL-E or Canva concept on your quote and our design team will rebuild the typography in sharp vector curves, match Pantone colors and fit it to your bag dieline at no extra charge.
How do you prevent dark ink from rubbing off onto a customer's clothes?
On uncoated kraft paper bags with heavy dark ink coverage, we apply a clear protective matte varnish over the ink. On coated artboard shopping bags, matte, gloss or soft-touch film lamination seals the print completely.
Still have a question? Ask a packaging specialist.
Request a Quote →Request your paper bags with handles quote
Tell us your size and quantities, and one dedicated account manager prepares pricing for each tier.
- Free design & AI-to-print studio + 3D mockup
- No die or plate charges · 4–5 day rush available
- Free shipping to all 50 states
- 10% off your first order
The handle patch keep-out dimensions, turn-top hem allowances and bottom V-crease guidelines in this post come from CubitPack's prepress checklist for paper bag converting. A packaging specialist checked every specification. Spot something wrong? Tell us and we will fix it.
Sources
What changed
- October 22, 2026: First published.
- October 22, 2026: Updated specifications, terminology, and verified source links.
More guides
New packaging guides by email
Sizes, materials and design tips. Unsubscribe anytime.