
How do I design custom gift bags with foil finishes, inside printing and tissue paper?
Short answer: To design presentation-ready custom gift bags, keep your front logo below the upper 2-inch turn-top fold and handle holes, pair heavy artboard with matte, gloss or soft-touch lamination so dark ink never cracks on gusset scores, and coordinate an interior cuff color with matching ribbon and tissue paper.
On this page
- How does the 2-inch turn-top cuff work on a custom gift bag dieline
- Which lamination and decorative finishes work best on presentation gift bags
- How do you coordinate ribbon handles, custom tissue paper and cards
- When is full interior printing worth adding to a custom gift bag
- How do I prepare artwork files and review my 3D gift bag mockup
- Common mistakes
- FAQs
Request a custom quoteFree dieline & 3D mockup
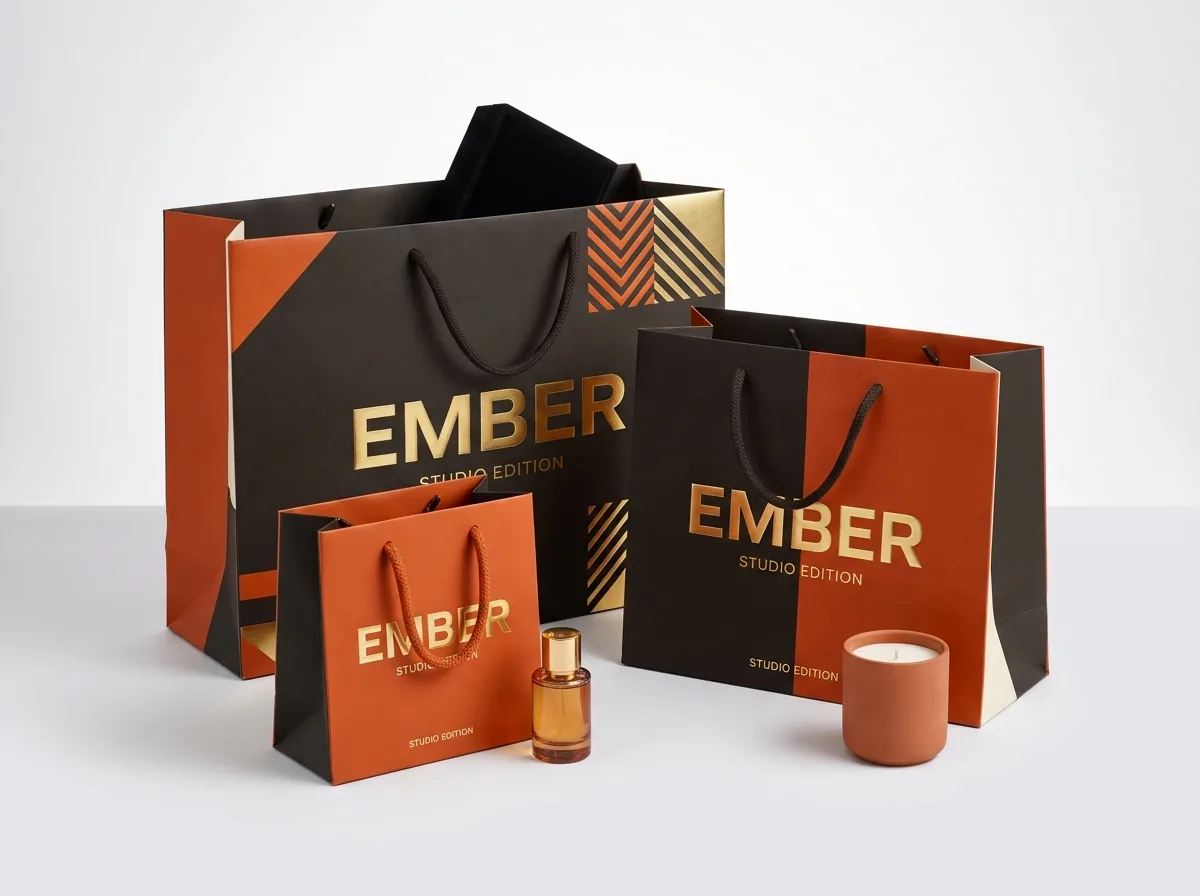
A custom gift bag is a three-dimensional stage made up of five visible surfaces: the front and back faces, the two pleated side gussets, the folded 2-inch interior turn-top cuff, the ribbon or rope handles, and the crown of tissue paper peeking out of the top. On a flat gift bag dieline, the top 1.75 to 2 inches of the sheet folds inward 180 degrees into the mouth of the bag to hide the cardboard header stiffener. That means any artwork placed in the top 2 inches of your dieline must be inverted so it reads right-side up inside the open top collar. Pairing a protective exterior lamination (matte, gloss or soft-touch) with one high-contrast focal finish, such as metallic hot foil stamping, blind embossing or spot UV, gives you a luxury retail look while keeping unit cost disciplined.
How does the 2-inch turn-top cuff work on a custom gift bag dieline?
When you open the production template for custom printed gift bags, the flat sheet is divided into four vertical body panels (Front, Right Gusset, Back, Left Gusset), overlapping bottom flaps at the base, and a 1.75 to 2 inch horizontal strip across the very top edge called the turn-top cuff. During bag assembly, that top 2-inch strip is scored and folded 180 degrees down inside the mouth of the bag over a stiff cardboard header card. Because that strip flips upside down into the interior of the bag, it acts like a built-in inner collar even if you only pay for single-sided exterior printing. You can flood that top 2-inch turn-top band with a contrasting Pantone color or print an inverted website URL or welcome message so shoppers see a finished interior rim the moment they look inside.
- Top turn-top band (1.75 to 2 in above the top fold score): folds inward into the bag mouth; orient any text upside down on the flat dieline.
- Handle hole keep-out zone (1 to 1.5 in below the top fold score): punched 5 mm holes and grommets sit here; keep logos clear.
- Optical center of the front face: place your primary logo slightly above the vertical midpoint of the front panel.
- Lower bottom-fold score (approx ½ × Depth up from the floor): keep small text and barcodes off this horizontal flat-pack crease.
- Bleed allowance: extend background colors ⅛ inch (0.125 in) past all outer cut edges.
Which lamination and decorative finishes work best on presentation gift bags?
Presentation gift bags are folded from heavy 200 to 300 GSM coated white artboard (C1S) or thick uncoated kraft paperboard. Because every gift bag has twelve sharp vertical and diagonal fold scores along the side gussets and square bottom, printing heavy dark ink directly onto unlaminated coated board can cause the brittle clay coating to crack along the creases. Applying a thin protective film lamination (matte lamination, gloss lamination or velvety soft-touch lamination) locks the ink under a flexible barrier so deep forest green, midnight navy, burgundy and jet black fold without a single white crack line. Once you have a matte or soft-touch base, adding a single focal finish over your centered logo creates immediate depth.
| Finish combination | Visual & tactile effect | Best paper stock | Relative cost impact |
|---|---|---|---|
| Matte lamination + Spot UV | Smooth satin bag with glossy raised-look pattern or logo | Heavy white C1S artboard | Low-to-moderate finishing pass |
| Soft-touch + Gold/Silver Foil | Velvety peach-skin exterior with mirror-metallic hot foil badge | Heavy white C1S artboard | Moderate (luxury retail standard) |
| Matte lamination + Blind Emboss | Tone-on-tone 3D raised crest or monogram pressed into the wall | Heavy white artboard or heavy kraft | Moderate (custom embossing die included) |
| Gloss lamination + Full CMYK | High-shine vibrant color and crisp holiday or floral photography | Heavy white C1S artboard | Included in standard laminated setup |
| Uncoated Kraft + White/Foil Ink | Raw organic paper grain contrasted with crisp white or foil | Unbleached brown kraft paperboard | Low (no film lamination needed) |
How do you coordinate ribbon handles, custom tissue paper and cards?
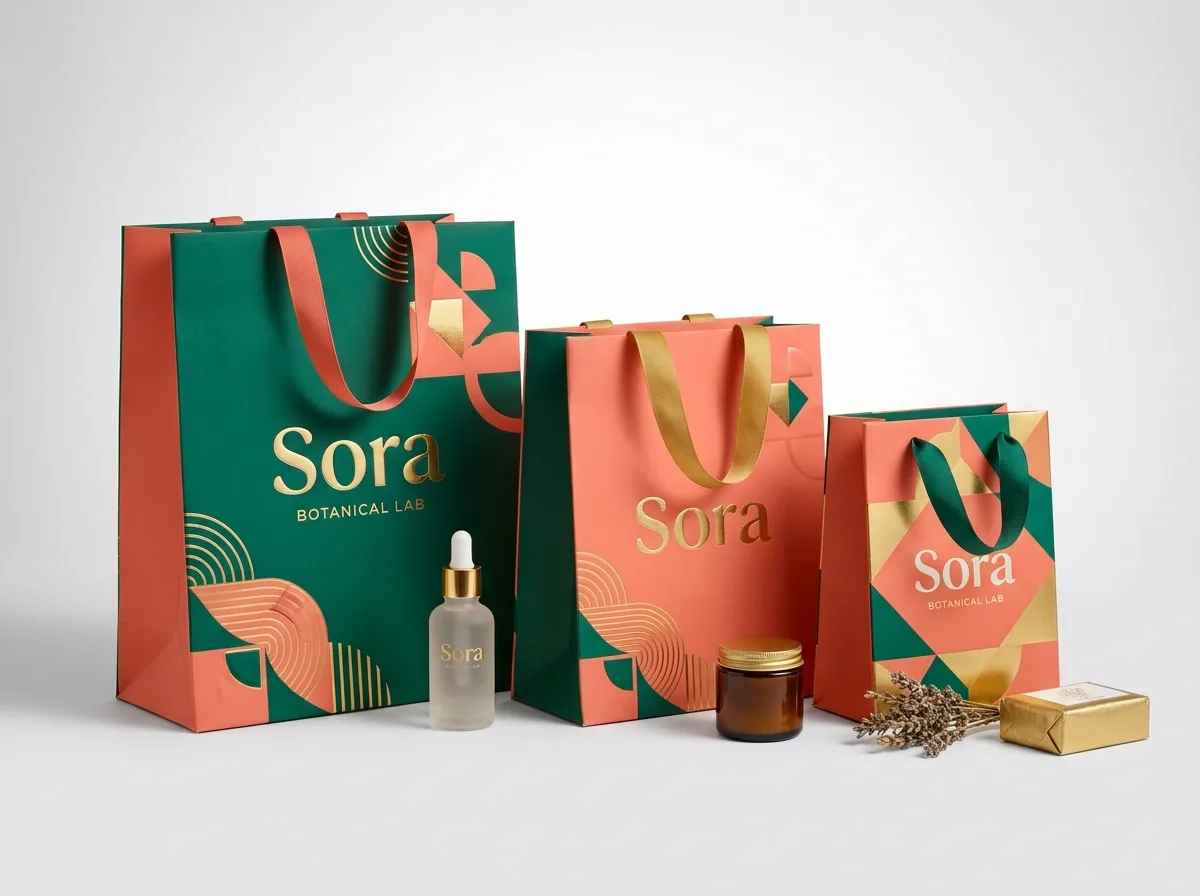
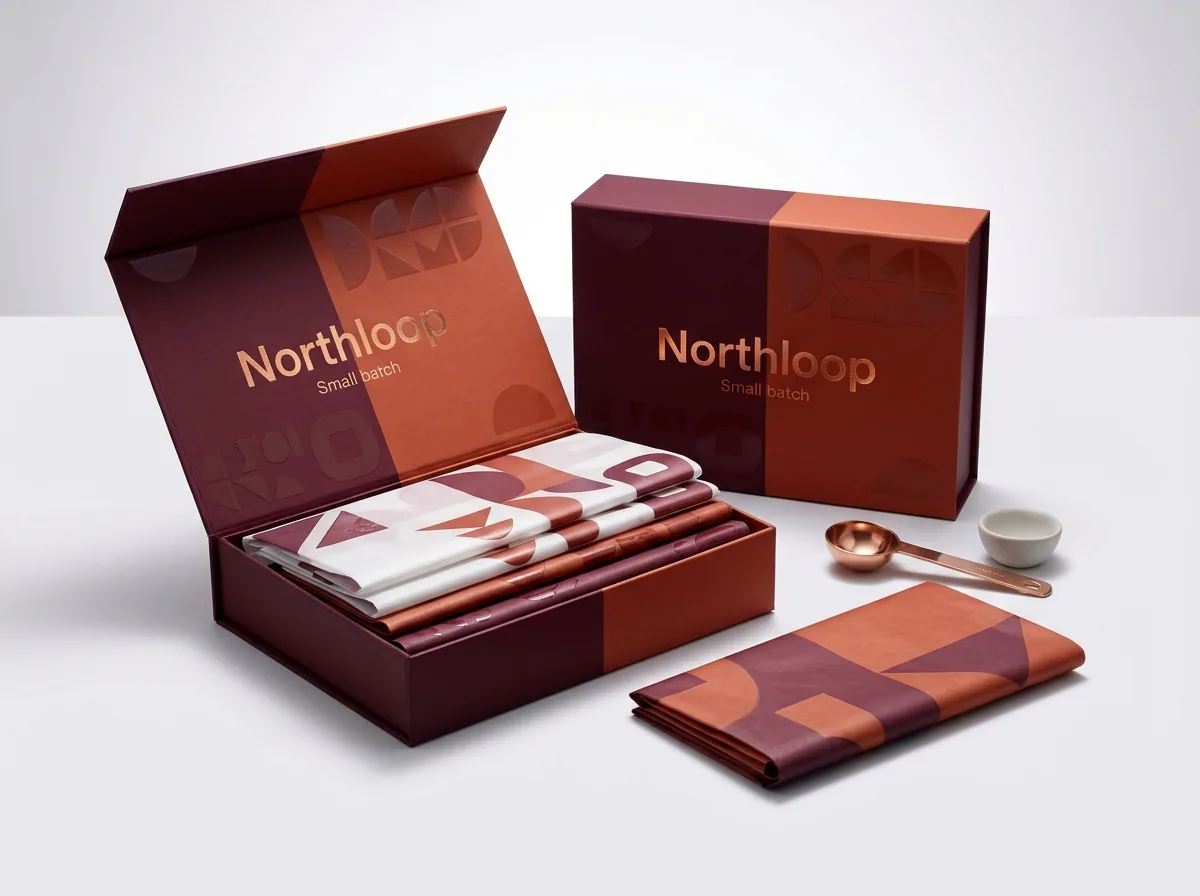
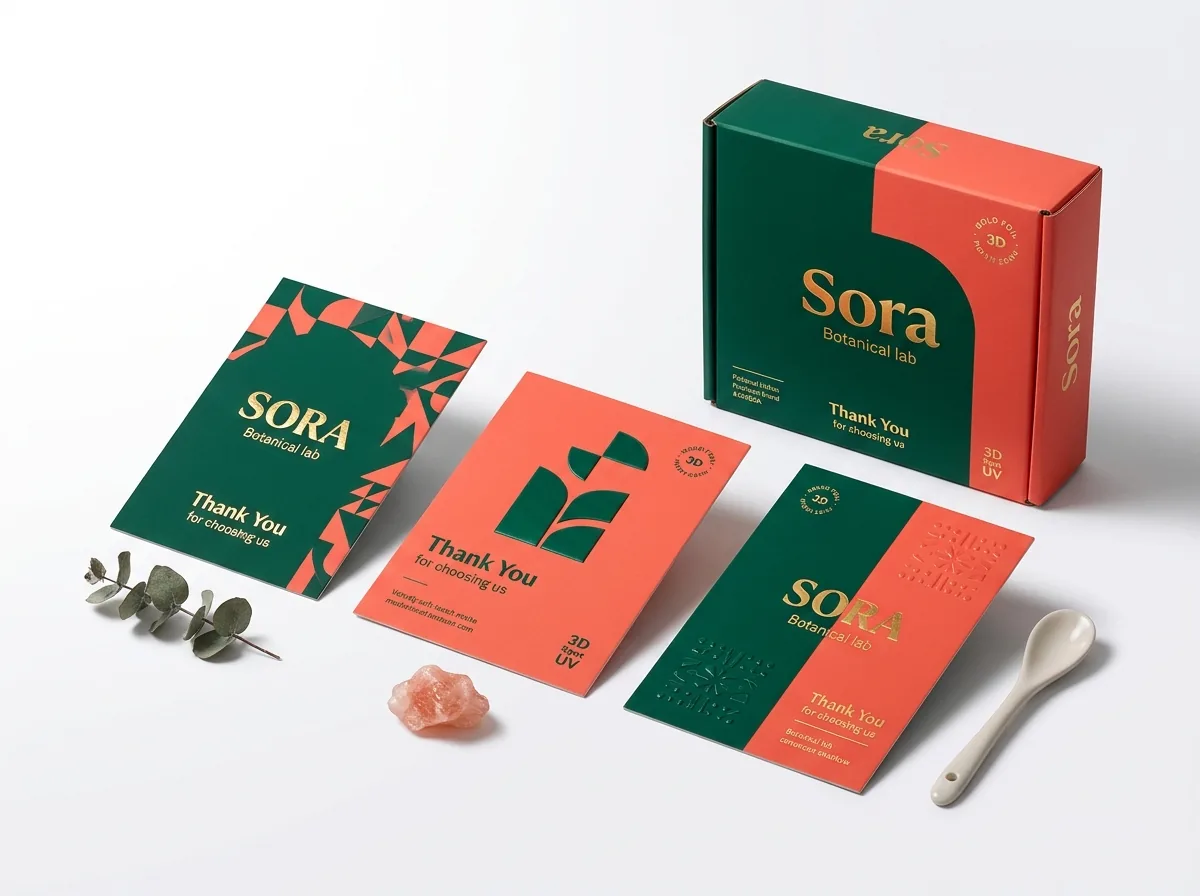
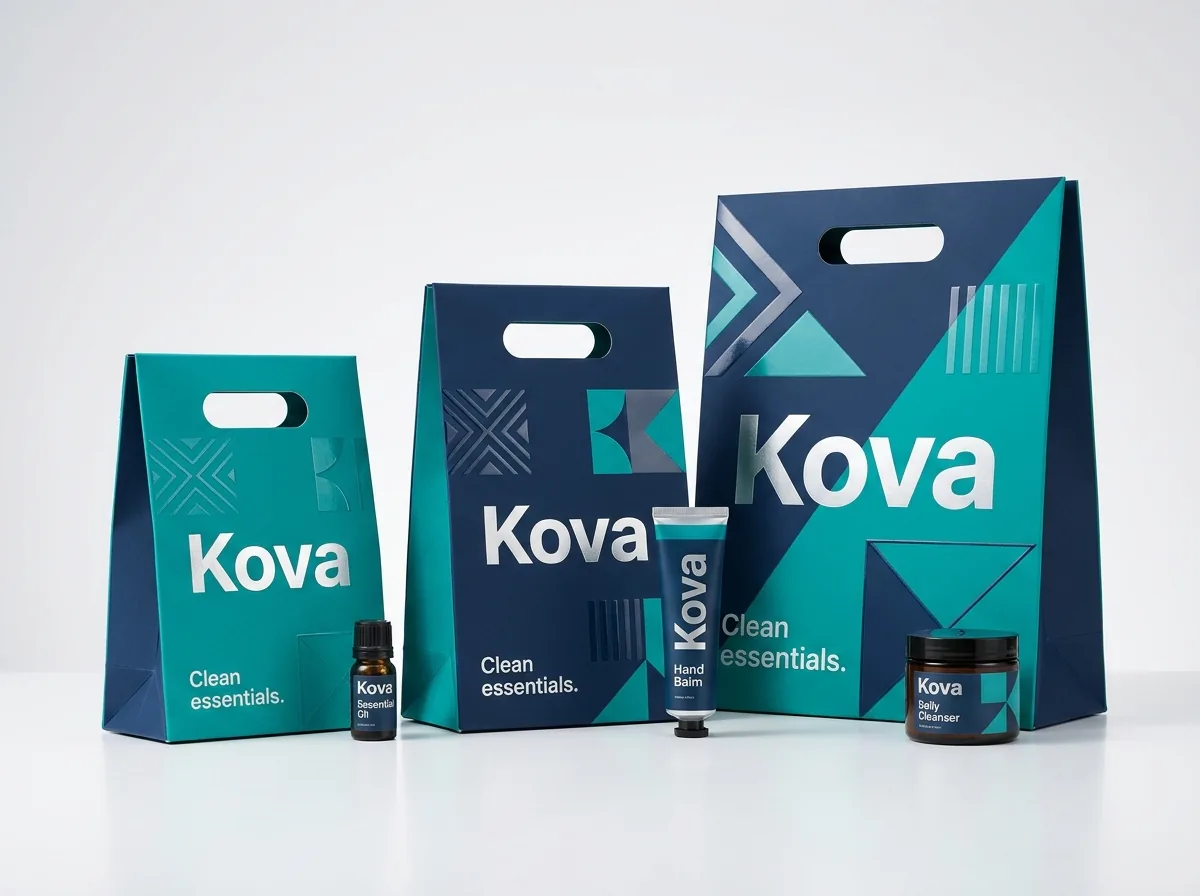
The most memorable gift bags treat the bag, the handles and the inner custom tissue paper as a single color palette rather than three separate purchases. If every element shouts with the same busy pattern, the presentation looks cluttered; if you follow the '2 solids + 1 pattern' rule, the unboxing looks effortless. Start with a solid Pantone exterior bag body accented by a clean metallic foil or 1-color logo. Next, pick a ribbon or braided cord handle that either matches the bag body tone-on-tone (for example, forest green grosgrain ribbon on a matte forest green bag) or echoes the foil/ink color (for example, champagne gold satin ribbon on a cream bag). Finally, put your repeating monogram or botanical pattern on the tissue paper inside, and tuck a matching custom thank you card into the top fold.
Know your size? Compare pricing across up to 3 quantities.
Request a Quote →When is full interior printing worth adding to a custom gift bag?
When a recipient sets a gift bag on a table and reaches in to pull out the tissue paper, they look straight down into the upper half of the bag interior. On standard single-sided gift bags, the inside wall is clean unprinted white board (or natural brown on unbleached kraft bags), with only the 2-inch folded turn-top cuff showing your exterior print. If you want a high-impact reveal for VIP press kits, jewelry launches, bridal boxes or holiday gift sets, select 'Outside + inside' printing in the quote form (or see our inside printing page). Flooding the interior walls with your signature brand color, printing a step-and-repeat monogram across the inside gussets, or adding a warm greeting along the inner floor board makes the bag feel like a rigid custom luxury shopping bag from every angle. You can also match the interior flood color to the exact Pantone shade of your ribbon handles for a cohesive inside-out color story.
How do I prepare artwork files and review my 3D gift bag mockup?
You never pay cutting die or printing plate charges at CubitPack, and you do not need to be a structural engineer to lay out a turn-top gift bag dieline. Upload your vector logo (.AI.PDF or.EPS) or rough concept in Step 2 of the quote form, or use our free design help and print your AI design service. Within 5-7 minutes our team replies to your quote, and before you make any payment we send a 2D flat dieline proof and an interactive 3D mockup showing your exact handle style, foil placement and interior cuff fold. Standard production takes 10-14 business days after proof approval (4-5 business days rush), with free shipping across all 50 US states.
- Supply vector logos with fonts outlined and Pantone Coated (C) or Uncoated (U) color callouts.
- Put foil stamping, embossing or spot UV elements on a separate vector layer labeled clearly.
- Review the 3D mockup to confirm handle hole spacing and turn-top cuff inversion.
- Order the $50 sample kit or a paid printed sample (both credited to your full order) to check finishes in hand.
What are the most common custom gift bag design mistakes?
Check your gift bag artwork against these five prepress errors before approving your digital proof
- Placing right-side-up text in the top 2-inch turn-top strip of the flat dieline, which makes the text appear upside down once the cuff folds inside the bag.
- Printing a dark solid flood color across heavy coated artboard without specifying matte, gloss or soft-touch lamination to prevent crease cracking.
- Stacking hot foil stamping, embossing and spot UV over tiny 6 pt text, where slight press registration tolerances make fine letters blurry.
- Designing a horizontal stripe that wraps from the front face onto the side gusset without extending ⅛ inch bleed past the bottom flap overlaps.
- Pairing a busy 4-color pattern on the bag exterior with a different busy pattern on the tissue paper, instead of balancing 2 solids with 1 pattern.
Packaging for this
Ready to order gift bags? Compare up to 3 quantities with a free 3D mockup.
Request a Quote →Questions about gift bags
Do I pay extra for foil stamping dies or embossing plates on custom gift bags?
No. CubitPack never charges separate cutting die, printing plate or foil/embossing tooling fees. Any finishes you select are built cleanly into your unit price on the quote.
Why does artwork on the top 2 inches of a gift bag dieline look upside down?
The top 1.75 to 2 inches of a presentation gift bag sheet folds 180 degrees inward into the mouth of the bag to form the turn-top cuff. Inverting artwork in that top strip on the flat dieline makes it read right-side up inside the open bag.
Should I choose matte, gloss or soft-touch lamination for my gift bag?
Choose soft-touch lamination for cosmetics, jewelry and luxury gifts where a velvety, non-glare hand feel matters. Choose matte lamination for a clean modern look that resists scuffs, or gloss lamination to make bright holiday colors pop.
Can you foil stamp on an unlaminated brown kraft gift bag?
Yes. Metallic gold, silver, copper, rose gold and matte black hot foil stamping press directly into uncoated brown or white kraft paper, giving you a sharp metallic badge without plastic film lamination.
Can CubitPack match the exact same Pantone color across my gift bag and tissue paper?
Yes, Pantone color matching is guaranteed. When you order custom gift bags alongside custom tissue paper, stickers or thank you cards, we calibrate your Pantone references across every item.
What if I only have a logo PNG or an AI-generated image of my gift bag idea?
Upload whatever you have in Step 2 of the quote form. Our prepress designers convert raster logos to vector, build the flat dieline and send a free 2D proof and 3D mockup before payment.
Still have a question? Ask a packaging specialist.
Request a Quote →Request your gift bags quote
Tell us your size and quantities, and one dedicated account manager prepares pricing for each tier.
- Free design & AI-to-print studio + 3D mockup
- No die or plate charges · 4–5 day rush available
- Free shipping to all 50 states
- 10% off your first order
The turn-top cuff inversion rules, lamination score-cracking guidelines and finish comparisons in this guide follow standard presentation artboard bag prepress and converting practices. A CubitPack packaging specialist reviewed every section. Spot something wrong? Tell us and we will fix it.
Sources
What changed
- October 22, 2026: First published.
- October 22, 2026: Updated specifications, terminology, and verified source links.
More guides
New packaging guides by email
Sizes, materials and design tips. Unsubscribe anytime.