
How big should my logo be on a custom poly mailer?
Short answer: Size a horizontal logo on custom poly mailers with logo to 45% to 55% of the flat bag width (such as 5 to 5.5 inches wide on a 10 × 13 inch mailer) and 35% to 40% for square or circular crests so the mark stays flat when packed.
On this page
- What is the 50% width rule for horizontal wordmarks vs square crests
- What are the recommended logo dimensions for each poly mailer size
- Why should you place your logo 0.5 inches above the geometric center
- Should your logo go on the front face, the back face or the sealing flap
- What stroke thickness and file settings keep scaled logos sharp
- Common mistakes
- FAQs
Request a custom quoteFree dieline & 3D mockup
The ideal logo size on a custom poly mailer balances porch readability with 3D garment expansion. When a flat polyethylene envelope is laid on a table, its full width looks flat from seam to seam. Once your warehouse packs a 1.5 to 3 inch thick folded shirt, hoodie or shoebox inside, the outer 1.5 to 2.5 inches on both the left and right edges curve away to form the vertical side walls of the parcel. Sizing a horizontal wordmark to 45% to 55% of the flat mailer width, or sizing a tall circular emblem or crest to 35% to 40% of the flat width, keeps the entire mark inside the flat central face of the packed bag. Position the optical center of your logo 0.5 inches above the vertical midpoint of the usable front face so gravity and bottom settling never make your brand mark look droopy.
What is the 50% width rule for horizontal wordmarks vs square crests?
Graphic designers preparing their first mailer dieline often make one of two errors: they either paste a tiny 2.5-inch website header logo in the middle of a large apparel bag where it looks lost, or they stretch their wordmark nearly edge to edge across 80% of the bag width. When spot-printed custom poly mailers with a logo are stuffed with folded clothing, the flat film bows outward in the center and pulls the left and right edges inward. Using a width-to-bag ratio instead of a single fixed inch measurement solves both problems across every bag footprint. For horizontal wordmarks (where width is at least twice the height), target 45% to 55% of the usable bag width. For square badges, circular monograms or tall stacked crests, target 35% to 40% of the usable bag width so the vertical height of the emblem does not crowd the top fold line or bottom heat seam. That simple ratio leaves 22% to 32% of clean background film on both the left and right sides, framing your mark with boutique whitespace and keeping every letter on the flat front plane.
- Horizontal wordmarks (aspect ratio 2:1 to 4:1): set logo width to 45% to 55% of flat bag width.
- Stacked icon + wordmark lockups (aspect ratio 4:3): set logo width to 40% to 45% of flat bag width.
- Square crests and circular monograms (aspect ratio 1:1): set diameter or width to 35% to 40% of flat bag width.
- Upper-left or lower-right corner badges: set badge width to 20% to 25% of flat bag width, inset at least 1.5 inches from seams.
What are the recommended logo dimensions for each poly mailer size?
Use the reference table below to pick exact starting width and height dimensions for your brand mark across the six most popular e-commerce mailer sizes. Remember that poly mailer sizes are always listed by usable Width × Height below the top self-sealing lip. If you ship across multiple bag sizes - for example, a 10 × 13 inch bag for single tees and a 14.5 × 19 inch bag for hoodies - scale your logo proportionally for each bag rather than reusing the smaller 5-inch print size on the larger bag. Because CubitPack never charges printing plate or cutting die fees, scaling your logo to match each bag size in your lineup costs nothing extra in setup.
| Usable bag size (W × H) | Horizontal wordmark (W × H) | Square or circle crest | Minimum left/right margin | Typical packed contents |
|---|---|---|---|---|
| 6 × 9 in | 3 to 3.25 × 1.25 in | 2.25 × 2.25 in | 1.375 in per side | Jewelry boxes, lip gloss, socks, hair clips |
| 10 × 13 in | 5 to 5.5 × 2.25 in | 3.75 × 3.75 in | 2.25 in per side | 1–2 folded T-shirts, leggings, swimwear |
| 12 × 15.5 in | 6 to 6.5 × 2.75 in | 4.5 × 4.5 in | 2.75 in per side | Denim jeans, light fleece, 3–4 shirts |
| 14.5 × 19 in | 7.25 to 8 × 3.5 in | 5.25 × 5.25 in | 3.25 in per side | Heavyweight hoodies, sweaters, small shoeboxes |
| 19 × 24 in | 9.5 to 10.5 × 4.5 in | 7 × 7 in | 4.25 in per side | Puffer jackets, adult shoeboxes, blankets |
| 24 × 24 in | 11.5 to 12.5 × 5.5 in | 8.5 × 8.5 in | 5.75 in per side | Bedding duvets, pillows, wholesale packs |
Why should you place your logo 0.5 inches above the geometric center?
If you measure a 10 × 13 inch poly mailer on a flat artboard, the exact geometric center sits 6.5 inches up from the bottom seam. However, once a folded garment is dropped into the bag and the parcel is carried by its top edge or tossed into a mail bin, the weight of the product settles into the lower half of the envelope while the top 2 inches below the adhesive fold pinch flat. Because the bottom half bulges outward toward the viewer and the top half tapers inward toward the seal, a logo placed at the mathematical midpoint appears slightly low to the human eye. Raising your logo's vertical center by 0.5 to 0.75 inches above the geometric midpoint of the usable front face places it on the highest, flattest crest of the packed garment.
Know your size? Compare pricing across up to 3 quantities.
Request a Quote →Should your logo go on the front face, the back face or the sealing flap?
Every self-sealing poly mailer has two distinct sides: the smooth front face (which ends cleanly at the top opening) and the back face (onto which the 1.5 to 2 inch adhesive lip folds down when sealed). Your primary brand logo belongs on the smooth, un-flapped front face so no fold crease or tape edge ever interrupts your artwork. Use the back face for functional secondary branding that works around the 4 × 6 inch carrier shipping label. When the top adhesive flap folds over onto the upper back panel, it covers the top 2 to 2.5 inches of the back face. By printing a small social handle, website URL or recycling icon near the bottom edge of the back panel - and framing a dashed 4 × 6 inch zone in the middle for your warehouse thermal printer - you keep the front logo completely unobstructed.
What stroke thickness and file settings keep scaled logos sharp?
Scaling a logo from a 3.25-inch print on a 6 × 9 inch jewelry mailer up to a 10-inch print on a 19 × 24 inch coat mailer requires vector artwork (.AI.EPS or vector.PDF) where every letter and icon is drawn as mathematical curves rather than pixels. If you only have a raster PNG or Canva export, our prepress team redraws it into clean vector paths at no cost before creating your proof. When sizing down crests or badges that contain secondary taglines (such as 'EST. 2024' or city names), check the stroke weight at the smallest bag size. On flexible polyethylene film, positive ink lines should be at least 1 pt (0.014 inches) thick, and reversed-out lines (where the base film shows through dark ink) should be at least 1.5 pt thick with font sizes of 7 pt or larger. At CubitPack, every order includes a free 2D digital proof and 3D mockup showing exact millimeter and inch dimensions before payment, 10 to 14 business day turnaround (4 to 5 day rush), and free 50-state shipping. Pair your logo mailers with custom printed poly mailers, custom tissue paper or custom thank you cards for a complete parcel system.
- File format: vector.AI.EPS or.PDF with all fonts converted to outlines (or free vector conversion by our team).
- Minimum positive line thickness: 1 pt (0.014 in) so thin serifs print solidly across poly film.
- Minimum reversed-out line or gap: 1.5 pt (0.021 in) so surrounding ink never pinches fine details shut.
- Minimum text height: 7 pt for positive spot ink; 9 pt for white ink on matte black film or metallic foil stamping.
What are the most common poly mailer logo sizing mistakes?
Avoid these five proportion and placement errors before approving your digital proof
- Making a horizontal wordmark wider than 65% of the flat bag width, which causes the first and last letters to wrap around the curved sides once packed.
- Measuring vertical centering from the top of the unfolded adhesive lip instead of the usable fold line, which shifts the logo 1 inch too high.
- Using the exact same 4-inch logo print size on both a 10 × 13 inch shirt mailer and a 19 × 24 inch winter coat mailer.
- Keeping tiny 4 pt 'TM' or tagline subtext beneath a scaled-down logo on a 6 × 9 inch bag where micro-type fills in with ink.
- Placing the main brand logo in the center of the back panel where the 4 × 6 inch thermal shipping label covers it completely.
Packaging for this
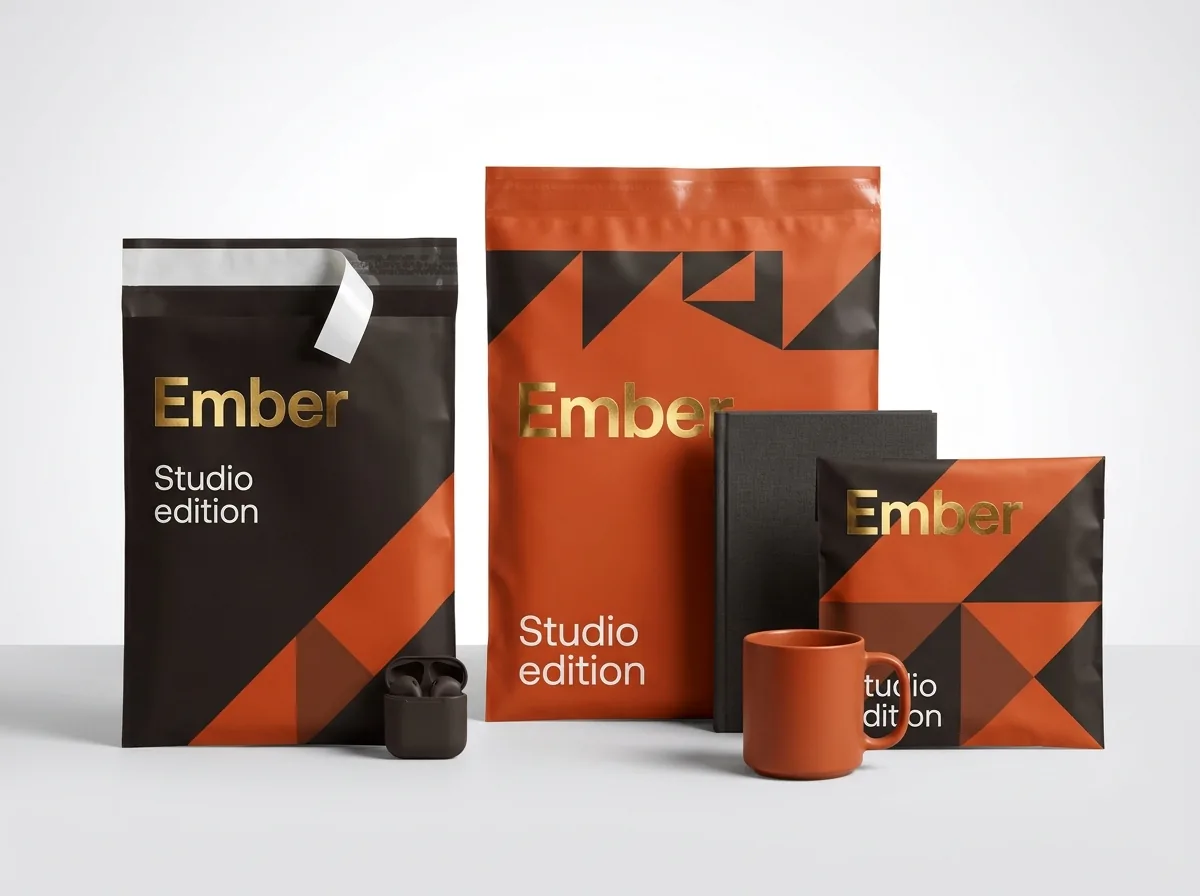
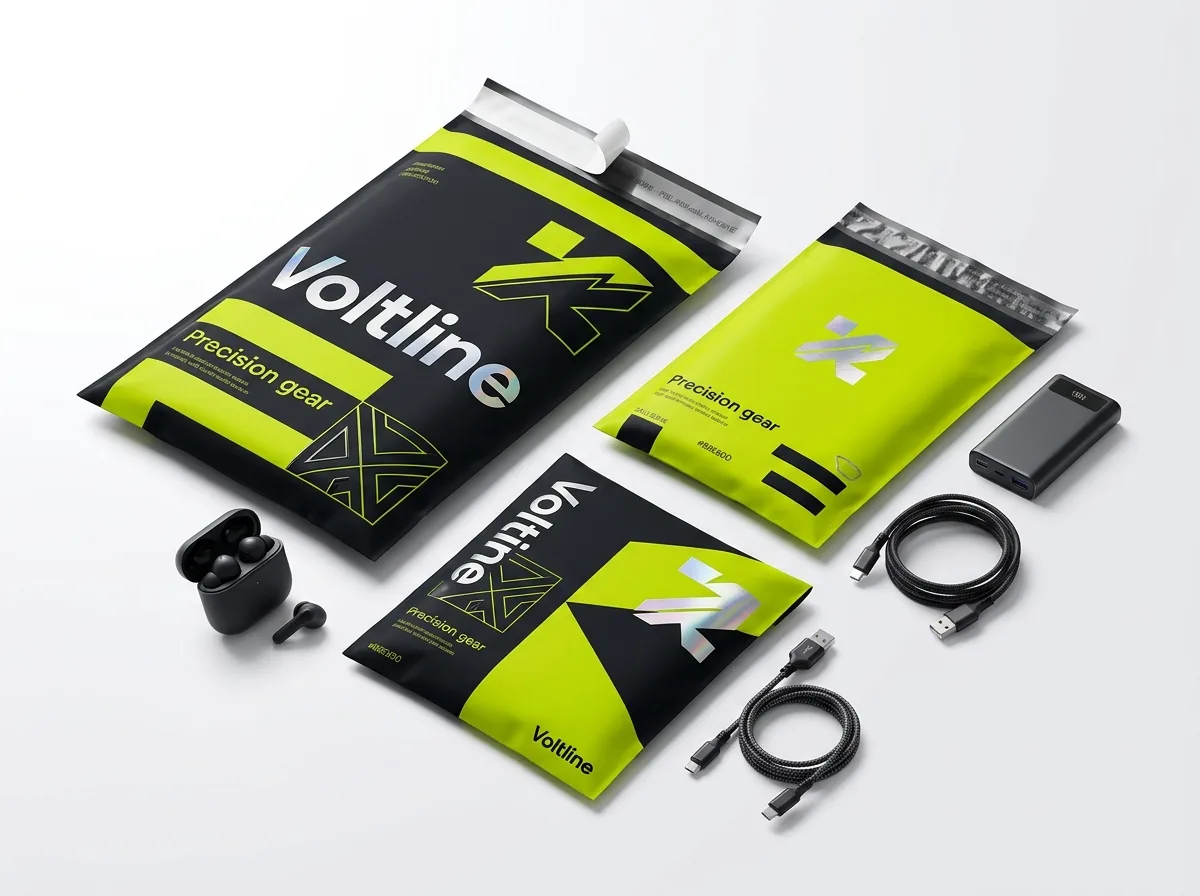
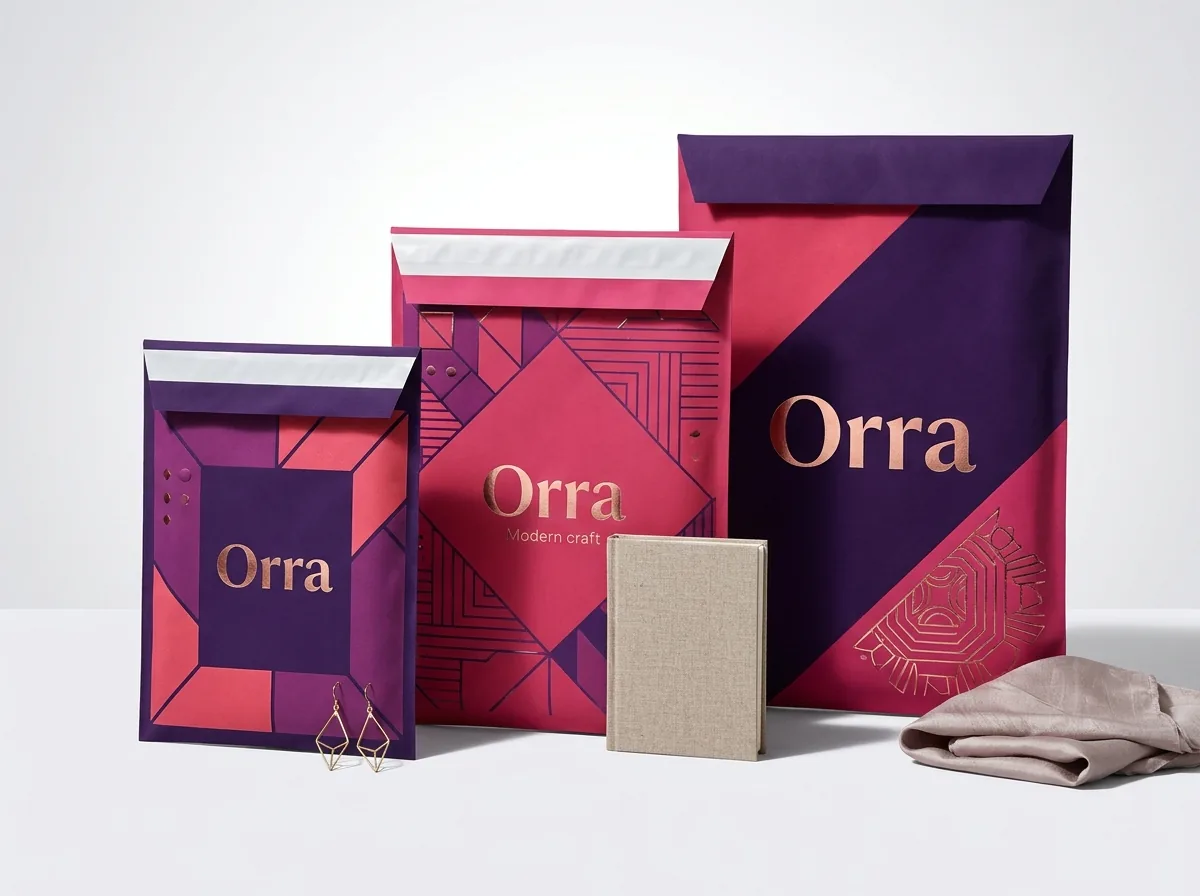
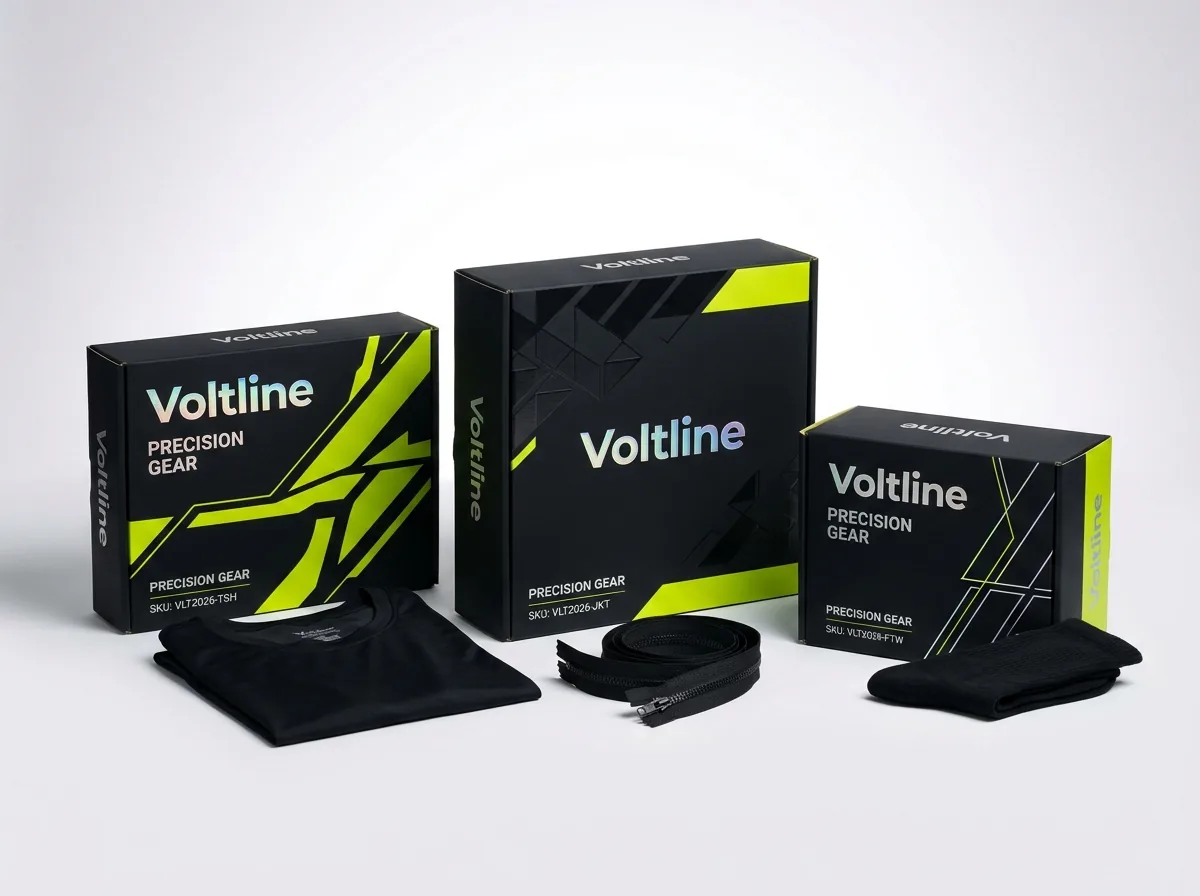
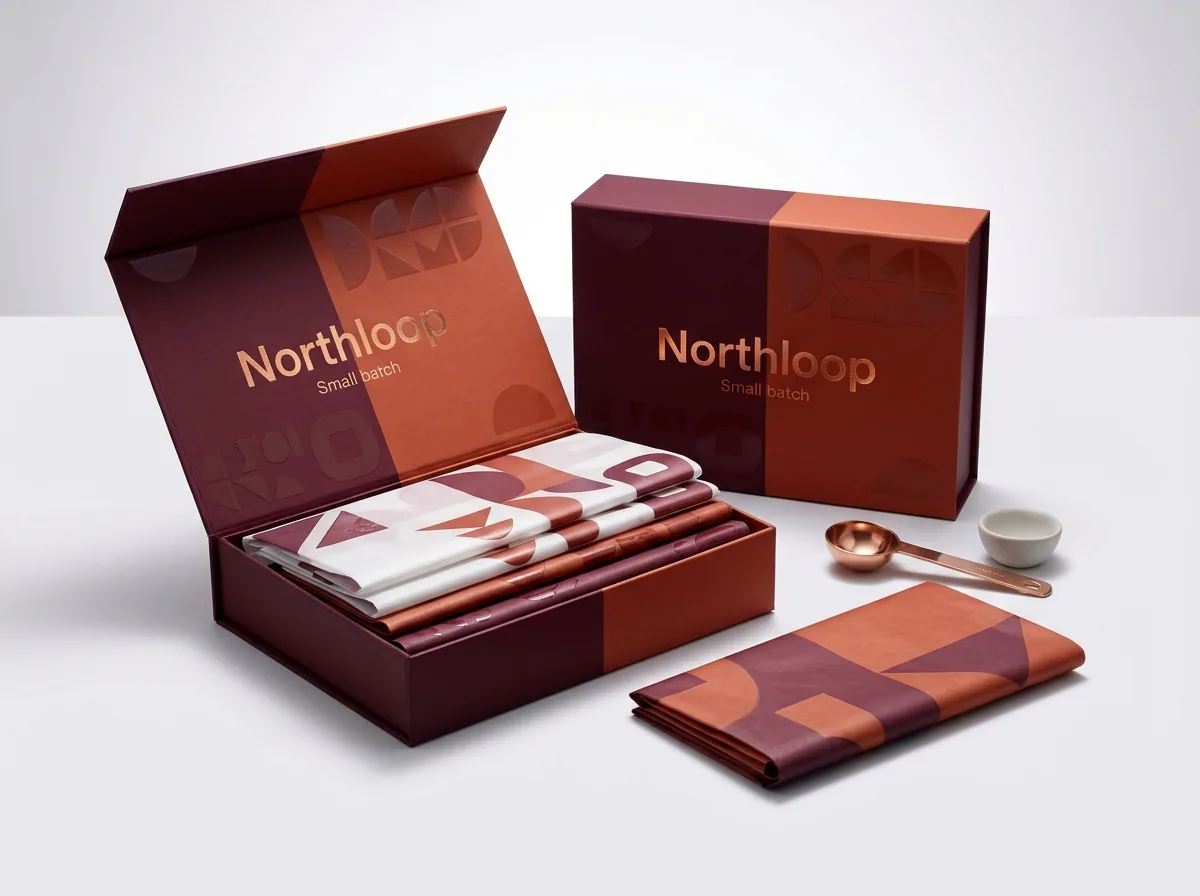
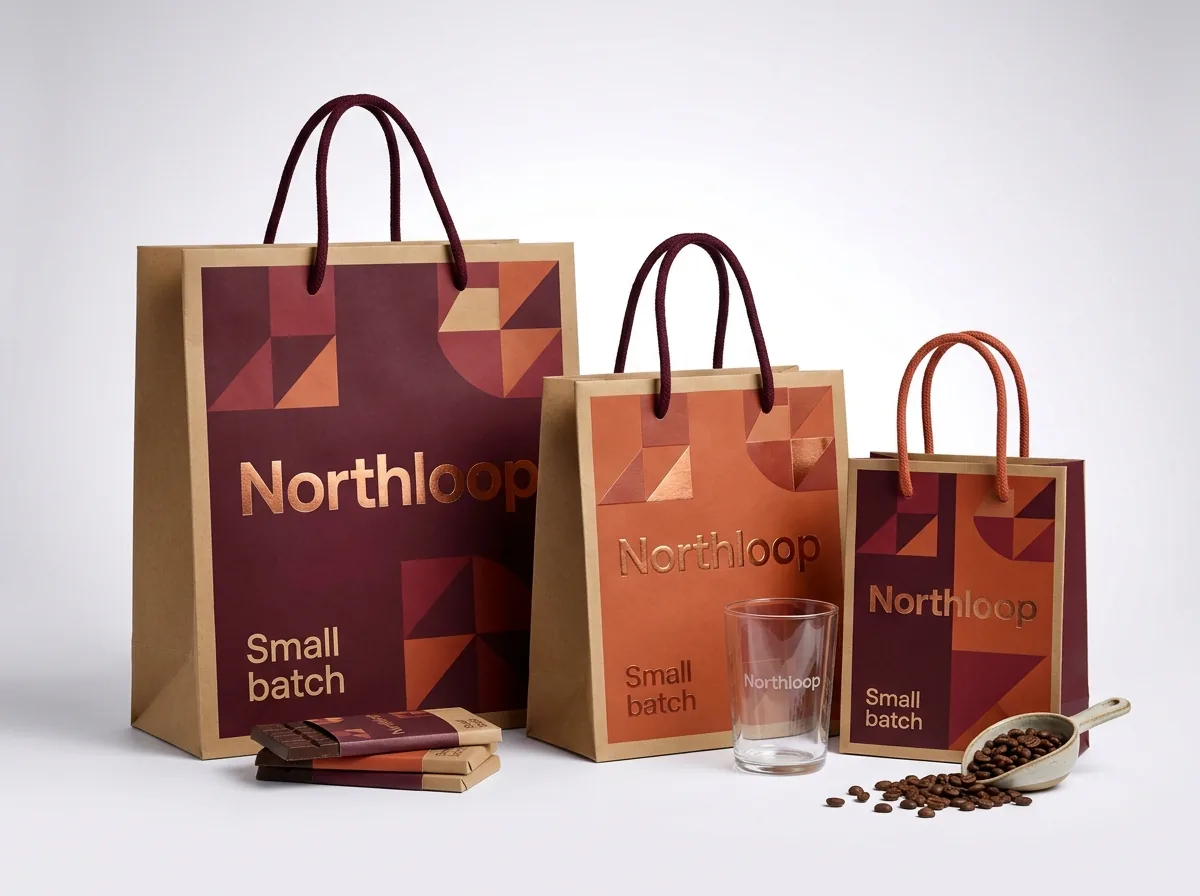
Ready to order poly mailers with logo? Compare up to 3 quantities with a free 3D mockup.
Request a Quote →Questions about poly mailers with logo
What size should my logo be on a 10 × 13 inch custom poly mailer?
On a standard 10 × 13 inch T-shirt poly mailer, size a horizontal wordmark to 5 to 5.5 inches wide by 1.75 to 2.5 inches tall. If your logo is a square badge or circular monogram, size it to 3.5 to 4 inches wide so it leaves at least 2.25 inches of margin on each side.
What size should my logo be on a 14.5 × 19 inch hoodie poly mailer?
On a 14.5 × 19 inch hoodie mailer, size a horizontal wordmark to 7.25 to 8 inches wide by 3 to 4 inches tall, or size a square emblem to 5 to 5.5 inches wide. Because hoodies stack 2.5 to 3.5 inches thick, leave at least 3.25 inches of clear margin on the left and right edges.
Does it cost extra to scale my logo to different sizes across multiple bag dimensions?
No. CubitPack never charges printing plate or cutting die fees. When you order multiple mailer sizes, such as 10 × 13 inches and 14.5 × 19 inches, our prepress team scales your logo to the ideal 50% proportion for each dieline at zero extra setup cost.
How far from the bottom seam should a corner logo or website URL sit?
Keep any corner badge, website URL or recycling icon at least 1.5 inches above the bottom heat seal on flat mailers, and at least 2.5 inches above the bottom crease on non-gusseted bags packing thick items so the text does not tuck underneath the parcel.
Can you check my logo size on a 3D mockup before I pay for my order?
Yes. Every CubitPack quote includes free design help, a dimensioned 2D dieline proof showing exact logo width, height and margins, and an interactive 3D mockup before payment. You can request size adjustments until the proportion looks right.
What if my logo has both a wide wordmark and a small icon?
Many apparel brands print their full horizontal wordmark at 50% width on the front face and place the standalone icon or monogram at 1.5 to 2 inches wide on the back fold-over flap or above the 4 × 6 inch shipping label frame.
Still have a question? Ask a packaging specialist.
Request a Quote →Request your poly mailers with logo quote
Tell us your size and quantities, and one dedicated account manager prepares pricing for each tier.
- Free design & AI-to-print studio + 3D mockup
- No die or plate charges · 4–5 day rush available
- Free shipping to all 50 states
- 10% off your first order
The 45% to 55% horizontal wordmark rule, 35% to 40% square crest ratio and 0.5-inch optical center offset in this guide are based on standard flexible mailer converting geometry and 3D garment loft deductions. A CubitPack packaging specialist verified every row. Spot something wrong? Tell us and we will fix it.
Sources
What changed
- October 22, 2026: First published.
- October 22, 2026: Updated specifications, terminology, and verified source links.
More guides
New packaging guides by email
Sizes, materials and design tips. Unsubscribe anytime.