
How do I design custom pet toy boxes that survive retail pegboards and squeeze tests?
Short answer: Build durable custom pet toy boxes by leaving at least ⅜ inch of laminated 20 pt+ paperboard above a double-folded sombrero hang slot, rounding open squeeze-window corners to ¼ inch, punching twin tie-down holes behind the toy's waist, and printing a 1-to-5 chew-strength bar on the lower front panel.
On this page
- How do you engineer a sombrero hang tab that never tears on wire peg hooks
- What belongs on each panel of a retail-ready pet toy box
- Where should twist-tie anchor holes and squeeze windows sit on the dieline
- How do you design a clear chew-strength scale that prevents customer returns
- How can a pet brand print multiple toy characters on one shared box dieline
- Common mistakes
- FAQs
Request a custom quoteFree dieline & 3D mockup
Pet toy packaging takes more physical abuse on the store aisle than almost any other consumer category: shoppers pull boxes off wire peg hooks, press their thumbs through open window cutouts to test internal squeakers, and tug on exposed rope handles. If a hang tab is punched too close to the top edge of unlaminated card, or if an open window has sharp 90-degree corners, the carton tears within days and ends up in the clearance bin. Even worse, when a dog toy box fails to state whether the toy is meant for gentle plush play or aggressive power chewers, pet owners buy the wrong durability tier and leave unhappy reviews. When you order custom printed pet toy boxes from CubitPack, our prepress and structural engineers build reinforced hang tabs, tie-down holes and chew-scale layouts into your dieline for free.
How do you engineer a sombrero hang tab that never tears on wire peg hooks?
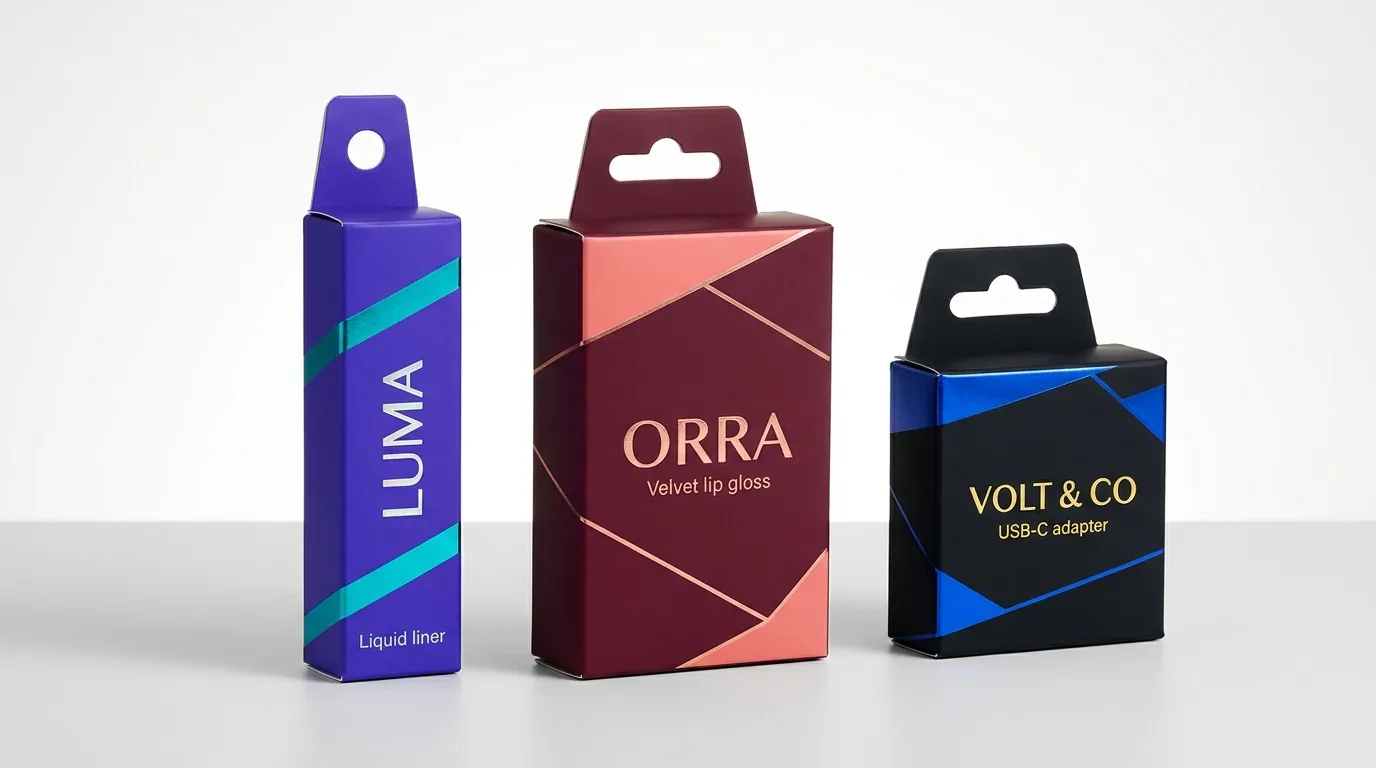
When a pet store employee slides six dog toy cartons onto a metal pegboard rod, all of the toy's weight hangs on a narrow bridge of paperboard above the slot. Standard North American pet retail hooks use either a single ¼ inch wire rod or a double-wire euro hook, which is why the hat-shaped sombrero slot (1.25 inches wide × 0.375 inches tall with a centered top crown) is the universal standard on custom hang tab boxes. To prevent the metal hook from slicing upward through the top of the tab when shoppers pull a box forward, follow three structural rules on your dieline. First, keep at least ⅜ inch (0.375 in) to ½ inch of solid paperboard between the top of the sombrero crown and the upper cut edge of the tab. Second, ask our structural team for a double-folded (glued two-ply) top extension tab so the hook rests against two layers of board instead of one. Third, add matte or gloss polypropylene lamination across the exterior of the carton, which increases tear initiation strength around the die-cut slot by more than 40 percent compared with bare uncoated card.
- Margin above slot: keep 0.375 to 0.5 inches of solid board above the sombrero cutout crown.
- Double-ply fold: fold and glue the top back extension flap over itself so the hang slot passes through two layers of board.
- Lamination reinforcement: apply matte or gloss film lamination to stop micro-tears at the slot corners.
- Center-of-gravity alignment: position the hang tab plane as close to the toy's weight center as possible so the box hangs plumb.
What belongs on each panel of a retail-ready pet toy box?
A well-designed pet toy carton answers a pet owner's three buying questions in under five seconds: what does the toy do (squeak, crinkle, float, dispense treats or hold catnip), how tough is it (chew level 1 to 5), and what size dog or cat is it built for?Mapping those callouts to specific panels keeps the front window open while giving retail buyers every spec they require. Use the panel-by-panel layout table below when setting up your artwork on a CubitPack dieline. Remember to keep all text and icons at least ⅛ inch inside fold scores and window cut lines, and extend background colors ⅛ inch past the outer cut lines for bleed.
| Carton panel or zone | Key graphics & structural elements | Prepress & durability rule |
|---|---|---|
| Top hang-tab header | Brand logo + species callout (Dog / Cat) + sombrero slot | Keep logos ¼ in clear of the 1.25 × 0.375 in hang slot |
| Upper front frame / arch | Toy name + primary action badge (Squeaks / Crinkles / Floats) | Maintain at least ¾ in frame width around open window |
| Center open or film window | Direct thumb access to squeaker or sealed view of catnip toy | Use ¼ in rounded window corners to prevent frame tearing |
| Lower front apron band | 1-to-5 Chew-Strength Meter + Dog Weight / Breed Size icons | High-contrast color bar visible on low shelves & pegs |
| Internal back panel (visible) | Contrasting pattern + twin ¼ in twist-tie anchor holes | Print inside back wall so open window looks finished |
| Left & right side gussets | Material safety bullets (BPA-free, double-stitched seams) | Repeat product name vertically for sideways shelf stacking |
| Outer back panel & base | Supervised-play warning, care instructions & UPC barcode | 100% black barcode ink on white box (min 1.2 × 0.8 in) |
Where should twist-tie anchor holes and squeeze windows sit on the dieline?
When you leave the front of a pet toy box open so shoppers can squeeze a plush character or feel a rubber bone, the toy needs a mechanical anchor so it cannot fall out or twist sideways in transit. The cleanest method is a pair of pre-punched 3/16 inch or ¼ inch circular holes in the back wall of the carton, spaced 1.25 to 2 inches apart horizontally directly behind the narrowest waist or neck of the toy. Because CubitPack charges zero die fees, punching two or four tie-down holes into the back panel of your custom pet toy packaging costs nothing extra. Just as important is the shape of the front window cutout itself. If your graphic designer draws a rectangular open window with sharp 90-degree corners, every thumb press on the plush toy focuses stress right into those four corners and rips the paperboard frame. Rounding all window corners to a ¼ inch radius (or curving the window into a bone, paw or arch silhouette) distributes the flex across the side walls and keeps at least ¾ inch of solid paperboard border along the left and right edges.
Know your size? Compare pricing across up to 3 quantities.
Request a Quote →How do you design a clear chew-strength scale that prevents customer returns?
The number-one cause of 1-star reviews on dog toys is expectations mismatch: a pet owner buys a soft plush squeaker meant for gentle cuddling, gives it to a 70-pound power-chewing terrier, and complains when the seams open in ten minutes. Printing a bold, unmistakable Chew-Strength Meter across the lower front apron of your carton fixes that before the shopper reaches the register. Use a 1-to-5 visual bar or gauge (for example: Level 1 Gentle Plush, Level 3 Moderate Tug, Level 5 Power Chewer Solid Rubber) paired with a dog weight icon in pounds (Under 15 lb, 15–35 lb, 35–65 lb, 65+ lb). Highlighting the active level with glossy Spot UV over matte lamination makes the durability tier pop under retail lighting. On the back panel, always include a clear supervised-play notice advising owners to remove the toy if pieces break loose and stating whether the toy is machine-washable or top-rack dishwasher-safe.
- Chew Level 1–2 (Plush & Crinkle): label clearly for gentle fetch, indoor play and cuddlers; highlight double-stitched seams.
- Chew Level 3 (Rope & Ballistic Nylon): label for moderate tug-of-war and interactive toss games.
- Chew Level 4–5 (Solid Rubber & Nylon Bones): label for aggressive chewers; call out treat-stuffing cavities and dishwasher care.
- Breed Size Scale: show silhouette icons for Toy/Small (<20 lb), Medium (20–50 lb) and Large/Giant (50+ lb) dogs.
What are the most common pet toy box artwork and dieline mistakes?
A few millimeters on a structural dieline make the difference between a crisp retail peg display and a torn carton. Check these five details before approving your proof
- Punching the sombrero pegboard hang slot within ⅛ inch of the top edge of single-ply board, where wire hooks rip through immediately.
- Drawing sharp 90-degree corners on an open thumb-squeeze window instead of ¼ inch rounded corners that resist tearing.
- Leaving the interior back wall unprinted behind an open window, exposing bare gray or white board around the toy silhouette.
- Forgetting to print a front-panel chew-strength and dog-weight scale, leading power-chewer owners to buy gentle plush toys.
- Placing the UPC barcode over a curved bottom tuck flap or near a tie-down hole where twist ties block the scanner.
Find your size
Suggested inside size: 3.5 × 1.75 × 5 in
A starting point. Your account manager confirms the size with you before the proof.
Quote this size →Packaging for this
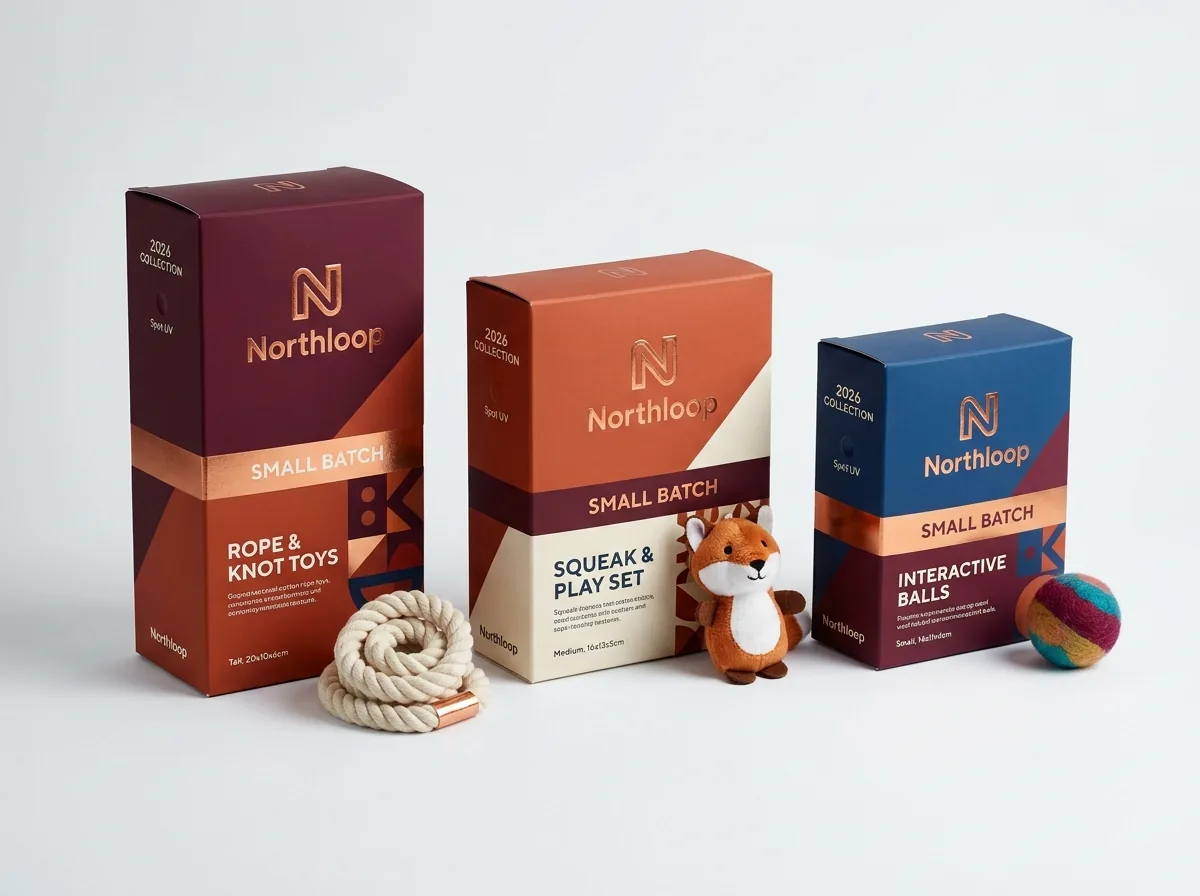

Ready to order pet toy boxes? Compare up to 3 quantities with a free 3D mockup.
Request a Quote →Questions about pet toy boxes
How much space should I leave above a sombrero hang slot on a pet toy box?
Leave at least ⅜ inch (0.375 in) to ½ inch of solid paperboard above the center crown of the sombrero slot, and use a glued two-ply folded hang tab with matte or gloss lamination so wire peg hooks cannot tear through.
Does CubitPack charge extra to punch twist-tie holes and sombrero hang slots?
No. We never charge die or plate fees. All structural cutouts, including sombrero pegboard slots, open bone-shaped squeeze windows and back-panel twist-tie anchor holes, are built into your steel-rule die at no extra cost.
Should I print the inside of an open-window pet toy carton?
Yes. Because an open-window or 3-sided cradle carton exposes the interior back wall and side gussets around the toy, printing a solid brand color or pattern inside makes the display look intentional and frames the toy cleanly.
Can I combine multiple dog toy characters or chew levels in one 1,000-box order?
Yes. Select 2 designs or 3+ designs when requesting your quote and share one box dieline across your characters or chew levels. Combining SKUs on a shared size lowers your per-box cost.
What file format do I need to send for my pet toy box artwork?
Send vector artwork (PDF, AI or EPS) with fonts outlined and images at 300 DPI, or send your logo and toy photos and our design team will lay out your dieline, chew-strength meter and 3D mockup for free.
How fast can I get custom pet toy boxes delivered?
Standard production takes 10 to 14 business days after you approve your digital proof and 3D mockup, and 4 to 5 business day rush is available. Shipping to all 50 US states is always free.
Still have a question? Ask a packaging specialist.
Request a Quote →Request your pet toy boxes quote
Tell us your size and quantities, and one dedicated account manager prepares pricing for each tier.
- Free design & AI-to-print studio + 3D mockup
- No die or plate charges · 4–5 day rush available
- Free shipping to all 50 states
- 10% off your first order
The structural dieline rules in this guide (3/8-inch sombrero slot tear margins, 1/4-inch rounded window corners, back-panel tie-hole spacing and 1-to-5 chew-meter layouts) were compiled by CubitPack's structural design team and checked against our published product specifications. Spot something wrong? Tell us and we will fix it.
Sources
What changed
- October 22, 2026: First published.
- October 22, 2026: Updated specifications, terminology, and verified source links.
More guides
New packaging guides by email
Sizes, materials and design tips. Unsubscribe anytime.