
How to design custom gift card boxes with inserts and barcode windows?
Short answer: To design custom gift card boxes that work at checkout and delight the recipient, center your 3.375 × 2.125 inch CR80 card in a corner-slit riser or EVA foam well with a finger notch, align any rear barcode cutout with your POS layout, and leave an uncoated knockout over the 'To / From' write-on box.
On this page
- How do you engineer corner slits vs EVA foam wells on the insert dieline
- How do you position rear barcode and PIN windows for point-of-sale scanning
- Why do 'To / From / Amount' panels need a coating knockout on your artwork file
- Which finishes make a small gift card box feel like a luxury keepsake
- What is the 5-step prepress checklist before approving your 2D dieline and 3D mockup
- Common mistakes
- FAQs
Request a custom quoteFree dieline & 3D mockup
Designing a custom gift card box is half visual storytelling and half retail engineering. Visually, the outer lid, sleeve or magnetic cover should turn a small 3.375 × 2.125 inch CR80 card into a tactile gift through soft-touch matte lamination, hot metallic foil stamping and crisp spot UV accents. Mechanically, the package has to solve three practical interactions: the cashier must be able to activate the card's barcode or magnetic stripe quickly at the point of sale, the buyer needs a smudge-free 'To / From / Amount' space to write a personal message with a regular ballpoint pen, and the recipient needs a finger notch or ribbon tab to lift the card out of the insert without prying at the corners. This step-by-step dieline guide walks through insert engineering, rear POS windows, coating knockouts and print setup for your brand.
How do you engineer corner slits vs EVA foam wells on the insert dieline?
When a customer opens one of our custom printed gift card boxes, the interior insert does all the framing work. Because a standard CR80 card is only 30 mil (0.76 mm) thick, laying it flat on the floor of a base tray makes it almost impossible to pick up. Every gift card box needs either a die-cut paperboard riser with diagonal corner slits or a recessed EVA foam well with a finger scoop. Use the table below to compare the four interior card-holding mechanisms we build on our CAD tables and match the insert style to your card material and sustainability goals.
| Insert mechanism | Dieline & cut specification | Best card type & box style |
|---|---|---|
| 4-corner diagonal slit paperboard riser | Four 45° angled die-cut slots with curved stress-relief hooks at each slot end | 30-mil plastic or paperboard CR80 cards in two-piece, drawer or sleeve boxes (100% paperboard) |
| Side-tab collar lock paperboard cradle | Two die-cut C-shaped side wings that fold over the left and right edges of the card | Slide-out retail checkout sleeves and folded paper card carriers |
| Recessed EVA foam well + half-moon notch | 3.40 × 2.15 in cavity punched into 0.25–0.375 in EVA foam + 0.5 in half-moon finger cutout | Rigid two-piece and drawer boxes where zero rattle and velvet texture matter |
| EVA foam well + satin ribbon lift tab | 3.40 × 2.15 in velvet-flocked EVA pocket with a 0.375 in satin ribbon anchored underneath | Heavy 40–60 mil laser-engraved metal VIP cards and hinged magnetic book folios |
How do you position rear barcode and PIN windows for point-of-sale scanning?
If your retail associates or restaurant hosts load pre-packaged gift card boxes onto a counter display or pegboard rack, they do not want to unbox every card at the register just to scan the activation barcode. We solve this by die-cutting a rear POS scan window through the back wall of your custom sleeve boxes or folding pillow boxes and aligning it with a matching cutout in the inner card cradle. Before our structural team locks your dieline, send us the back-side artwork file or a physical sample of your CR80 gift card. Most CR80 cards place the 1D Code-128 barcode or 2D QR code along the lower half of the rear face, below the magnetic stripe. We size the die-cut window to leave at least 0.125 inches (3 mm) of quiet zone around the entire barcode so optical laser and camera scanners read the code on the first pass.
- Open die-cut scan window: preferred over clear PET film windows so glossy reflection never blinds optical checkout scanners.
- Barcode quiet-zone clearance: add 0.125 in (3 mm) of extra window width beyond the left and right bars of your Code-128 barcode.
- Magnetic-stripe swipe access: if your POS terminal requires a physical mag-stripe swipe, choose a quick-slide sleeve or thumb-notch pillow box.
- Tamper-evident PIN protection: ensure the rear window exposes only the activation barcode while keeping any scratch-off security PIN panel covered or visible for inspection.
Why do 'To / From / Amount' panels need a coating knockout on your artwork file?
Nearly every gift card buyer wants to write the recipient's name, their own name and the dollar balance somewhere on the package. Yet one of the most common print mistakes happens when a designer places a 'To: / From: / Amount:' graphic directly over a panel covered in soft-touch matte lamination, gloss film lamination or UV coating. Standard ballpoint pens, gel pens and rollerballs skip, bead up and smear across plastic film laminations and UV varnish. To make your write-on panel work with any pen behind the checkout counter, we create a coating and varnish knockout window on the dieline or print the write-on area inside an uncoated paperboard card carrier.
- Aqueous or varnish knockout: on press-varnished folding sleeves and pillow boxes, we mask out the coating plate over the rectangular 'To / From' box.
- Uncoated interior liner: on rigid two-piece, custom drawer boxes and magnetic folios, place the write-on lines on an uncoated interior paper liner.
- Light background tint: keep the write-on box white or under 10% pastel ink density so blue and black pen ink reads with high contrast.
- Separate note card option: for dark velvet-laminated rigid boxes, include a matching uncoated heavy cardstock note card tucked into the lid.
Know your size? Compare pricing across up to 3 quantities.
Request a Quote →Which finishes make a small gift card box feel like a luxury keepsake?
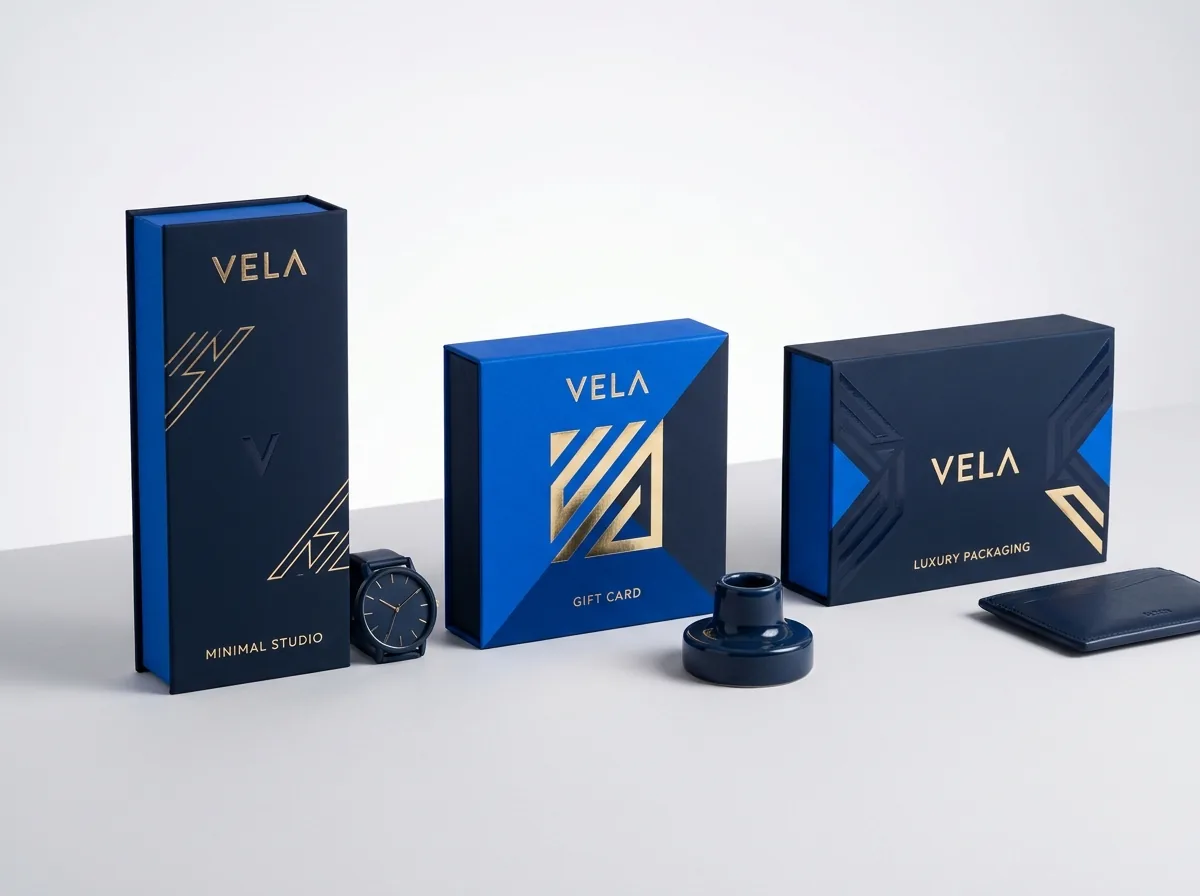
Because a gift card box has a compact surface area (typically 4.5 × 3.25 inches on the lid), metallic and tactile finishes cost very little per unit while transforming how the box feels in the hand. Pairing a velvety soft-touch matte lamination with hot metallic gold, silver, rose-gold or holographic foil stamping on your centered brand mark creates immediate contrast. If you want subtle texture without ink, blind debossing presses your monogram or crest into the paper wrap over the rigid chipboard lid, while raised spot UV traces a glossy pattern over a matte background. Keep foil and spot UV elements at least 0.1875 inches (3/16 in) back from the fold-over edges of a rigid lid or the curved score lines of a custom pillow box so the metallic foil or UV cure never cracks along the crease. You can also match the satin ribbon pull tab on a drawer box or EVA well to your exact foil or Pantone accent color.
What is the 5-step prepress checklist before approving your 2D dieline and 3D mockup?
Every CubitPack order includes free design support, a custom 2D vector dieline and an interactive 3D mockup before you pay. Before signing off on your proof, run through these five checks with your designer or our prepress specialists.
- 1. Verify card orientation: confirm whether your CR80 card artwork is horizontal (3.375 × 2.125 in) or vertical (2.125 × 3.375 in) so the insert pocket matches.
- 2. Check bleed and safety margins: extend background artwork 0.125 in (3 mm) past all cut lines and keep logos 0.125 in inside score lines.
- 3. Confirm barcode window coordinates: overlay your card's back-side dieline onto our box rear-window layer at 100% scale.
- 4. Separate specialty finish layers: supply vector spot layers for Foil Stamp, Spot UV, Emboss/Deboss and Coating Knockout.
- 5. Test finger access: verify that the EVA foam well includes a 0.5 in half-moon finger notch or a satin ribbon pull tab under the card.
What are the most common gift card box design and prepress mistakes?
Watch out for these five artwork and dieline oversights before sending your gift card packaging to press
- Designing a vertical portrait gift card while ordering a horizontal landscape insert well, forcing the card to sit sideways.
- Covering a rear POS barcode window with high-gloss plastic film that reflects red laser scanner beams at the checkout register.
- Applying soft-touch film lamination or gloss UV right over the 'To / From / Amount' write-on box so ballpoint pen ink smears.
- Cutting straight corner slits without J-hook stress-relief curves at the ends, causing the paperboard riser to tear during card loading.
- Placing small metallic foil text across the curved end-flap score line of a pillow box where folding tension can crack the foil.
Find your size
Suggested inside size: 4 × 2.75 × 0.375 in
A starting point. Your account manager confirms the size with you before the proof.
Quote this size →Packaging for this
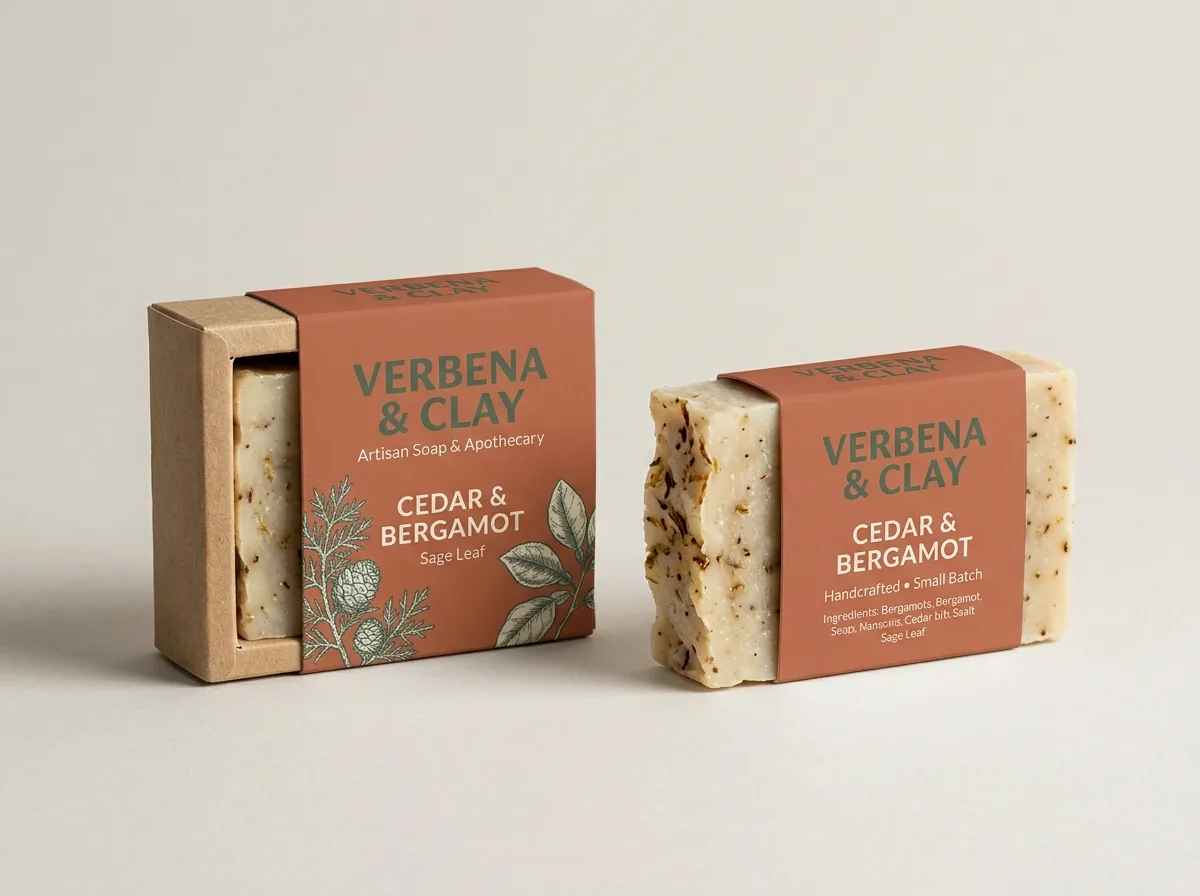
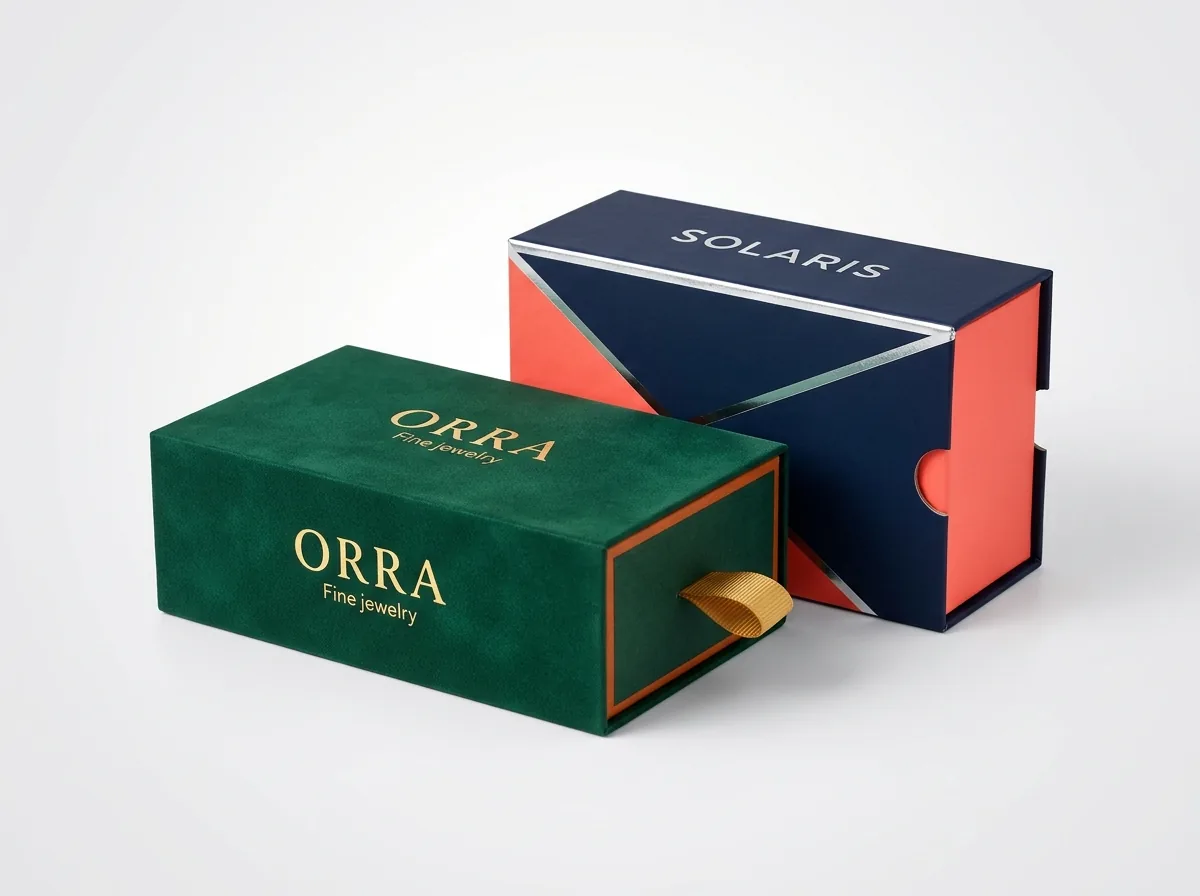
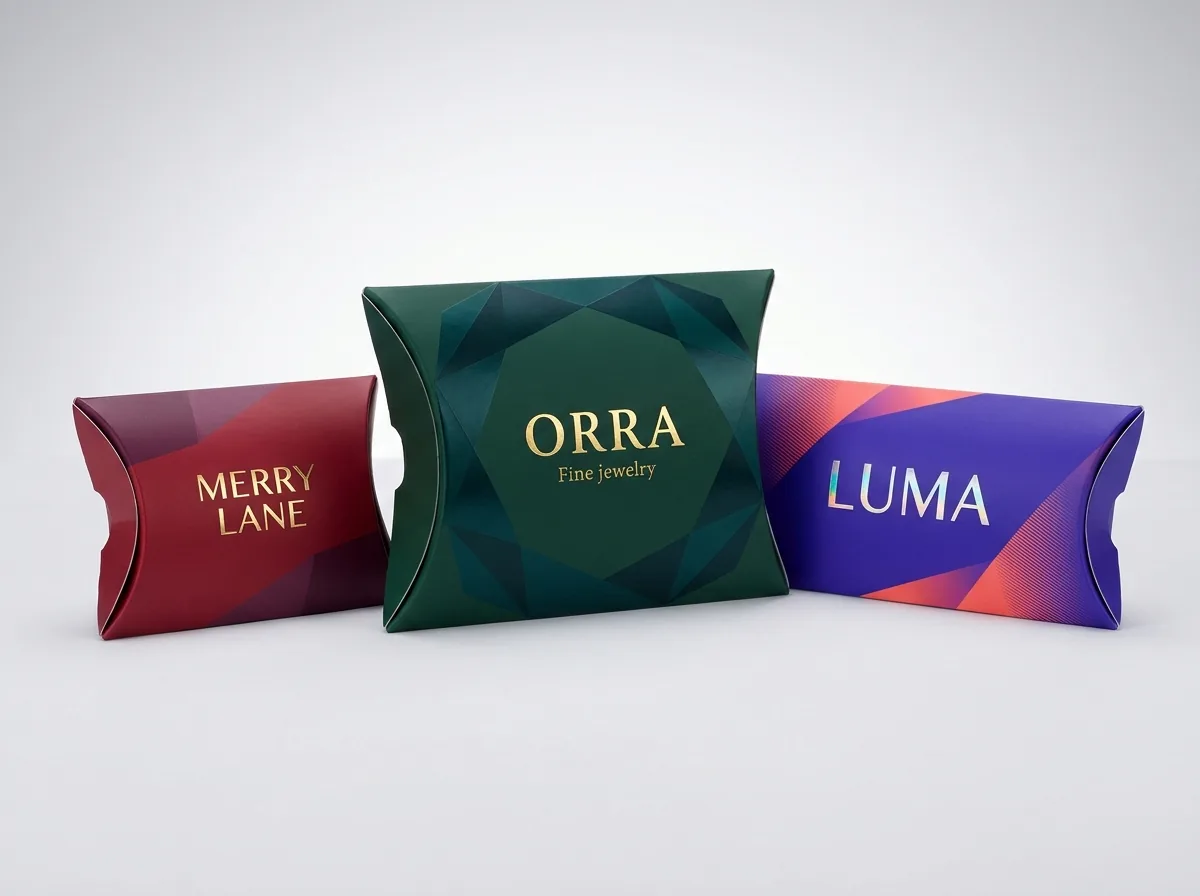
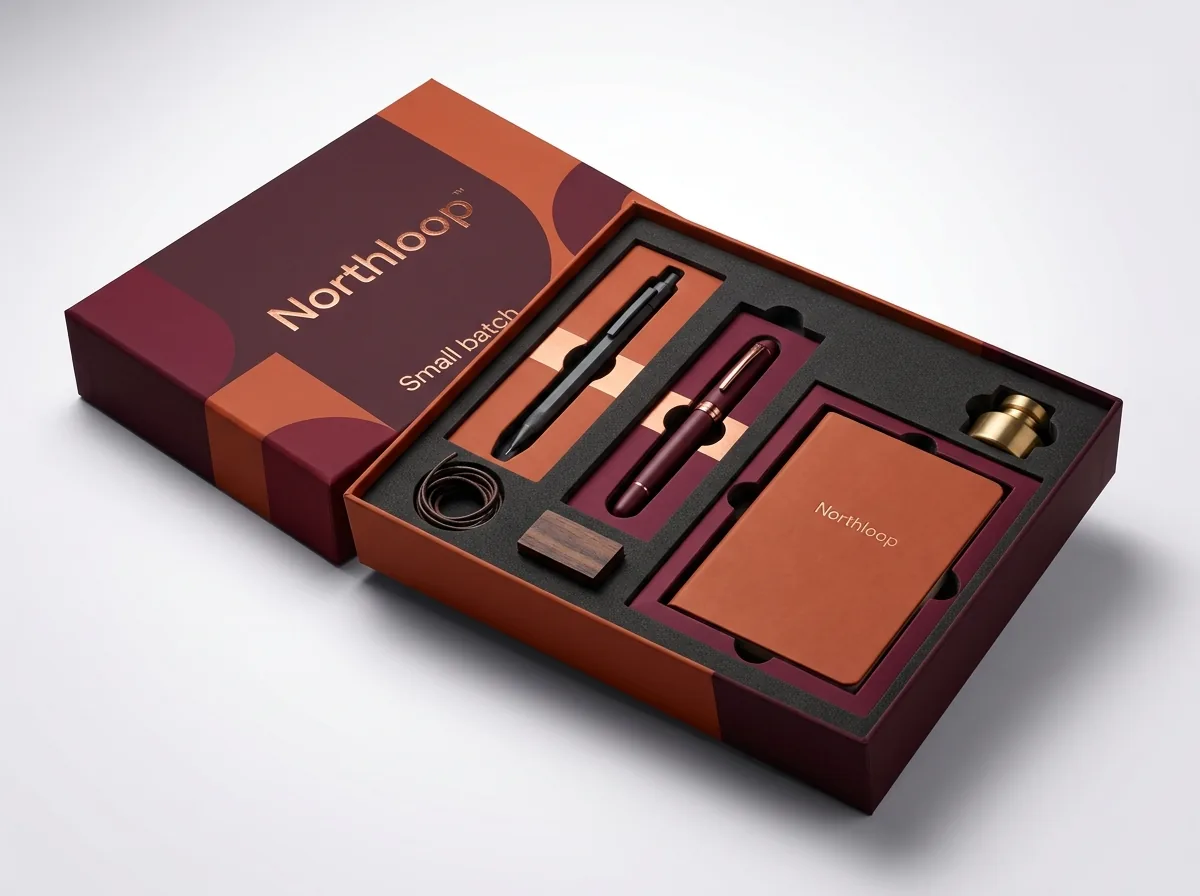
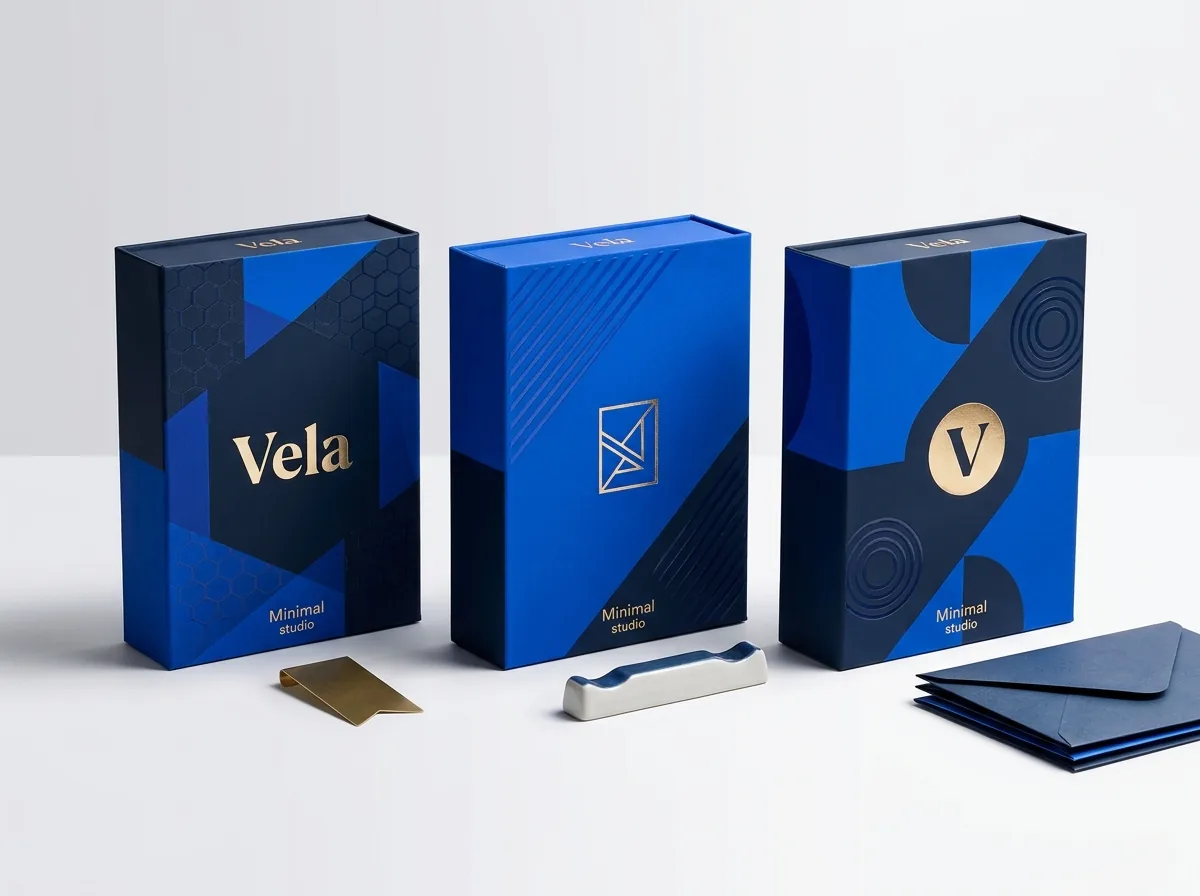
Ready to order gift card boxes? Compare up to 3 quantities with a free 3D mockup.
Request a Quote →Questions about gift card boxes
Will you create the box and insert dieline if I only have my gift card artwork?
Yes. Send us your CR80 gift card artwork (including the back-side barcode layout) and your logo, and our design team will build the matching 2D box and insert dieline plus a 3D mockup for free before payment.
Should a rear POS barcode window be open or covered with clear film?
An open die-cut window is almost always better for gift card sleeves and boxes. Because the CR80 card itself is rigid plastic or heavy paperboard, an open cutout needs no protective film and eliminates any glare on checkout barcode scanners.
Can you print both the inside and outside of a gift card box?
Yes. We offer full inside-and-outside CMYK and Pantone printing across two-piece rigid boxes, drawer boxes, magnetic book folios and folding paperboard sleeves, including foil-stamped messages on the inside lid.
How do you hold a heavy metal VIP card securely inside a gift card box?
For 40-mil to 60-mil stainless steel, brass or aluminum cards, we recommend a high-density EVA foam well laminated with velvet or soft-touch paper and paired with a satin ribbon lift tab anchored beneath the card.
Do you charge extra setup fees for custom corner-slit inserts or barcode windows?
No. CubitPack charges zero die or plate fees on custom gift card boxes, interior paperboard cradles, EVA foam wells and rear barcode window cutouts, whether you order a standard CR80 layout or a bespoke dual-cavity gift set.
How long does production take once I approve my gift card box proof?
Standard production takes 10–12 business days after you approve your 2D dieline and 3D mockup, with 6–8 business day rush production available when you have an upcoming holiday or store launch.
Still have a question? Ask a packaging specialist.
Request a Quote →Request your gift card boxes quote
Tell us your size and quantities, and one dedicated account manager prepares pricing for each tier.
- Free design & AI-to-print studio + 3D mockup
- No die or plate charges · 4–5 day rush available
- Free shipping to all 50 states
- 10% off your first order
Dieline tolerances, barcode quiet-zone rules and coating knockout specifications in this guide come from CubitPack's prepress and CAD engineering standards for ISO CR80 gift card packaging. A packaging specialist verified every step. Spot something wrong? Tell us and we will fix it.
Sources
What changed
- October 22, 2026: First published.
- October 22, 2026: Updated specifications, terminology, and verified source links.
More guides
New packaging guides by email
Sizes, materials and design tips. Unsubscribe anytime.