
How do I design custom Halloween boxes with cutouts and spot UV?
Short answer: Build your dark October base using a rich black CMYK mix plus matte or soft-touch film lamination so fold scores never crack white, then layer vector Spot UV spiderwebs, copper foil and a die-cut window kept 0.375 inches inside all creases. Order custom Halloween boxes with free design help.
On this page
- How do you print jet-black Halloween boxes that never crack along fold lines
- Which Spot UV and metallic foil pairings work best for October packaging
- How do I design a custom bat, crescent moon or gothic arch window cutout
- How do I set up Spot UV and foil stamping layers on my box dieline
- How can inside printing turn a plain October mailer into a spooky unboxing
- Common mistakes
- FAQs
Request a custom quoteFree dieline & 3D mockup
Designing October packaging that looks collector-worthy rather than cheap comes down to four prepress techniques: rich black ink formulation, film lamination over dark fold creases, tone-on-tone tactile contrast, and clean die-cut window geometry. Standard 100% black ink (C0 M0 Y0 K100) prints as a flat charcoal gray on paperboard and cracks along 90-degree fold lines unless protected by matte or soft-touch lamination. Once you have a velvety laminated black or deep plum background, you can print clear high-gloss Spot UV spiderwebs, moon phases or apothecary symbols directly on top for a dramatic black-on-black sheen, and stamp antique gold, copper or blood-red foil crests. When adding a bat, crescent moon or gothic arch window, keep the cutout at least 0.375 inches away from every fold score. CubitPack sets up your dieline and 3D mockup for free with zero die charges.
How do you print jet-black Halloween boxes that never crack along fold lines?
Dark midnight backgrounds are the foundation of Halloween packaging, whether you are designing a gothic candle box, a spellbook PR case or a haunted bakery carton. Yet the single most common print mistake on dark boxes is setting the background color in Adobe Illustrator to C=0, M=0, Y=0, K=100. On an offset press, 100% black ink alone absorbs into paper fibers and dries as a muted dark gray. To achieve a deep, saturated midnight black on custom printed Halloween boxes, our prepress team uses a balanced rich black CMYK formula (C=60, M=40, Y=40, K=100) on smooth coated white board. Second, before the printed sheets are die-cut and scored, we apply a thin layer of matte, gloss or soft-touch film lamination across the exterior. That flexible film bridges across every 90-degree crease so the white paperboard core never cracks through the black ink when you fold the flaps.
- Rich black CMYK mix: use C60 M40 Y40 K100 for large solid black panels (keep fine body text under 12 pt at C0 M0 Y0 K100 for sharp edges).
- Film lamination prevents cracking: always pair dark black, plum purple or navy backgrounds with matte, gloss or soft-touch lamination.
- Reverse-out knockout text: when placing white or orange text over rich black, add a thin choke or let our prepress team trap the plates.
- Kraft apothecary alternative: if you prefer unlaminated natural brown kraft, print 1-color solid black or opaque white ink.
Which Spot UV and metallic foil pairings work best for October packaging?
Once your box is wrapped in matte or soft-touch lamination, light-catching finishes create contrast without adding visual clutter. Tone-on-tone black-on-black Spot UV is a favorite for October releases: in direct light, glossy spiderwebs, tarot sigils, skeletal filigree or dripping potion patterns flash across the velvety matte surface. Compare the five popular Halloween finish combinations in the table below before building your artwork layers.
| October aesthetic | Base board & lamination | Contrast finish & cutout layer |
|---|---|---|
| Shadow Spiderweb (Tone-on-Tone) | Rich black + velvety soft-touch lamination | High-gloss clear Spot UV spiderwebs & moon phases |
| Apothecary Grimoire | Matte black or oxblood plum wrap | Antique gold or copper foil stamping + blind emboss |
| Cyber-Goth & Alchemy | Matte midnight black or deep violet card | Rainbow holographic foil + gothic arch window |
| Haunted Confectionery & Bakery | Matte black + pumpkin orange CMYK print | Die-cut bat or crescent moon clear PET window |
| Harvest Apothecary Kraft | Unbleached natural brown kraft board | 2-hit opaque white ink + matte black botanical art |
How do I design a custom bat, crescent moon or gothic arch window cutout?
Because CubitPack charges zero die or plate fees, you can replace a plain rectangular window with a custom silhouette (such as a bat in flight, a crescent moon, a keyhole, a cauldron or a pointed gothic cathedral arch) on any custom window box or gable carton at no extra tooling cost. A clear film patch glued inside the carton keeps dust out while letting shoppers see frosted Halloween cookies, chocolate skulls, bath bombs or candle labels inside. To make sure your custom window die-cuts cleanly and never weakens the box wall, follow three structural rules on your dieline. First, keep every point of the window cutout at least 0.375 inches (⅜ in) away from the nearest fold score line. Second, round any ultra-sharp inward corners slightly (at least a 1 mm radius) so the steel rule die does not nick the paperboard when stripping waste. Third, avoid narrow unsupported paper 'peninsulas' thinner than 0.25 inches (like delicate spider legs jutting into an open window) that could bend during packing.
- 0.375 in score margin: leave at least ⅜ inch of solid board between the window cutout and all four panel creases.
- 0.375 in glue patch lip: our window-patching machine needs that margin inside the carton to bond the clear film securely.
- Simplify micro-spikes: use bold silhouettes (crescent moon, gothic arch, bold bat wings) and print ultra-fine details on the board around the window.
- Open cutout vs film patch: choose a clear film patch for bakery treats and dust protection, or an open window so shoppers can smell scented soaps and candles.
Know your size? Compare pricing across up to 3 quantities.
Request a Quote →How do I set up Spot UV and foil stamping layers on my box dieline?
Both spot UV and foil stamping use dedicated press passes that align over your printed CMYK or Pantone artwork. When preparing your Illustrator or PDF file, place all Spot UV artwork on its own named vector layer (SPOT UV) and all foil artwork on a separate vector layer (FOIL), each colored in 100% solid spot magenta or cyan so our prepress team can toggle them independently of the CMYK background. If you want both foil stamping and Spot UV on the same Halloween lid (for example, a copper-foiled apothecary crest surrounded by glossy black-on-black Spot UV constellations), leave at least 0.0625 inches (1/16 in) of breathing room between the foil and the UV varnish rather than overlapping them directly. If you created your spooky artwork in Midjourney or DALL-E, upload your image via print your AI design and our designers will trace your vector Spot UV and foil masks for free.
How can inside printing turn a plain October mailer into a spooky unboxing?
If you ship October orders through the mail, you may want the outside of your box to look clean and discreet on a customer's porch while delivering a full theatrical reveal the moment the lid opens. Adding inside printing lets you keep the exterior of your mailer or rigid box minimal (such as a matte black lid with a small copper logo) while flooding the interior with burnt orange, acid green or violet illustrations, potion lore and discount codes. On folding cartons and corrugated mailers, printing inside the box is done in a single pass alongside outside printing and pairs naturally with black or orange custom tissue paper and die-cut custom packaging stickers.
- Stealth outer, vibrant inner: print a discreet matte black outside lid and reveal a colorful autumn scene across the interior walls.
- Interactive inside lids: print a Halloween board game, potion recipe card or social media contest QR code inside the top flap.
- Coordinated inner tissue: seal black or pumpkin-orange tissue paper with a metallic foil crest sticker for a complete October unboxing.
What are the most common Halloween box design and prepress mistakes?
Check these five prepress items before approving your October box proof
- Using 100% K black without lamination on dark boxes, resulting in washed-out charcoal panels and white cracks along fold creases.
- Using 400% Registration Black on large background areas instead of a balanced C60 M40 Y40 K100 rich black mix.
- Drawing a bat or crescent moon window cutout right up to the fold line with less than 0.375 in of board bridge.
- Designing paper-thin 1 mm inward spikes inside a die-cut window opening that bend when the clear film is applied.
- Submitting flattened JPEG artwork for Spot UV spiderwebs or foil crests instead of separate vector layers.
Find your size
Suggested inside size: 4 × 4 × 2.5 in
A starting point. Your account manager confirms the size with you before the proof.
Quote this size →Packaging for this
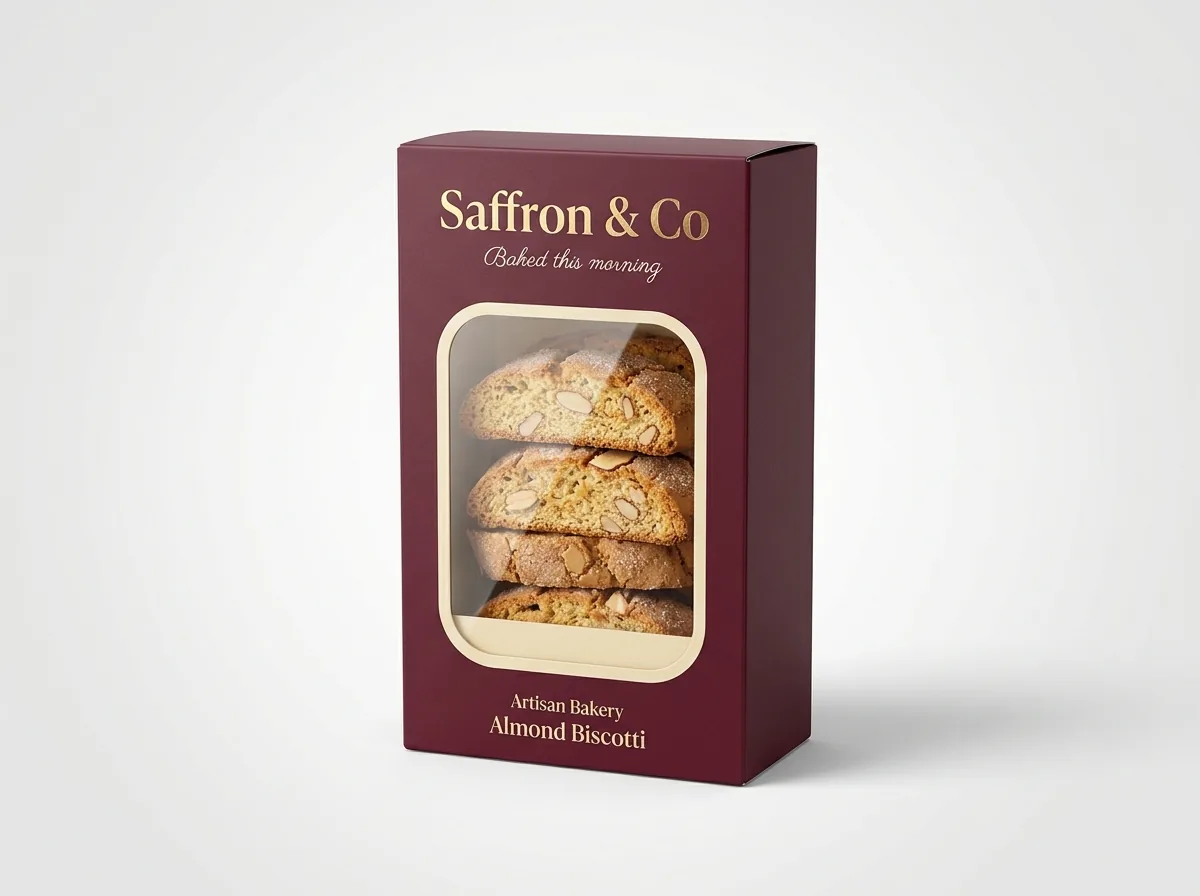
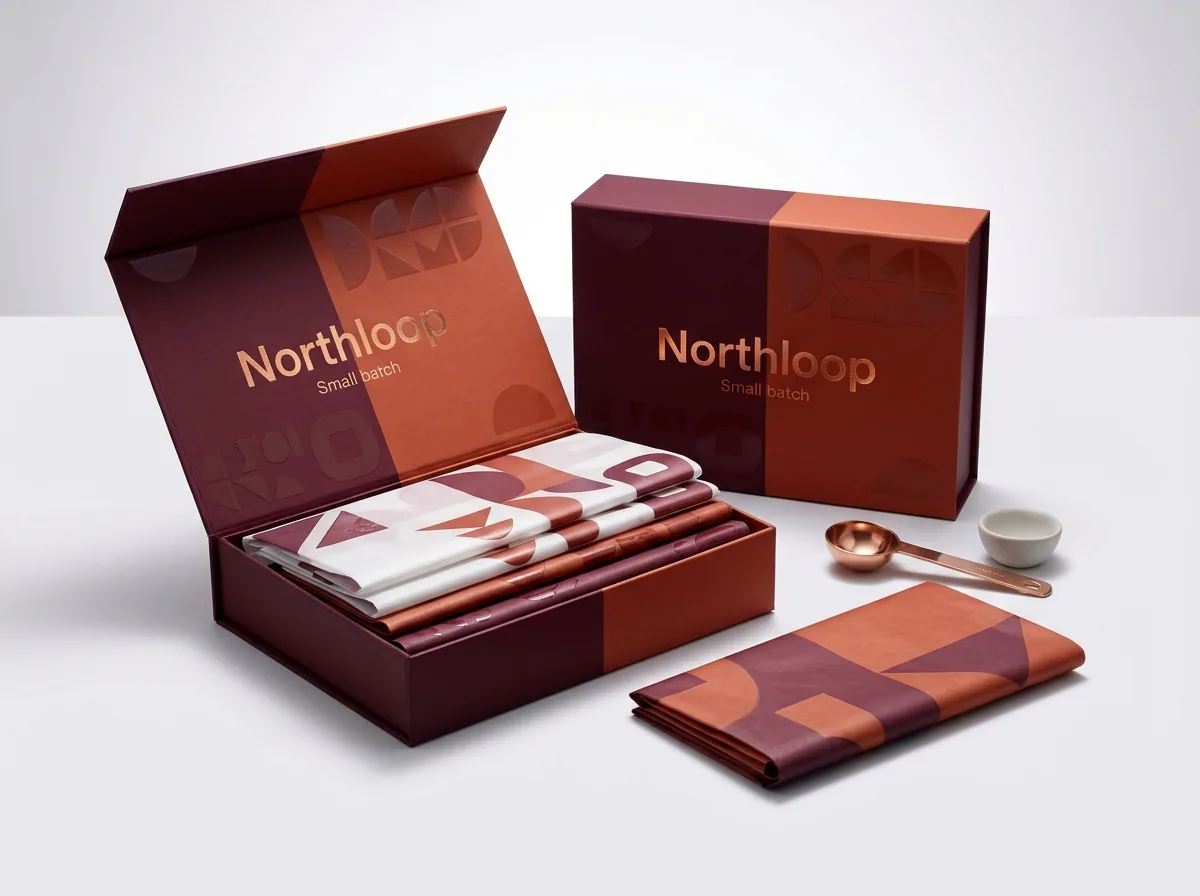
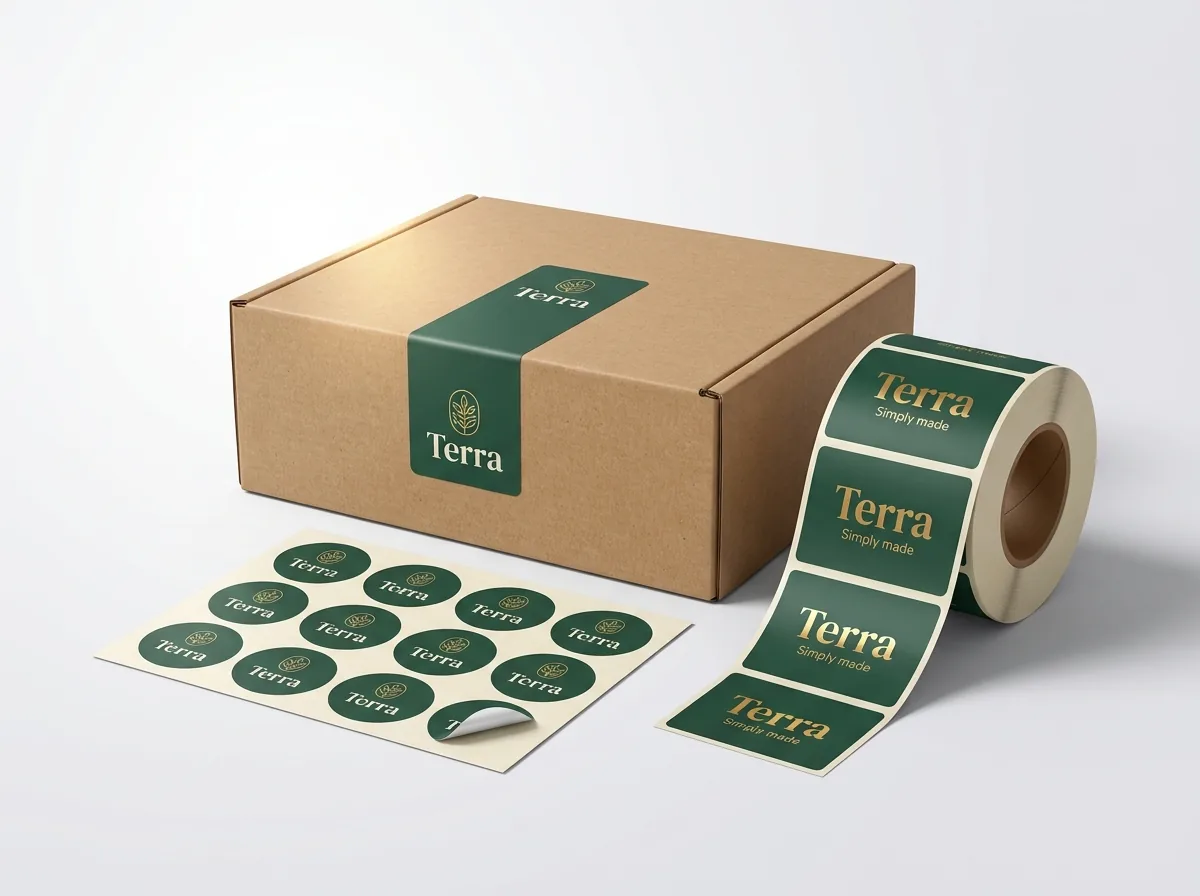
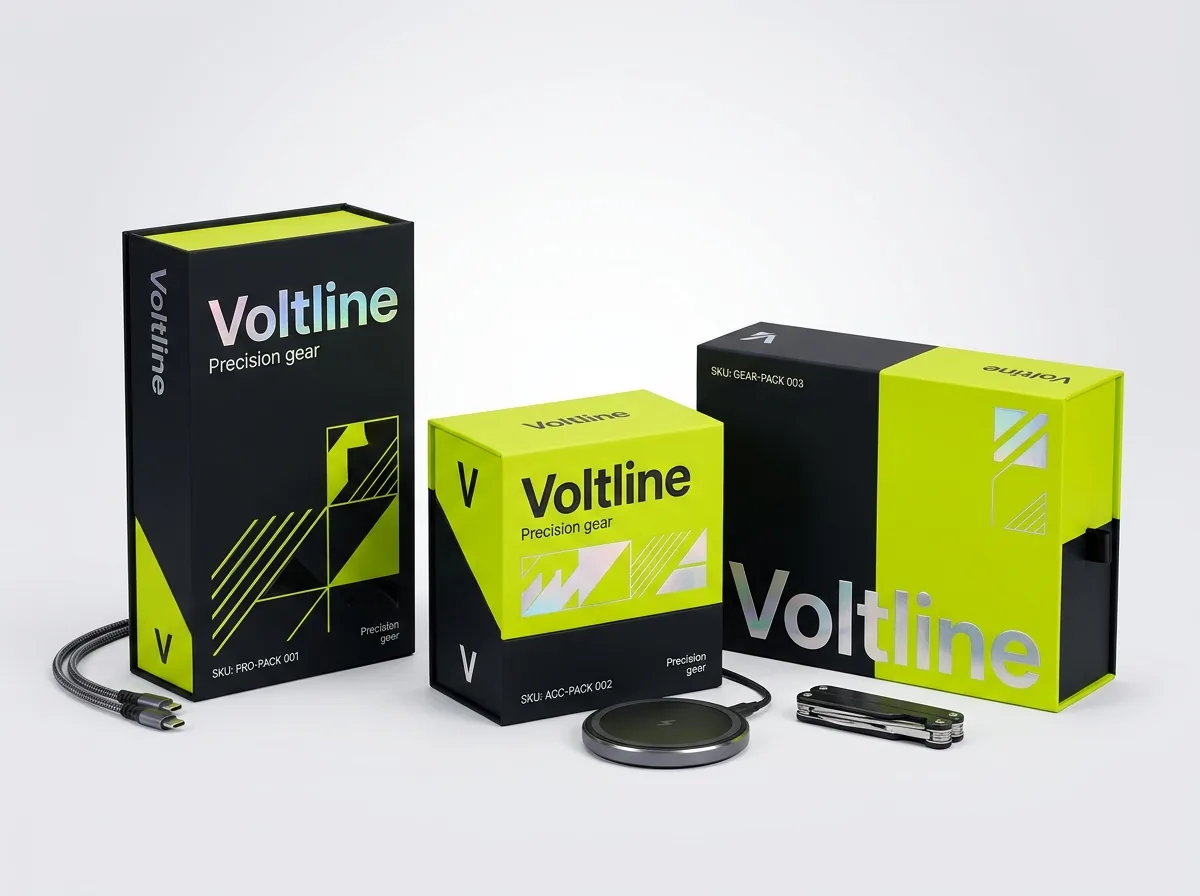
Ready to order halloween boxes? Compare up to 3 quantities with a free 3D mockup.
Request a Quote →Questions about halloween boxes
What CMYK values should I use for a deep matte black Halloween box?
Use a rich black mix of C=60, M=40, Y=40, K=100 for large solid black backgrounds and panels. That 240% total ink density prints a deep, even midnight black without over-saturating the board. Keep small body text (under 12 pt) at 100% K only so tiny letters stay razor-sharp.
Why do some black boxes get white cracks on the edges and how do you stop it?
When unlaminated paperboard is folded 90 degrees, the outer paper fibers stretch and can split heavy dark ink along the score line. At CubitPack, we apply matte, gloss or soft-touch film lamination over the printed sheet before scoring so the flexible film keeps every folded edge solid black.
Does a custom bat or crescent-moon window cost extra in die charges?
No. CubitPack never charges die or plate fees, so a custom-shaped window (such as a bat, crescent moon, keyhole or gothic arch) has zero extra tooling cost compared with a plain rectangle. Just leave a 0.375-inch margin between the cutout and the fold scores.
Can I combine soft-touch lamination, Spot UV and foil stamping on one box?
Yes. In fact, soft-touch matte lamination is the ideal base for both high-gloss Spot UV and metallic foil stamping. The dead-flat, velvety soft-touch film makes clear Spot UV spiderwebs and copper or holographic foil crests pop with maximum contrast.
What if I only have an AI image or PNG logo instead of vector Spot UV layers?
No problem. Select Free design help or AI image on the quote form and upload your files. Our prepress designers will trace your artwork, build the separate vector layers for Spot UV, foil stamping and custom window cutouts, and send you a 2D proof and 3D mockup for free.
Can I order a printed sample to check my black-on-black Spot UV before full production?
Yes. Every order includes a free 2D digital proof and 3D mockup before payment. You can also order our $50 sample kit to feel soft-touch, Spot UV and foil finishes in your hands, or order a paid custom printed prototype of your Halloween box (credited toward your full order).
Still have a question? Ask a packaging specialist.
Request a Quote →Request your halloween boxes quote
Tell us your size and quantities, and one dedicated account manager prepares pricing for each tier.
- Free design & AI-to-print studio + 3D mockup
- No die or plate charges · 4–5 day rush available
- Free shipping to all 50 states
- 10% off your first order
The rich-black CMYK formula (C60 M40 Y40 K100), film lamination rules and 0.375-inch window bridge tolerances in this guide follow CubitPack prepress standards and TAPPI offset printing guidelines. A packaging specialist verified every step. Spot something wrong? Tell us and we will fix it.
Sources
What changed
- October 22, 2026: First published.
- October 22, 2026: Updated specifications, terminology, and verified source links.
More guides
New packaging guides by email
Sizes, materials and design tips. Unsubscribe anytime.