
How do I design boxed greeting card sets for retail?
Short answer: Frame the top card behind a die-cut window with at least 0.5 inches of border on all sides, print miniature thumbnails of every card design on the back panel alongside your barcode, and add thumb notches or a satin ribbon lifter when designing custom greeting card boxes.
On this page
- How do you proportion the front window frame and typography on the lid
- What information belongs on each panel of a retail greeting card box
- Why is a back-panel thumbnail grid essential for assorted card boxes
- Which paper stocks, foils and letterpress-style finishes suit stationery brands
- How do thumb notches, ribbon lifters and divider tabs improve the desk experience
- Common mistakes
- FAQs
Request a custom quoteFree dieline & 3D mockup
When a shopper picks up a boxed greeting card set in a bookstore, museum shop or gift boutique, the box has to answer three questions in five seconds without being opened: what the art style looks like, whether the insides of the cards are blank or printed with a greeting, and how many cards and envelopes are included. If shoppers have to pry off a tight lid to see the other designs in an assorted 8-pack or 12-pack, store display boxes quickly end up with bent corners and missing envelopes. A retail-ready stationery box solves this by pairing a framed front window or foil-stamped cover with a structured back-panel thumbnail index grid, clear card-and-envelope counts, and effortless opening details like side thumb cutouts or a satin ribbon stack lifter. At CubitPack, our designers help you lay out every panel for free before payment.
How do you proportion the front window frame and typography on the lid?
Whether you are designing a 50-unit two-piece rigid box or a 1,000-unit window folding carton for custom printed greeting card boxes, the front lid acts like a gallery mat around your card illustration. The most common prepress error is cutting the front window too large. Because an A2 envelope (4.375 × 5.75 in) or A7 envelope (5.25 × 7.25 in) is wider and longer than the folded greeting card sitting on top of the stack, a wide window exposes the raw paper edges of the envelopes underneath. Keep a minimum 0.5-inch window inset inside the edges of the folded card on all four sides (which works out to about a 0.75 to 1.0 inch border from the outer box edges). That generous frame hides the envelope stack completely, keeps the lid rigid at the corners, and gives you a clean header and footer band to stamp your studio logo, collection title and card count (for example, '8 Assorted Note Cards & Envelopes').
- 0.5-inch card overlap: make the die-cut window at least 1.0 in narrower and shorter than the folded card.
- Window shape options: classic rectangle, rounded-corner frame, botanical arch, circle or oval.
- Header & footer hierarchy: place your studio brand mark at the top and the card/envelope count at the bottom.
- Solid-lid alternative: if using a solid non-window rigid lid, print the hero card illustration at 85% scale inside a foil border.
What information belongs on each panel of a retail greeting card box?
Wholesale buyers for museum stores, independent bookshops and national gift chains check the exterior of a stationery box for specific merchandising details before placing a purchase order. Leaving the spine or back cover blank misses valuable real estate that helps your box sell both face-out on a display table and spine-out on a crowded bookshelf. Use the panel-by-panel blueprint below to organize your front lid, side spines, back index panel and interior base tray. When designing a two-piece lift-off lid box, remember that the front cover and four side walls belong to the top lid, while the back thumbnail index grid is printed on the bottom base tray's underside.
| Box panel | Essential retail elements | Why wholesale buyers look for it |
|---|---|---|
| Front lid / cover | Studio name, collection title, die-cut window or hero illustration, and pack count ('10 Cards & Envelopes') | Tells the shopper what the set is at a glance from three feet away |
| Back panel (Index grid) | Color thumbnails of all designs in the box, inside verse callout ('Blank Inside'), paper specs and UPC barcode | Stops shoppers from opening sealed boxes to see the other cards in an assortment |
| Left & right spines | Studio name, collection title and card size ('A2 Note Cards') printed along the 0.75 in to 1.25 in side wall | Keeps the box identifiable when shelved spine-out like a book |
| Inside lid / inner rim | Artist bio, studio story colophon, or repeating botanical pattern printed on the inside cover | Rewards the buyer when they open the box at their writing desk |
| Base tray & lifters | Side thumb notches, satin ribbon stack lifter, or printed category divider tabs | Lets users lift snug cards and envelopes without bending paper corners |
Why is a back-panel thumbnail grid essential for assorted card boxes?
If your boxed set contains four, six or eight different illustrations (such as an assorted botanical note set or a multi-design Christmas card collection), the front window only shows the top card. Without a visual key on the back of the box, curious shoppers will pull off the lid or tear open the seal to flip through the stack, leaving the retailer with shopworn inventory. Solve this on your back panel by laying out a clean grid of miniature full-color thumbnails showing each card design alongside a multiplier badge (such as '2 of each of 4 designs · 8 cards total'). Right below the thumbnail grid, state explicitly whether the cards are 'Blank Inside' or print the exact interior greeting text in italics, list the envelope color or liner style, and leave a high-contrast 1.5 × 1.0 inch white box in the lower right corner for your scannable UPC or EAN barcode. Adding a small 1:1 scale callout of the card size ('Fits standard A2 4.25 × 5.5 in frame') also reassures customers who frame art cards.
Know your size? Compare pricing across up to 3 quantities.
Request a Quote →Which paper stocks, foils and letterpress-style finishes suit stationery brands?
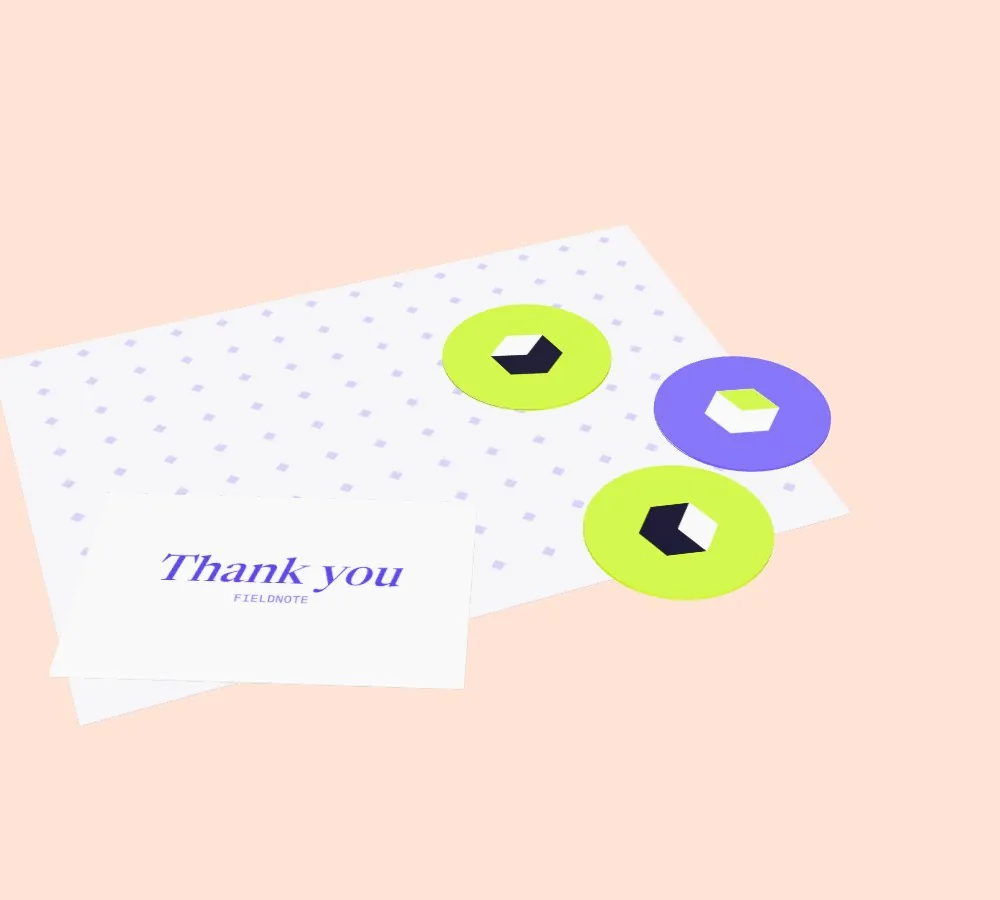
Stationery buyers care deeply about paper texture. When your box wrap echoes the tactile quality of the cards inside, the entire package feels cohesive. For watercolor, gouache and fine-art illustration lines, smooth white paperboard or rigid wrap coated with non-glare matte lamination or velvety soft-touch lamination keeps pastel and dark navy tones from scuffing on retail shelves. For letterpress studios and botanical brands, unbleached kraft board or recycled board paired with opaque white ink, foil stamping in antique gold or copper, and blind embossing or debossing mimics the look of a classic bookbindery press. You can also include matching custom seal stickers inside the box so customers have foil envelope seals ready when mailing their cards, and print a subtle artist colophon or thank-you message on the inside of the lid.
How do thumb notches, ribbon lifters and divider tabs improve the desk experience?
Because a well-sized greeting card box leaves only 0.125 inches of clearance around each side of the envelope stack, reaching a finger down the side of a rigid base tray to pull out the first card can accidentally crease the envelope flap. Adding two small structural details on your dieline eliminates that friction completely. First, on any custom two-piece rigid box, we die-cut twin semicircular thumb notches along the bottom edges of the left and right lid walls so the cover lifts off with one hand. Second, inside the base tray, we anchor a 0.375-inch satin ribbon lifter strip at the back wall that runs underneath the envelopes and extends out the front; pulling the ribbon tab raises the entire card stack cleanly. If you are designing a deep 24 to 36 count keepsake organizer box, pair a magnetic book-style lid with custom printed cardboard inserts cut with staggered top tabs for Birthday, Thank You, Sympathy and Blank notes. Every order includes a free 2D dieline proof and interactive 3D mockup so you can check every cutout before production.
- Side thumb cutouts: standard on two-piece rigid lids so the cover lifts smoothly without vacuum suction.
- Satin ribbon stack lifter: raises snug A2 or A7 envelopes out of the tray without bending corners.
- Internal paper belly band: keeps cards and envelopes bundled neatly behind an open window during shipping.
- Split-design production runs: print 2 or 3+ artist collections on the same dieline in one combined order.
What are the most common boxed greeting card design mistakes?
Even gorgeous card illustrations can struggle in wholesale accounts if the outer box misses basic retail and structural details. Check these five points before approving your dieline proof
- Cutting the lid window wider than the folded card minus 1.0 inch, which exposes the uneven edges of the larger envelopes stacked underneath.
- Omitting a back-panel thumbnail grid and 'Blank Inside' callout on an assorted box, forcing shoppers to open sealed sets in the store.
- Forgetting to print the studio name and collection title on the narrow side spine for bookstore shelf display.
- Leaving out side thumb notches or a ribbon stack lifter on a snug two-piece rigid tray, causing bent card corners.
- Placing the retail UPC barcode over dark patterned artwork instead of a clean white scannable rectangle on the back panel.
Find your size
Suggested inside size: 5.375 × 3.875 × 0.75 in
A starting point. Your account manager confirms the size with you before the proof.
Quote this size →Packaging for this
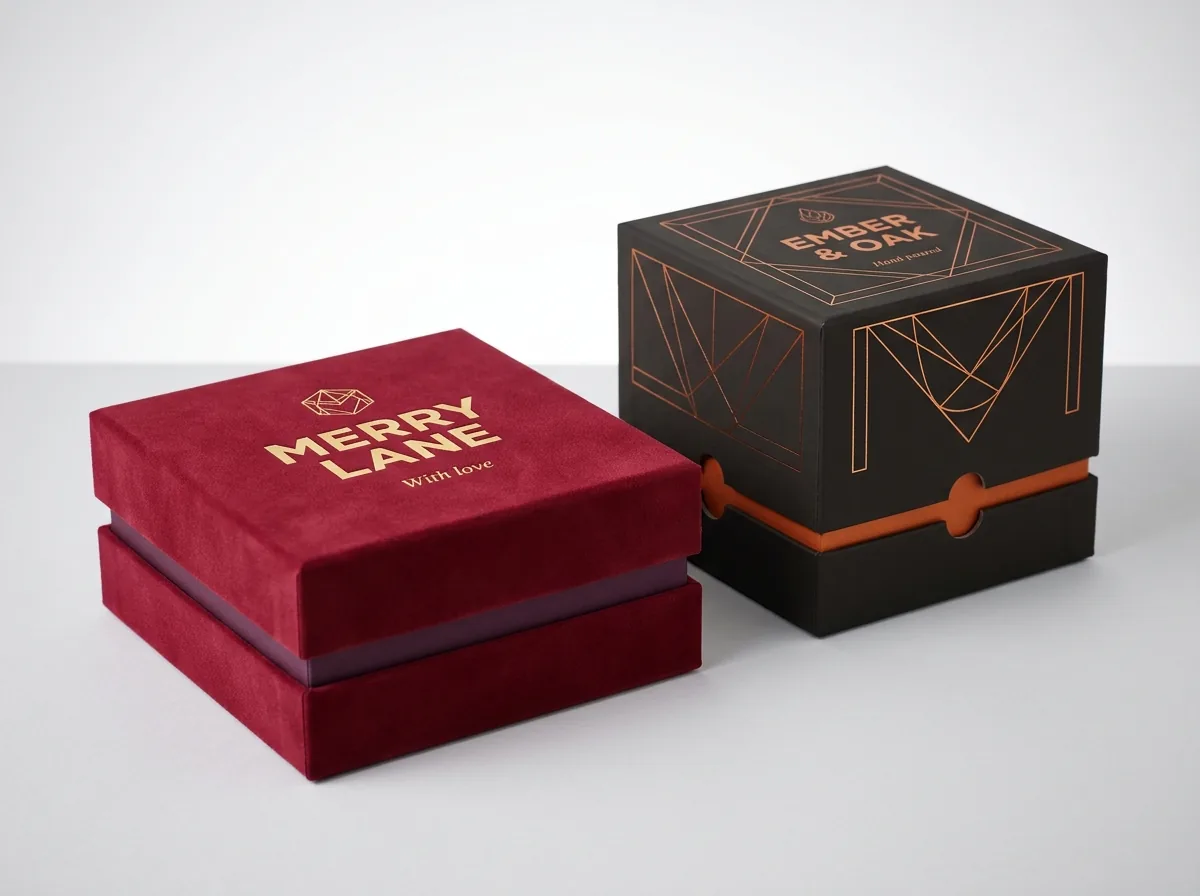
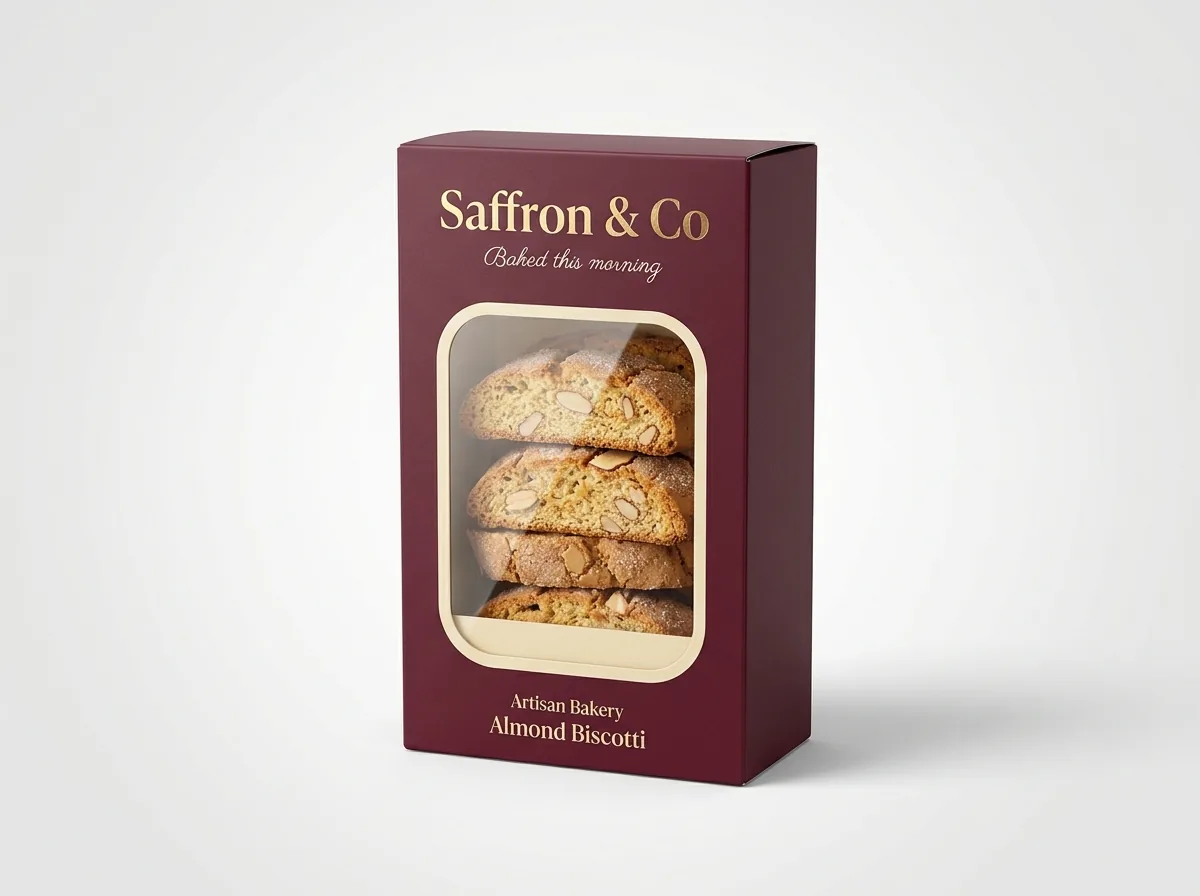
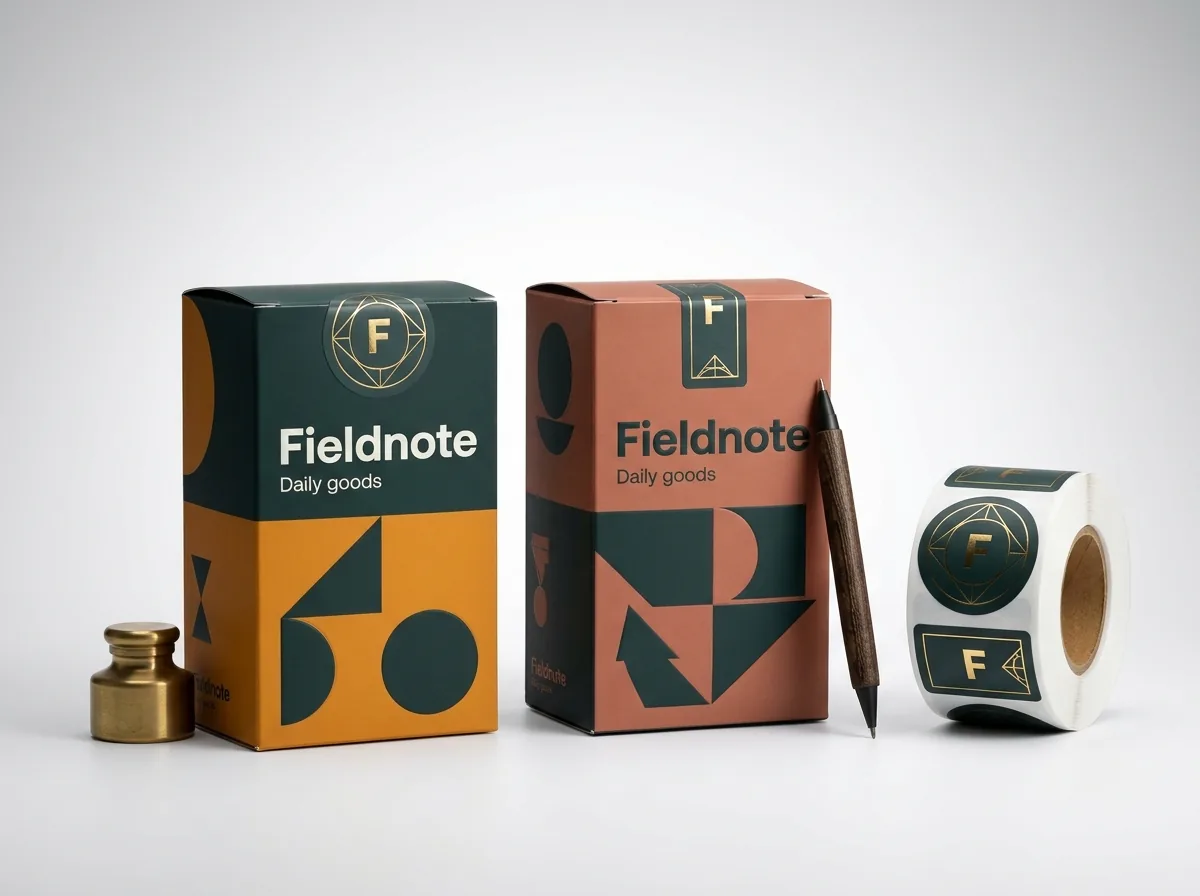

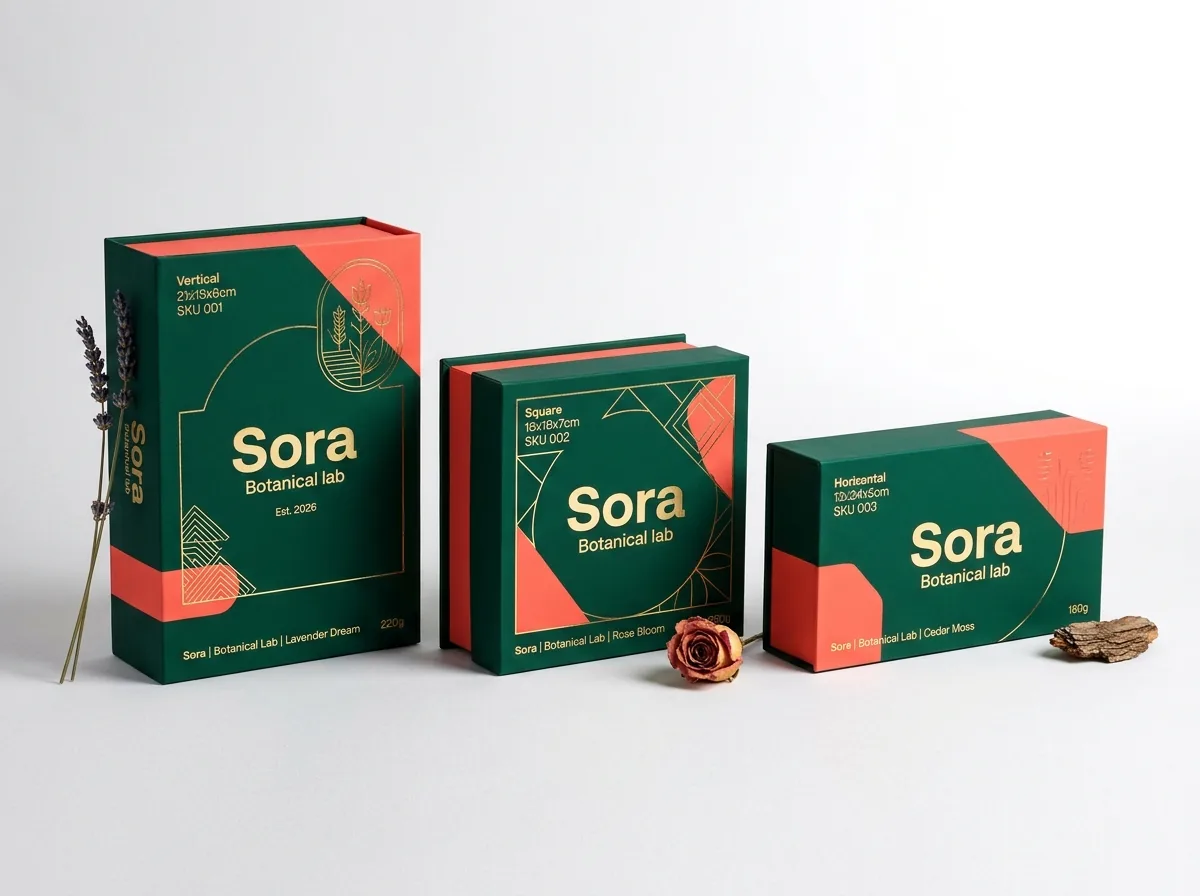
Ready to order greeting card boxes? Compare up to 3 quantities with a free 3D mockup.
Request a Quote →Questions about greeting card boxes
How wide should the border be around a greeting card box window?
Leave at least a 0.5-inch overlap over the folded greeting card on all four sides (making the window opening 1.0 inch narrower and 1.0 inch shorter than the card). Because the box is sized to the larger envelope plus clearance, that works out to roughly a 0.75 to 1.0 inch frame from the outer box edge.
What should I include on the back panel of a boxed greeting card set?
Include full-color miniature thumbnails of every card design in the box, the quantity per design, the total card and envelope count, whether the interiors are blank or printed with a greeting, paper sustainability notes, your studio website, and a scannable UPC barcode.
Can CubitPack add thumb notches and a satin ribbon lifter to my rigid card box?
Yes. Semicircular side thumb notches on two-piece rigid lids and anchored satin ribbon stack lifters inside base trays are standard structural options. Tell your account manager or note them on your quote request and we will build both into your dieline.
How should we pack cards and envelopes so the front window looks clean?
Place your featured greeting card face-up at the very top of the stack directly behind the lid window, and nest all matching envelopes together at the bottom of the tray. That way shoppers see crisp card artwork through the window with no envelope seams showing.
Can I combine multiple artist card collections in a single box order?
Yes. Because most stationery lines share a standard A2 (6.0 × 4.625 in) or A7 (7.5 × 5.5 in) box footprint, you can select 2 designs or 3+ designs in our quote form to print multiple box designs on the same dieline in one run with zero die fees.
Do I get a custom dieline and 3D mockup before paying for production?
Yes. Every CubitPack order includes free design help, a custom 2D vector dieline and an interactive 3D mockup showing your front window, foil stamping and back-panel thumbnail grid before you pay, followed by 10 to 14 business day production and free US shipping.
Still have a question? Ask a packaging specialist.
Request a Quote →Request your greeting card boxes quote
Tell us your size and quantities, and one dedicated account manager prepares pricing for each tier.
- Free design & AI-to-print studio + 3D mockup
- No die or plate charges · 4–5 day rush available
- Free shipping to all 50 states
- 10% off your first order
This guide compiles retail stationery packaging standards for window border insets, back-panel thumbnail grids, thumb notches and ribbon stack lifters. A CubitPack packaging specialist reviewed every section. Spot something wrong? Tell us and we will fix it.
Sources
What changed
- October 22, 2026: First published.
- October 22, 2026: Updated specifications, terminology, and verified source links.
More guides
New packaging guides by email
Sizes, materials and design tips. Unsubscribe anytime.