
How do you design custom earring boxes with pierced pads and post clearance?
Short answer: Engineer the interior insert pad first: combine a universal horizontal T-slit and center pinhole with a 12 mm elevated support collar underneath, then frame the earrings with a foil-stamped logo on the pad top and box lid. Our team builds the full dieline for custom earring boxes with zero die or plate charges.
On this page
- How does a universal T-slit plus pinhole die cut hold studs, hoops and hooks
- Which insert pads, card weights and surface finishes work best for earrings
- Where should you place logos and metal callouts on a 2.5 inch earring box
- What drives custom earring box cost and how can jewelry brands save
- Can I print an AI-generated illustration or pattern on my earring boxes and cards
- Common mistakes
- FAQs
Request a custom quoteFree dieline & 3D mockup
A great earring box design starts with the mechanics of how the left and right earrings mount into the display pad and stay level during shipping. Unlike a ring that slides into a single foam channel, an earring line often mixes straight 0.8 mm stud posts, thick 20-gauge internally threaded piercing labrets, curved French wire hooks and hinged snap-bar huggie hoops. If you only punch tiny round pinholes in a card, hinged hoops cannot pass through without tearing the paper; if you only cut wide open slits, petite solitaire studs spin upside down. By die-cutting a compact horizontal T-slit with a 1.5 mm center pinhole on an elevated velvet-flocked EVA pad or thick paperboard card, one insert securely grips every backing style in your catalog. At CubitPack, our prepress specialists set up your hole geometry, foil artwork and 3D mockup for free.
How does a universal T-slit plus pinhole die cut hold studs, hoops and hooks?
When we engineer interior pads for custom printed earring boxes, our goal is to let your packing team mount any pair in five seconds without bending a post or tearing a slit. A universal T-slit combines a 5 to 6 mm horizontal micro-cut across the top, a 4 mm vertical drop cut in the center, and a 1.2 to 1.5 mm circular pinhole punch right where the two lines meet. When you push a straight stud post through the center pinhole, the surrounding EVA foam or card supports the flat back of the gemstone setting on all four sides so top-heavy cluster studs never droop forward. When you mount a hinged huggie hoop, latch-back hoop or French wire dangle, the curved wire slips cleanly through the T-slit without stretching the hole.
- Center 1.5 mm pinhole: grips straight friction posts, screw-backs and flat-back labrets without sagging.
- Horizontal 6 mm top bar of the T: lets wide hinged hoop latches and lever-backs pass through cleanly.
- Vertical 4 mm stem of the T: cradles French wire hooks and kidney wires upright so dangles hang straight.
- Elevated 12 mm base collar: supports the outer perimeter of the pad while leaving hollow space underneath for clutches.
Which insert pads, card weights and surface finishes work best for earrings?
Because earrings are photographed and unboxed right on the display pad, the pad surface acts as the studio backdrop for your jewelry. Velvet-flocked EVA foam absorbs harsh overhead light so faceted diamonds, moissanite and polished gold hoops sparkle without glare, while smooth matte or cotton-textured paperboard cards give modern demi-fine and clay earring brands a crisp graphic look where you can print metal hallmarks like "14K SOLID GOLD" or "925 STERLING SILVER" directly below the pair. Choosing a contrasting pad shade also helps shoppers see fine wire details immediately: warm ivory, deep emerald and burgundy velvet flatter yellow and rose gold, while charcoal gray, midnight navy and soft blush highlight sterling silver and white gold. Use the table below to select the right insert build, paper wrap and finishing pass for your earring collection.
| Earring box component | Specification at CubitPack | Best earring match & design tip |
|---|---|---|
| Velvet-flocked EVA pad | 6–8 mm EVA foam on a 12 mm perimeter collar | Self-healing grip on posts; best for fine studs & hoops |
| Paper-topped EVA pad | Printed or foil-stamped card laminated to EVA | Lets you print "925 SILVER" or ear-stack icons on the pad |
| Removable paperboard card | Heavy die-cut card with fold-under standoff flaps | Doubles as a retail counter or pegboard hang card |
| Hot foil stamping | Gold, rose gold, silver or pigment foil on lid & card | Keep logo 0.35 in above the top edge of the earrings |
| Soft-touch & linen wraps | Suede-like soft-touch film or woven linen paper | Tactile luxury in the palm; hides fingerprints on dark lids |
| Inside-lid & back-of-card print | Spot Pantone or CMYK care notes & QR codes | Put hypoallergenic metal notes on the back of the card |
Where should you place logos and metal callouts on a 2.5 inch earring box?
On a compact 2.5 × 2.5 inch or 3.5 × 2.5 inch earring box, every millimeter of visual space counts. Crowding a large wordmark, a tagline, a website URL and metal-purity text onto the front of the display pad will visually overpower a delicate pair of 4 mm studs. Instead, divide your hierarchy across three layers: put your primary brand mark or monogram in foil stamping on the exterior lid, place a small secondary wordmark in the top 0.65-inch header zone of the interior pad (well clear of the upper edge of hoop or stud settings), and print your hypoallergenic metal details (such as "Nickel-Free Titanium Post · 18k Gold Vermeil"), care instructions and reorder QR code on the back of the removable earring card or on a small custom insert card tucked underneath the pad.
- Top pad header zone: leave at least 0.35 inches of clear space between the bottom of your printed logo and the top of the earrings.
- Bottom pad footer zone: optional 8 pt uppercase callout (such as "SOLID 14K" or "STERLING SILVER") centered 0.3 inches above the bottom edge.
- Minimum foil stroke weight: keep vector lines at 0.5 pt or thicker so small monograms stamp sharply on 2.5 inch lids.
Know your size? Compare pricing across up to 3 quantities.
Request a Quote →What drives custom earring box cost and how can jewelry brands save?
Four factors shape the unit price of custom earring boxes: the construction family (50-unit rigid chipboard vs 1,000-unit folding card), the outer footprint, the insert build (elevated velvet EVA vs folded paperboard card), and the number of foil or embossing passes. Because earring boxes are small (often 2.5 × 2.5 × 1.25 inches), their board consumption is very low and they pack densely into shipping cartons. The smartest way to reduce your unit cost is to use one shared 2.5 × 2.5 × 1.25 inch or 3 × 3 × 1.25 inch box across your entire stud, huggie and hoop collection by die-cutting the universal T-slit + pinhole pattern into every pad. Pooling your volume into a single 250, 500 or 1,000-box tier cuts the per-box cost dramatically. CubitPack charges zero die or plate fees, gives 10% off your first order, and beats written US competitor quotes for identical specs.
- Pool volume with universal T-slits: one insert pad holds studs, hoops and dangles so you don't split your order.
- Compare 3 quantity tiers: request 100, 250 and 500 rigid boxes (or 1,000, 2,500 and 5,000 card boxes) on one free quote.
- Zero die charges: custom hole positions, ear-stack rows and window cutouts add no tooling fees.
Can I print an AI-generated illustration or pattern on my earring boxes and cards?
Yes. Handmade polymer-clay makers, celestial jewelry labels and indie accessory founders frequently use AI tools to generate terrazzo patterns, botanical line art, arch motifs or vintage emblems for their earring cards and box lids. Raw AI files are low-resolution RGB rasters that need vector paths for foil stamping and die-cutting. With CubitPack's free print your AI design service, our prepress team rebuilds your AI graphic into crisp vector paths, positions the earring pinholes and T-slits so they never punch through important lettering or artwork faces, matches your palette to guaranteed spot Pantone inks, and sends you a 2D dieline proof and 3D mockup before you pay.
- Upload your AI illustration, card background or logo sketch in Step 2 of the quote form.
- Our designers overlay the exact pinhole and T-slit dieline so you see where the earrings will sit over the graphic.
- Pantone color matching is guaranteed with a free reprint if a spot Pantone shade is clearly off.
What are the most common custom earring box design mistakes?
A pretty box lid won't save an insert pad that covers up your logo or bends earring posts in transit. Check these five details on your proof
- Placing the printed logo only 0.15 inches above the pinholes, where halo studs or top hoop curves cover up the brand name.
- Cutting only round 1 mm pinholes when your collection includes hinged huggie hoops or lever-backs that need a 6 mm T-slit.
- Gluing a flat EVA foam pad across the entire bottom of the box with no under-pad cavity, leaving nowhere for 10 mm stud posts to go.
- Printing dark unlaminated ink on a paper earring card where metal friction backs scrape off pigment onto the customer's fingers.
- Using hairline foil strokes under 0.5 pt on a small 2 × 2 inch stud lid where fine details plug up during hot stamping.
Find your size
Suggested inside size: 2 × 2 × 1.25 in
A starting point. Your account manager confirms the size with you before the proof.
Quote this size →Packaging for this
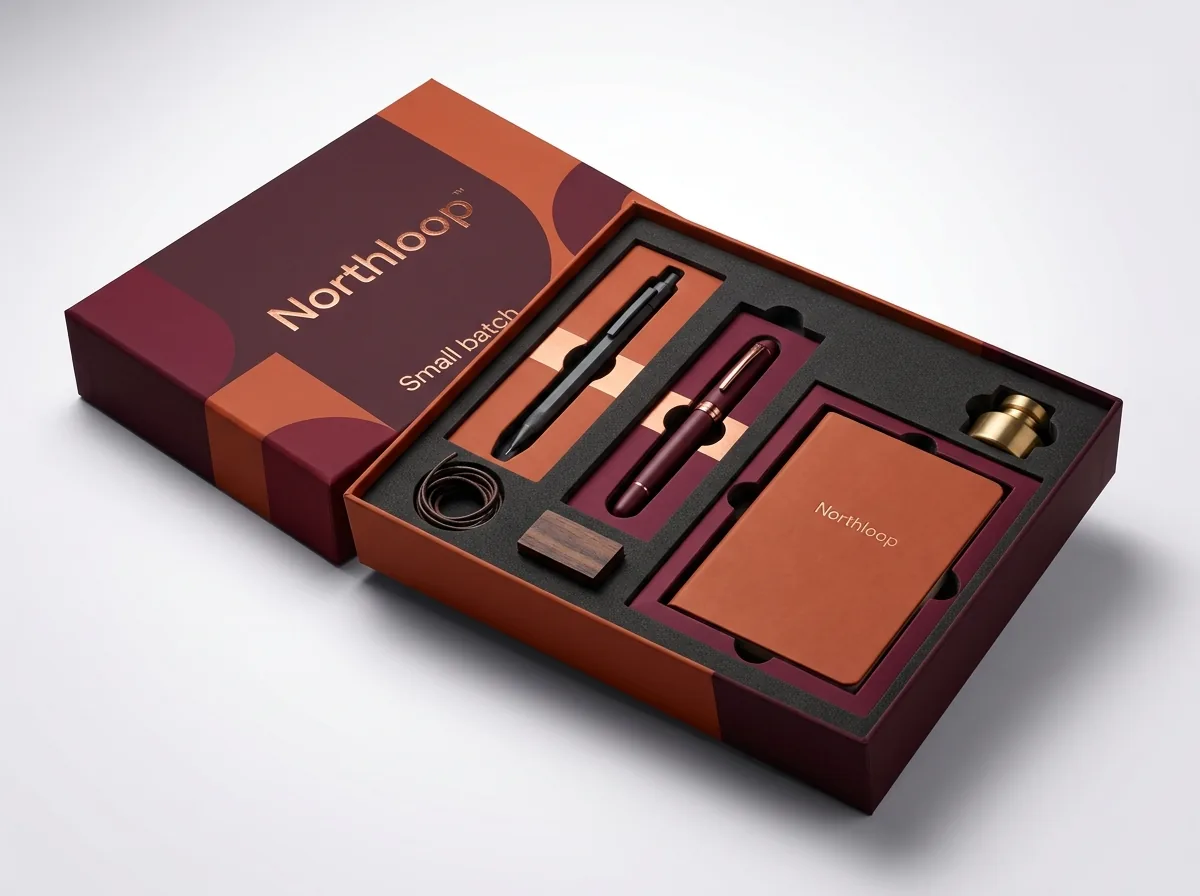

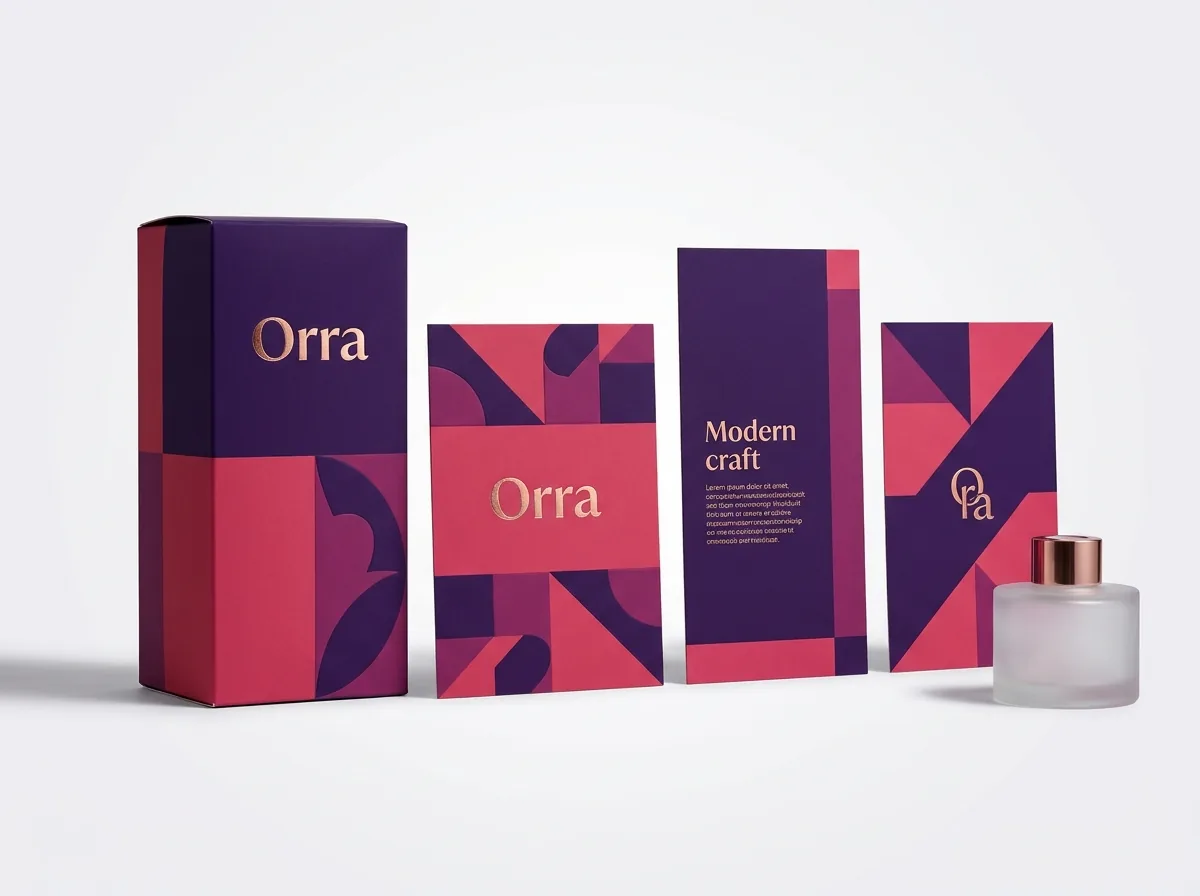
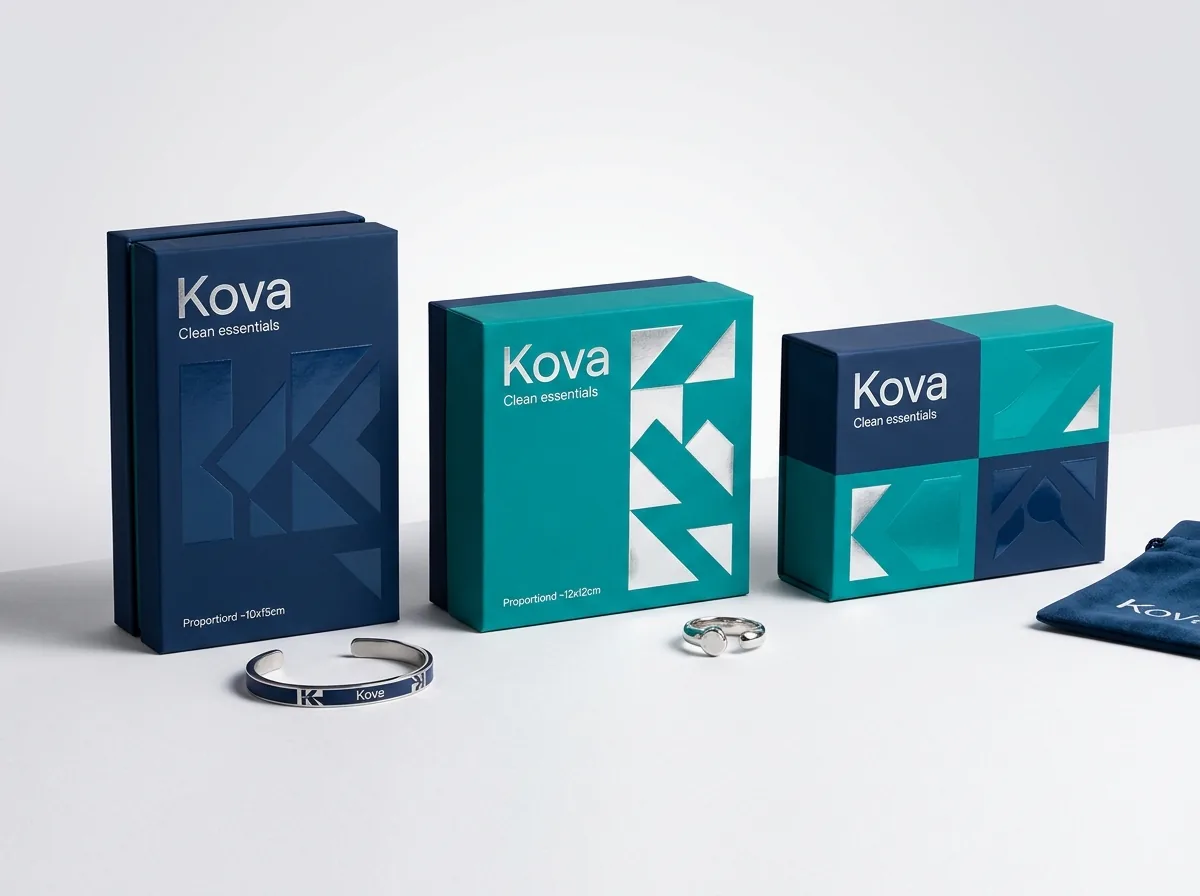
Ready to order earring boxes? Compare up to 3 quantities with a free 3D mockup.
Request a Quote →Questions about earring boxes
Do custom pinhole spacings, T-slits or 6-hole ear-stack layouts cost extra in die fees?
No. CubitPack never charges cutting die or printing plate fees. Whether you need two classic stud pinholes, universal T-slits for hoops, or six aligned holes for a 3-pair ear stack, custom die-cutting is included.
How do you prevent heavy drop earrings from tearing through a paperboard earring card?
We use thick coated or kraft paperboard cards, add tiny circular stress-relief punches at the ends of hook slits, and can laminate the card in matte or soft-touch film so heavy brass or clay drops never rip the slot.
Can you hot-foil stamp my logo onto both the outer box lid and the interior earring pad?
Yes. Matching metallic gold, rose gold or silver foil stamping on both the exterior lid and the top header of the interior EVA pad or removable earring card is one of our most popular jewelry setups.
How do you keep hoops or French wire drops from jumping out of their slits in the mail?
For French hooks, you can slide a tiny clear silicone stopper onto the wire behind the pad. We also include a soft removable foam or velvet top pillow under the lid that presses gently against the pad during shipping.
What file format do I need to send for my earring box and insert card artwork?
Vector files (AI, PDF, EPS or SVG) with outlined fonts are ideal. If you only have a PNG logo, a rough sketch of your hole spacing or an AI-generated image, our design team builds the print-ready dieline for free.
Can I order matching necklace, ring and bracelet boxes in the same paper wrap and foil?
Yes. CubitPack produces coordinated ring, earring, necklace, bracelet and watch boxes from the exact same paper wrap lot and Pantone/foil specification so your entire jewelry collection looks unified.
Still have a question? Ask a packaging specialist.
Request a Quote →Request your earring boxes quote
Tell us your size and quantities, and one dedicated account manager prepares pricing for each tier.
- Free design & AI-to-print studio + 3D mockup
- No die or plate charges · 4–5 day rush available
- Free shipping to all 50 states
- 10% off your first order
This earring box design guide combines CubitPack's decided printing, finish and insert policies in our published product specifications with universal T-slit geometry, 12 mm post-clearance rules and micro-foil prepress standards. A CubitPack packaging specialist verified every detail. Spot something wrong? Tell us and we will fix it.
Sources
What changed
- October 22, 2026: First published.
- October 22, 2026: Updated specifications, terminology, and verified source links.
More guides
New packaging guides by email
Sizes, materials and design tips. Unsubscribe anytime.