
How do clear film window patching and cavity inserts align on slide drawer boxes?
Short answer: On custom drawer boxes with window, bond the clear viewing film at least 8 to 10 mm wider than the sleeve cutout on all four sides, recess your inner insert rim 2 to 3 mm below the tray lip, and tuck every cavity wall beneath the solid sleeve frame.

On this page
- When should you specify a glued clear film window patch versus an open unpatched cutout
- How do dieline layers separate window cut lines, inner film glue zones, and foil borders
- How do you align EVA foam, cardboard dividers, and molded pulp cavities beneath the window
- What drives unit cost on window-patched slide drawer boxes without die charges
- How do I approve my window cutout, insert fit, and 3D mockup before paying
- Common mistakes
- FAQs
Request a custom quoteFree dieline & 3D mockup
Designing a slide-out drawer box with a top viewing aperture means coordinating three separate components on one vector dieline: the outer sleeve cutout, the transparent interior window patch, and the multi-cavity insert seated inside the pull-out tray. If the clear film patch lacks an unvarnished glue strip inside the sleeve, adhesive loses grip when customers flex the sleeve via its ribbon pull. Worse, if an EVA foam divider wall or cardboard partition sits 4 mm inside the viewing opening instead of hiding beneath the solid sleeve border, shoppers stare at raw cut board edges instead of your product. At CubitPack, our packaging specialists align all three dielines free of charge, charge zero die or printing plate fees, provide a 2D proof and 3D mockup before payment, and ship rigid drawers from 50 units (folding sleeves from 1,000) in 10 to 14 business days.
When should you specify a glued clear film window patch versus an open unpatched cutout?
Every custom window slide drawer box can be finished with either a transparent protective film bonded behind the top sleeve opening or a clean, open die-cut aperture with zero plastic film. Compare our window patching add-on guide and custom shapes guide against this four-scenario decision table
| Packaging scenario | Recommended window setup | Recommended insert pairing | Key prepress & production check |
|---|---|---|---|
| Fine jewelry, watches & lapel pins | Patched clear film window | Charcoal or white die-cut EVA foam pad | Blocks shop dust & keeps small charms inside |
| Unwrapped chocolates & cookies | Patched clear film window | Food-safe card grid or blister cup on request | Seals out counter air; request food-safe board |
| Lidded PET macaron blister trays | Open unpatched die-cut window | Sleeve sized around existing plastic tray | Skips film pass because tray lid already seals |
| Sealed glass serum & perfume trios | Patched film or open arch cutout | Contoured EVA foam or printed card collar | Open hole invites tactile glass bottle feel |
| Plastic-reduced soap & candle gifts | Open unpatched die-cut window | Folded kraft/white card or molded pulp | All-fiber curb appeal; zero plastic window sheet |

How do dieline layers separate window cut lines, inner film glue zones, and foil borders?
On a press-ready outer sleeve dieline, the viewing aperture is never just a single rectangle drawn over your artwork. You can run an automated preflight check in our AI packaging prepress checker or send us your concept for free custom dielines while keeping four technical prepress zones clear
- Through-cut window vector line (solid spot-color dieline layer): Marks the exact steel-rule blade path punched out of the top sleeve panel, with rounded 2 to 4 mm corners on folding paperboard to stop corner nicking.
- 8 to 10 mm unlaminated inner glue land around the aperture: If you print inside the outer sleeve or coat the interior, leave a bare unvarnished glue halo 8 to 10 mm wide around the back of the cutout so window-patching adhesive bonds directly to paper fibers.
- 3 mm bleed inward into the scrap window hole: Extend your exterior background flood color or pattern at least 3 mm (0.125 in) inward past the window cut line so tiny die-registration shifts never expose an unprinted white hairline along the beveled edge.
- 3 mm safety offset for foil stamping and spot UV frames: Positioning a metallic gold or silver border 3 mm outside the window cut line frames the aperture cleanly without flaking foil along the sheared board edge.
How do you align EVA foam, cardboard dividers, and molded pulp cavities beneath the window?
Nothing ruins a luxury presentation faster than pulling a drawer box off a shelf and seeing a crooked foam seam or raw corrugated edge slicing through the corner of the window. Whether you pair your drawer with custom EVA foam inserts, custom cardboard inserts, or molded pulp trays (custom mold tooling quoted per project), follow four optical registration rules
- Hide the outer perimeter of the insert under the solid sleeve border: Because your outer sleeve already uses a 0.50 to 1.00 inch solid frame around the cutout (see how to size window drawer boxes and sleeve margins), the outer gap between the insert pad and the drawer wall stays completely invisible when closed.
- Center hero labels and product faces inside the aperture minus 4 mm: Keep bottle logos, watch dials, and monogrammed chocolates at least 4 mm inside the projected window rectangle so angled shelf viewing never clips typography.
- Place finger pull notches outside the viewing window or make them symmetrical: Die-cut finger scoops next to glass droppers let customers lift bottles easily; align circular finger notches symmetrically so they read as intentional geometric accents.
- Recess insert top surfaces 2 to 3 mm below the drawer wall rim: Dropping the top face of your foam or card platform 2 to 3 mm below the upper edge of the tray prevents the insert from catching on the leading edge of the glued window film when slid shut.

Know your size? Compare pricing across up to 3 quantities.
Request a Quote →What drives unit cost on window-patched slide drawer boxes without die charges?
Because CubitPack operates on a custom quote model with zero die or plate charges, your unit rate reflects materials, patching passes, and run size rather than upfront tooling penalties. Compare rigid vs folding economics in rigid window drawers vs folding window sleeves and lid boxes and use these four levers to tune your budget
- Open cutout vs patched clear film window: Skipping the clear film patch over already-sealed cosmetic bottles or lidded candy blister trays eliminates both film material and the patching pass.
- Die-cut thumb notch vs anchored satin ribbon pull: A clean half-moon thumb notch die-cut into the sleeve end costs zero extra tooling and saves manual ribbon-threading labor on large runs.
- Color-printed tray floor vs separate insert card: Printing flavor legends, ingredient icons, or thank-you notes directly onto the bottom of the drawer tray or card insert collar avoids buying a separate loose leaflet.
- Quantity tier breaks and 10% first-order savings: Request up to three quantities on your quote (such as 50, 100, and 250 rigid drawers, or 1,000, 2,500, and 5,000 folding sleeves) to see exact volume price drops, plus 10% off your first order.
How do I approve my window cutout, insert fit, and 3D mockup before paying?
Every window drawer order goes through a structured prepress verification sequence before production begins so you never have to guess how a curved window, foil border, and multi-cavity insert line up in real life
- Composite 3-layer dieline overlay check (sleeve + drawer + insert): Our prepress specialists superimpose the outer sleeve window cutout directly over your inner sliding tray and EVA foam or card divider dielines to verify hidden outer seams, centered product labels, and 2 to 3 mm vertical insert clearance.
- Free 2D digital proof and interactive 3D mockup before payment: Inspect exact cut, score, foil, and bare interior glue zones on your 2D vector proof, then rotate your closed and pulled-open drawer box in 3D before paying. Need to inspect wrap textures first? Order our $50 sample kit (credited toward your first order) or request a paid physical prototype built to your exact specs.
- Pantone color accuracy, Price Beat protection, and transit reprints: If an approved Pantone spot color prints noticeably off-shade, we reprint; we beat any written US competitor quote for identical specifications via our Price Beat policy; and any boxes damaged in transit (reported with photos within 14 days) are reprinted free across all 50 US states.
What are the five most common window patching and insert prepress mistakes?
Catch these five artwork and dieline errors on your digital proof before production starts
- Stopping exterior sleeve background color right on the window cut line instead of bleeding ink 3 mm inward into the die-cut waste area.
- Applying flood gloss UV or soft-touch coating across the 8 to 10 mm interior glue zone behind the window, weakening film patch adhesion.
- Placing foil-stamped borders flush against the raw die-cut window edge instead of holding a clean 3 mm safety offset.
- Designing foam or paperboard divider walls that sit flush with the top rim of the drawer tray and snag the glued edge of the window film.
- Leaving the outer perimeter seam of a cavity insert visible inside the window opening instead of hiding it beneath the solid sleeve border.
Packaging for this

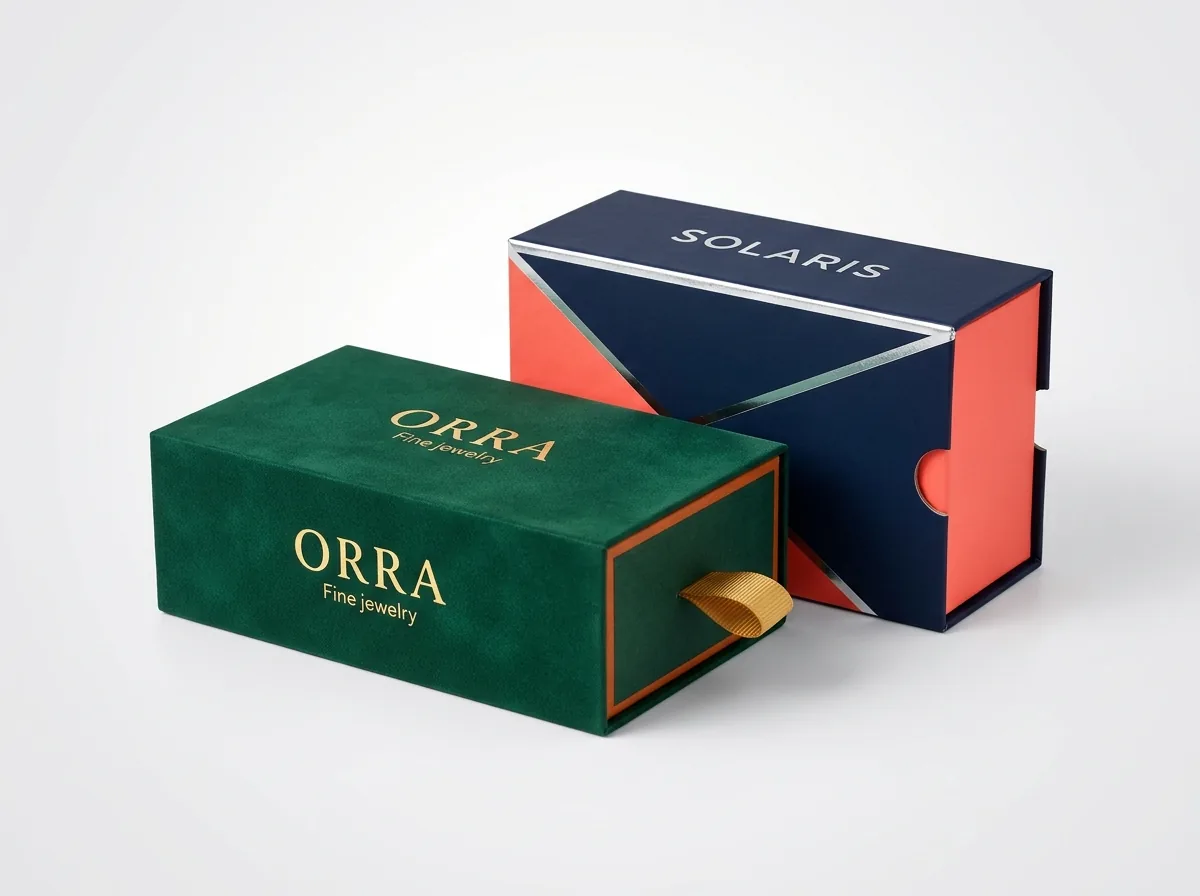
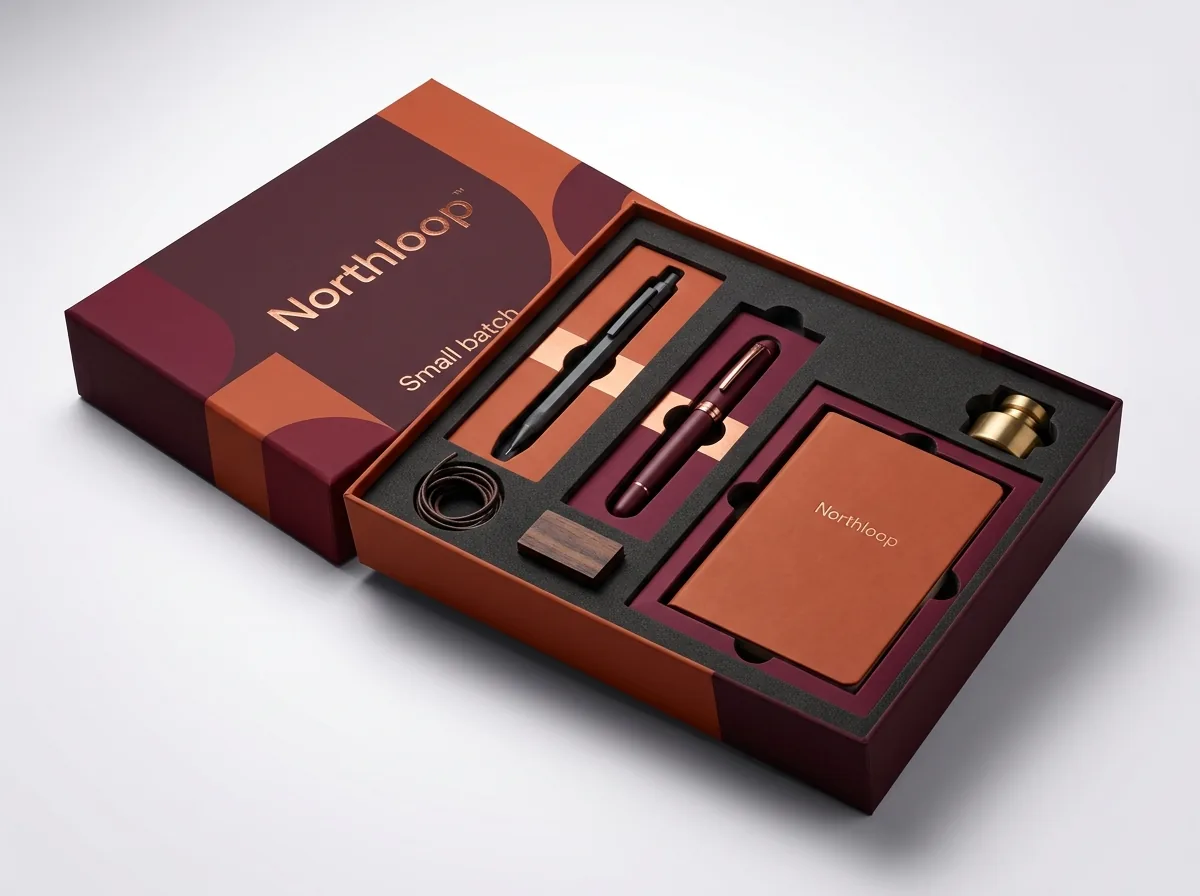



Ready to order drawer boxes with window? Compare up to 3 quantities with a free 3D mockup.
Request a Quote →Questions about drawer boxes with window
Should I choose a clear film window patch or an open die-cut window on my drawer box?
Choose a glued clear film window patch when your contents need dust protection or could lift out of small cavities, such as jewelry, unwrapped chocolates, or loose favors. Choose an open cutout over lidded candy trays or sealed glass bottles.
How wide is the glue strip needed to bond clear window film inside the sleeve?
Window patching requires an 8 to 10 mm unvarnished, unlaminated glue strip on the inside face of the outer sleeve all the way around the window opening, which is why we specify at least a 0.5-inch (12.7 mm) solid sleeve frame.
How do you prevent white unprinted edges from showing around a die-cut window?
Extend your exterior sleeve background color or artwork at least 3 mm (0.125 inches) inward past the window cut line into the scrap punch-out area, and keep important logos or foil frames at least 3 mm outside the cut edge.
How do you stop an inner foam or card insert from catching on the window film?
We step the top surface of your EVA foam pad or folded paperboard divider 2 to 3 mm below the upper rim of the sliding drawer wall so the insert clears the glued inner film edge smoothly every single time.
Can CubitPack turn an AI mockup of a window drawer box into print-ready files?
Yes. Send us any Midjourney, ChatGPT, or rough sketch concept and our packaging design team rebuilds every graphic element cleanly onto your exact outer sleeve, inner drawer, and cavity insert dielines for free, complete with an interactive 3D mockup before payment.
Do custom window shapes or aligned foam inserts carry die setup fees?
No, CubitPack charges zero die or printing plate fees on custom sleeve windows, sliding drawers, die-cut EVA foam inserts, and folded paperboard dividers across every custom order. Only custom molded pulp trays require dedicated physical mold tooling quoted per project.
Still have a question? Ask a packaging specialist.
Request a Quote →Request your drawer boxes with window quote
Tell us your size and quantities, and one dedicated account manager prepares pricing for each tier.
- Free design & AI-to-print studio + 3D mockup
- No die or plate charges · 4–5 day rush available
- Free shipping to all 50 states
- 10% off your first order
We verified window-patching adhesive land widths, 3 mm inward bleed allowances, foil-to-cut safety offsets, and insert recess clearances against Paperboard Packaging Council (PPC) prepress standards and Idealliance G7 print tolerances. A packaging specialist checked every dieline rule. Spot an error? Tell us and we will fix it.
Sources
What changed
- November 16, 2026: First published with patched vs open window matrix, 4-zone sleeve prepress layer specs, insert optical registration rules, and cost levers.
More guides
New packaging guides by email
Sizes, materials and design tips. Unsubscribe anytime.