
What finishes and foil options suit custom lipstick boxes?
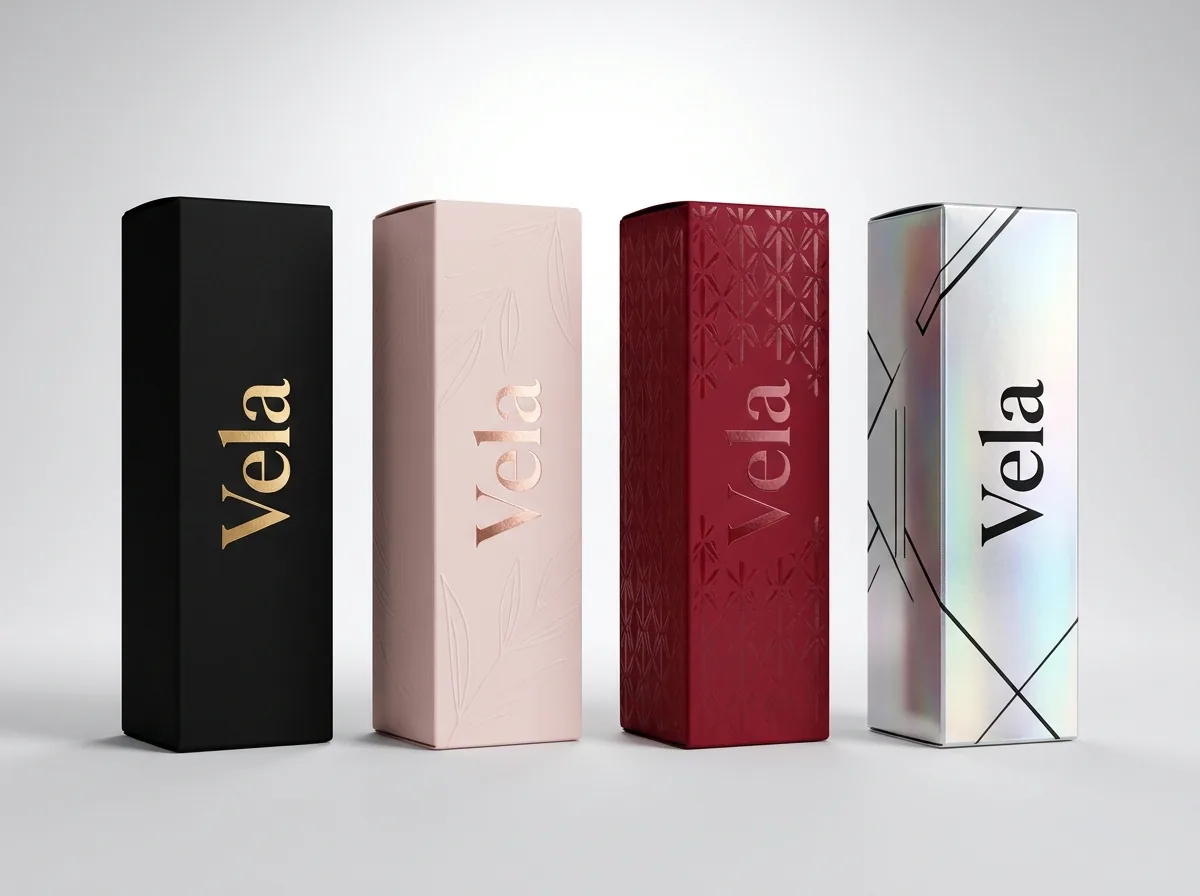
Short answer: Start with protective film lamination (soft-touch, matte or gloss) so dark inks never crack on tight 90-degree corners, then add hot foil stamping, spot UV or embossing on the front spine. You can combine finishes across all shades of custom lipstick boxes from 1,000 units.
On this page
- How do the main lipstick box laminations and specialty finishes compare
- Why do dark lipstick boxes crack on the folds and how does lamination stop it
- How can I combine foil stamping, embossing and spot UV on a narrow 1-inch spine
- How do I design finishes across 10 or 20 lipstick shades to keep costs low
- How can I see and feel these finishes before approving my full lipstick run
- Common mistakes
- FAQs
Request a custom quoteFree dieline & 3D mockup
On a narrow lipstick carton, surface finish does two jobs at once: it signals the finish of the lip formula inside (such as velvet matte, satin cream or high-shine lacquer) and it shields the paperboard from scuffing and score cracking during shipping and store handling. Because a single bullet lipstick box is under one inch wide, its four vertical fold scores bend at tight 90-degree angles. Printing heavy jet-black, burgundy, navy or crimson ink on uncoated paperboard without film lamination allows the surface fibers to split and show white cracks along the edges. Applying matte, gloss or soft-touch lamination bridges the fold score with a flexible film layer. From there, hot foil stamping in gold, rose gold or silver, raised embossing and high-gloss spot UV turn a tiny carton into a tactile signature piece with zero die or plate fees at CubitPack.
How do the main lipstick box laminations and specialty finishes compare?
Lipstick packaging divides finishes into two layers: all-over protective laminations (which cover 100% of the outer carton sheet before die-cutting) and selective accent finishes (which highlight just your logo, border frame, monogram or shade band). Review the table below to see how each lamination and accent finish behaves on narrow color-cosmetic cartons and how brands pair them when ordering custom printed lipstick boxes.
| Finish option | Tactile & visual effect | Best lipstick application |
|---|---|---|
| Soft-touch lamination | Velvety, petal-matte surface with zero glare | Matte bullet lipsticks, velvet liquid sticks, jet-black cartons |
| Matte lamination | Smooth, satin-flat protective coat | Everyday color ranges, nude collections, crisp 6 pt back text |
| Gloss lamination | Mirror-bright shine that deepens dark pigments | High-shine satin lipsticks, lacquer sticks, bold red cartons |
| Hot foil stamping | Metallic gold, rose gold, silver or pigment foil | Vertical spine brand logos, top-flap shade numbers, borders |
| Spot UV | High-gloss clear coat applied selectively over matte | Tone-on-tone monograms, lip icons, or glossy shade-swatch bands |
| Embossing / Debossing | Raised (embossed) or recessed (debossed) relief | Tactile logos and geometric textures on narrow side walls |
| Inside printing | CMYK or Pantone flood coat on interior walls | Surprise brand color or message revealed when the top flap opens |
Why do dark lipstick boxes crack on the folds and how does lamination stop it?
Jet black, deep espresso, oxblood and midnight blue are perennial favorites for prestige lipstick packaging because they make metallic gold foil and vivid top-flap shade swatches pop. However, heavy ink coverage saturates the top clay coating of paperboard and makes the surface brittle. When a narrow 0.875 inch lipstick carton is creased and folded 90 degrees along its four vertical corners and 180 degrees along its glue lap, an unlaminated dark ink layer can fracture, leaving jagged white paper lines down the edges of your box. We prevent score cracking through two manufacturing steps. First, we orient the carton dieline so the primary vertical scores run parallel to the paperboard grain direction. Second, we laminate the printed sheet with soft-touch lamination, matte lamination or gloss lamination before die-cutting. Because the thin polymer lamination film stretches smoothly around a 90-degree crease, it encapsulates the dark ink underneath and keeps every corner jet-black and scuff-free.
- Soft-touch lamination: adds a velvety suede texture that resists fingerprint oils and rub marks inside acrylic store dividers.
- Matte lamination: delivers a clean, low-glare architectural finish that keeps small barcode and pigment text razor-sharp.
- Gloss lamination: reflects store lighting like a lacquered lipstick case and wipes clean effortlessly.
- Unbleached kraft exception: if you choose natural kraft board with minimalist black or white ink and no flood coat, you can leave the board unlaminated so the raw paper texture shows.
How can I combine foil stamping, embossing and spot UV on a narrow 1-inch spine?
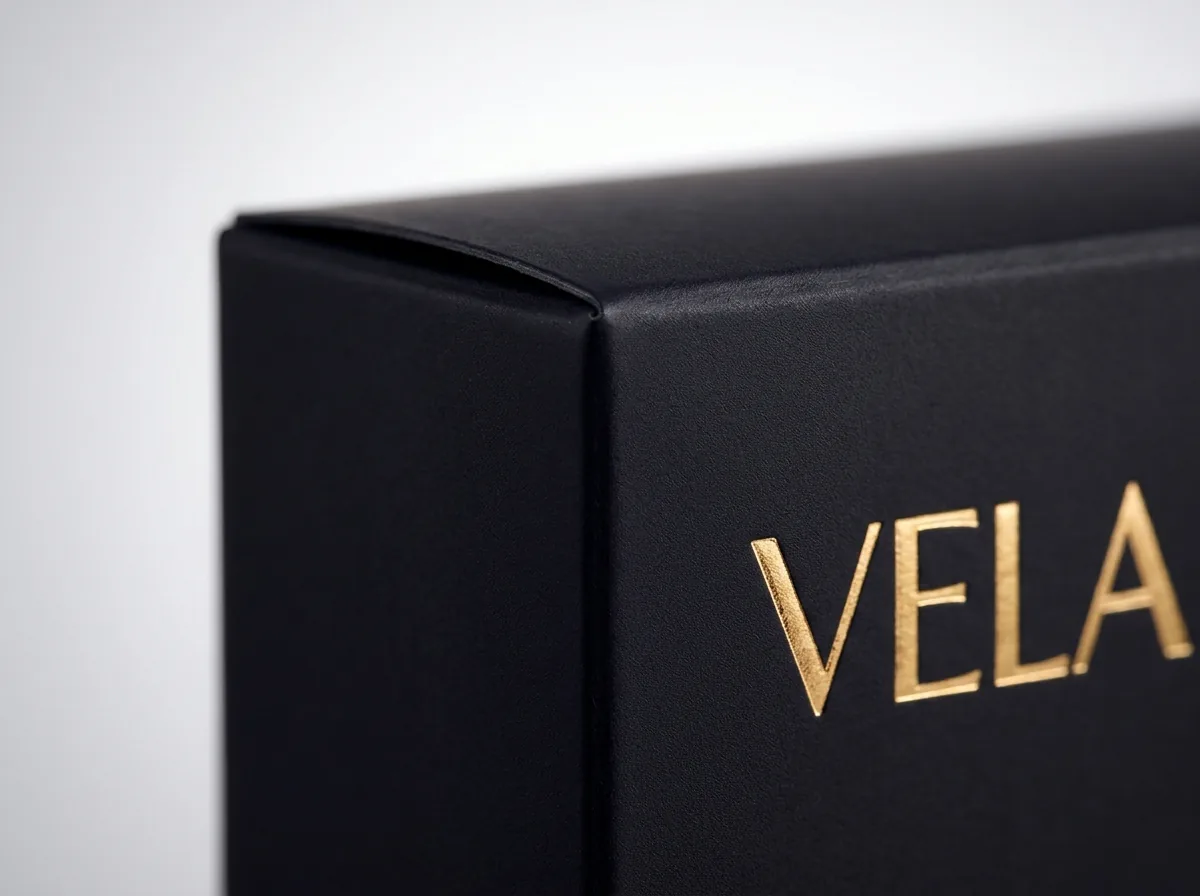
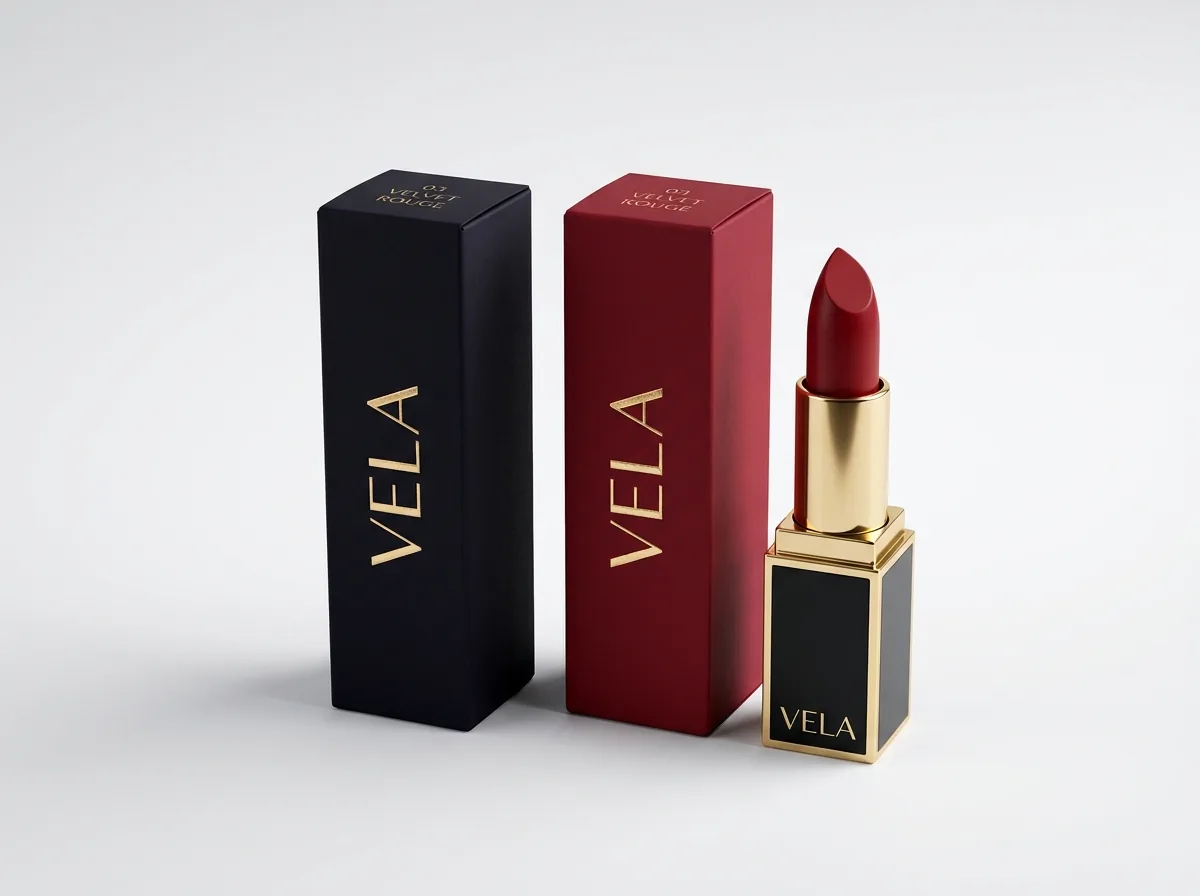
A single lipstick carton has a front face roughly the width of your thumb (0.75 to 1.0 inch across and 3.0 to 4.5 inches tall). Because the surface area is so compact, adding foil stamping, embossing or spot UV transforms the entire feel of the package in the customer's hand. One classic prestige setup is running a vertical brand logotype down the front spine in hot gold, rose gold or silver foil over a soft-touch black or burgundy carton, paired with a blind-embossed monogram on the top flap. Another modern approach is tone-on-tone texture: printing the entire carton in a single matte Pantone shade (such as warm terracotta or dusty rose) and applying high-gloss spot UV over a repeat pattern or the product name. When combining embossing with foil stamping (called foil embossing), keep the raised letters at least 1/8 inch away from the vertical fold scores so the embossing die sits on flat board.
- Vertical spine foil: orienting your brand logotype at 90 degrees along the spine lets you use a larger, bolder foil font on a 0.875 inch face.
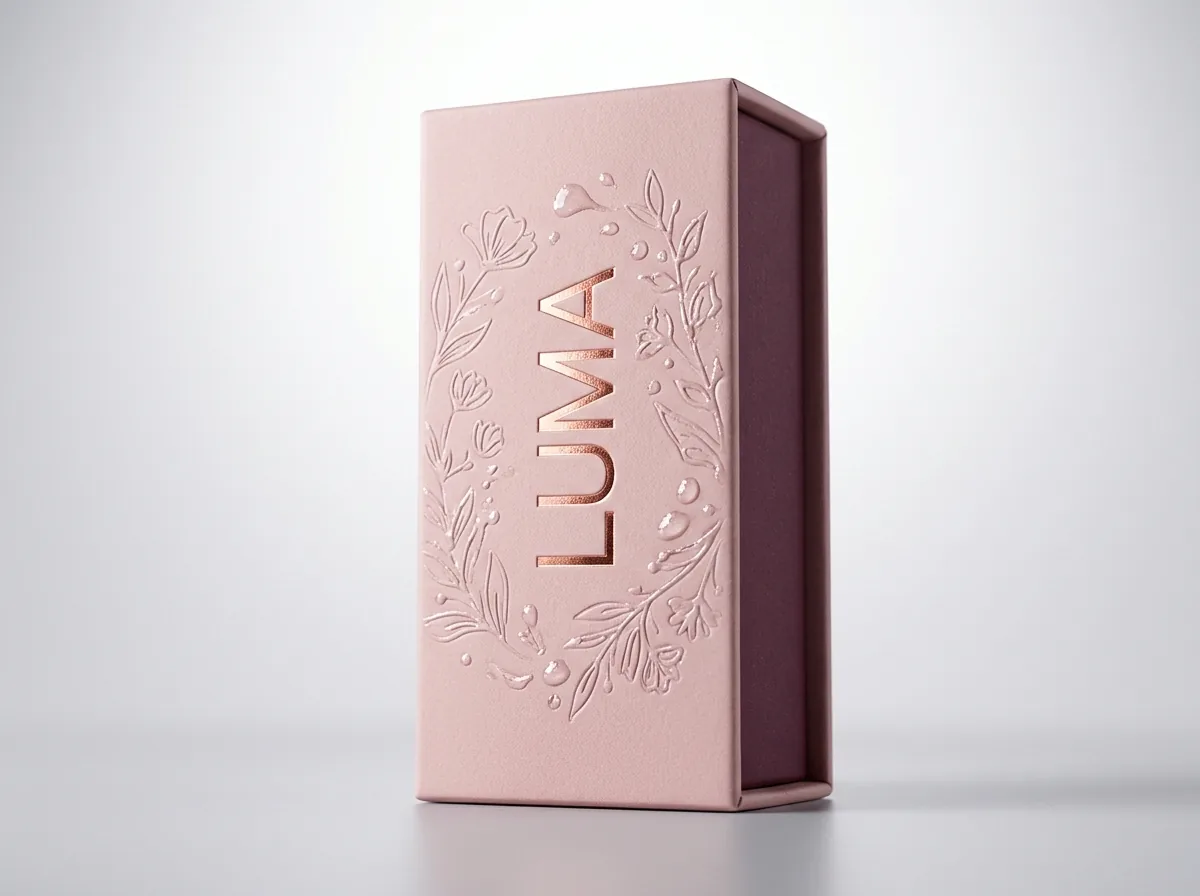
- Blind debossing or embossing: pressing a monogram into soft-touch paperboard without ink creates a tactile seal that fingers notice immediately.
- Gloss spot UV swatch stripe: a glossy band across a matte box tells shoppers at a glance that the lipstick inside is a high-shine or satin formula.
- Interior Pantone reveal: printing a surprise coral, crimson or berry flood coat inside the top tuck flap frames the lipstick cap as soon as the box opens.
Know your size? Compare pricing across up to 3 quantities.
Request a Quote →How do I design finishes across 10 or 20 lipstick shades to keep costs low?
Launching a lipstick collection means managing anywhere from 6 to 24 individual shade SKUs. If every shade has a completely different foil stamping layout or embossing pattern, press setup has to stop and swap metal stamping dies between every single color. Instead, design a master finish architecture where the dieline, the lamination film, the embossed emblem and the hot foil-stamped brand logo sit in the exact same coordinates on every shade. Then use CMYK or guaranteed Pantone printing to swap the shade name on the front spine, the barcode on the back, and the color-matched swatch block on the top tuck flap. That way, all 10 or 20 shades run through the foil and die-cutting stations in one continuous setup, and you never pay die or plate fees at CubitPack. You can also use the same approach on the back panel: print your shared base lip formula ingredients once and follow them with a standard ”May Contain [+/-]” pigment block listing the iron oxides, titanium dioxide and red or yellow lakes across the range.
How can I see and feel these finishes before approving my full lipstick run?
Screen renders cannot fully capture how soft-touch film feels between your fingers or how rose gold foil catches overhead boutique lighting against a deep plum Pantone ink. Before you commit to a full multi-shade production run, you have three ways to verify your finishes at CubitPack. First, every quote and order includes a free flat digital proof (showing exact foil, spot UV and emboss layers) plus a 3D mockup before you pay. Second, you can order our $50 sample kit (which includes board and finish swatches, sample boxes, labels and bags), and the $50 is credited toward your first order. Third, if you want to hold your exact lipstick carton with your own Pantone shade and foil logo before running 1,000+ units, we offer paid printed samples of your custom design, also credited to your order. Checking a sample under both warm vanity lighting and cool retail store LEDs gives you total confidence in your shade swatches before full production starts.
What are the most common lipstick box finishing mistakes?
Specialty finishes upgrade a narrow lipstick carton when placed with care, but they can interfere with barcodes or fold lines if misapplied. Check these five finish mistakes before approving your proof
- Printing heavy solid black, red or plum ink on unlaminated board, resulting in white fiber cracks down all four vertical fold corners.
- Stamping metallic gold or silver foil over the UPC barcode or 6 pt ingredient list where light reflection blocks scanners and readers.
- Running raised embossing or debossing across a vertical fold score, which distorts the corner crease and makes the carton bow outward.
- Changing the position of the foil-stamped logo on every shade SKU instead of keeping one shared foil layout across the collection.
- Covering the bottom batch-code stamp area with gloss lamination or spot UV so lot numbers smudged during filling.
Find your size
Suggested inside size: 0.75 × 0.75 × 2.25 in
A starting point. Your account manager confirms the size with you before the proof.
Quote this size →Packaging for this
Ready to order lipstick boxes? Compare up to 3 quantities with a free 3D mockup.
Request a Quote →Questions about lipstick boxes
Can I combine soft-touch lamination, gold foil and spot UV on the same lipstick box?
Yes. In fact, soft-touch lamination is the ideal base for both hot foil stamping and high-gloss spot UV because its ultra-matte surface creates maximum contrast against mirror-bright metallic foil and glossy UV accents.
Does CubitPack charge extra plate or die fees for foil stamping or embossing?
No. CubitPack does not charge die or plate fees. Your unit quote covers the printing, lamination and specialty finishing steps you select in the quote form, and our prepress team sets up the separate foil or emboss vector layers for free.
How do you make sure the top-flap color swatch matches my actual lipstick shade?
You can specify a Pantone (PMS) spot color code for each shade's top flap and accent band, or send us a physical shade drawdown to match. Our Pantone match is guaranteed: if a Pantone color is clearly off from the approved spec, we reprint it.
Which finish resists fingerprints and makeup smudges best at retail counters?
Soft-touch lamination and matte lamination hide dry handling marks well, while gloss lamination wipes clean with a cloth if lipstick or foundation transfers from a shopper's fingers at a tester display.
Do specialty finishes like foil stamping or embossing add extra weeks to production?
No. Standard production for custom lipstick boxes (including lamination, foil stamping, embossing, debossing or spot UV) is 10 to 14 business days after proof approval and payment, with 4 to 5 business day rush production available.
How can I compare matte, gloss, soft-touch and foil in person before ordering?
Order our $50 sample kit, which includes board and finish swatches along with sample boxes, labels and bags. The $50 cost is credited in full toward your first production order.
Still have a question? Ask a packaging specialist.
Request a Quote →Request your lipstick boxes quote
Tell us your size and quantities, and one dedicated account manager prepares pricing for each tier.
- Free design & AI-to-print studio + 3D mockup
- No die or plate charges · 4–5 day rush available
- Free shipping to all 50 states
- 10% off your first order
The finishing guidelines in this post draw on offset lithography and film lamination standards (TAPPI score-cracking prevention, foil and emboss safe margins) and CubitPack's decided finishing specifications. Checked by a CubitPack packaging specialist. Spot something wrong? Tell us and we will fix it.
Sources
What changed
- October 22, 2026: First published.
- October 22, 2026: Updated specifications, terminology, and verified source links.
More guides
New packaging guides by email
Sizes, materials and design tips. Unsubscribe anytime.