
How do you size custom PR boxes and foam inserts?
Short answer: Arrange your products face-up on a flat table with ½ to ¾ inch between items and ¾ inch around the outer border. That layout sets the inside Length × Width of your custom PR boxes, while the thickest item plus a ¼ inch base pad sets the inside Height.
On this page
- How do I lay out and measure products for a camera-ready PR kit
- What are the most common custom PR box sizes by campaign type
- How thick should EVA foam walls and cavity depths be
- How do you size the box when including press cards, booklets or two layers
- Do I need to size an outer shipping box for my PR box
- Common mistakes
- FAQs
Request a custom quoteFree dieline & 3D mockup
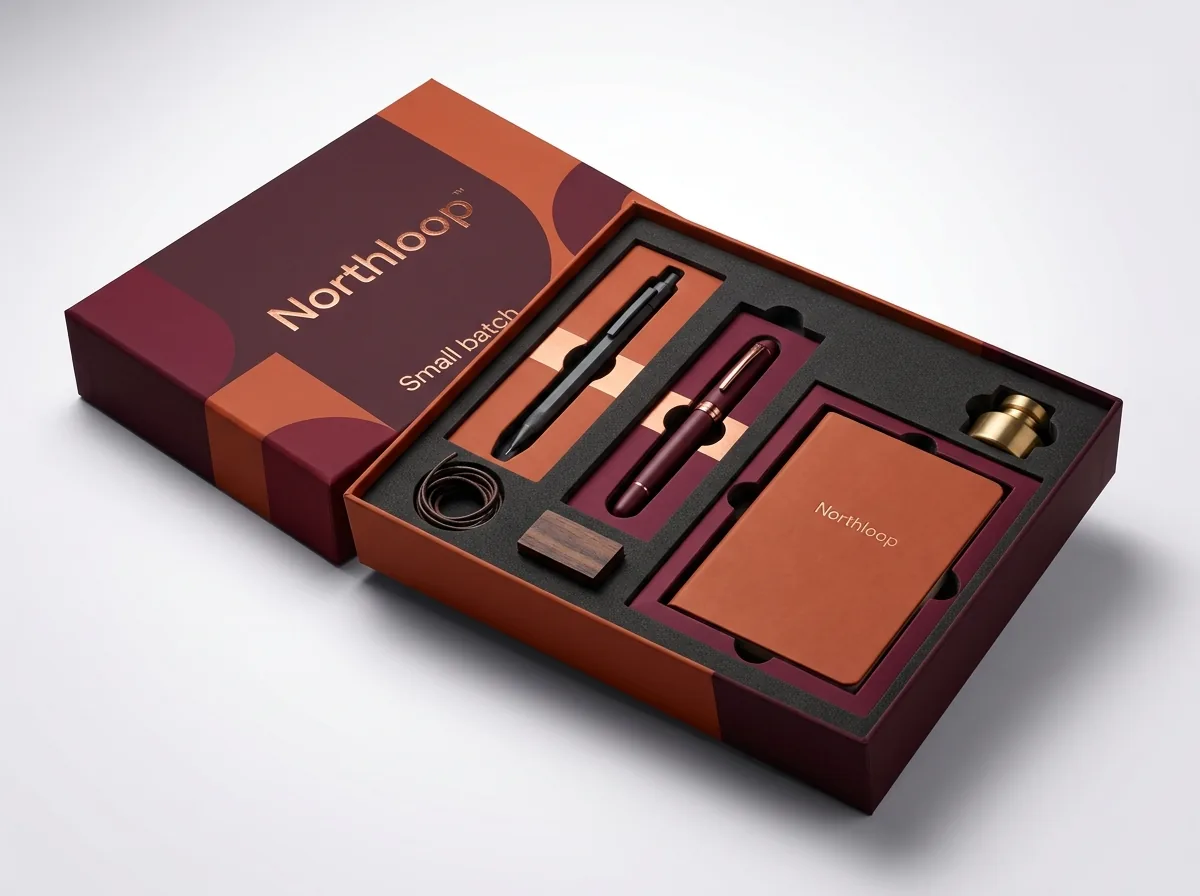
Unlike everyday shipping cartons where products stack vertically to minimize volume, a custom PR box is sized around a single flat, camera-facing layout. Every bottle, jar, can or device must lie face-up in its own recessed slot so a creator can film the entire collection in one overhead phone shot. To calculate your inside box Length and Width, measure each product's length and width, add ½ to ¾ inch of foam or cardboard web between neighboring cavities so the divider walls never collapse, and add ¾ inch of border clearance around all four outer edges. To find your inside Height, take the depth of your thickest product lying flat, add ¼ inch for a bottom cushion pad below the foam tray, and add ⅛ inch on top for your press card or ribbon cover. At CubitPack, our design team builds both the box dieline and the insert dieline for free.
How do I lay out and measure products for a camera-ready PR kit?
Always start by arranging the physical filled containers on a desk right under your phone camera held vertically in 9:16 portrait mode. Most influencer unboxings are filmed for TikTok, Instagram Reels and YouTube Shorts, where a clean rectangular grid (such as 10 × 8 inches or 12 × 9 inches) fills the frame without forcing the creator to pan from side to side. When you order custom printed PR boxes, the inside dimensions are written as Length (left to right across the front) × Width (front to back toward the hinge) × Height (top to bottom). Once you like the visual arrangement on your desk, measure each item's exact bounding length, width and resting thickness with calipers or a flat ruler. Never trust the nominal volume printed on a bottle label: a 30 ml dropper bottle with a glass pipette bulb is much taller and thicker at the cap than a 30 ml airless pump tube. Measure caps, sprayer shoulders and pump locks at their widest point so the die-cut slot holds the container snugly without pinching.
- Step 1 - Arrange face-up: place every item on a flat surface with its front label facing straight up toward the camera.
- Step 2 - Space the grid: leave ½ to ¾ inch of space between each item so foam walls stay thick and labels have visual breathing room.
- Step 3 - Add the outer frame: add ¾ inch of foam or card margin on the left, right, top and bottom edges of the arrangement.
- Step 4 - Measure vertical depth: measure from the table up to the highest point of the thickest item, then add ⅜ inch total for base pad and top card.
- Step 5 - Add finger notches: plan two ½-inch semicircular thumb cutouts on the sides of each recessed slot so items lift out with one hand.
What are the most common custom PR box sizes by campaign type?
Every CubitPack box and insert is cut to order with no die or plate charges, so you are never locked into stock molds. Still, most beauty, wellness, food, beverage and tech PR drops fall into six proven inside footprints that balance visual impact on camera with reasonable parcel shipping rates. Use the table below to benchmark your planned kit before measuring your final containers. Notice how inside height typically stays between 3 inches and 5 inches so the open box sits low on a tabletop and lets studio light reach every product label without casting deep shadows from tall side walls.
| Inside size (L × W × H) | Typical PR kit contents & cavity count | Popular structure & insert |
|---|---|---|
| 8 × 6 × 3 in | 2-3 skincare serums, lip gloss trio or travel fragrance set | Printed inside mailer + EVA foam |
| 10 × 8 × 3.5 in | 3-4 full-size beauty or supplement items + A5 campaign card | Corrugated mailer + EVA or card insert |
| 12 × 9 × 4 in | 5-6 shade range items, or 2 beverage cans + branded tasting glass | Magnetic rigid box or heavy mailer + foam |
| 12 × 12 × 4 in | Symmetrical 4-quadrant launch kit, hair care system or candle duo | Two-piece rigid or square mailer + foam |
| 14 × 10 × 4.5 in | Folded hoodie or t-shirt paired with a recessed accessory well | Book-style rigid or wide PR mailer |
| 15 × 12 × 5 in | Multi-tier VIP press chest, gaming peripheral kit or full line drop | Magnetic closure rigid + layered EVA foam |
How thick should EVA foam walls and cavity depths be?
The most common engineering mistake on a PR box is cutting the foam walls between products too thin. When two heavy glass jars or beverage cans sit only ¼ inch apart inside a foam tray, the narrow strip of foam between them (called the web) flexes during parcel transit, allowing the bottles to pop out of their cavities or strike each other. Keeping at least ½ inch (0.5 in) of solid foam between lightweight items, and ¾ inch (0.75 in) between heavy glass jars or cans, guarantees that the tray holds its shape from the press to the creator's doorstep. For vertical cavity depth, aim to sink each cylindrical bottle or jar at least 60% to 75% of its laying-down diameter into the custom EVA foam insert, or 100% flush with the top surface of the foam if the box ships without an inner top pad. When a cylindrical bottle sits less than halfway deep in a slot without top pressure from the lid, a single upside-down flip in a delivery van will dislodge it. For lightweight cartons and tubes, a folded custom cardboard insert with locking tabs can also hold items flush at a lower material cost.
Know your size? Compare pricing across up to 3 quantities.
Request a Quote →How do you size the box when including press cards, booklets or two layers?
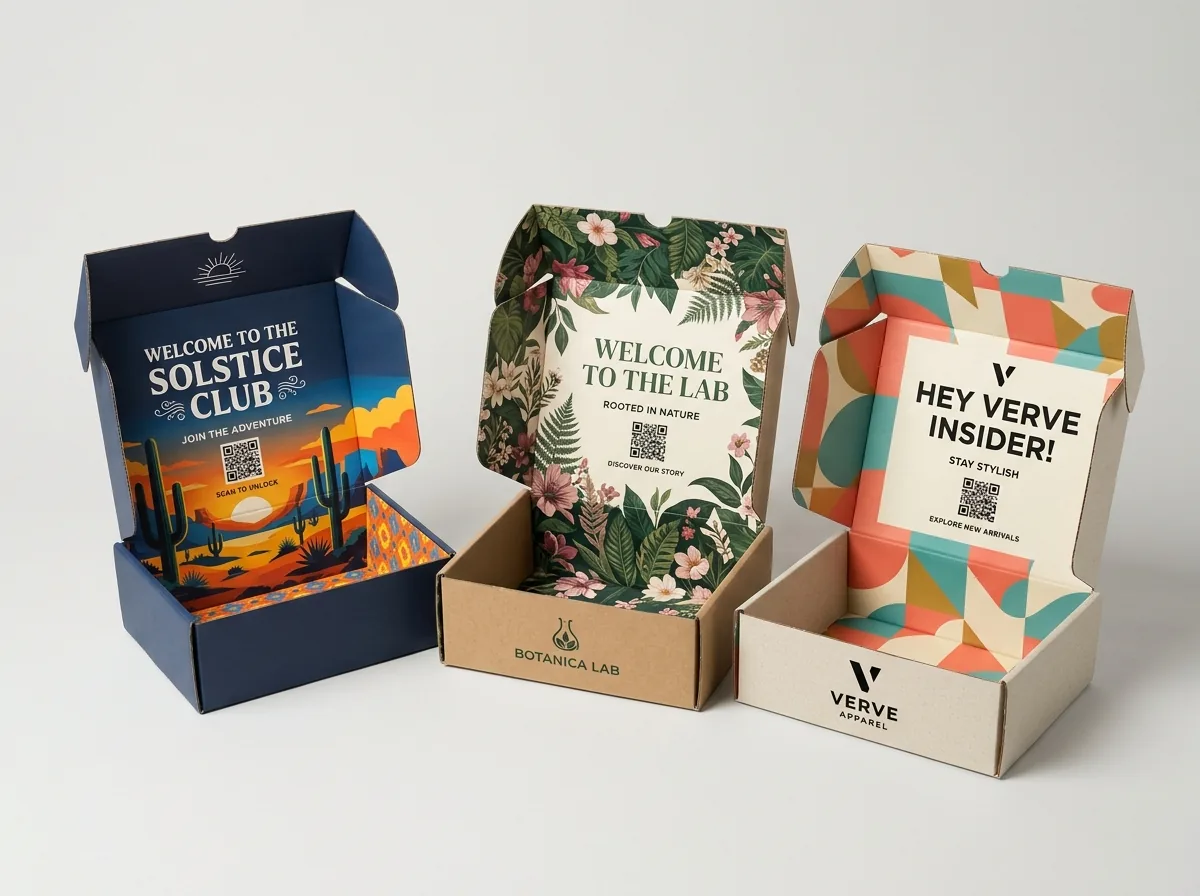
Almost every influencer kit includes a printed story card, shade finder, recipe card or QR voucher alongside the physical products. You have three clean ways to house that printed piece without cluttering the product tray: print the message directly onto the inside lid of the box, recess a shallow ⅛-inch shelf on top of the foam tray so a heavy custom insert card rests like a cover sheet over the products, or build a ribbon-tabbed pocket into the inside lid of a custom book style box. If your launch includes both hero products and bulky extras, such as a skincare routine plus a branded headband, gua sha tool and plush towel, stacking them in two layers keeps the outer footprint compact instead of creating a sprawling 20-inch box. We engineer a removable top EVA foam tray with satin ribbon pulls that lifts out to reveal the secondary merch compartment underneath. Simply add the height of both trays plus ½ inch of divider clearance to get your total inside box height.
Do I need to size an outer shipping box for my PR box?
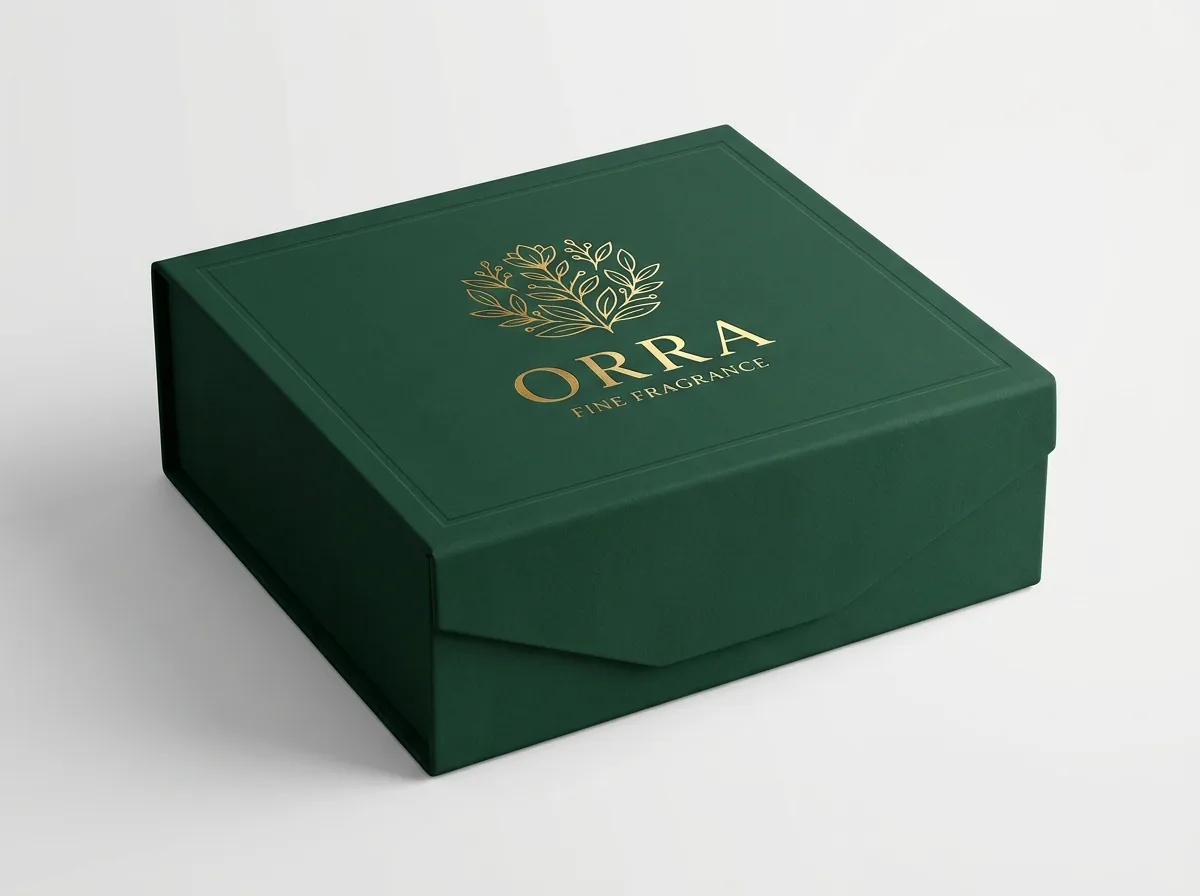
If you are investing in soft-touch lamination, metallic foil stamping or a magnetic closure rigid box, never slap a 4 × 6 inch thermal postage sticker directly onto the presentation lid and drop it into a parcel bin. Conveyor belts scuff dark matte finishes, and courier labels tear the paper when peeled off. Instead, pair your PR box with a fitted plain corrugated outer shipping box (an overbox). When we build your PR box and its outer shipper together, we size the inside of the outer corrugated carton roughly ¼ to ½ inch larger than the outside dimensions of your presentation PR box (or 1 inch larger if you want bubble wrap or corner pads around a heavy rigid chest). Because CubitPack charges zero die or plate fees and includes free shipping across all 50 states, ordering the matched outer mailer alongside your PR run keeps every creator unboxing spotless on camera.
- Corrugated PR mailer + poly bag: slip a printed-inside mailer into a clear or branded poly mailer to keep courier labels off the lid.
- Corrugated PR mailer + snug overbox: add ⅜ inch to the outside L × W × H of your PR mailer for a double-protected parcel.
- Magnetic or book-style rigid box + cushioned overbox: add ½ to 1 inch around the rigid box so corners never dent if dropped.
What are the most common PR box and foam insert sizing mistakes?
A poorly sized foam tray can turn a flagship launch into a messy unboxing clip where bottles arrive loose or crooked. Check these five details before approving your proof
- Leaving less than ½ inch of foam between heavy glass bottles, causing the thin divider web to tear or bend during transit.
- Cutting foam slots to only 30% of a round bottle's depth without a top pad, which lets items pop out when the parcel flips upside down.
- Forgetting ½-inch semicircular finger notches beside tight foam cutouts, forcing creators to dig their fingernails into the foam on camera.
- Measuring only the bottle body and forgetting the extra width of a pump lock, dropper bulb or spray trigger.
- Making the box walls 6+ inches tall for flat products, which casts dark shadows across the labels under overhead studio lights.
Find your size
Suggested inside size: 8 × 6 × 3 in
A starting point. Your account manager confirms the size with you before the proof.
Quote this size →Packaging for this

Ready to order pr boxes? Compare up to 3 quantities with a free 3D mockup.
Request a Quote →Questions about pr boxes
Do I have to draw the foam insert dieline myself?
No. Simply tell us the dimensions and weights of your products, or mail one physical set of your items to our studio, and our design team will draw the exact box dieline and insert cutouts for free. You review both on a 2D digital proof and 3D mockup before paying.
How tight should an EVA foam cutout be around a glass bottle or can?
We typically engineer EVA foam cavities 1/16 inch (about 1.5 mm) narrower than the rigid container's diameter so the foam compresses slightly and grips the bottle by friction during shipping, paired with two finger notches so it still lifts out smoothly.
Can I test the foam fit with my real products before printing 250 boxes?
Yes. We strongly recommend ordering a physical prototype or a paid printed sample (credited toward your full order) whenever you are packing multiple glass jars, curved bottles or electronics in a custom foam or cardboard tray.
What is the minimum order for a custom PR box with an insert?
Custom corrugated PR mailer boxes with inserts start at 250 units, and custom rigid PR boxes (such as magnetic closure or book-style boxes) start at 50 units. Small trial runs are also considered case by case.
Should my PR box open along the long side or the short side?
Always hinge the lid along the long horizontal side (Length) so the open box fits inside a vertical 9:16 smartphone frame or a 16:9 desktop frame without the lid blocking side light.
Do custom insert cutouts or unusual box dimensions add die charges?
No. CubitPack never charges die or plate fees on custom PR boxes or their inserts, whether your tray holds two cylindrical bottles or six custom-contoured items.
Still have a question? Ask a packaging specialist.
Request a Quote →Request your pr boxes quote
Tell us your size and quantities, and one dedicated account manager prepares pricing for each tier.
- Free design & AI-to-print studio + 3D mockup
- No die or plate charges · 4–5 day rush available
- Free shipping to all 50 states
- 10% off your first order
The insert spacing rules (½-inch minimum foam web, ¾-inch perimeter border, 1/16-inch friction compression and ½-inch finger notches) come from CubitPack's structural dieline standards and ISTA single-parcel transit guidelines. Checked by a packaging specialist. Spot something wrong? Tell us and we will fix it.
Sources
What changed
- October 22, 2026: First published.
- October 22, 2026: Updated specifications, terminology, and verified source links.
More guides
New packaging guides by email
Sizes, materials and design tips. Unsubscribe anytime.