
How do you design luxury wig boxes, inner-lid care guides and installation kit inserts?
Short answer: Design luxury wig boxes with an 8.5 × 9 inch main hair chamber alongside a 3.5-inch side compartment or velvet EVA foam tray for your lace melt band, edge brush and glue bottle. Add an inner-lid washing guide and order custom wig boxes from 50 rigid units.
On this page
- How do I design an interior divider or insert for a wig installation kit
- Which insert materials and exterior finishes work best for wig packaging
- What should I print on the inside lid of a custom wig box
- How do I keep delicate HD and Swiss lace from snagging inside the box
- How do I prepare artwork and handle multiple hair lengths and textures on one box
- Common mistakes
- FAQs
Request a custom quoteFree dieline & 3D mockup
A luxury human hair wig is a high-ticket purchase that often ships as a complete salon installation kit, combining the hair unit inside a satin bag with a branded elastic melt band, a dual-sided edge brush, two wig caps, and a bottle of waterproof lace bond. If those heavy accessories roll freely inside the box during parcel transit, they can crush the styled crown or snag delicate HD lace. By adding a structural rigid divider wall, a folded card tray, or a velvet-lined die-cut EVA foam insert inside a 12 × 9 × 4 inch or 14 × 10 × 4.5 inch rigid box, every tool stays locked in its own cavity. Pairing that interior layout with an inner-lid care manual and soft-touch foil finishes turns your box into a permanent vanity keepsake, starting at 50 rigid boxes at CubitPack.
How do I design an interior divider or insert for a wig installation kit?
When a client opens your box on camera, the layout inside determines whether your brand looks like an established salon house or a generic drop-shipper. Instead of tossing loose accessories on top of the satin hair bag, divide the interior footprint of your custom wig boxes into two dedicated zones: a wide primary bay for the bundled wig and a structured side bay for installation tools. In a standard 12 × 9 × 4 inch pre-assembled magnetic or two-piece rigid box, placing a full-height wrapped rigid partition wall 3.25 inches from the right wall creates an 8.5 × 9 inch main chamber for your wig bag and a 3.25 × 9 inch accessory bay. Inside that side bay, you can drop a die-cut velvet-flocked EVA foam block or a custom-printed paperboard tray with individual cutouts for a 1.3 oz lace glue bottle, a wax stick, a folded elastic melt band, and an edge brush. If you use a flat-folding collapsible magnetic box, we make the entire divider and foam tray as a single removable drop-in insert that you place inside right after erecting the box.
- Wrapped rigid partition wall: permanent vertical divider glued inside pre-assembled magnetic, drawer or two-piece boxes.
- Velvet-flocked EVA foam insert: die-cut cavities hold glass lace-tint sprays, glue bottles and edge brushes without rattling.
- Folded paperboard accessory tray: die-cut folded card insert printed to match your inner box lining.
- Removable drop-in tray: engineered specifically for flat-shipping collapsible magnetic rigid wig boxes.
- Satin ribbon lifters: recessed beneath the foam tray or hair bag for effortless removal.
Which insert materials and exterior finishes work best for wig packaging?
Choosing the right combination of outer wrap lamination, accent foil and interior insert material balances your per-box budget with the price point of your hair collection. Use the specification table below to match your insert and finish package to your brand tier. Every rigid wrap at CubitPack is printed in full CMYK or Pantone spot color and laminated before wrapping around heavy rigid chipboard (gray board), ensuring corners never crack or scuff during salon stacking.
| Design element | Recommended specification | Best wig collection fit |
|---|---|---|
| Soft-touch matte + hot foil | Velvety anti-scratch wrap + gold/rose-gold foil logo | Raw & virgin human hair wigs, bridal salon collections |
| Textured linen or pearl wrap | Tactile uncoated-feel paper + blind deboss crest | Medical cranial prostheses & luxury European hair studios |
| Gloss lamination + spot UV | High-contrast photographic wrap + raised UV monogram | Beauty-supply retail walls & bold colored hair lines |
| Velvet-flocked EVA foam tray | Black, blush or ivory velvet top over dense EVA foam | Complete installation kits with glue, tint spray & melt band |
| Printed card divider tray | 18pt–24pt C1S board scored into two or three bays | Bundled wig + silk bonnet + elastic band sets |
| Satin bag + tissue wrap | Snag-free inner barrier inside an open-cavity rigid box | Single-unit hd lace front, closure & collapsible boxes |
What should I print on the inside lid of a custom wig box?
The inside lid of a hinged magnetic wig box (representing over 100 square inches of prime visual space on a 12 × 9 inch box) is the single best place to print your brand's hair care ritual. Paper instruction leaflets get lost during the excitement of unboxing, whereas printing the care steps directly inside the lid keeps your instructions in front of the client for the entire life of the wig. Structure your inner-lid layout into four clean visual blocks: a welcoming brand headline or founder note at the top, a numbered four-step washing and detangling routine in the center, a heat-styling temperature and HD lace handling warning, and a scannable QR code in the bottom corner. Link that QR code to your video tutorial on bleaching knots, melting lace, or booking a salon maintenance appointment, as well as reordering lace glue and silk bonnets.
Know your size? Compare pricing across up to 3 quantities.
Request a Quote →How do I keep delicate HD and Swiss lace from snagging inside the box?
Ultra-thin HD lace and Swiss lace are prized because they melt invisibly into the scalp, but their fine mesh can easily catch on rough uncoated cardboard edges, exposed Velcro tabs on elastic melt bands, or sharp corners on plastic accessory blisters. Designing a snag-free interior is essential for preventing costly customer damage claims. First, ensure every interior paperboard surface of your printed luxury wig boxes is smooth coated stock with matte or soft-touch lamination and neatly turned-in paper edges. Second, always place the hair unit inside a satin drawstring bag or wrap it in acid-free custom tissue paper before setting it in the main compartment. Third, if you include a Velcro-closure elastic melt band in your installation kit, pack the melt band inside its own small poly sleeve or isolated side compartment so the Velcro hooks never touch the lace frontal.
How do I prepare artwork and handle multiple hair lengths and textures on one box?
Even if your studio sells 40 combinations of hair length (14" to 32"), texture (straight, body wave, deep wave, kinky curly), lace size (4×4, 5×5, 13×4, 13×6), and hair color (1B, 613, honey blonde, burgundy), you do not need to print 40 separate box designs. Print one signature luxury rigid box in your core brand colorway and pair it with a recessed label frame on the short end panel or a pre-printed spec grid on the back. Your studio team can either apply a clean thermal or foil-accented spec sticker on the side panel so stacked boxes are easy to pick in the backroom, or hand-check the length, density and texture boxes on a printed authenticity card tucked inside the lid. Send CubitPack your vector logo (AI, PDF or EPS) and desired box dimensions, and our structural team will return a custom 2D dieline and 3D mockup before production begins.
- Keep a 0.5-inch quiet margin inside all lid edges so logos and borders look balanced above the chipboard (gray board) turn-in.
- Supply metallic foil and spot UV artwork on separate named vector layers in 100% K black.
- Include a 2.5 × 1.5 inch subtle frame on one short side panel for your SKU, length, lace size and texture label.
- Extend background colors 0.125 inches (3 mm) past the wrap cut lines for full-bleed rigid board wrapping.
What are the most common luxury wig box design mistakes?
A poorly planned interior layout can damage expensive human hair units before the client even tries them on. Avoid these five design mistakes
- Packing an exposed Velcro-tabbed elastic melt band in the same open compartment as an HD lace frontal, causing the Velcro hooks to snag and tear the lace.
- Allowing heavy lace-glue bottles or edge-control jars to roll loose alongside the wig without a divider wall or foam cavity.
- Printing dark gray care instructions on a black inside lid liner where clients cannot read the washing steps without a flashlight.
- Ordering separate full-box print runs for every hair length and texture instead of using one core rigid box with a side-panel spec sticker or check-box card.
- Placing foil-stamped text within 1/8 inch of a rigid lid fold line, where the paper turns over the chipboard (gray board) edge.
Find your size
Suggested inside size: 10 × 8 × 3.5 in
A starting point. Your account manager confirms the size with you before the proof.
Quote this size →Packaging for this
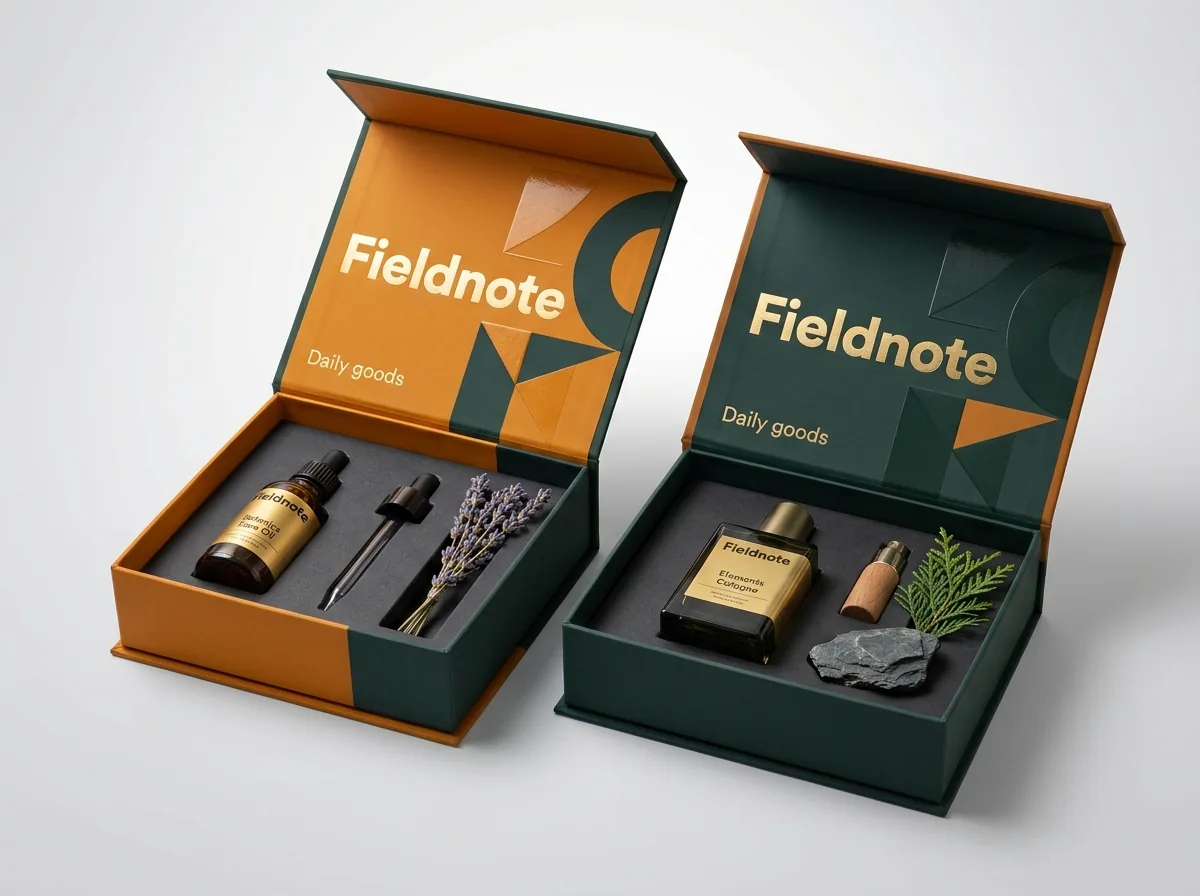
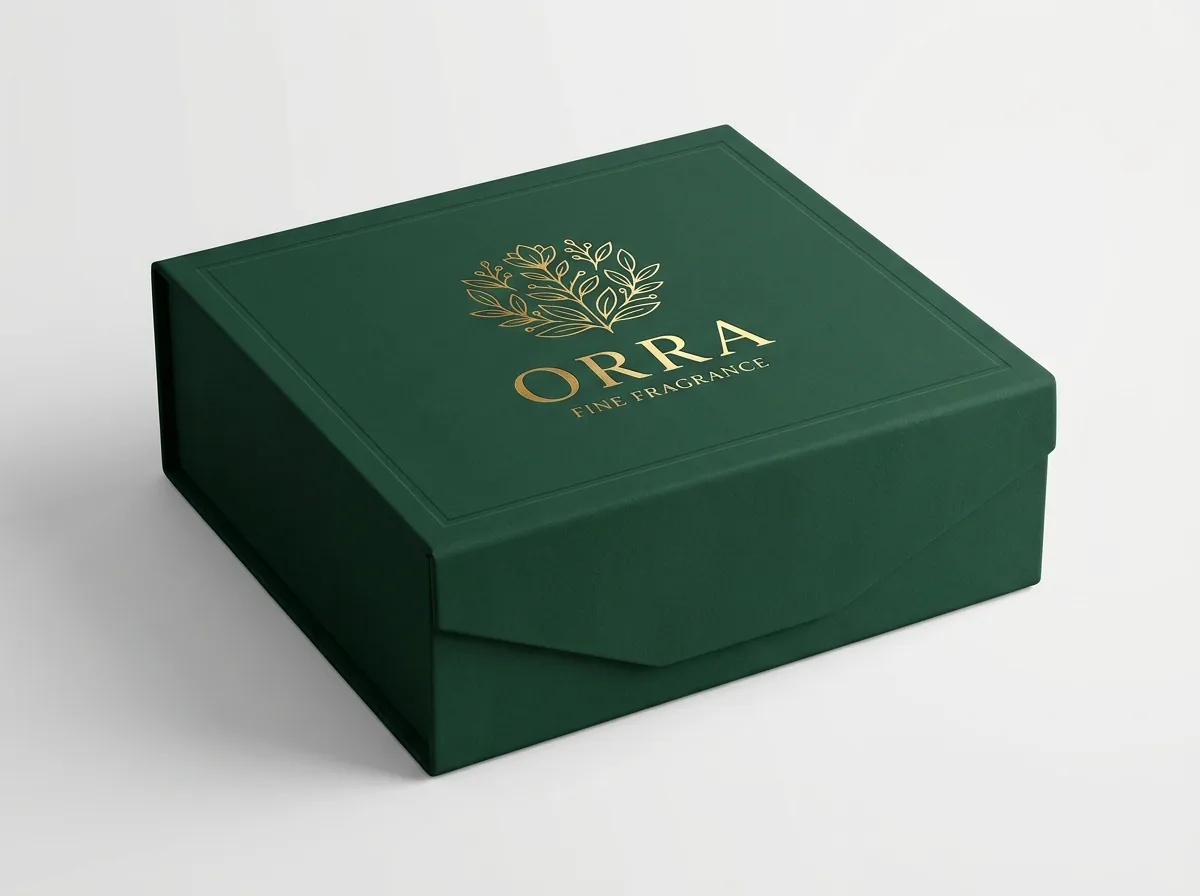
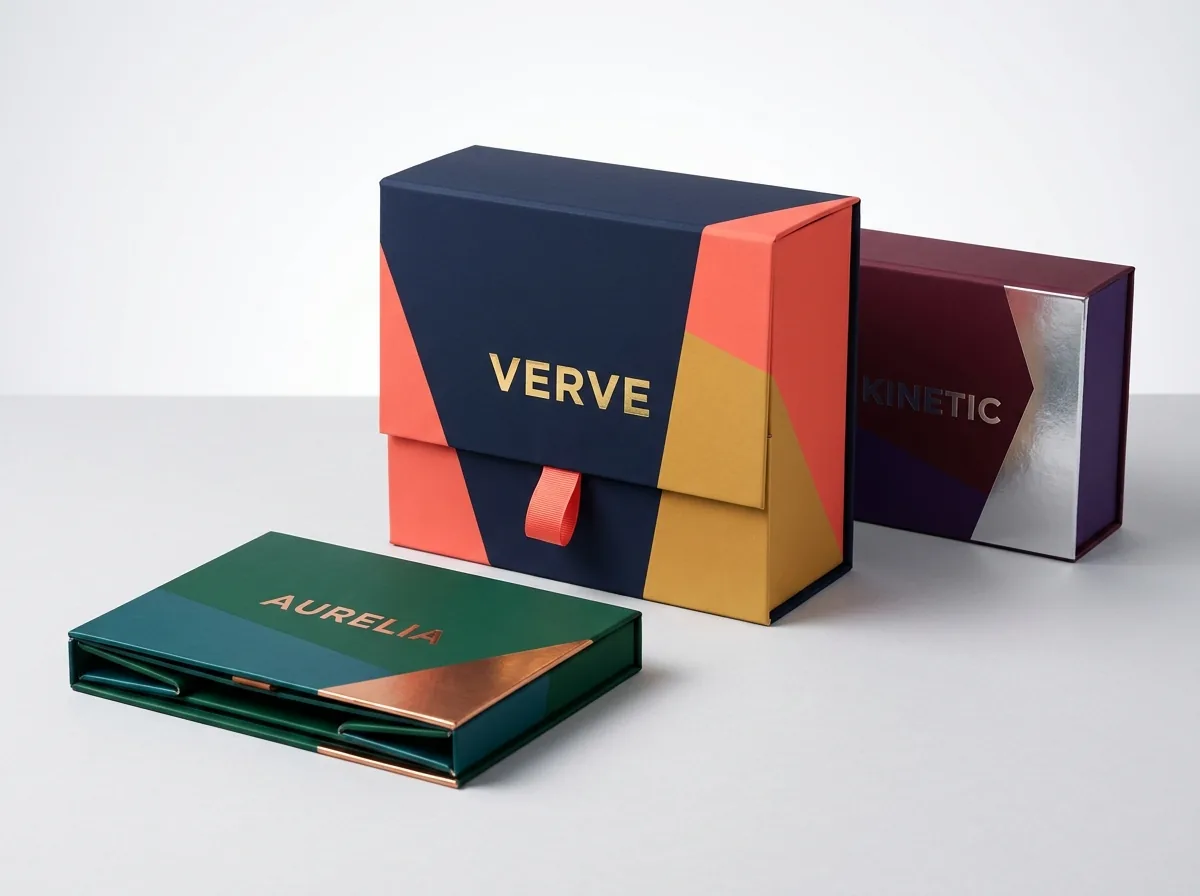
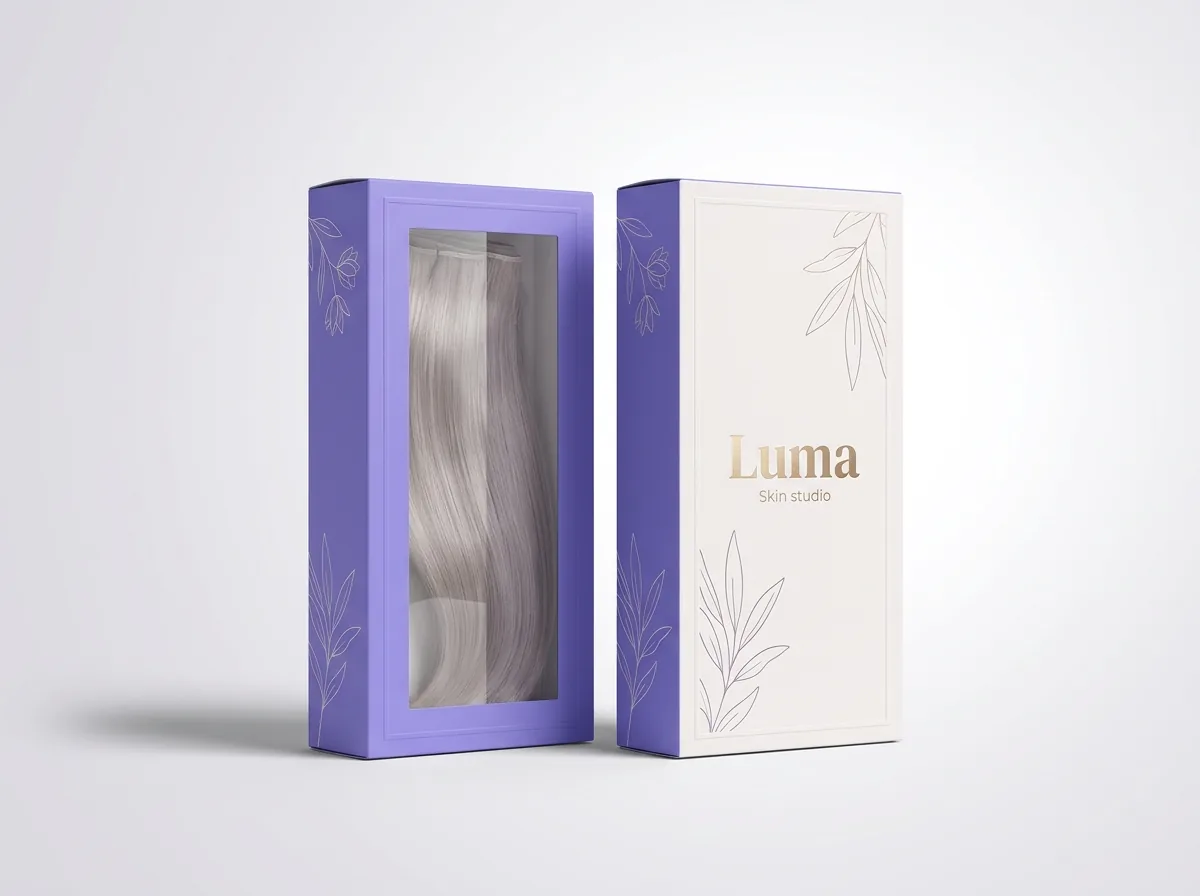
Ready to order wig boxes? Compare up to 3 quantities with a free 3D mockup.
Request a Quote →Questions about wig boxes
Can you create a custom foam or card insert that fits my exact glue bottle and melt band?
Yes. Share the length, width and diameter of your lace glue bottle, tint spray, edge brush and folded melt band, or mail a sample kit to our structural team so we can engineer die-cut cavities with a snug friction fit.
Does printing a care guide on the inside lid increase the box cost significantly?
Inside-lid printing adds very little per unit because the inner liner sheet is printed on flat offset presses before it is laminated and adhered to the inside of the rigid chipboard (gray board).
Can I combine soft-touch matte lamination with metallic gold foil and embossing on my wig box?
Absolutely. Soft-touch matte lamination paired with hot gold, rose-gold or silver foil stamping and 3D blind embossing is our most popular finish combination for virgin human hair and bridal wig brands.
What is the minimum order for custom rigid wig boxes with custom inserts?
Rigid wig boxes, including magnetic closure, collapsible magnetic, drawer and two-piece styles with custom foam or paperboard inserts, start at just 50 units at CubitPack.
Can you also print matching folding cartons for my lace glue, wax stick or edge control?
Yes. Alongside your 50+ rigid wig boxes, we produce matching custom folding cartons (starting at 1,000 units) and custom waterproof labels for your lace bond bottles, wax sticks, edge brushes and elastic melt bands.
Do I get a 3D mockup of my wig box and interior insert before printing?
Yes. Every order includes a free 2D dieline proof and a 3D mockup showing your outer wrap, foil placement, inner-lid care guide and interior divider layout before production starts.
Still have a question? Ask a packaging specialist.
Request a Quote →Request your wig boxes quote
Tell us your size and quantities, and one dedicated account manager prepares pricing for each tier.
- Free design & AI-to-print studio + 3D mockup
- No die or plate charges · 4–5 day rush available
- Free shipping to all 50 states
- 10% off your first order
This luxury wig box and installation kit design guide is based on rigid chipboard (gray board) prepress standards and CubitPack's decided capabilities in our published product specifications, reviewed by a packaging specialist. Spot an error? Let us know and we will fix it.
Sources
What changed
- October 22, 2026: First published.
- October 22, 2026: Updated specifications, terminology, and verified source links.
More guides
New packaging guides by email
Sizes, materials and design tips. Unsubscribe anytime.