
How do you design custom nail kit boxes with windows and tool pockets?
Short answer: Position your front display window in the upper two-thirds of the panel to showcase the nail tips, keep the lower third solid to conceal the glue and prep tools, and print a 1:1 nail shape and length badge beside the window. Every order of custom nail kit boxes includes free prepress design help.
On this page
- What belongs on each panel of a press-on nail or manicure kit box
- How do you align the front window with the hidden prep tool pocket
- How do 1:1 nail shape gauges, Spot UV, and holographic foil boost shelf appeal
- What FDA cosmetic disclosures and nail glue warnings are required on the box
- How do you prepare your nail kit dieline for print and window cutting
- Common mistakes
- FAQs
Request a custom quoteFree dieline & 3D mockup
A high-converting press-on nail or manicure kit carton has to do three jobs at once: show the exact nail shape, length, and finish through a front window; hide the functional prep tools (nail glue, sticky tabs, mini file, cuticle stick, and alcohol pad) behind an opaque lower zone; and display mandatory multi-component INCI ingredients and cyanoacrylate glue warnings on the back panel. Getting the window coordinates right is critical - if the cutout extends 1/4 inch too low, shoppers see the plastic glue tube instead of a clean salon presentation; if it sits closer than 3/8 inch to a fold crease, the front frame bows inward. Combining a precision-framed window with a 1:1 scale nail silhouette badge, soft-touch lamination, and holographic or metallic foil accents turns a compact carton into a miniature nail bar display on any retail shelf.
What belongs on each panel of a press-on nail or manicure kit box?
Shoppers browsing press-on nails or gel starter sets check four details in rapid succession: the nail art finish inside the window, the shape and length (such as Short Almond vs Long Coffin), what prep tools are included in the box, and how long application takes. Mapping each of those items to a dedicated zone on your custom printed nail kit cartons keeps the front face uncluttered and retail-ready. Use the five-zone dieline blueprint below to lay out your front window, side shape gauges, back instructions, and mandatory warnings.
| Carton panel or zone | Key design & copy elements | Prepress & structural rule |
|---|---|---|
| Upper front panel (Window zone) | Brand logo, die-cut window over 10–12 nail tips, 1:1 shape/length icon | Keep window cutout at least 3/8 in (9.5 mm) away from all fold scores |
| Lower front panel (Tool shield) | Opaque brand block hiding glue/file pocket, piece count & kit contents strip | Align solid panel height to cover the entire lower tool compartment |
| Left & right side panels | 1:1 scale length ruler (Short / Medium / Long) & nail width sizing chart (0–11) | Print life-size millimeter widths so buyers can hold a finger up to the box |
| Back panel (Instructions & INCI) | 4-step apply/remove icons, glue & liquid INCI lists, cyanoacrylate warning, UPC | Set INCI and glue warning in 100% K black ink on a high-contrast background |
| Inner false floor / inside lid | Pro prep tips (buff, dehydrate, 45-degree press) & QR code for tutorial video | Use interior printing to eliminate a separate paper instruction sheet |
How do you align the front window with the hidden prep tool pocket?
The secret to a clean press-on nail box is the vertical split between the upper display window and the lower opaque tool shield. On a standard 5.5 inch tall press-on carton, the upper 3.25 inches holds one or two horizontal rows of sculpted nail tips mounted on a clear blister tray or adhesive backing strip. The lower 1.75 to 2.0 inches of the carton cavity holds the 2 g nail glue bottle, adhesive tab sheet, mini emery file, wooden cuticle stick, and alcohol wipe. When laying out your front panel artwork on our dieline, set the bottom edge of the die-cut window at least 1/8 inch above the internal divider ledge that separates the nail row from the tool pocket. That 1/8 inch overlap guarantees that even if a customer tilts the box downward under store lights, the loose prep packet underneath never peeks into the window frame. Across the solid lower third of the front panel, print a clean icon bar listing everything hidden inside (Includes: 30 Nails · 2g Nail Glue · 24 Adhesive Tabs · Mini File · Cuticle Stick · Prep Pad).
How do 1:1 nail shape gauges, Spot UV, and holographic foil boost shelf appeal?
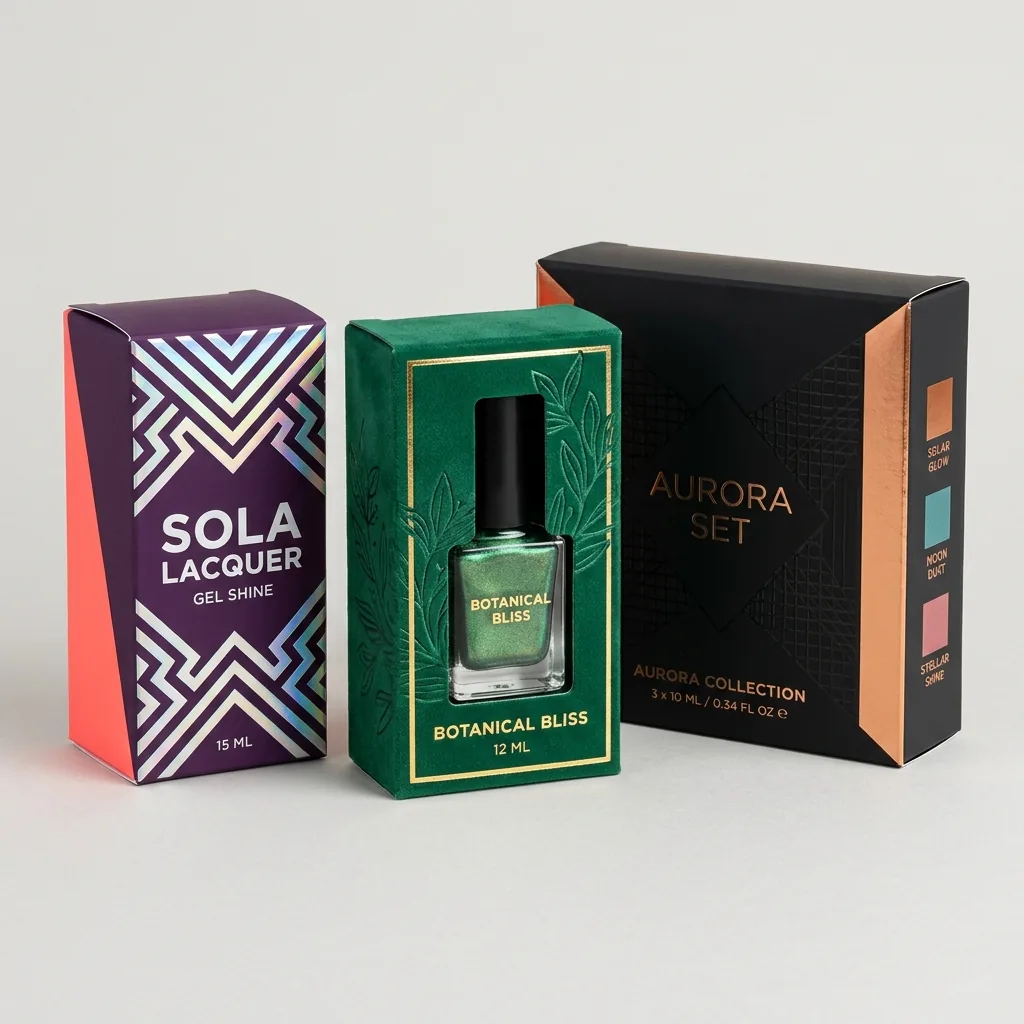
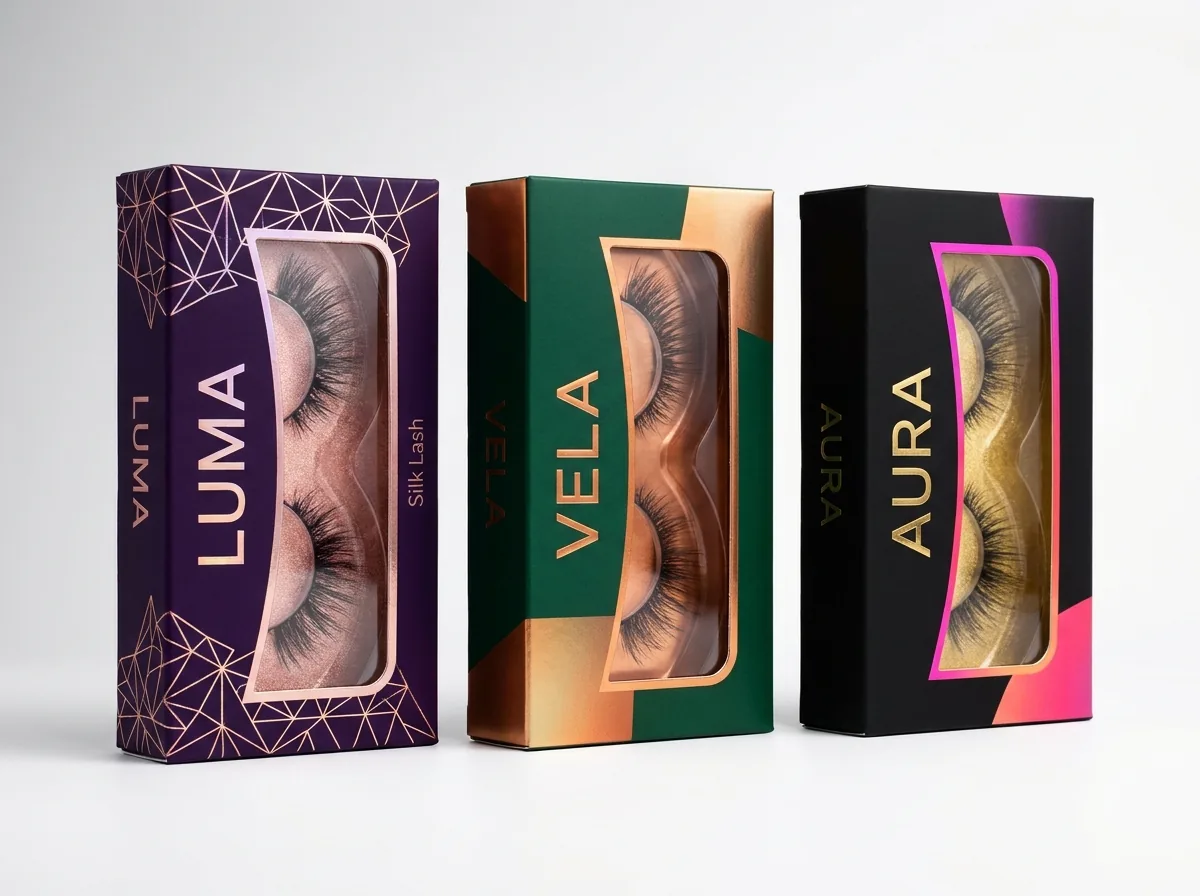
Online photos and even clear windows can make it hard for a first-time buyer to judge whether a 'Medium Almond' nail is 15 mm or 20 mm long on their own hand. Printing a 1:1 true-scale nail silhouette on the front corner or side panel of the box solves that hesitation immediately: a shopper in a beauty aisle can hold their thumb right up against the printed silhouette on the side panel to check the length and apex curve before buying. To make that 1:1 nail silhouette feel like a real gloss-coated nail tip, apply raised Spot UV over the silhouette while keeping the rest of the carton in velvety soft-touch lamination. If your collection features glazed pearl, chrome mirror, velvet cat-eye, or metallic French tips, pair your brand wordmark and shape badge with holographic silver, rose-gold, or champagne gold hot foil stamping. Brands that sell both nail sets and false lashes often coordinate the exact same holographic foil and window layout across their custom eyelash boxes.
- 1:1 scale silhouette badge: print the exact millimeter length of the thumb and middle nail at 100% scale on the side panel.
- Spot UV nail finish: coat the printed nail icon in high-gloss Spot UV over a matte or soft-touch carton background.
- Holographic & chrome foils: mirror trendy glazed, aurora, and cat-eye manicure effects on your box header.
- UV protection for gel kits: keep windows away from light-cured gel polish bottles and semi-cured gel strips so store lights cannot cure them.
Know your size? Compare pricing across up to 3 quantities.
Request a Quote →What FDA cosmetic disclosures and nail glue warnings are required on the box?
A press-on nail kit or gel manicure starter set is regulated in the United States as a multi-item cosmetic unit (and household adhesive under FHSA / 21 CFR Part 701 and Part 740). While molded plastic ABS or soft-gel nail tips, emery files, and wooden sticks are physical articles, the liquids and wipes inside the kit - cyanoacrylate nail glue, isopropyl alcohol prep pads, nail dehydrator, gel base/top coat, and cuticle oil - are regulated chemical products. Because shoppers cannot inspect the tiny 2 g glue tube hidden inside the sealed carton before purchase, all required disclosures must appear on the outside of the retail box. Specifically, the outer carton must list the net contents of the kit components, the distributor name and address, the separate INCI ingredient declarations for each liquid or wipe included (for example: Nail Glue Ingredients: Ethyl Cyanoacrylate, Polymethyl Methacrylate... and Prep Pad Ingredients: Isopropyl Alcohol, Water), and the mandatory caution statement for cyanoacrylate adhesives (WARNING: Eye irritant. Bonds skin and eyes in seconds. Keep out of reach of children. along with first-aid instructions). For kits that also include bottled lacquers, see our custom nail polish boxes guide for solvent flammability wording.
How do you prepare your nail kit dieline for print and window cutting?
Preparing a windowed nail kit dieline for offset printing takes three simple layer rules. Keep the structural dieline (cut lines, fold score lines, and window cutout outline) on a separate non-printing vector spot layer at the top of your Illustrator or PDF file. Extend your background colors and patterns 1/8 inch (0.125 in) past the outer cut lines for exterior bleed, and also extend any background color 1/8 inch inward into the die-cut window opening so no unprinted white board edge shows around the window rim if the die shifts by a hair. Keep all critical text, nail-shape badges, INCI ingredient blocks, and your white UPC barcode box at least 1/8 inch inside every fold score and cut line. If you do not have a graphic designer or want us to check your window-to-tray coordinates, our prepress team sets up your dieline, formats your back-panel icons, and sends a flat digital proof and interactive 3D mockup for free before you pay.
- 3/8 inch window bridge: keep the die-cut window at least 0.375 in away from the left, right, and top fold creases.
- 1/8 inch inner window bleed: bleed your front panel background color 0.125 in inside the window cutout line.
- 100% K black text: set all 6 pt INCI lists, cyanoacrylate warnings, and barcode bars in 100% black ink (0C 0M 0Y 100K).
- Free 3D mockup check: inspect how your nail tray and lower tool shield align in 3D before approving production.
What are the most common nail kit box design and prepress mistakes?
Avoiding these five window, artwork, and compliance errors keeps your nail kits looking sharp and retail-compliant
- Extending the front display window into the lower third of the box where the loose nail glue bottle, file, and prep pad sit.
- Placing a die-cut window closer than 3/8 inch to a vertical fold score, which makes the narrow side frames bow outward.
- Printing 'Includes Nail Glue' on the front panel while forgetting to print the glue's INCI ingredients and cyanoacrylate skin-bonding warning on the back panel.
- Using a dark black inner backing card behind sheer or dark press-on nail tips, making the nail shape disappear inside the window.
- Cutting a clear display window over light-sensitive gel polish bottles or semi-cured gel nail strips where store UV lamps can cure the product.
Find your size
Suggested inside size: 5.5 × 2.75 × 0.75 in
A starting point. Your account manager confirms the size with you before the proof.
Quote this size →Packaging for this
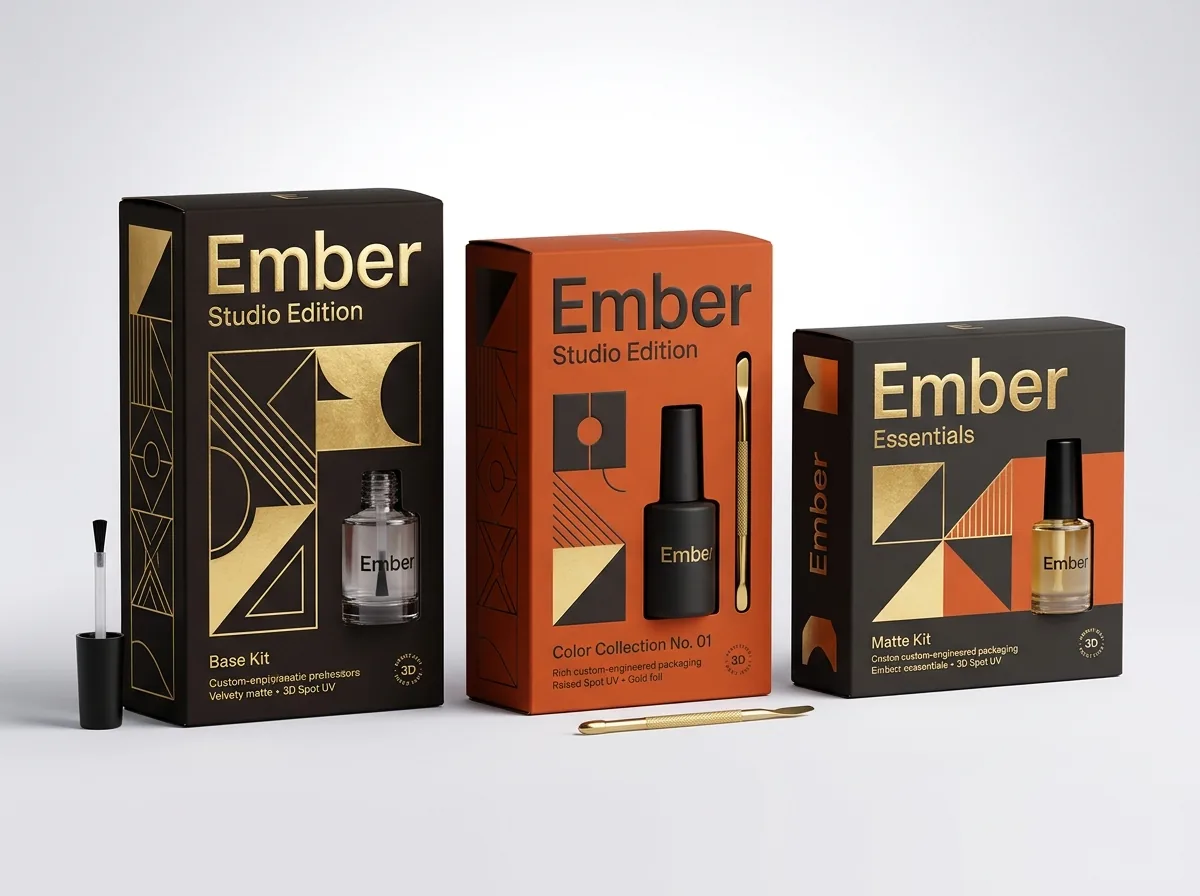

Ready to order nail kit boxes? Compare up to 3 quantities with a free 3D mockup.
Request a Quote →Questions about nail kit boxes
Do I need to list nail glue and alcohol prep pad ingredients on the outside of a press-on nail box?
Yes. Whenever a press-on nail kit includes chemical components like liquid cyanoacrylate nail glue, adhesive tabs, cuticle oil, or an alcohol prep wipe inside a closed retail carton, the outer carton must display the INCI ingredient lists, net contents, and safety warnings for those items.
How far from the box edges should a press-on nail display window be placed?
Keep every edge of your die-cut window at least 3/8 inch (9.5 mm) away from the top, left, and right fold score lines. That 3/8 inch paperboard margin gives the front frame enough stiffness to stay flat and provides a bonding surface for the clear window film.
Can I get a custom nail-shaped window cutout without paying a die fee?
Yes. CubitPack charges zero die or plate fees on any order. We can cut a classic rounded rectangle window or a custom almond, coffin, stiletto, or heart-shaped window aperture at the exact same unit price.
What is the best finish to protect nail kit boxes from cuticle oil and acetone wipes?
Matte lamination, gloss lamination, and soft-touch lamination all seal the printed ink beneath a protective film barrier that resists cuticle oil smudges, alcohol prep wipe splashes, and carton scuffing during shipping.
Can I print application and removal instructions on the inside of the nail kit box?
Yes. Interior printing on the inside of a tuck carton, drawer tray, or false-floor divider card is the cleanest way to show step-by-step nail prep, sizing, and warm-water removal instructions without paying for a separate paper leaflet.
Will CubitPack help align my window cutout with my existing plastic blister tray?
Yes. Tell us the dimensions of your blister tray and where the nail row sits (or mail us a sample tray), and our prepress team will build the custom window dieline, digital proof, and 3D mockup for free before you pay.
Still have a question? Ask a packaging specialist.
Request a Quote →Request your nail kit boxes quote
Tell us your size and quantities, and one dedicated account manager prepares pricing for each tier.
- Free design & AI-to-print studio + 3D mockup
- No die or plate charges · 4–5 day rush available
- Free shipping to all 50 states
- 10% off your first order
The window margin rules, two-tier pocket proportions, and cosmetic/adhesive labeling notes in this guide come from offset folding carton prepress standards and US FDA cosmetic labeling guidelines for nail care products (21 CFR Parts 701 and 740). A CubitPack packaging specialist reviewed every section.
Sources
What changed
- October 22, 2026: First published.
- October 22, 2026: Updated specifications, terminology, and verified source links.
More guides
New packaging guides by email
Sizes, materials and design tips. Unsubscribe anytime.