
How do I design custom eyelash boxes, window cutouts and backing cards?
Short answer: Start from the exact dieline of your lash tray, keep at least 3/8 inch of solid paperboard bridge between any window cutout and the outer fold scores, and place a light or metallic backing card behind dark lash fibers. CubitPack sets up your dieline and 3D mockup for custom eyelash boxes free.
On this page
- How do I position and shape the front window cutout over the lash tray
- What backing card colors and finishes make dark eyelashes pop through a window
- How do I combine soft-touch lamination, foil stamping and spot UV on lash cartons
- What information and FDA labeling belong on the back of an eyelash box
- How can I split one custom eyelash box order across multiple lash style names
- Common mistakes
- FAQs
Request a custom quoteFree dieline & 3D mockup
Great eyelash box design balances three layers: the outer front frame, the die-cut window opening, and the interior backing card that sits behind the clear plastic lash tray. First, position the window cutout so it exposes only the two curved lash bands and fibers while hiding the blank plastic corners of the blister tray, leaving at least 3/8 inch (0.375 in) of paperboard bridge between the window edge and the box fold lines so the front panel stays rigid. Second, choose a high-contrast backing card, such as pearl white, blush pink, champagne foil or silver glitter, because black faux-mink and silk fibers vanish against dark inner boards. Third, put your lash style name and curl length on the front and top flap for fast SKU picking, and reserve the back panel for application steps and FDA ingredient disclosures if lash glue is bundled inside.
How do I position and shape the front window cutout over the lash tray?
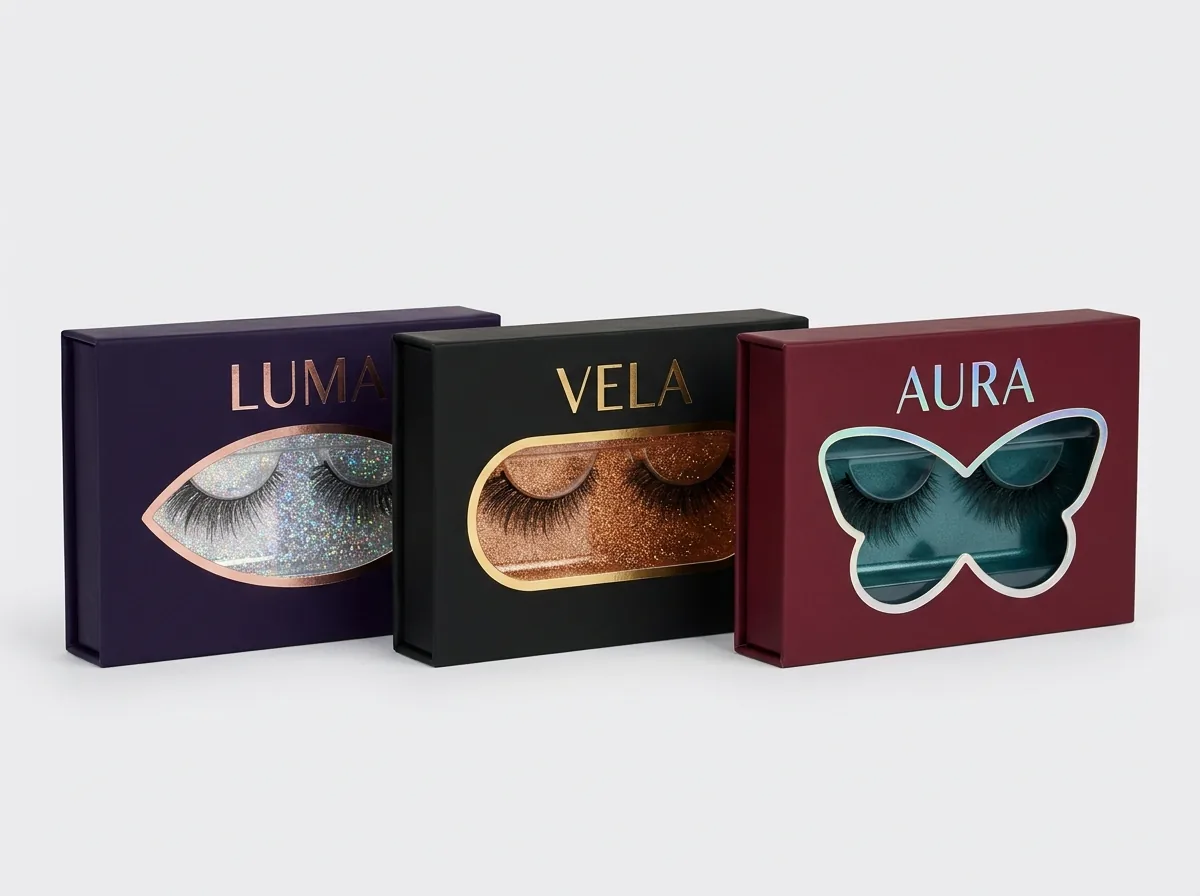
The front window on custom printed eyelash boxes is a physical camera frame for your product. If the window is cut too tall or too wide, shoppers see the empty thermoformed plastic wings and heat-seal dimples at the edges of the blister tray. If the window sits too close to the left, right or top score lines, the paperboard frame warps inward when the clear PET film patch is glued inside. To get a crisp, rigid window frame, follow the 3/8 inch bridge rule: keep at least 3/8 inch (0.375 in) of solid paperboard between the outer edge of your window die-cut line and every fold crease on the front panel. On a standard 4.75 × 2.5 inch lash carton, that leaves a generous 3.75 × 1.5 inch window zone right where the two lash cradles sit. Because CubitPack charges zero die fees, you can shape that opening as a rounded pill, a twin-eye arch, a diamond or a butterfly silhouette at the exact same price as a plain rectangle.
- Keep a 3/8 inch minimum bridge between the window cut line and all four front-panel fold scores.
- Crop the window width slightly narrower than the plastic tray rim so the tray edges stay hidden behind cardboard.
- Align the vertical window center with the two curved lash cradles on your specific blister tray.
- Extend background artwork 1/8 inch (0.125 in) into the window cutout area as bleed so no unprinted white rim shows.
What backing card colors and finishes make dark eyelashes pop through a window?
Almost all strip and cluster eyelashes are jet black or dark espresso brown. When a founder orders a matte black or dark plum box and prints the inside of the carton black as well, the lash fibers blend into the dark interior shadow and look sparse on a retail pegboard or in smartphone photos. To make every wispy tip and criss-cross fiber pattern readable from three feet away, keep a high-value, light-reflective backdrop behind the clear blister tray. You can achieve this either by leaving the inside of a white card carton bright white, by printing a soft pastel Pantone tint on the inner back wall, or by slipping a separate die-cut paperboard backing card underneath the plastic tray.
| Backing card or interior finish | Visual effect behind dark lashes | Best brand aesthetic |
|---|---|---|
| Matte pearl white or cream print | Maximum fiber definition; shows exact criss-cross hair density | Clean clinical, bridal and salon lash lines |
| Soft pastel Pantone (blush, lilac, mint) | Warm brand color halo with zero glare under ring lights | Everyday DTC beauty and Gen-Z lash brands |
| Silver or champagne metallic foil card | Reflects light back through the clear tray and window film | Night-out, luxury faux-mink and holiday sets |
| Fine glitter or holographic paper insert | High sparkle around the lash cradles; popular on social video | Festival, glam and 25 mm dramatic volume lashes |
| Natural brown kraft with white ink halo | Earthy outer look with a printed white zone directly under the lashes | Cruelty-free, plant-fiber and minimalist brands |
How do I combine soft-touch lamination, foil stamping and spot UV on lash cartons?
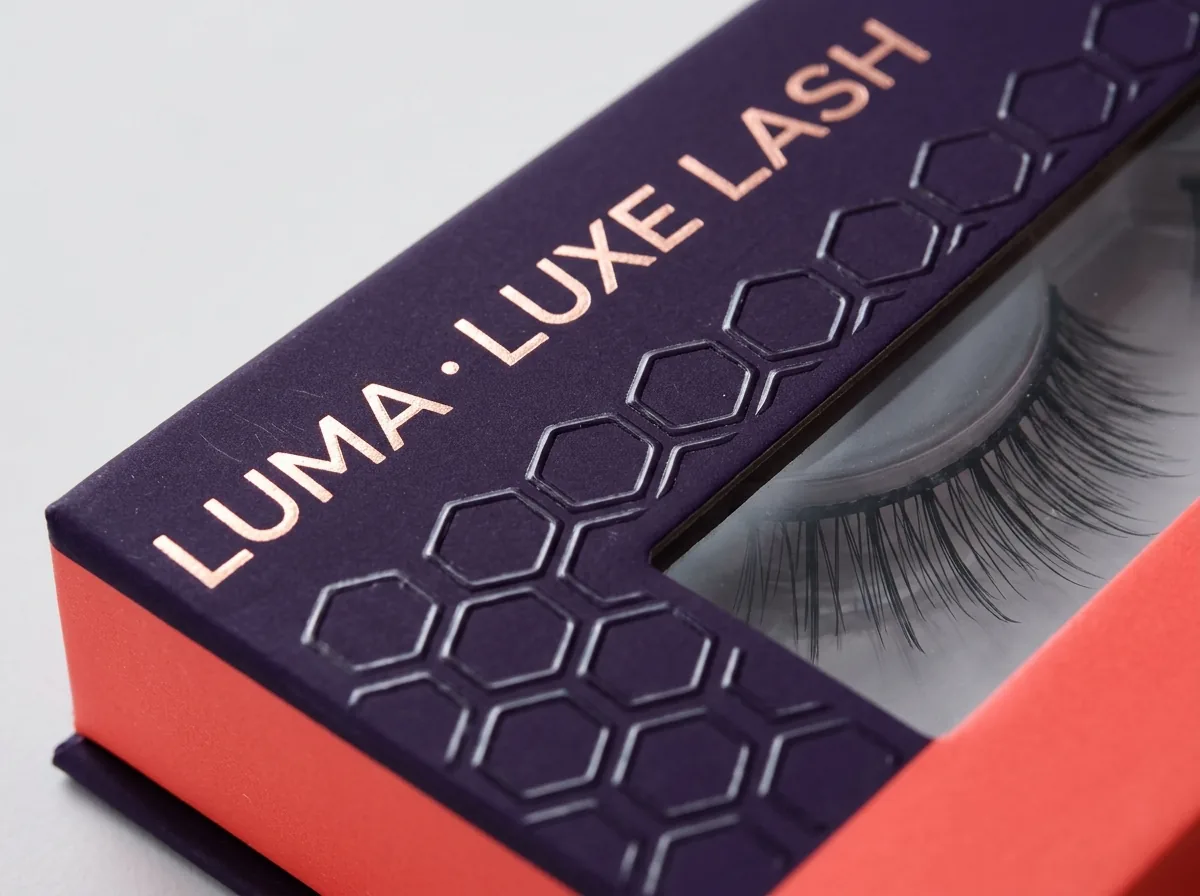
Because an eyelash box is small enough to hold in one palm, tactile finishes make an immediate impression when a customer picks it up. The most popular combination in prestige beauty is soft-touch lamination paired with metallic foil stamping (gold, rose gold, silver or holographic) on the brand wordmark and window border. When setting up your artwork file, keep foil stamping and spot UV elements on their own named vector layers in 100% K (black) set to overprint, so they never print as CMYK ink underneath the foil. Avoid running tiny foil text smaller than 7 pt or hairlines thinner than 0.5 pt, and keep foil stamping at least 1/16 inch away from fold creases and the die-cut window edge so the metallic leaf stamps cleanly without cracking. If you want a raised logo you can feel with your fingertips, pair foil stamping with blind embossing on the top lid or front frame.
Know your size? Compare pricing across up to 3 quantities.
Request a Quote →What information and FDA labeling belong on the back of an eyelash box?
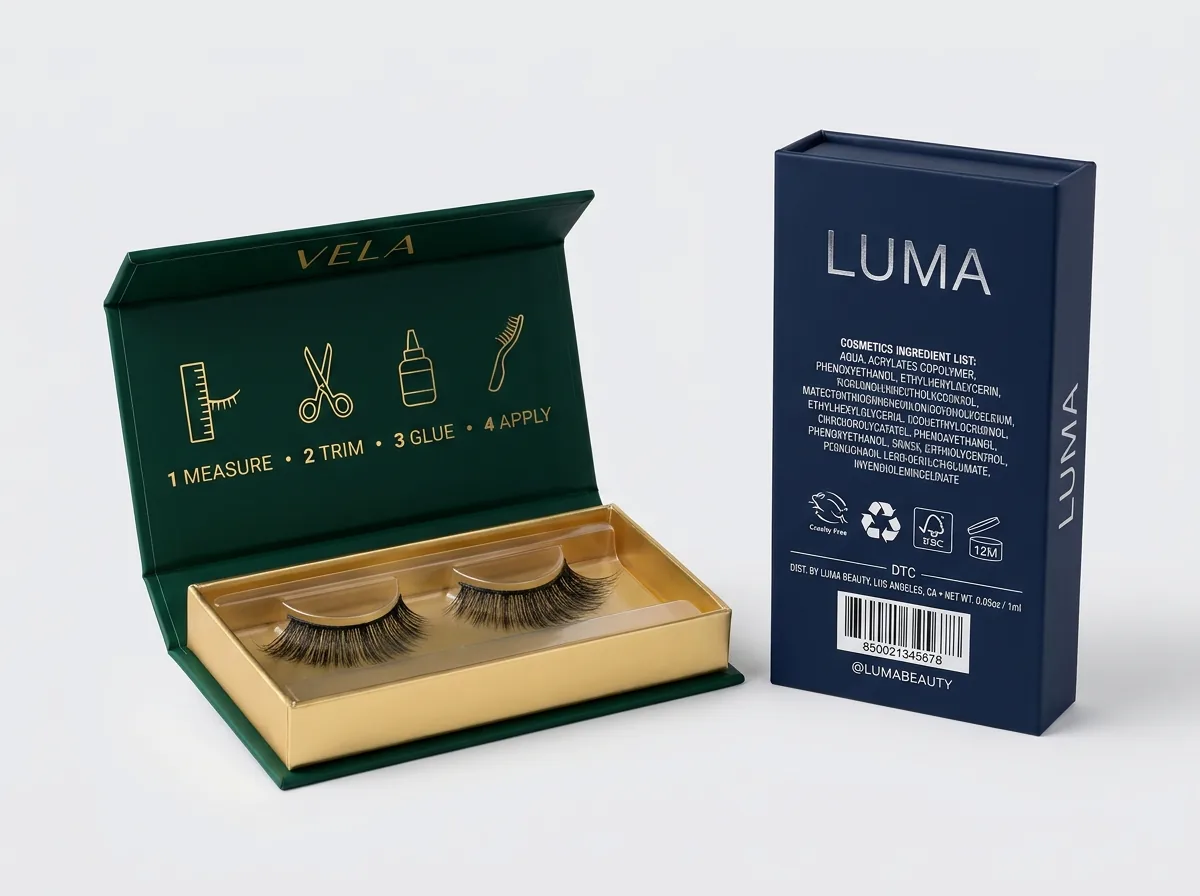
While dry synthetic or faux-mink lash fibers sold alone have simple labeling needs (brand name, product identity such as '1 Pair False Eyelashes', country of origin and your business name and city/state), bundling a liquid lash glue, magnetic eyeliner or cluster bond-and-seal wand inside the box brings the kit under FDA cosmetic labeling rules (21 CFR Part 701). Whenever your box contains a liquid adhesive or remover, the outer carton must display the net quantity of contents for the liquid (in fluid ounces and milliliters), a full cosmetic ingredient list in descending order of predominance, any required caution statement, and the name and place of business of the manufacturer, packer or distributor. Even for dry lashes without glue, use the back panel or inside lid for a 4-step Measure · Trim · Apply Glue · Press diagram and a QR code linking to your application video or reorder page.
How can I split one custom eyelash box order across multiple lash style names?
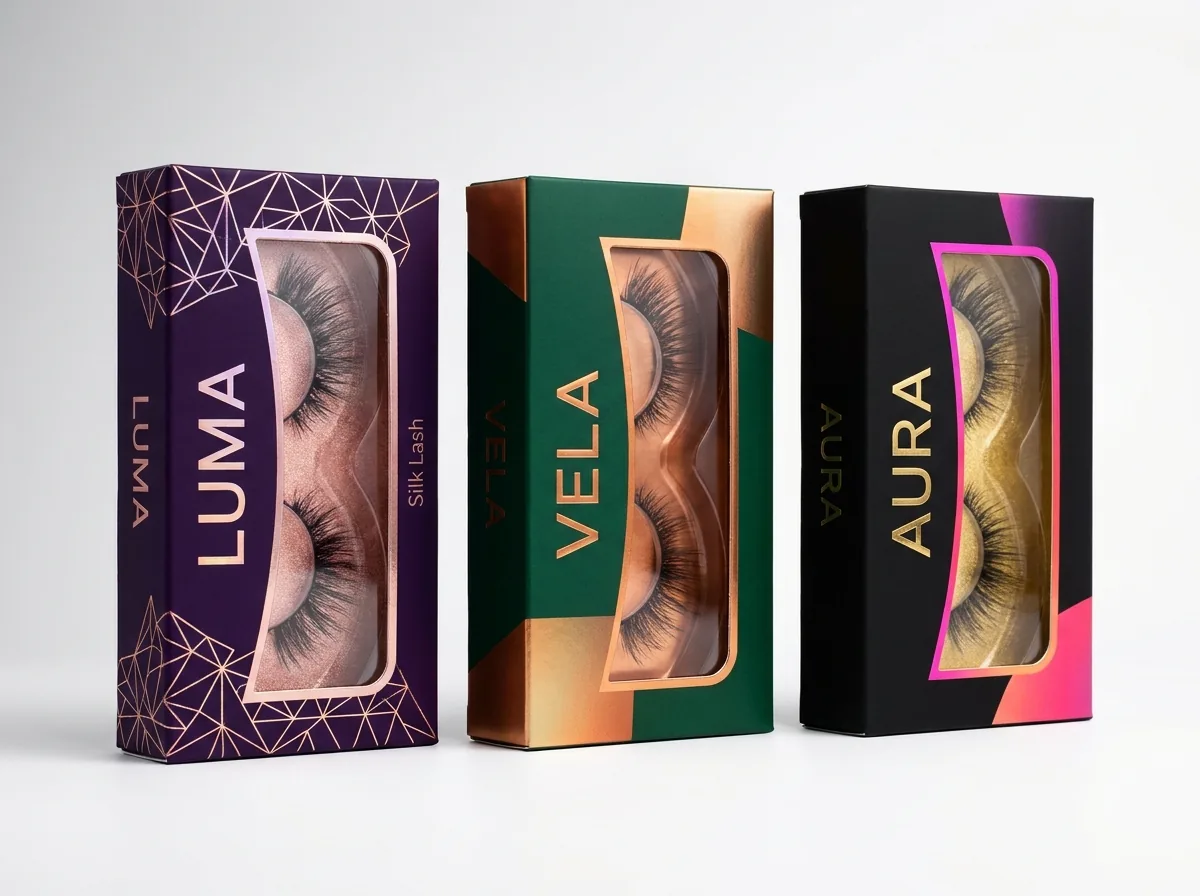
Most lash brands launch with 4 to 10 different lash styles, such as Natural, Wispy, Cat-Eye, Doll Eye and Mega Volume, that all sit on the exact same size thermoformed plastic tray. Instead of paying for separate small runs, design one master dieline with the same box dimensions and window cutout across your whole collection. When you request a quote on CubitPack, select 2 designs or 3+ designs in Step 2 of the quote form and list how many style variations you need inside your 1,000, 2,500 or 5,000 box total. You can swap the style name, millimeter length chart, Pantone background color and UPC barcode on each SKU while keeping the bulk quantity price break across the combined order. Color-coding the top tuck flap or side gusset by curl family (for example blush for Wispy, lilac for Doll Eye and black for Russian Volume) also helps salon receptionists and fulfillment teams pick orders in half the time. If you generated a pattern or illustration with Midjourney or Canva, our Print your AI design team will also convert it into a print-ready CMYK vector dieline for free.
What are the most common custom eyelash box design and prepress mistakes?
A great lash design on screen can fail on press if window bridges or interior contrast are overlooked. Check these five prepress details before approving your proof
- Placing a die-cut window within 1/8 inch of a fold score, which weakens the front frame and causes the window film to buckle when the box is folded.
- Using a dark black or navy interior behind black lashes without a light or metallic backing card, making the lash curl invisible through the window.
- Designing the window wider than the plastic blister tray rim so ugly thermoformed tray corners show inside the frame.
- Leaving out the FDA ingredient declaration and net volume on the outer carton when a mini lash adhesive tube or bond-and-seal wand is included.
- Forgetting to put the lash style name and barcode on each SKU, which forces you to stick manual labels onto printed boxes.
Find your size
Suggested inside size: 4.5 × 2.125 × 0.625 in
A starting point. Your account manager confirms the size with you before the proof.
Quote this size →Packaging for this
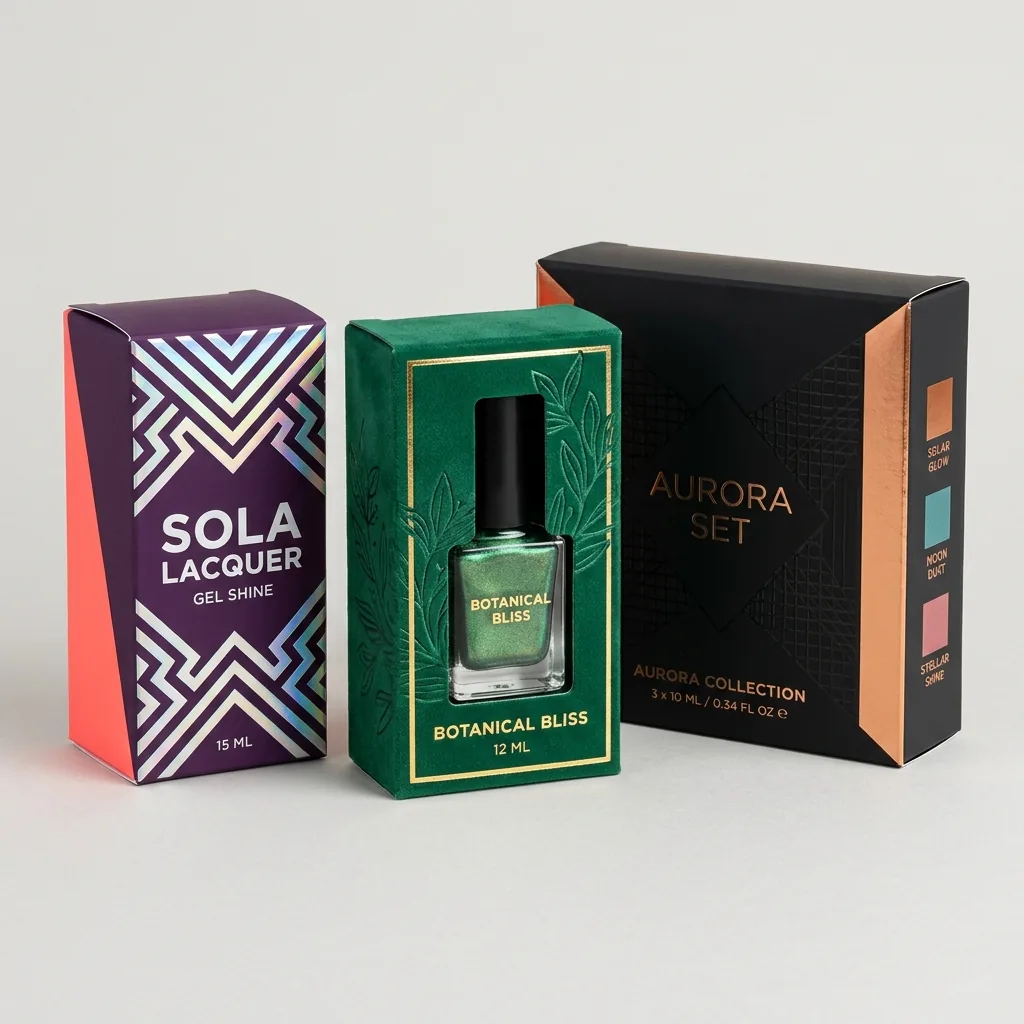
Ready to order eyelash boxes? Compare up to 3 quantities with a free 3D mockup.
Request a Quote →Questions about eyelash boxes
How much bleed and safe margin do I need on an eyelash box dieline?
Extend all background colors, gradients and patterns 1/8 inch (0.125 in) past the outer cut lines AND 1/8 inch inside any die-cut window opening as bleed. Keep logos, style names, barcodes and borders at least 1/8 inch away from all cut and fold score lines.
Can CubitPack create the dieline and layout if I only have a logo?
Yes. Every order includes free design help and a free custom dieline. Send us your logo, brand colors, lash style names and tray dimensions (or an AI-generated concept), and our designers will build your print-ready artwork, digital proof and 3D mockup before you pay.
Do butterfly, eye-shaped or heart-shaped windows cost extra for custom dies?
No. There are never any die or plate charges at CubitPack. You can choose a curved eye silhouette, a butterfly cutout, a diamond window or a twin-arch opening over each lash at the exact same cost as a standard rectangle.
How do I set up gold or rose-gold foil stamping in my artwork file?
Place all foil-stamped elements on a separate vector layer in Adobe Illustrator or PDF, colored in 100% solid black and labeled 'Foil Stamping'. If you do not have vector software, tell our prepress team which logo or border you want in foil and we will separate the layer free.
What barcode size works best on a small single-pair eyelash box?
An 80% magnification UPC-A barcode (about 1.18 × 0.80 inches) printed in solid black bars on a pure white rectangle scans reliably on compact lash boxes. Never print dark bars over dark pink, purple, metallic foil or glitter backgrounds, as retail scanners need white contrast.
Can I see a 3D mockup of my window cutout and foil logo before paying?
Yes. Before you pay a cent, we send a flat dieline proof and an interactive 3D mockup showing your exact window shape, foil placement and inside printing. We can also produce a paid printed physical sample credited toward your full box run.
Still have a question? Ask a packaging specialist.
Request a Quote →Request your eyelash boxes quote
Tell us your size and quantities, and one dedicated account manager prepares pricing for each tier.
- Free design & AI-to-print studio + 3D mockup
- No die or plate charges · 4–5 day rush available
- Free shipping to all 50 states
- 10% off your first order
The prepress tolerances in this guide (1/8 inch bleed, 3/8 inch window bridge clearance, vector foil separation) follow standard folding carton manufacturing rules, and cosmetic labeling notes reference the US FDA Cosmetics Labeling Guide (21 CFR Part 701). Checked by a CubitPack packaging specialist. Spot something wrong? Tell us and we will fix it.
Sources
What changed
- October 22, 2026: First published.
- October 22, 2026: Updated specifications, terminology, and verified source links.
More guides
New packaging guides by email
Sizes, materials and design tips. Unsubscribe anytime.